Openfire/xmpp : IntelliJ IDEA导入openfire插件开发
Posted Mars-xq
tags:
篇首语:本文由小常识网(cha138.com)小编为大家整理,主要介绍了Openfire/xmpp : IntelliJ IDEA导入openfire插件开发相关的知识,希望对你有一定的参考价值。
参考:
一、配置Openfire源码
1、下载源码
下载 Openfire源码 ,作为Maven项目导入IntelliJ IDEA 。
导入openfire之后,就等待插件下载。如果是第一次创建,下载插件比较多,要等比较长的时间。
该项目使用 Maven,因此应该直接导入到您最喜欢的 Java IDE。目录结构相当简单。主要代码包含在:
Openfire/xmppserver- 代表 Openfire 本身核心代码的 Maven 模块
Other folders are:
Openfire/build- 用于为不同平台创建安装程序的各种文件Openfire/distribution- 用于将所有部分组合在一起的 Maven 模块Openfire/documentation- igniterealtime.org 上托管的文档Openfire/i18n- 用于管理界面国际化的文件Openfire/plugins- Maven 配置文件以允许构建各种可用的插件Openfire/starter- 一个允许 Openfire 在不同平台上以一致方式启动的小模块
可能报错:
Cannot resolve org.apache.mina:mina-core:2.1.3
Cannot resolve org.apache.mina:mina-integration-beans:2.1.3
Cannot resolve org.apache.mina:mina-integration-ognl:2.1.3
先不用管,进行下列步骤:
2、配置项目
IntelliJ IDEA:
-
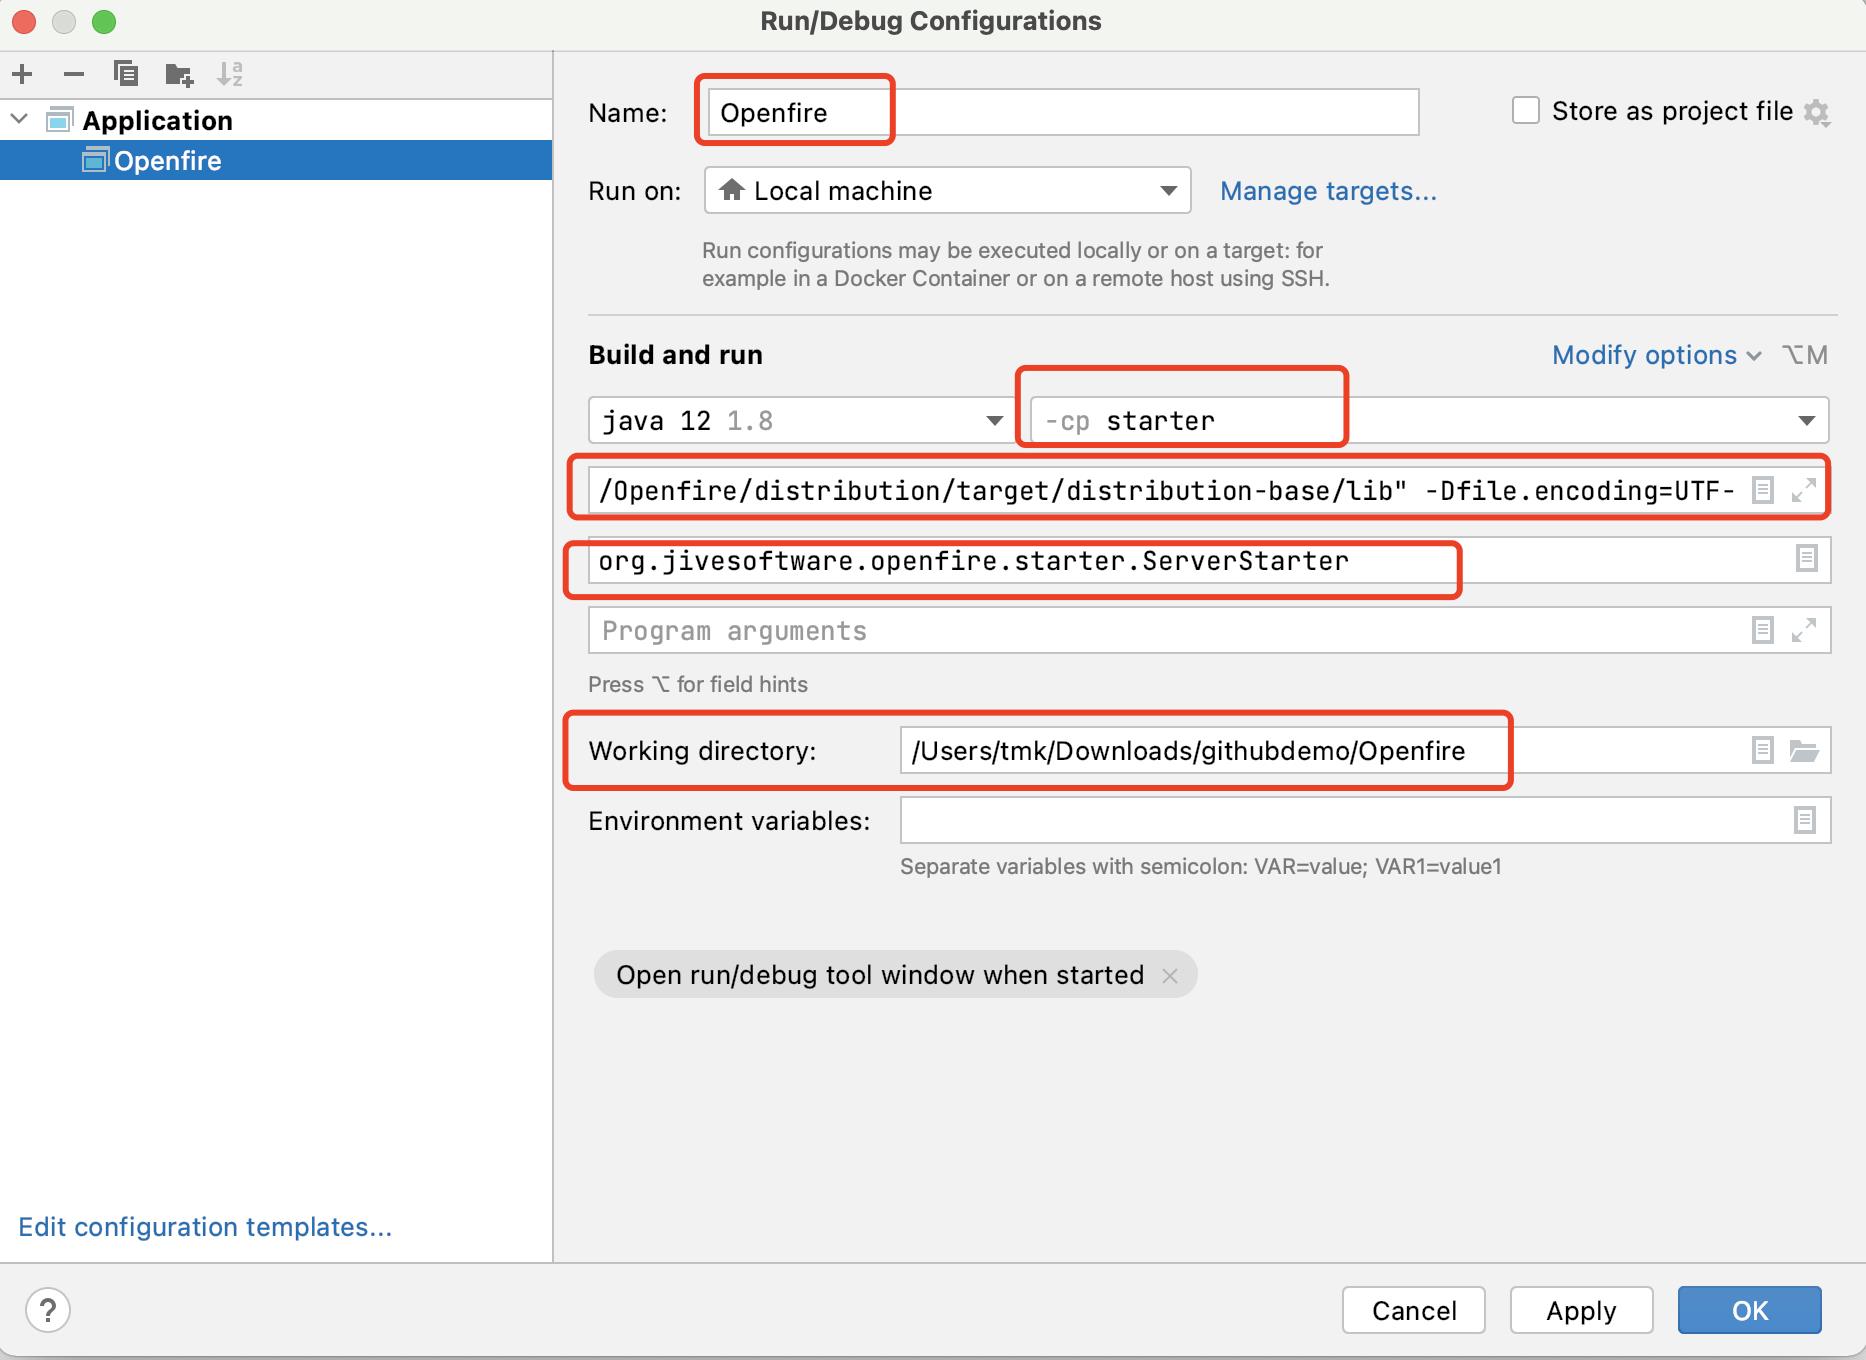
1、Run -> Edit Configurations… -> Add Application
-
2、fill in following values
- 1、Name: Openfire
- 2、Use classpath of module: starter
- 3、Main class: org.jivesoftware.openfire.starter.ServerStarter
- 4、VM options (adapt accordingly):
-DopenfireHome="
-absolute path to your project folder-\\distribution\\target\\distribution-base"
-Xverify:none
-server
-Dlog4j.configurationFile="-absolute path to your project folder-\\distribution\\target\\distribution-base\\lib\\log4j2.xml"
-Dopenfire.lib.dir="-absolute path to your project folder-\\distribution\\target\\distribution-base\\lib"
-Dfile.encoding=UTF-8- 5、Working directory:
-absolute path to your project folder-
-
3、apply
You need to execute mvnw verify before you can launch openfire.
执行可能没有权限:
./mvnw verify
bash: ./mvnw : Permission denied

# 执行以下即可解决:
sudo chmode -R 777 ./mvnw

# 再次执行即可:
# 下载可能需要花费好几分钟
./mvnw verify
把“-absolute path to your project folder-”,修改成openfire所在路径,我配置完之后是这样:
# Working directory:
/Users/tmk/Downloads/githubdemo/Openfire

# VM options (adapt accordingly):
-DopenfireHome=
"/Users/tmk/Downloads/githubdemo/Openfire/distribution/target/distribution-base"
-Xverify:none
-server
-Dlog4j.configurationFile=
"/Users/tmk/Downloads/githubdemo/Openfire/distribution/target/distribution-base/lib/log4j2.xml"
-Dopenfire.lib.dir=
"/Users/tmk/Downloads/githubdemo/Openfire/distribution/target/distribution-base/lib"
-Dfile.encoding=UTF-8
注意:文件分隔符斜线方向,要按照自己系统
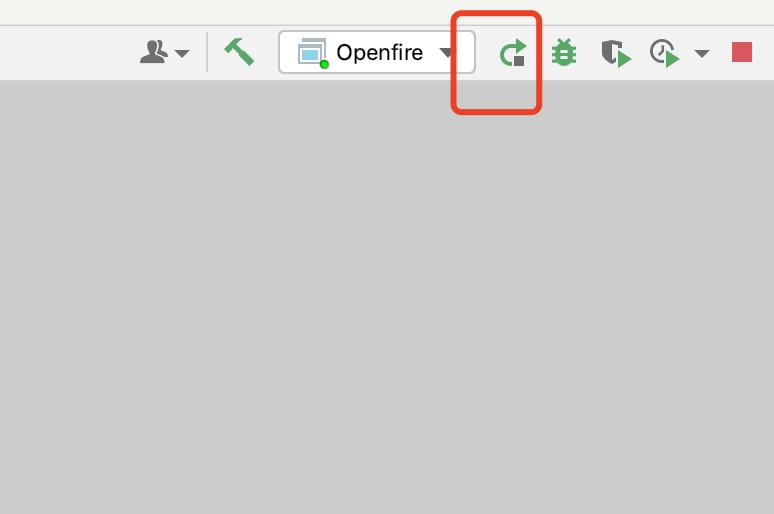
等命令运行完成,就可以运行整个项目了
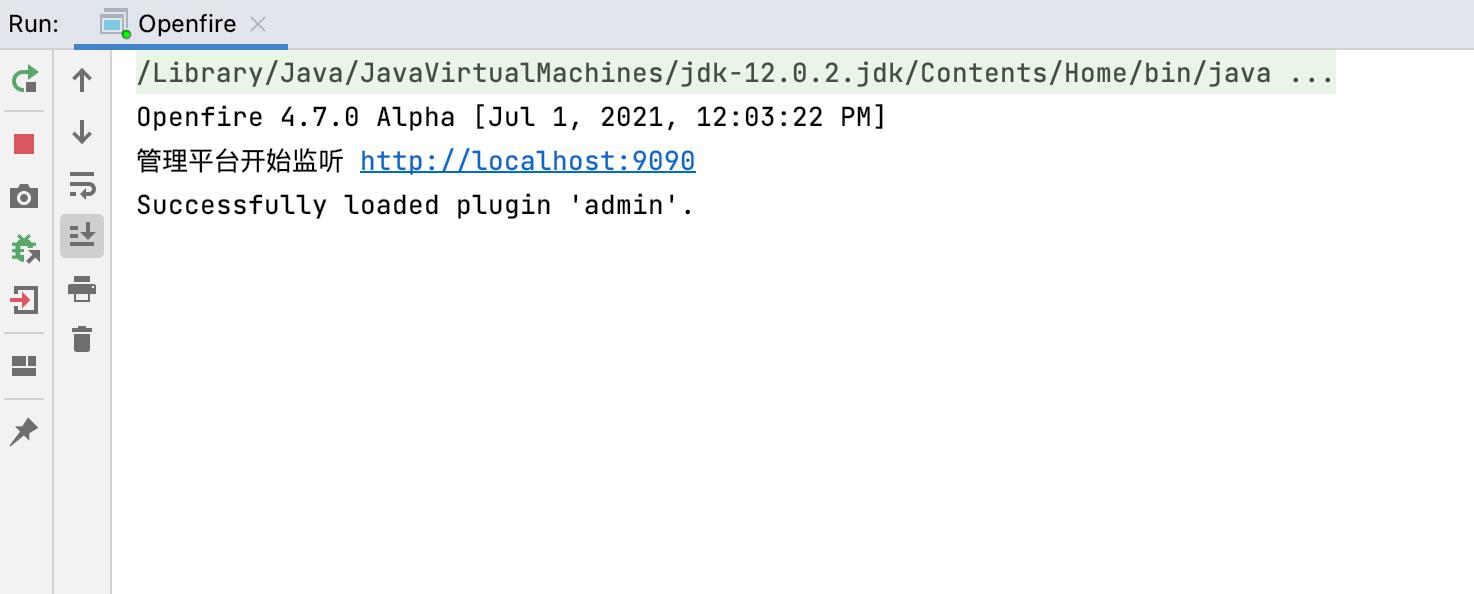
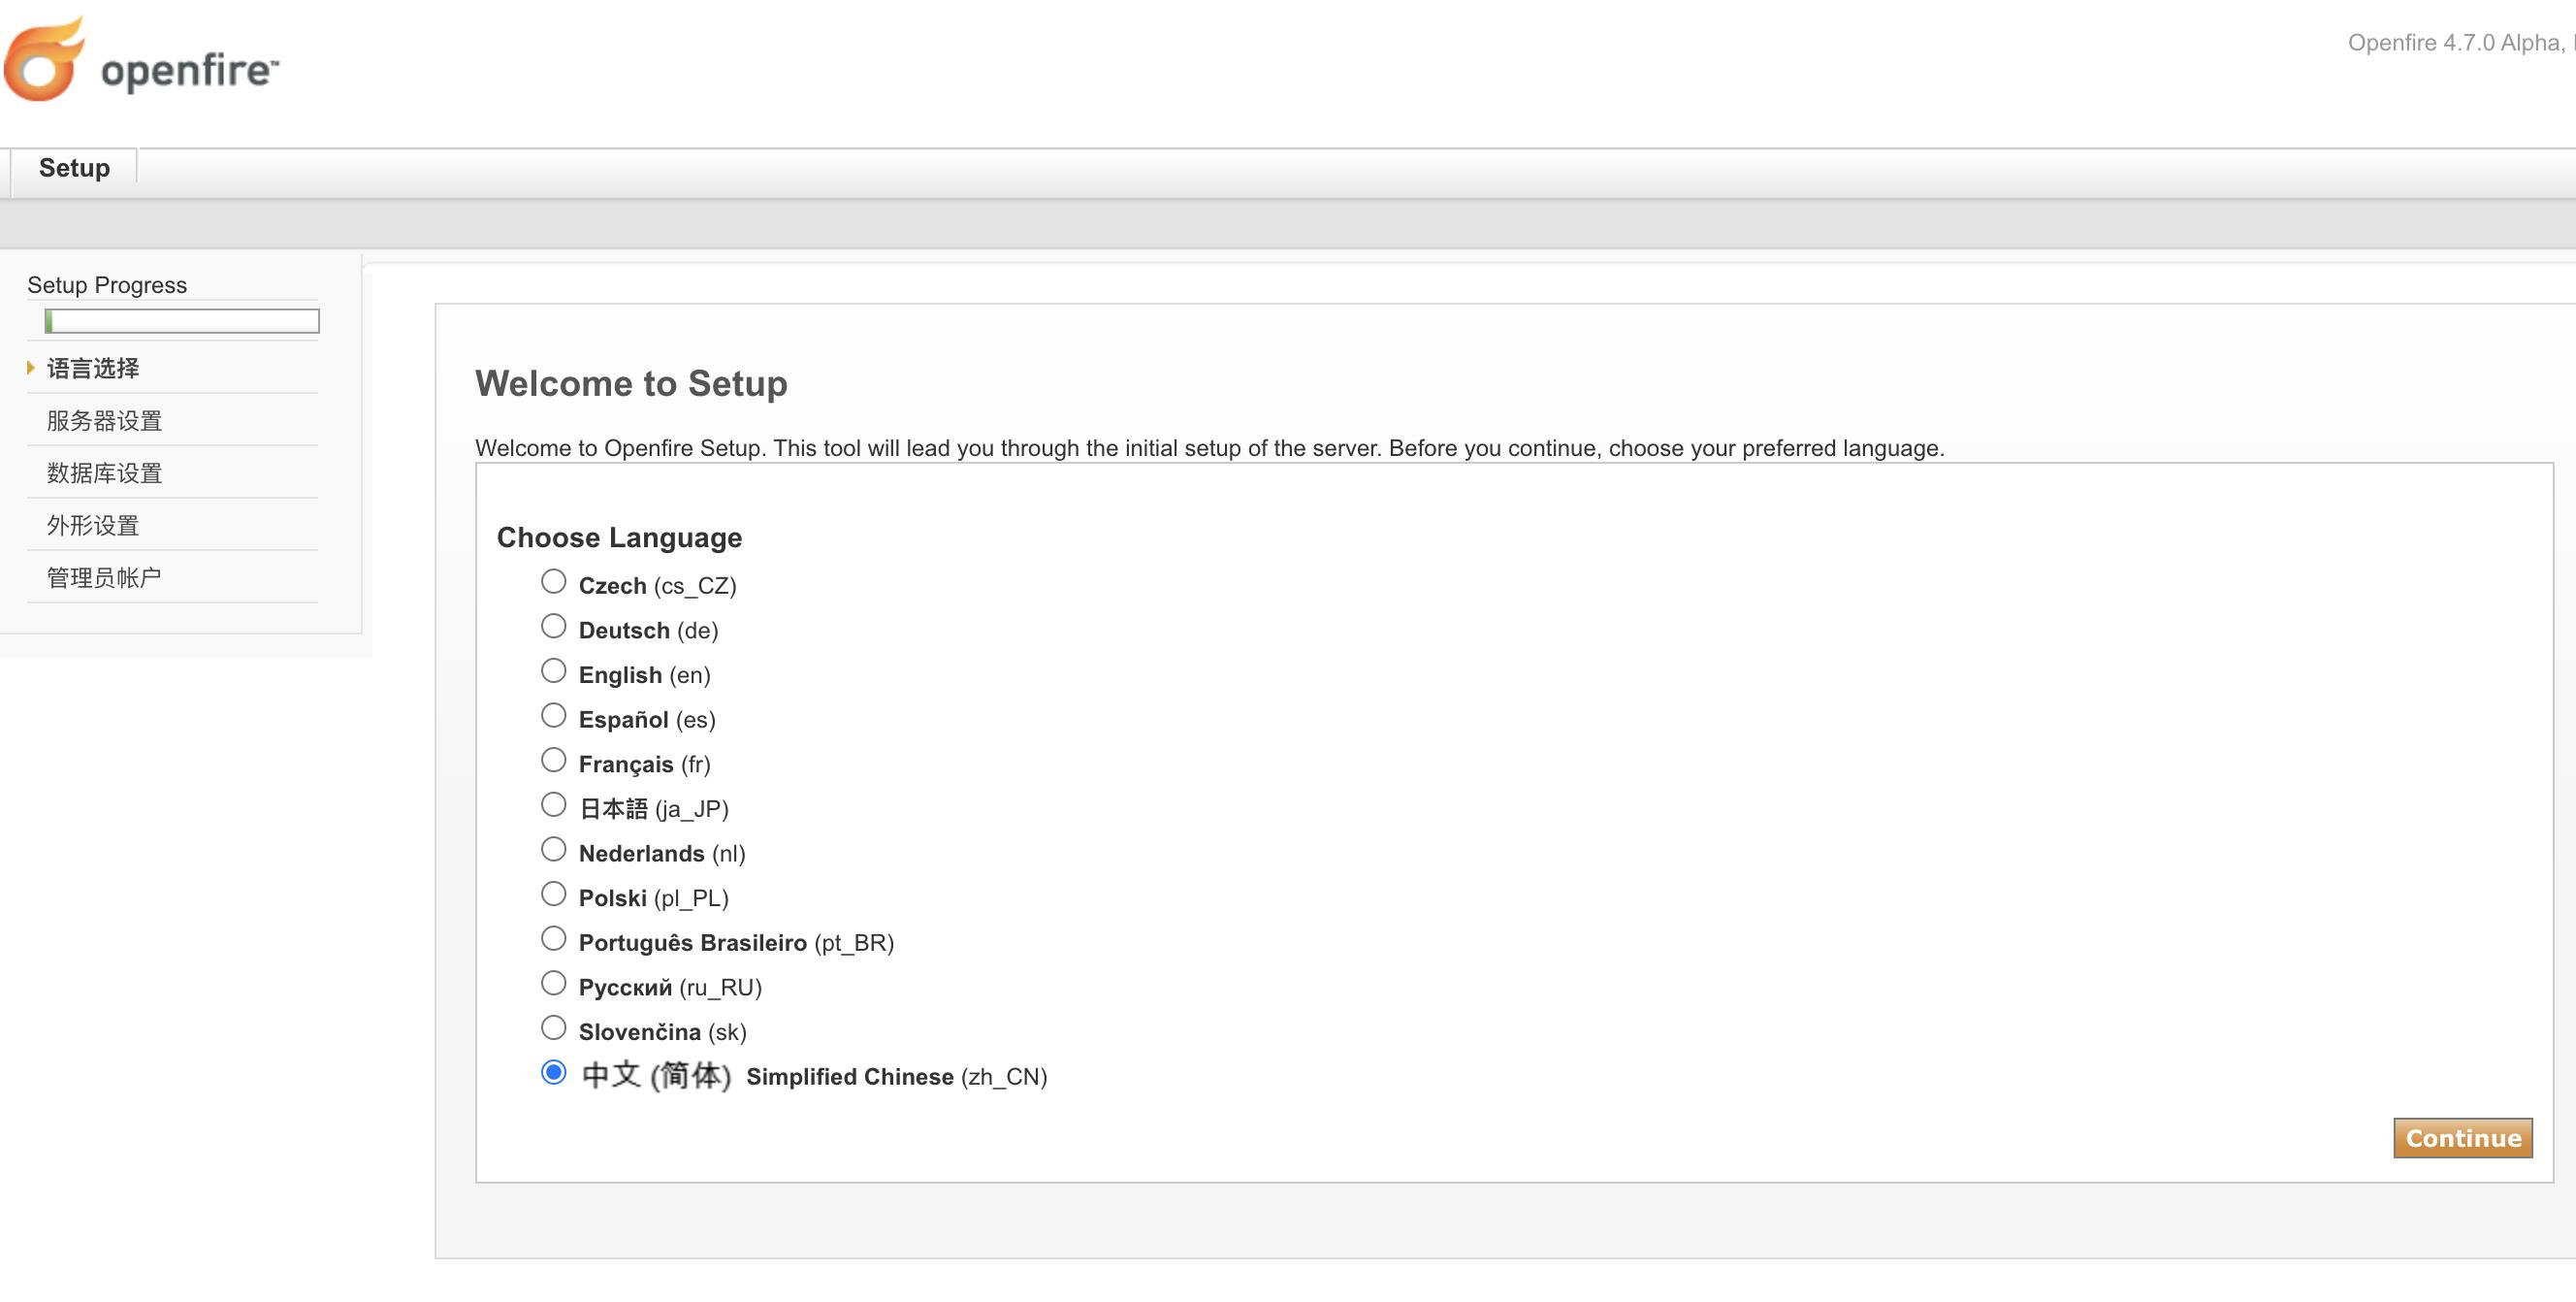
浏览器可以打开链接,进入openfire的安装页面
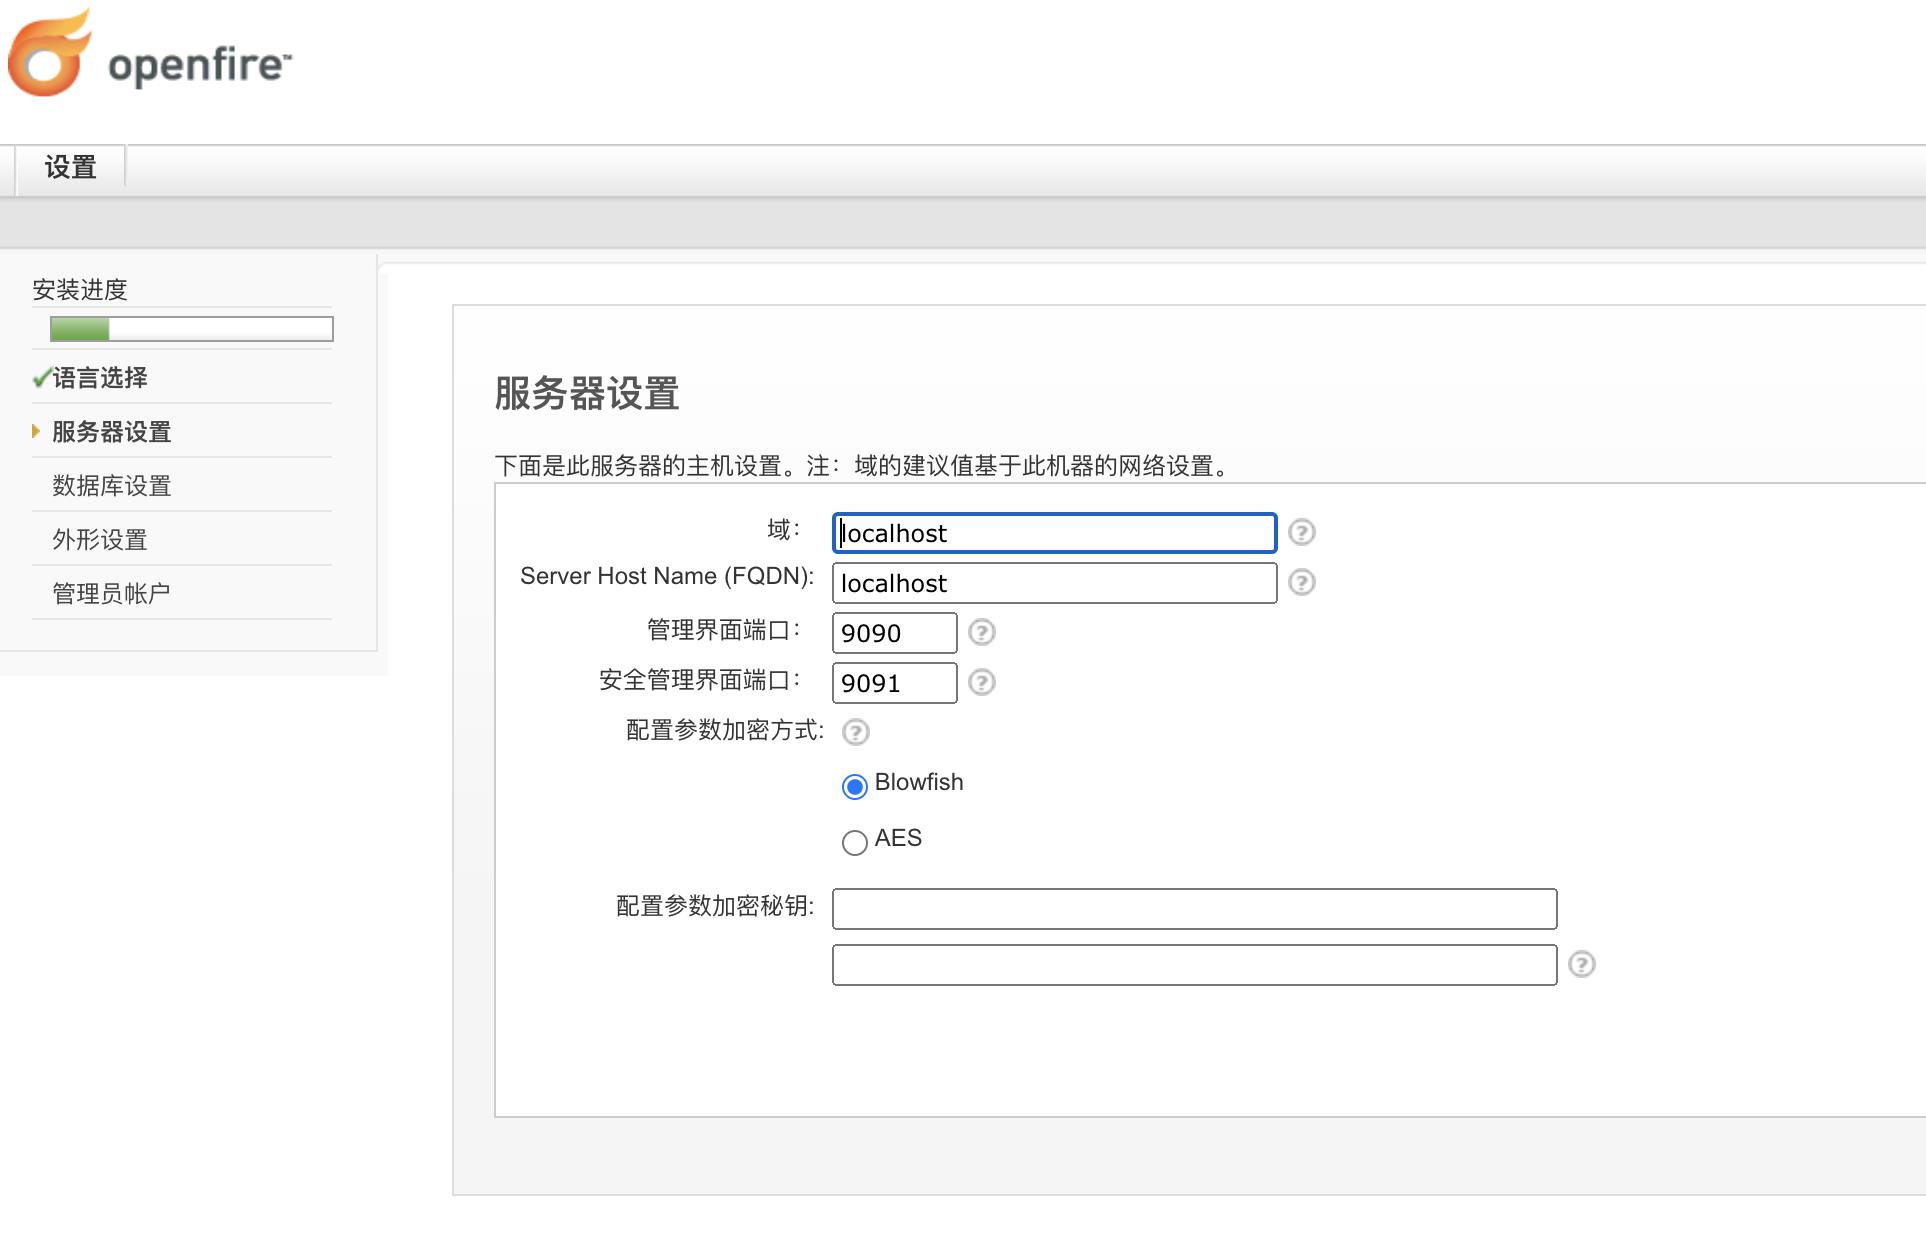
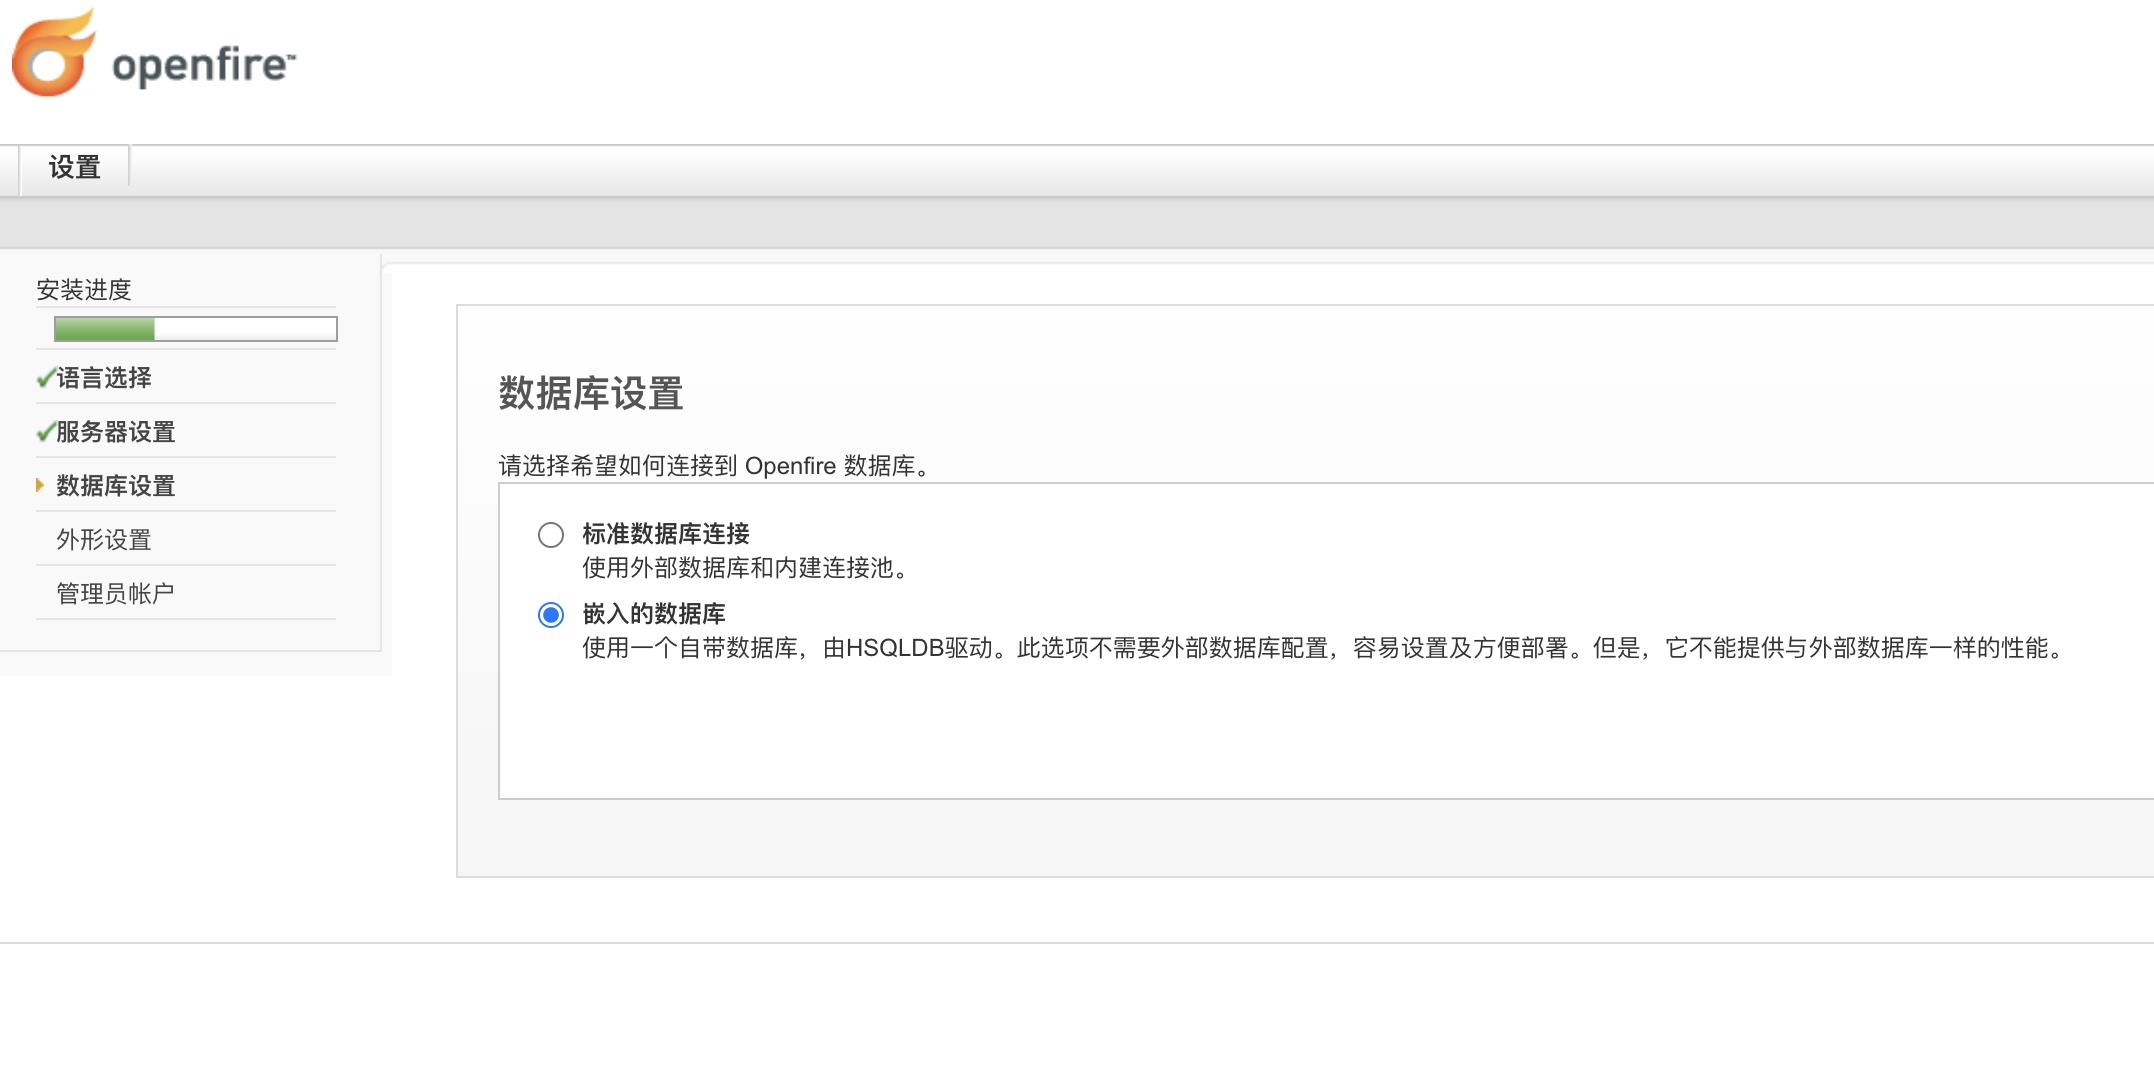
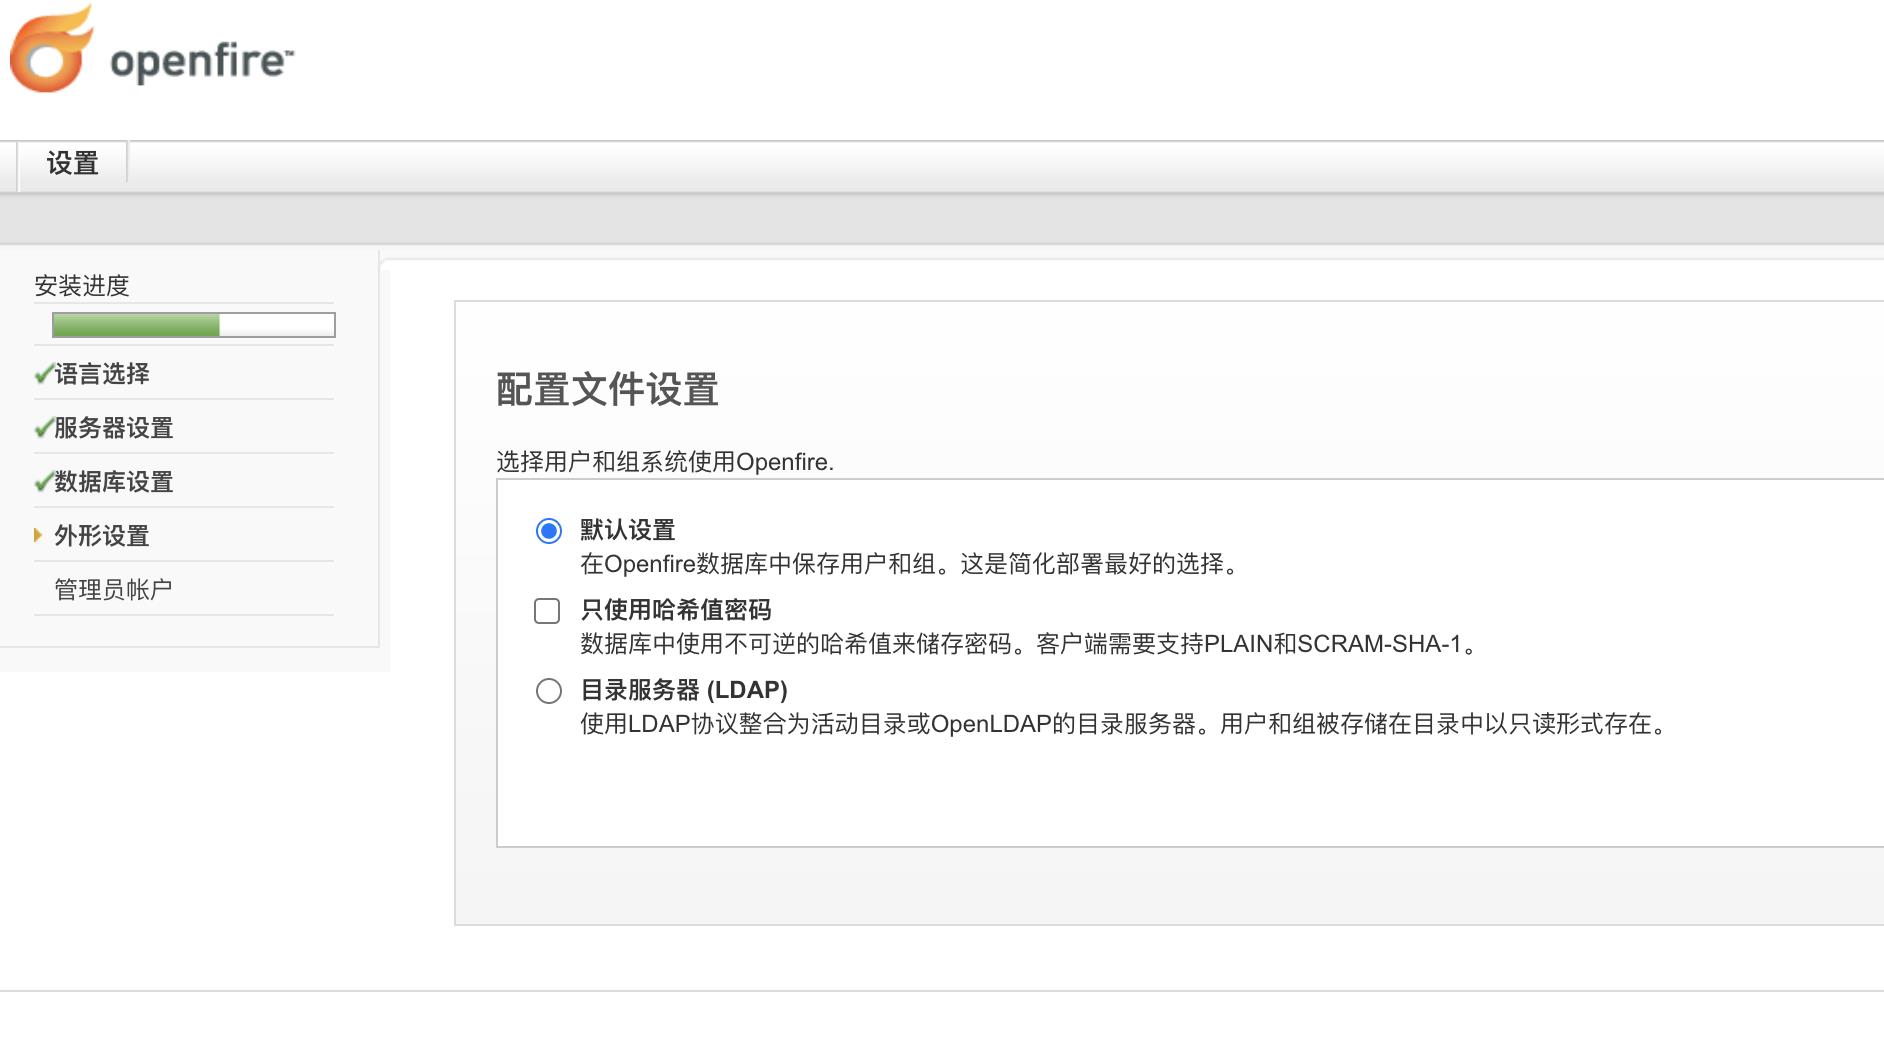
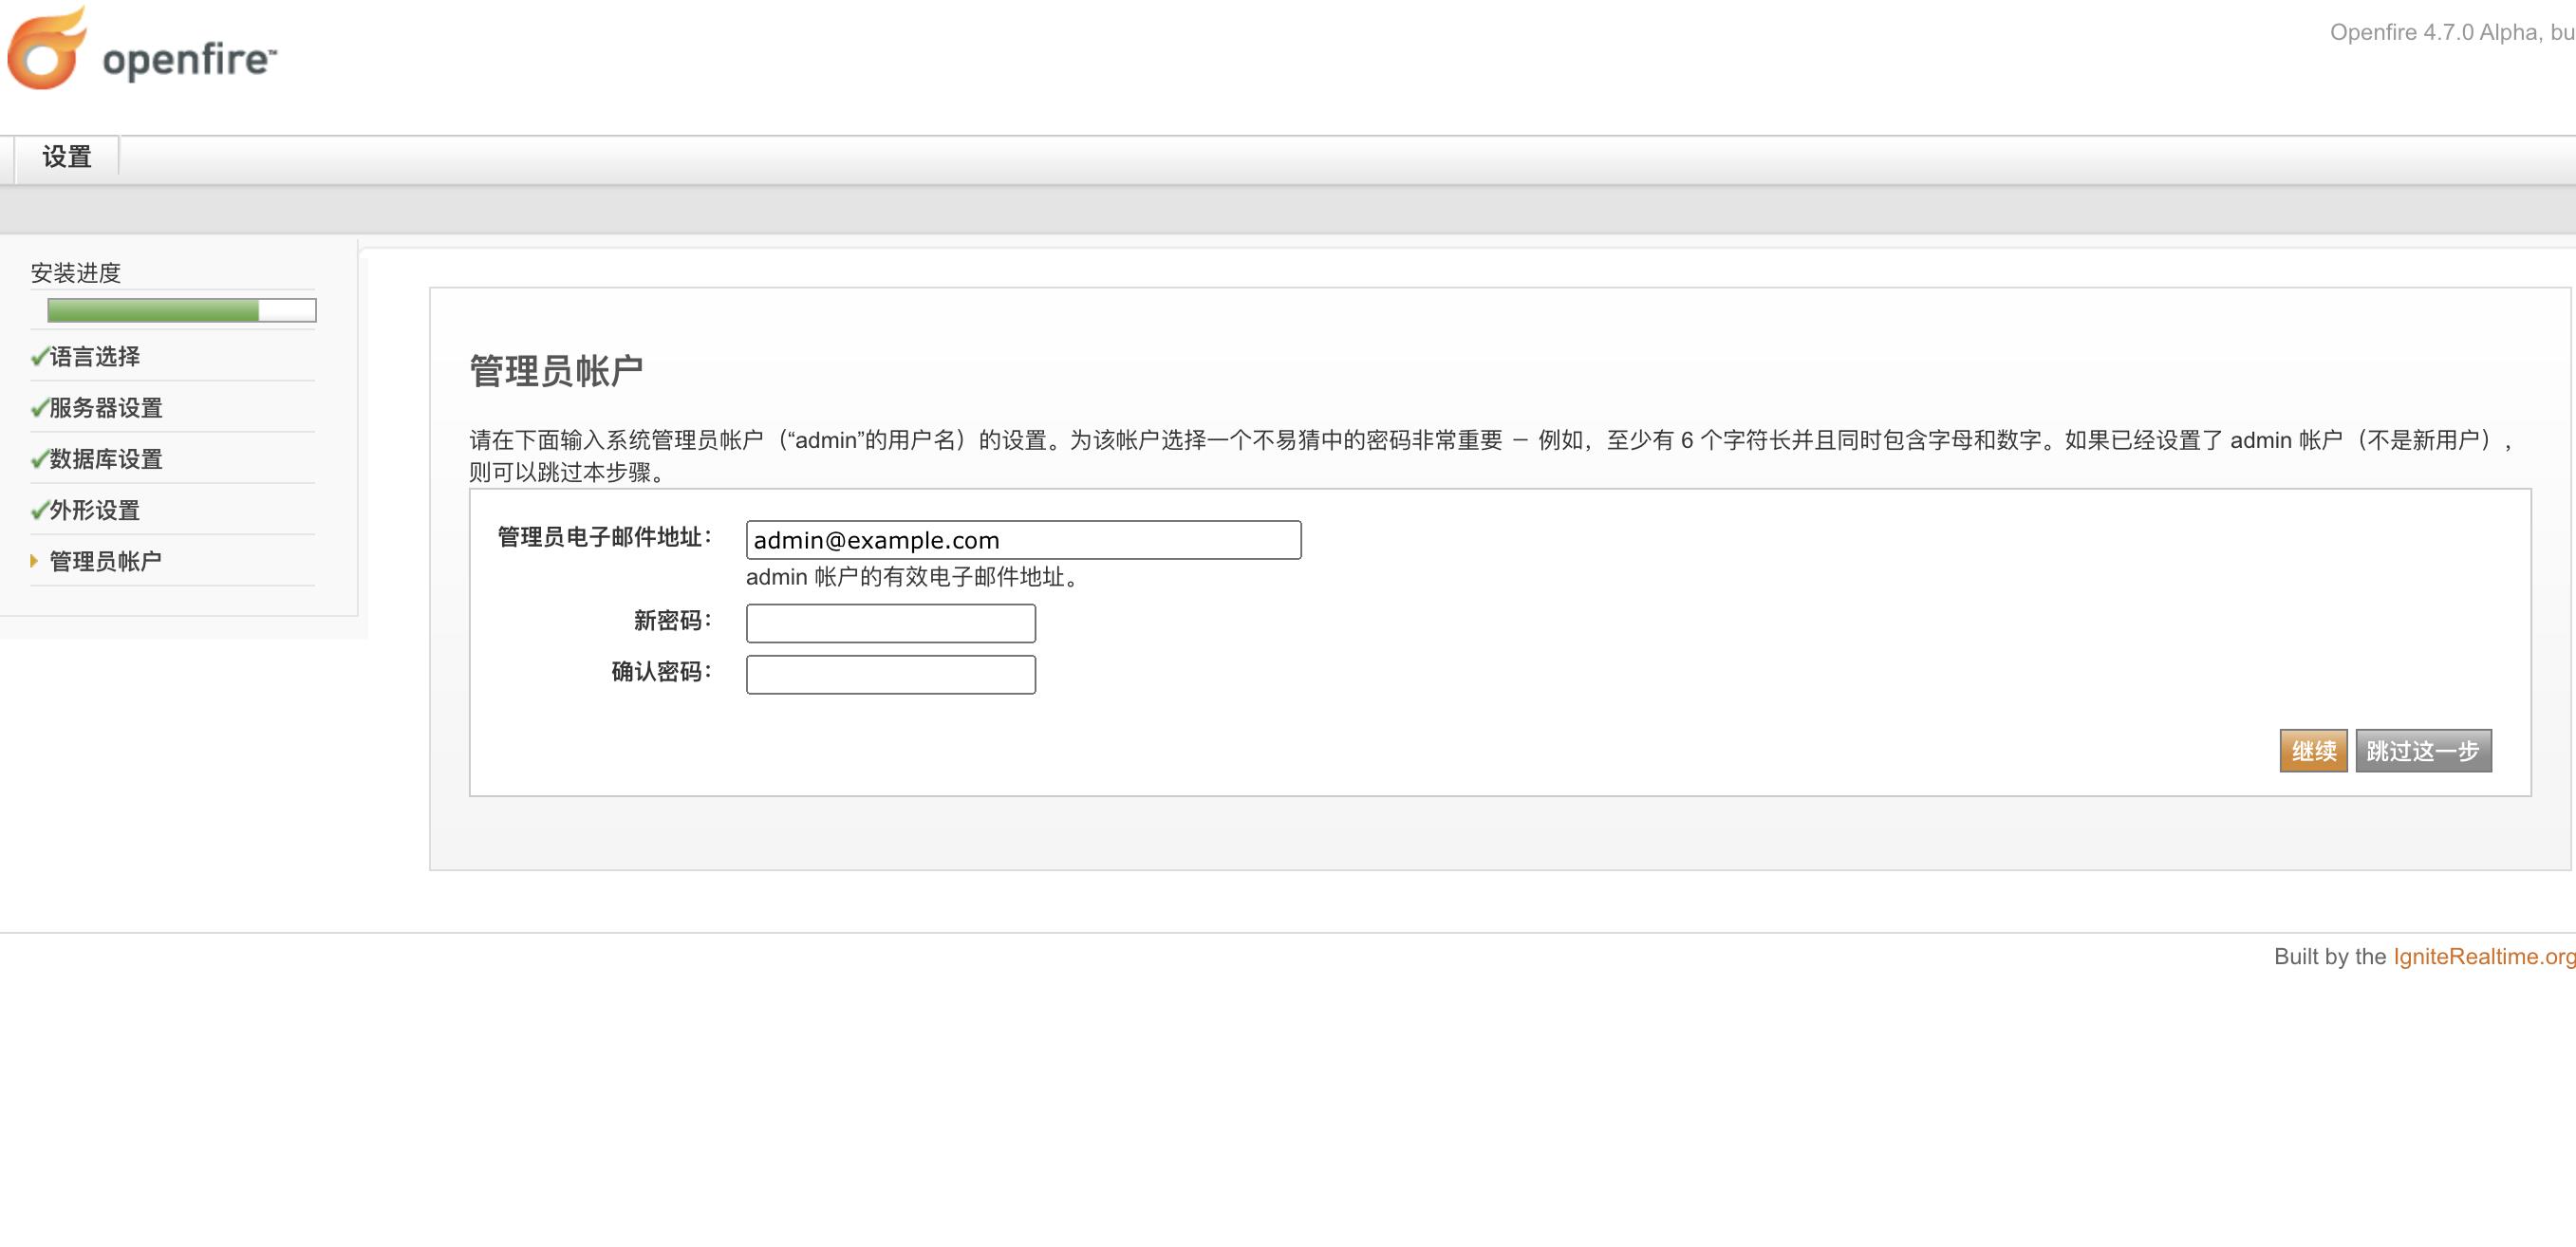
登录账号设置:
用户名 : admin
邮箱: xxxxxx@qq.com
密码 : xxxxx

二、开发插件
参考:
Openfire Plugin Developer Guide
openfire-emailOnAway-plugin : GitHub
openfire-userStatus-plugin : GitHub
创建项目,目录结构如下:
├── README.md
├── changelog.html
├── emailOnAway.iml
├── plugin.xml
├── pom.xml
├── readme.html
├── src
│   └── java
│       └── com
│           └── tempstop
│               └── emailOnAway.java
1、实现Plugin接口
编写openfire插件,必须实现一个插件接口Plugin,只要实现了这个接口,就会被openfire认为是插件。
import org.jivesoftware.openfire.container;

public interface Plugin {

    /**
     * Initializes the plugin.
     *
     * @param manager the plugin manager.
     * @param pluginDirectory the directory where the plugin is located.
     */
    void initializePlugin( PluginManager manager, File pluginDirectory );

    /**
     * Destroys the plugin.<p>
     *
     * Implementations of this method must release all resources held
     * by the plugin such as file handles, database or network connections,
     * and references to core Openfire classes. In other words, a
     * garbage collection executed after this method is called must be able
     * to clean up all plugin classes.
     */
    void destroyPlugin();

}
2、修改pom.xml:
<?xml version="1.0" encoding="UTF-8"?>
<project xmlns="http://maven.apache.org/POM/4.0.0"
         xmlns:xsi="http://www.w3.org/2001/XMLSchema-instance"
         xsi:schemaLocation="http://maven.apache.org/POM/4.0.0 http://maven.apache.org/xsd/maven-4.0.0.xsd">
    <modelVersion>4.0.0</modelVersion>
    <parent>
        <artifactId>plugins</artifactId>
        <groupId>org.igniterealtime.openfire</groupId>
        <!--        按需修改版本      -->
        <version>4.6.1</version>
    </parent>

    <!--    以下几个改成自己需要的     -->
    <groupId>org.igniterealtime.openfire.plugins</groupId>
    <artifactId>randomavatar</artifactId>
    <version>1.1.0-SNAPSHOT</version>
    <name>Random Avatar Generator Plugin</name>
    <description>Generates semi-random avatar images.</description>

    <developers>
        <developer>
            <!--        改成自己名字      -->
            <name>able xq</name>
        </developer>
    </developers>

    <build>
        <sourceDirectory>src/java</sourceDirectory>
        <plugins>
            <plugin>
                <artifactId>maven-assembly-plugin</artifactId>
            </plugin>
        </plugins>
    </build>

    <repositories>
        <!-- Where dependencies are obtained (such as the parent project). -->
        <repository>
            <id>igniterealtime</id>
            <name>Ignite Realtime Repository</name>
            <url>https://igniterealtime.org/archiva/repository/maven/</url>
        </repository>
    </repositories>

    <pluginRepositories>
        <!-- Typically used to retrieve Maven plugins that are used by this project.
             This apparently is also used to botain the dependencies _used by_ these
             plugins (such as the openfire-plugin-assembly-descriptor, needed to
             package the project as an Openfire plugin!) -->
        <pluginRepository>
            <id>igniterealtime</id>
            <name>Ignite Realtime Repository</name>
            <url>https://igniterealtime.org/archiva/repository/maven/</url>
        </pluginRepository>
    </pluginRepositories>

</project>
3、添加plugin.xml
<?xml version="1.0" encoding="UTF-8"?>
<plugin>
    <!--   实现 org.jivesoftware.openfire.container.Plugin 的类     -->
    <class>org.igniterealtime.openfire.plugins.randomavatar.RandomAvatarPlugin</class>
    <!--   插件名称       -->
    <name>${project.name}</name>
    <!--   插件描述       -->
    <description>${project.description}</description>
    <!--   插件作者   -->
    <author>Guus der Kinderen</author>
    <!--   插件版本   -->te x
    <version>${project.version}</version>
    <!--   插件发布日期。 日期必须是mm / dd / yyyy,例如07/21/2006。    -->
    <date>03/29/2018</date>
    <!--
           运行插件所需的最低版本(由OpenFire 2.1.2及更高版本支持)。
           如果服务器版本小于所需值,则不会启动插件。
    -->
    <minServerVersion>4.1.5</minServerVersion>

</plugin>
4、打包
先执行 clean 再执行 install
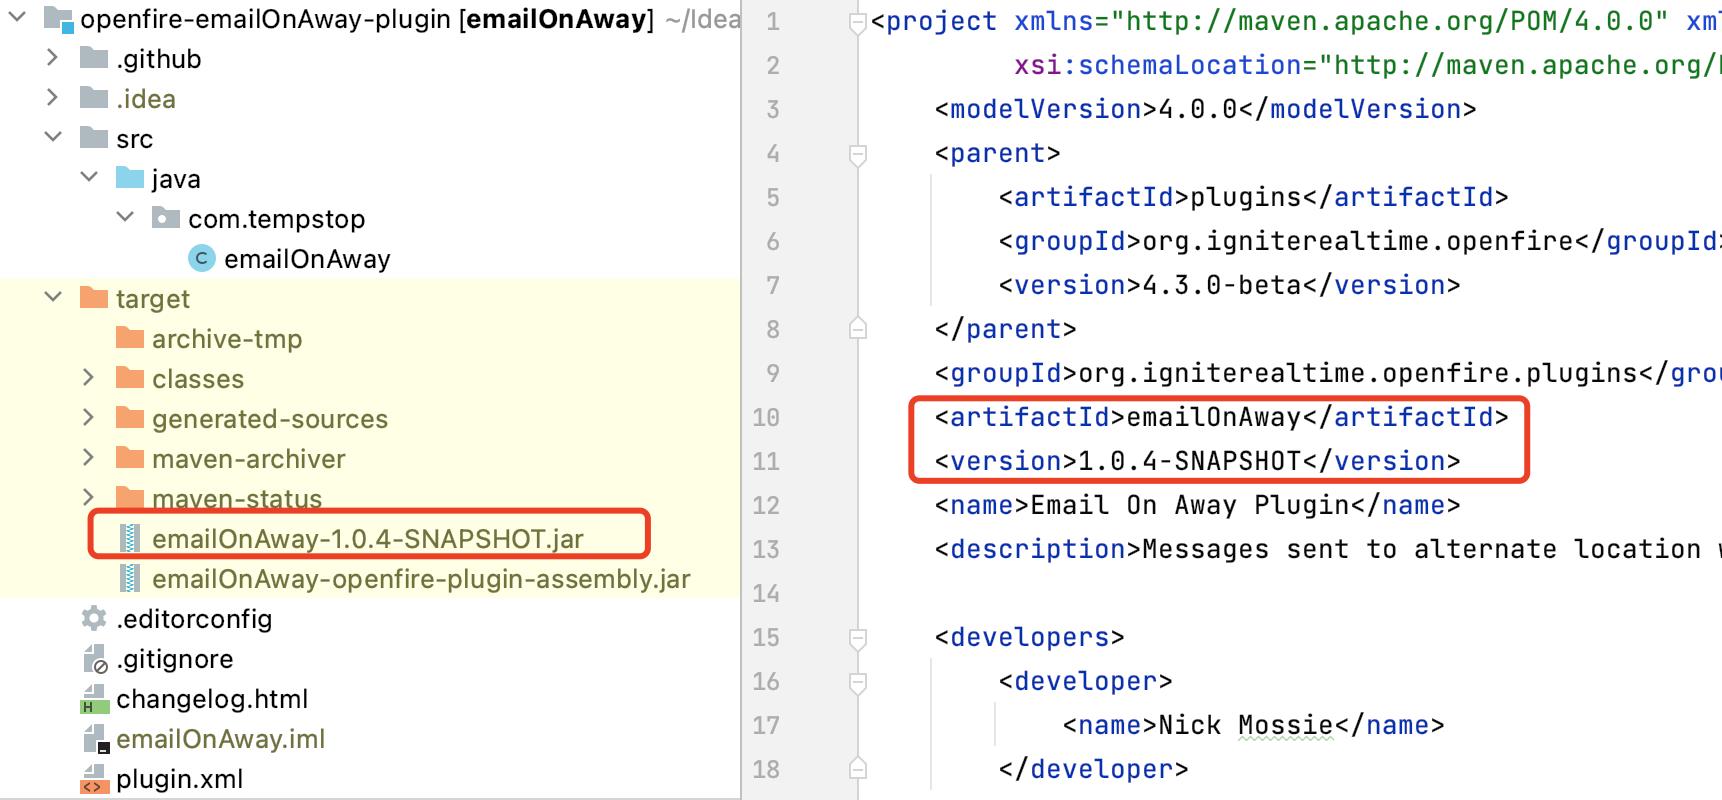
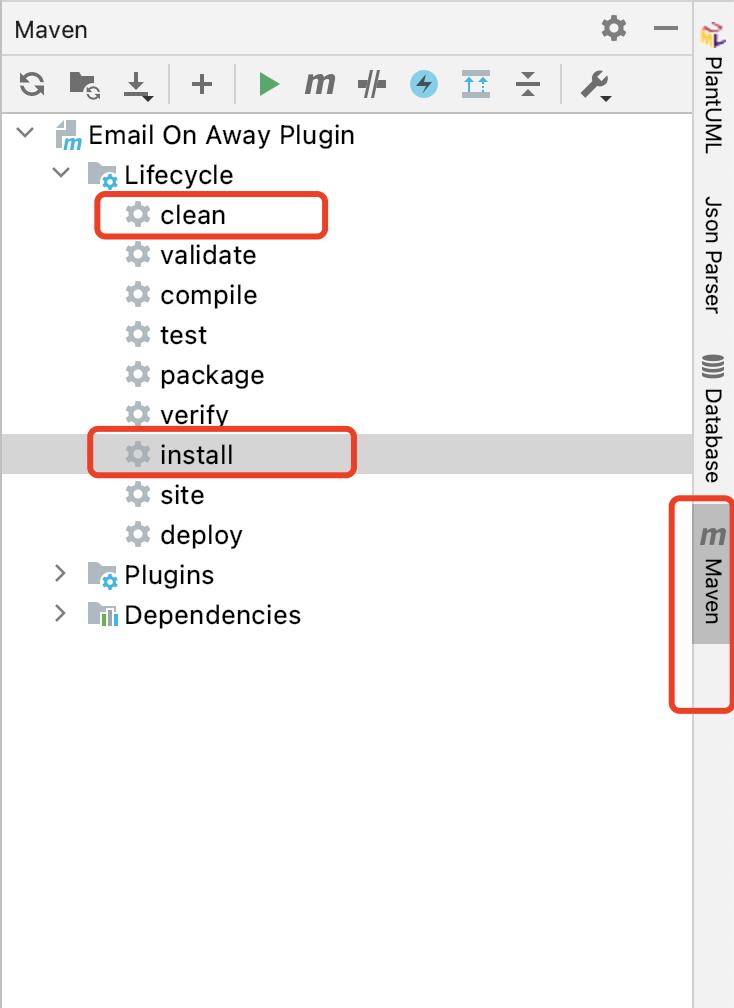 执行完生成
执行完生成target文件,可以找到生成的jar,
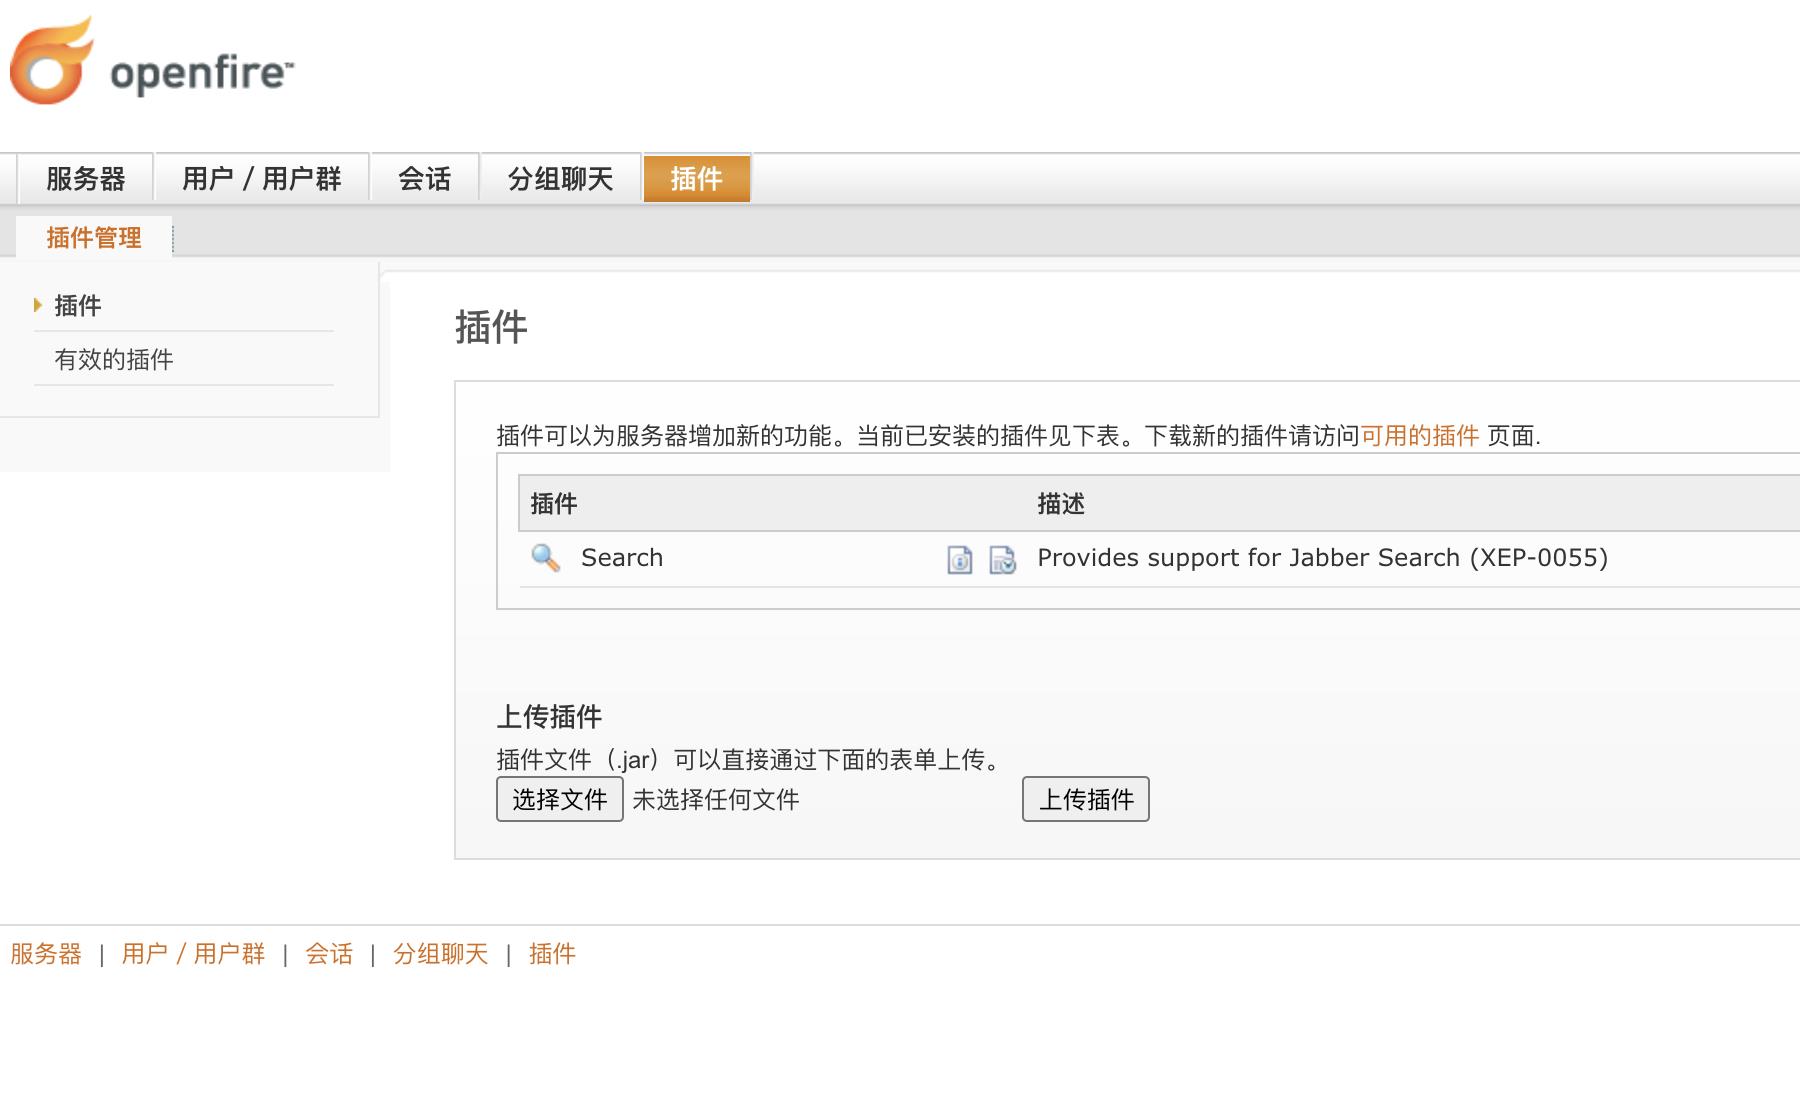
上传到openfire控制台就可以使用功能了。
以上是关于Openfire/xmpp : IntelliJ IDEA导入openfire插件开发的主要内容,如果未能解决你的问题,请参考以下文章