Vue中 实现 Echarts 图表宽高自适应
Posted 明天也要努力
tags:
篇首语:本文由小常识网(cha138.com)小编为大家整理,主要介绍了Vue中 实现 Echarts 图表宽高自适应相关的知识,希望对你有一定的参考价值。
1. 安装并引入
npm install echarts --save
//main.js

// import echarts from 'echarts';
import * as echarts from 'echarts'; // 如果安装的是echarts 5以上版本,则需此种方式引入
Vue.prototype.$echarts = echarts
2. 定义防抖函数
// utils/common.js

// 防抖
function _debounce(fn, delay = 300) {
  var timer = null;
  return function () {
    var _this = this;
    var args = arguments;
    if (timer) clearTimeout(timer);
    timer = setTimeout(function () {
      fn.apply(_this, args);
    }, delay);
  };
}

export{
  _debounce,
}
3. 绘制图表代码
<template>
  <div class="charts">
    <div id="lineChart" :style="{ width: '100%', height: '400px' }"></div>
  </div>
</template>

<script>
import { _debounce } from '@/utils/common.js'
export default {
  data() {
    return {};
  },
  methods: {
    drawLine() {
      // 基于准备好的dom,初始化echarts实例
      let lineChart = this.$echarts.init(document.getElementById("lineChart"));
      lineChart.setOption({
        title: {
          text: "雨量流量关系图",
          x: "center",
        },
        xAxis: {
          type: "category",
          data: ["Mon", "Tue", "Wed", "Thu", "Fri", "Sat", "Sun"],
        },
        yAxis: {
          type: "value",
        },
        series: [
          {
            data: [820, 932, 901, 934, 1290, 1330, 1320],
            type: "line",
          },
        ],
      });
    },
    resizeCharts:_debounce(function(){
      this.$echarts.init(document.getElementById('lineChart')).resize()
    },500)
  },
  mounted() {
    this.drawLine();
    window.addEventListener('resize',this.resizeCharts);
  },
  beforeDestroy () {
    window.addEventListener('resize',this.resizeCharts);
  },
};
</script>
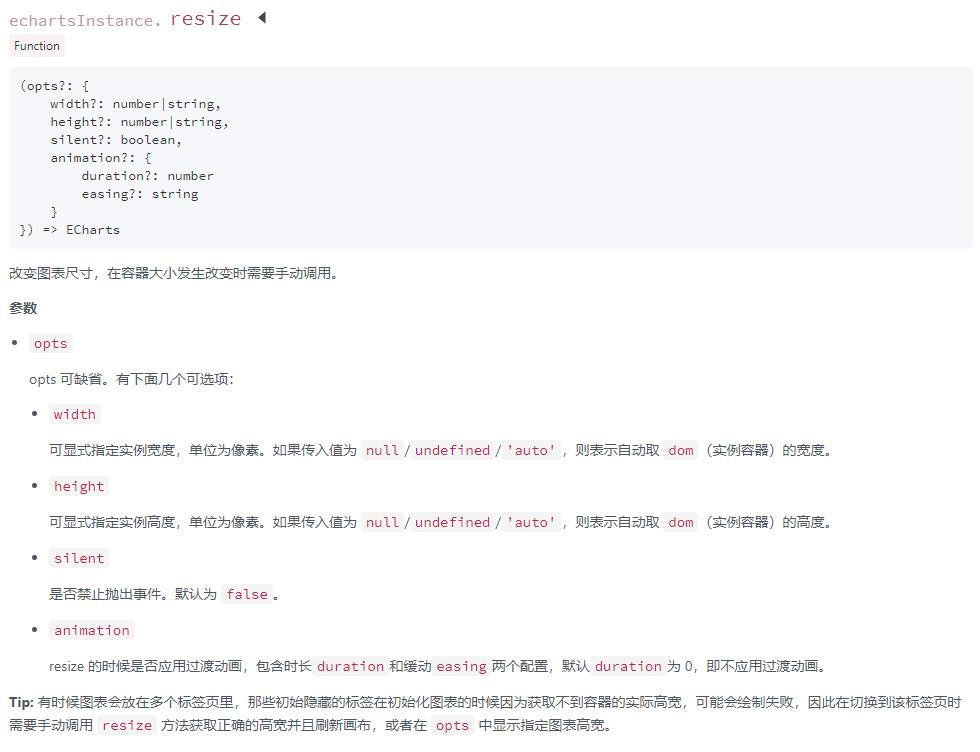
resize 方法官网解释

以上是关于Vue中 实现 Echarts 图表宽高自适应的主要内容,如果未能解决你的问题,请参考以下文章