飞桨PaddleHub实现将视频转化为皮影戏
Posted xianlong_Huang
tags:
篇首语:本文由小常识网(cha138.com)小编为大家整理,主要介绍了飞桨PaddleHub实现将视频转化为皮影戏相关的知识,希望对你有一定的参考价值。
一、前言
PaddleHub是飞桨生态下的预训练模型的管理工具,旨在让飞桨生态下的开发者更便捷地享受到大规模预训练模型的价值。用户可以通过PaddleHub便捷地获取飞桨生态下的预训练模型,结合Fine-tune API快速完成迁移学习到应用部署的全流程工作,让预训练模型能更好服务于用户特定场景的应用。
通过PaddleHub提供的人体骨骼关键点检测库,完成人体骨骼关键点检测,将人体骨骼关键点进行连接,就可以获取到人体的肢体骨骼,同时映射到皮影身上,就可以得到皮影人了;将视频中连续帧进行转换,就可以实现皮影动起来的效果,只需要提供mp4视频即可实现将视频转化为皮影戏。
二、项目工具
- Python版本为3.7.0
- PyCharm 2019.3.3 x64
- PaddleHub
- 其他依赖库的版本分别为cv2 4.5.1.48、matplotlib 2.2.2、numpy 1.19.3、tensorflow
2.4.1。
三、项目实现
此项目,你可以在本地运行,也可以在线运行,我采用的是在本地运行。
在线实现参考以下链接:
AI 实现皮影戏,传承正在消失的艺术【一键应用版】
具体流程如下:
- 安装依赖包和模型
首先我们需要通过pip安装PaddlePaddle和PaddleHub,安装完后,我们就可以通过PaddleHub来安装人体骨骼关键点检测模型 human_pose_estimation_resnet50_mpii。
安装PaddlePaddle
python -m pip install paddlepaddle==2.0.2 -i https://mirror.baidu.com/pypi/simple
安装PaddleHub
pip install PaddleHub
导入人体骨骼关键节点检测模型
hub install human_pose_estimation_resnet50_mpii==1.1.1
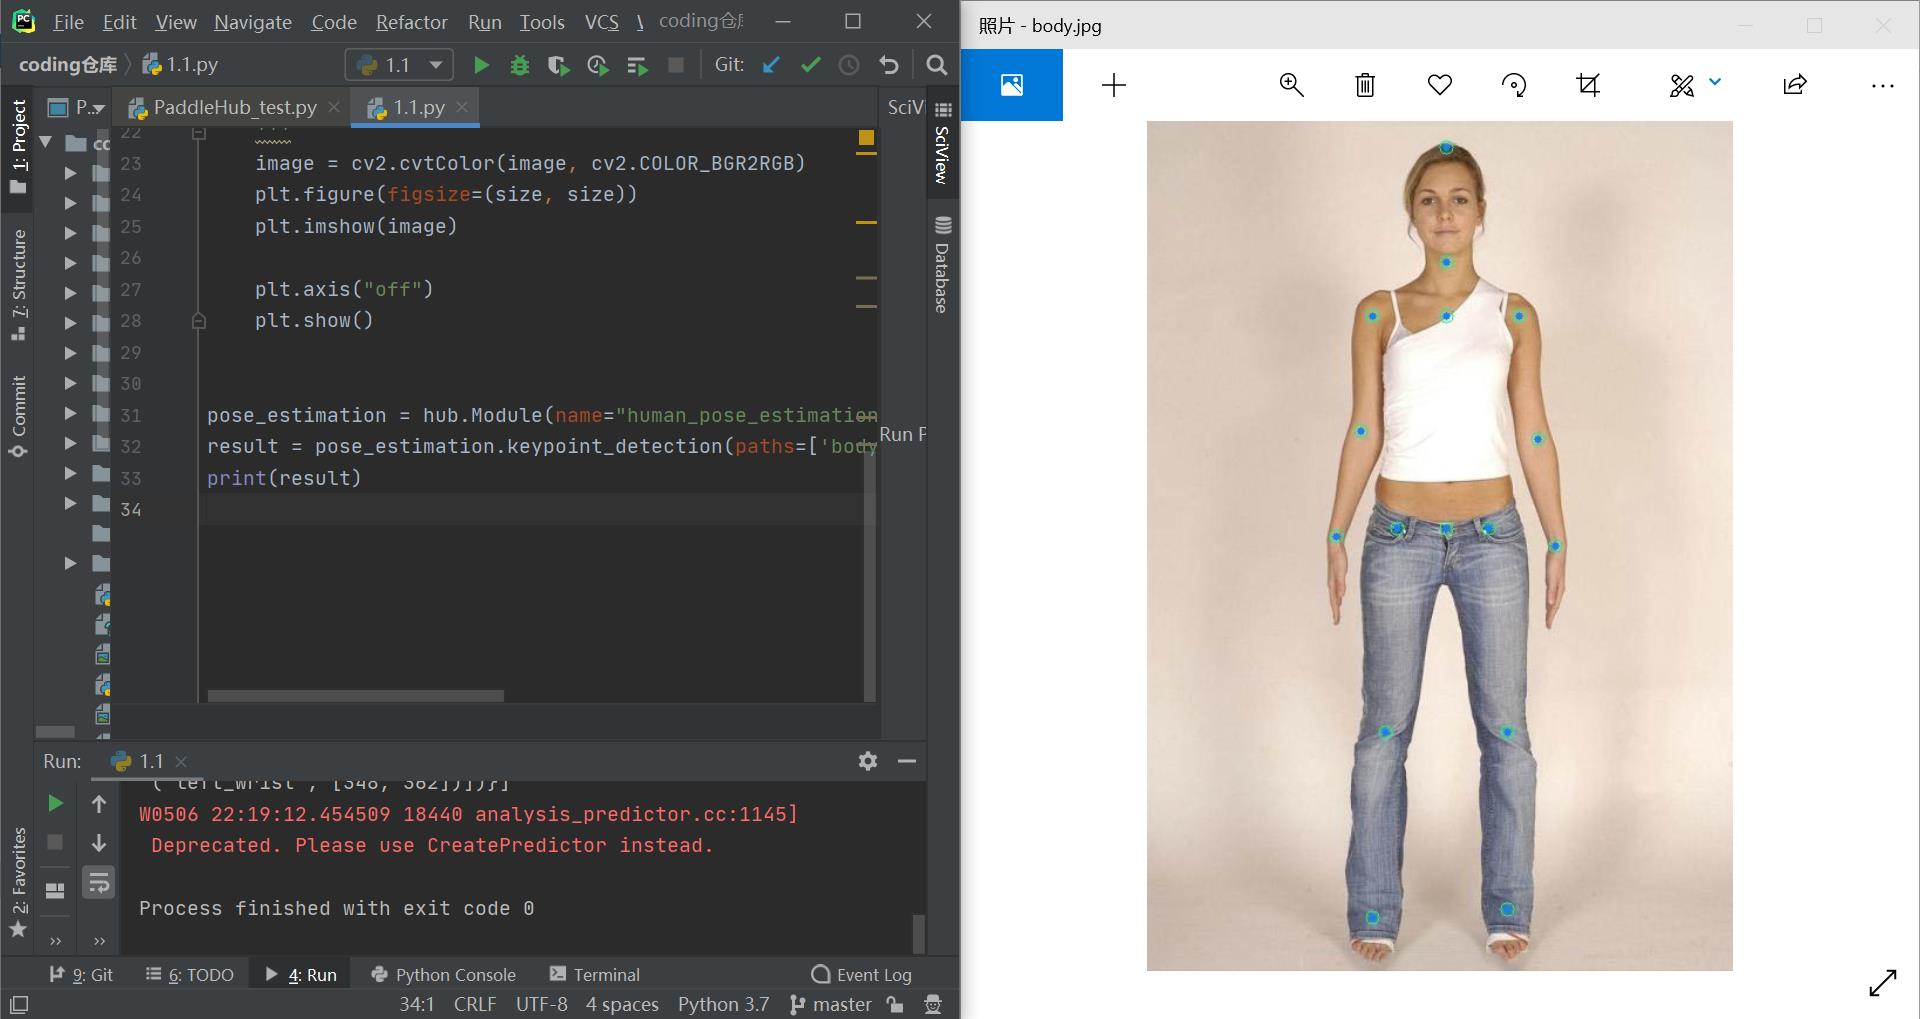
- 选取一张含有人体姿态的作为输入,检测人体骨骼关键点信息。
import os
import cv2
import paddlehub as hub
import matplotlib.pyplot as plt
from matplotlib.image import imread
import numpy as np


def show_img(img_path, size=8):
    '''
        文件读取图片显示
    '''
    im = imread(img_path)
    plt.figure(figsize=(size, size))
    plt.axis("off")
    plt.imshow(im)


def img_show_bgr(image, size=8):
    '''
        cv读取的图片显示
    '''
    image = cv2.cvtColor(image, cv2.COLOR_BGR2RGB)
    plt.figure(figsize=(size, size))
    plt.imshow(image)

    plt.axis("off")
    plt.show()


pose_estimation = hub.Module(name="human_pose_estimation_resnet50_mpii")
result = pose_estimation.keypoint_detection(paths=['body.jpg'], visualization=True, output_dir="work/output_pose/")
print(result)
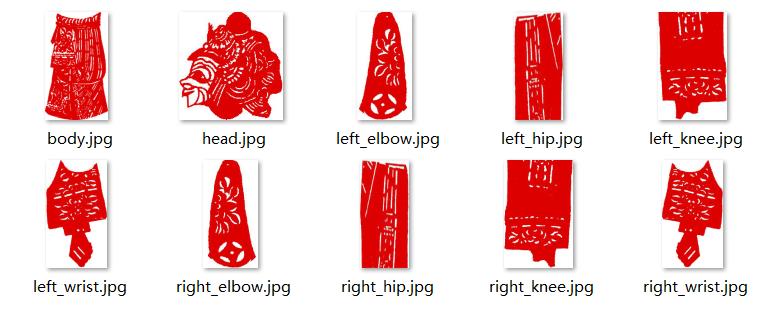
- 实现姿态映射
要实现皮影戏的效果,我们首先要解析人体各个骨骼关键点的位置信息,通过这些关键点的信息,计算人体的肢体长度,旋转角度,这样就可以将皮影的素材对应的缩放和旋转,并移动到指定位置,从而达到与人体动作同步的效果。
import os
import cv2
import paddlehub as hub
import matplotlib.pyplot as plt
from matplotlib.image import imread
import numpy as np

def show_img(img_path, size=8):
    '''
        文件读取图片显示
    '''
    im = imread(img_path)
    plt.figure(figsize=(size,size))
    plt.axis("off")
    plt.imshow(im)
def img_show_bgr(image,size=8):
    '''
        cv读取的图片显示
    '''
    image=cv2.cvtColor(image,cv2.COLOR_BGR2RGB)
    plt.figure(figsize=(size,size))
    plt.imshow(image)

    plt.axis("off")
    plt.show()

show_img('work/imgs/body01.jpg')
def get_true_angel(value):
    '''
    转转得到角度值
    '''
    return value/np.pi*180

def get_angle(x1, y1, x2, y2):
    '''
    计算旋转角度
    '''
    dx = abs(x1- x2)
    dy = abs(y1- y2)
    result_angele = 0
    if x1 == x2:
        if y1 > y2:
            result_angele = 180
    else:
        if y1!=y2:
            the_angle = int(get_true_angel(np.arctan(dx/dy)))
        if x1 < x2:
            if y1>y2:
                result_angele = -(180 - the_angle)
            elif y1<y2:
                result_angele = -the_angle
            elif y1==y2:
                result_angele = -90
        elif x1 > x2:
            if y1>y2:
                result_angele = 180 - the_angle
            elif y1<y2:
                result_angele = the_angle
            elif y1==y2:
                result_angele = 90

    if result_angele<0:
        result_angele = 360 + result_angele
    return result_angele

def rotate_bound(image, angle, key_point_y):
    '''
    旋转图像,并取得关节点偏移量
    '''
    #获取图像的尺寸
    (h,w) = image.shape[:2]
    #旋转中心
    (cx,cy) = (w/2,h/2)
    # 关键点必须在中心的y轴上
    (kx,ky) = cx, key_point_y
    d = abs(ky - cy)

    #设置旋转矩阵
    M = cv2.getRotationMatrix2D((cx,cy), -angle, 1.0)
    cos = np.abs(M[0,0])
    sin = np.abs(M[0,1])

    # 计算图像旋转后的新边界
    nW = int((h*sin)+(w*cos))
    nH = int((h*cos)+(w*sin))

    # 计算旋转后的相对位移
    move_x = nW/2 + np.sin(angle/180*np.pi)*d
    move_y = nH/2 - np.cos(angle/180*np.pi)*d

    # 调整旋转矩阵的移动距离(t_{x}, t_{y})
    M[0,2] += (nW/2) - cx
    M[1,2] += (nH/2) - cy

    return cv2.warpAffine(image,M,(nW,nH)), int(move_x), int(move_y)

def get_distences(x1, y1, x2, y2):
    return ((x1-x2)**2 + (y1-y2)**2)**0.5
def append_img_by_sk_points(img, append_img_path, key_point_y, first_point, second_point, append_img_reset_width=None,
                                        append_img_max_height_rate=1, middle_flip=False, append_img_max_height=None):
    '''
    将需要添加的肢体图片进行缩放
    '''
    append_image = cv2.imdecode(np.fromfile(append_img_path, dtype=np.uint8), cv2.IMREAD_UNCHANGED)

    # 根据长度进行缩放
    sk_height = int(get_distences(first_point[0], first_point[1], second_point[0], second_point[1])*append_img_max_height_rate)
    # 缩放制约
    if append_img_max_height:
        sk_height = min(sk_height, append_img_max_height)

    sk_width = int(sk_height/append_image.shape[0]*append_image.shape[1]) if append_img_reset_width is None else int(append_img_reset_width)
    if sk_width <= 0:
        sk_width = 1
    if sk_height <= 0:
        sk_height = 1

    # 关键点映射
    key_point_y_new = int(key_point_y/append_image.shape[0]*append_image.shape[1])
    # 缩放图片
    append_image = cv2.resize(append_image, (sk_width, sk_height))

    img_height, img_width, _ = img.shape
    # 是否根据骨骼节点位置在 图像中间的左右来控制是否进行 左右翻转图片
    # 主要处理头部的翻转, 默认头部是朝左
    if middle_flip:
        middle_x = int(img_width/2)
        if first_point[0] < middle_x and second_point[0] < middle_x:
            append_image = cv2.flip(append_image, 1)

    # 旋转角度
    angle = get_angle(first_point[0], first_point[1], second_point[0], second_point[1])
    append_image, move_x, move_y = rotate_bound(append_image, angle=angle, key_point_y=key_point_y_new)
    app_img_height, app_img_width, _ = append_image.shape

    zero_x = first_point[0] - move_x
    zero_y = first_point[1] - move_y

    (b, g, r) = cv2.split(append_image)
    for i in range(0, r.shape[0]):
        for j in range(0, r.shape[1]):
            if 230>r[i][j]>200 and 0<=zero_y+i<img_height and 0<=zero_x+j<img_width:
                img[zero_y+i][zero_x+j] = append_image[i][j]
    return img
body_img_path_map = {
    "right_hip" : "./work/shadow_play_material/right_hip.jpg",
    "right_knee" : "./work/shadow_play_material/right_knee.jpg",
    "left_hip" : "./work/shadow_play_material/left_hip.jpg",
    "left_knee" : "./work/shadow_play_material/left_knee.jpg",
    "left_elbow" : "./work/shadow_play_material/left_elbow.jpg",
    "left_wrist" : "./work/shadow_play_material/left_wrist.jpg",
    "right_elbow" : "./work/shadow_play_material/right_elbow.jpg",
    "right_wrist" : "./work/shadow_play_material/right_wrist.jpg",
    "head" : "./work/shadow_play_material/head.jpg",
    "body" : "./work/shadow_play_material/body.jpg"
}


def get_combine_img(img_path, pose_estimation=pose_estimation, body_img_path_map=body_img_path_map, backgroup_img_path= 'work/background.jpg'):
    '''
    识别图片中的关节点,并将皮影的肢体进行对应,最后与原图像拼接后输出
    '''
    result = pose_estimation.keypoint_detection(paths=[img_path])
    image=cv2.imread(img_path)

    # 背景图片
    backgroup_image = cv2.imread(backgroup_img_path)
    image_flag = cv2.resize(backgroup_image, (image.shape[1], image.shape[0]))

    # 最小宽度
    min_width = int(get_distences(result[0]['data']['head_top'][0], result[0]['data']['head_top'][1],
                result[0]['data']['upper_neck'][0], result[0]['data']['upper_neck'][1])/3)

    #右大腿
    append_img_reset_width = max(int(get_distences(result[0]['data']['pelvis'][0], result[0]['data']['pelvis'][1],
                                            result[0]['data']['left_hip'][0], result[0]['data']['right_hip'][1])*1.6), min_width)
    image_flag = append_img_by_sk_points(image_flag, body_img_path_map['right_hip'], key_point_y=10, first_point=result[0]['data']['right_hip'],
                                        second_point=result[0]['data']['right_knee'], append_img_reset_width=append_img_reset_width)

    # 右小腿
    append_img_reset_width = max(int(get_distences(result[0]['data']['pelvis'][0], result[0]['data']['pelvis'][1],
                                            result[0]['data']['left_hip'][0], result[0]['data']['right_hip'][1])*1.5), min_width)
    image_flag = append_img_by_sk_points(image_flag, body_img_path_map['right_knee'], key_point_y=10, first_point=result[0]['data']['right_knee'],
                                            second_point=result[0]['data']['right_ankle'], append_img_reset_width=append_img_reset_width)

    # 左大腿
    append_img_reset_width = max(int(get_distences(result[0]['data']['pelvis'][0], result[0]['data']['pelvis'][1],
                                            result[0]['data']['left_hip'][0], result[0]['data']['left_hip'][1])*1.6), min_width)
    image_flag = append_img_by_sk_points(image_flag, body_img_path_map['left_hip'], key_point_y=0, first_point=result[0]['data']['left_hip'],
                                        second_point=result[0]['data']['left_knee'], append_img_reset_width=append_img_reset_width)

    # 左小腿
    append_img_reset_width = max(int(get_distences(result[0]['data']['pelvis'][0], result[0]['data']['pelvis'][1],
                                            result[0]['data']['left_hip'][0], result[0]['data']['left_hip'][1])*1.5), min_width)
    image_flag = append_img_by_sk_points(image_flag, body_img_path_map['left_knee'], key_point_y=10, first_point=result[0]['data']['left_knee'],
                                            second_point=result[0]['data']['left_ankle'], append_img_reset_width=append_img_reset_width)

    # 右手臂
    image_flag = append_img_by_sk_points(image_flag, body_img_path_map['left_elbow'], key_point_y=25, first_point=result[0]['data']['right_shoulder'],
                                        second_point=result[0]['data']['right_elbow'], append_img_max_height_rate=1.2)

    # 右手肘
    append_img_max_height = int(get_distences(result[0]['data']['right_shoulder'][0], result[0]['data']['right_shoulder'][1],
                                            result[0]['data']['right_elbow'][0], result[0]['data']['right_elbow'][1])*1.6)以上是关于飞桨PaddleHub实现将视频转化为皮影戏的主要内容,如果未能解决你的问题,请参考以下文章