Swagger--接口测试
Posted Z && Y
tags:
篇首语:本文由小常识网(cha138.com)小编为大家整理,主要介绍了Swagger--接口测试相关的知识,希望对你有一定的参考价值。
01: Swagger–介绍及SpringBoot集成Swagger
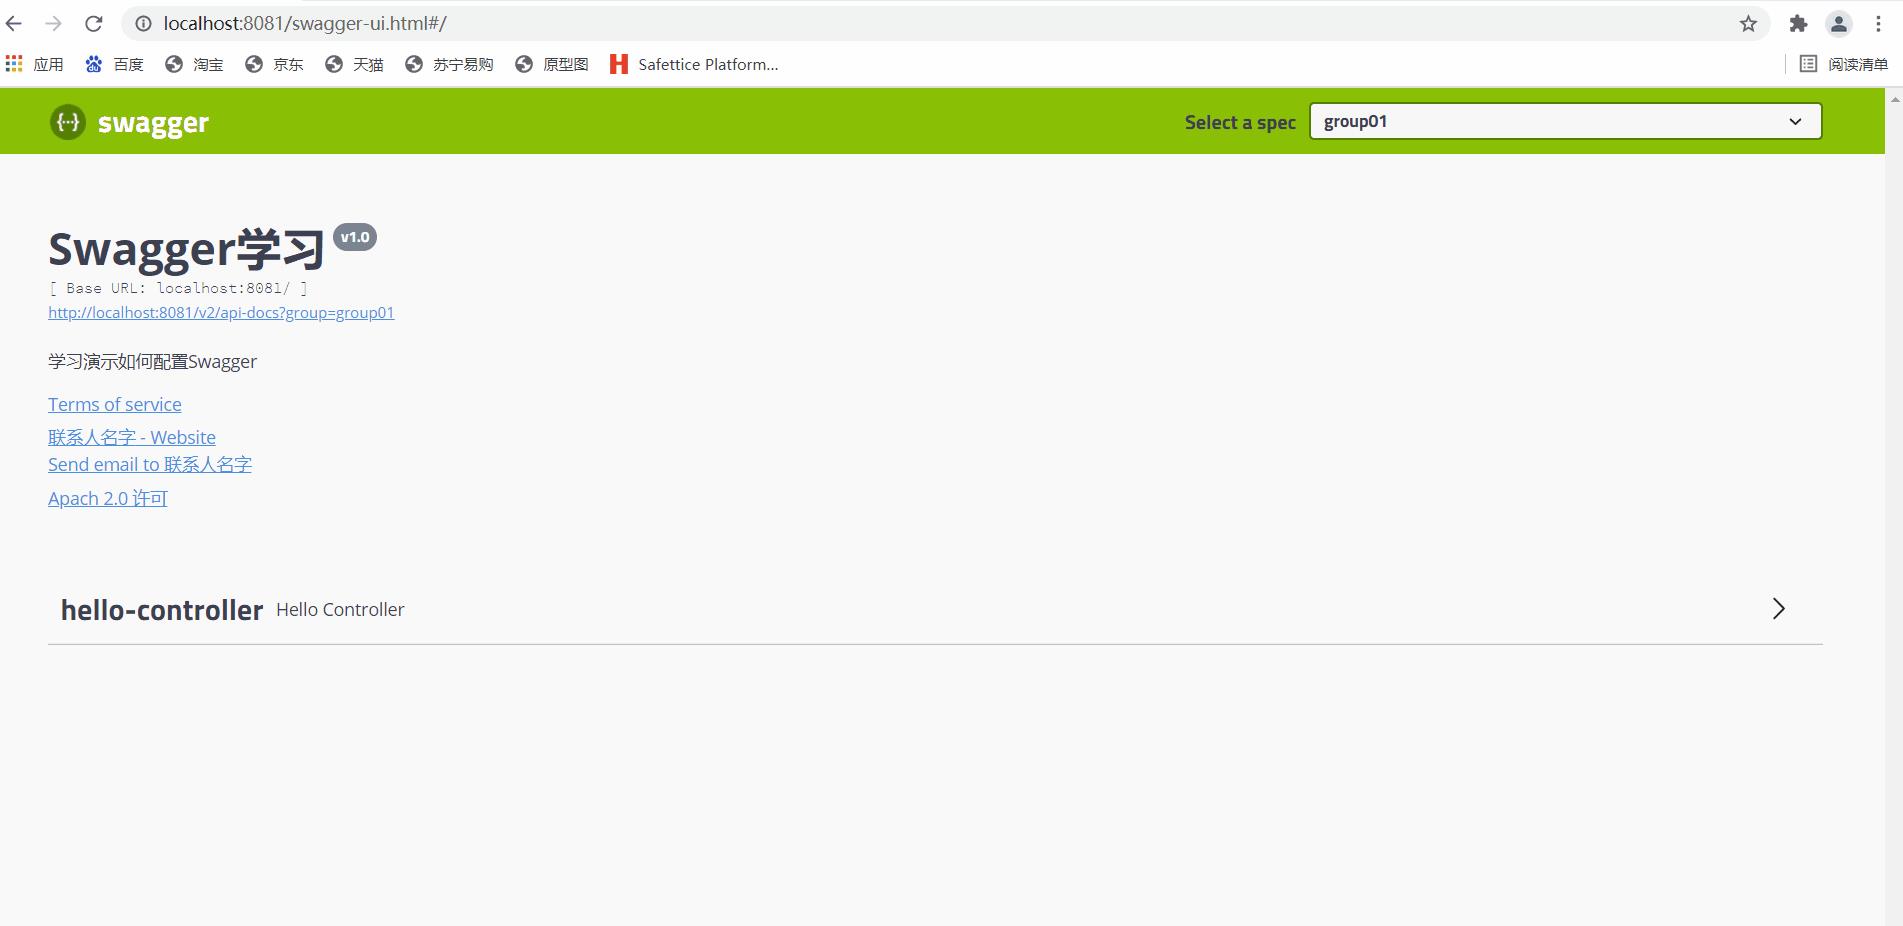
02: Swagger–配置Swagger信息
03: Swagger–配置扫描接口及开关
04: Swagger–分组 & 接口注释
05: Swagger–接口测试&Swagger小结
1. 接口测试
1.1 新建一个请求

HelloController.java
package com.tian.swagger.controller;

import io.swagger.annotations.ApiOperation;
import io.swagger.annotations.ApiParam;
import org.springframework.web.bind.annotation.GetMapping;
import org.springframework.web.bind.annotation.PathVariable;
import org.springframework.web.bind.annotation.RestController;

@RestController
public class HelloController {
    @ApiOperation("返回用户的信息,并且向用户问好☘")
    @GetMapping("/postInfo/{name}/{pwd}")
    public String hello(@PathVariable(value = "name") @ApiParam(value = "用户名") String userName, @PathVariable(value = "pwd") @ApiParam(value = "密码") String password) {
        return "hello: " + userName + " and password is : " + password;
    }
}
1.2 开始测试
1.3 Swagger小结
- 可以给一些比较难理解的属性或者接口,增加一些配置信息,让人更容易阅读!
- 相较于传统的Postman或Curl方式测试接口,使用swagger简直就是傻瓜式操作,不需要额外说明文档(写得好本身就是文档)而且更不容易出错,只需要录入数据然后点击Execute,如果再配合自动化框架,可以说基本就不需要人为操作了。
- Swagger是个优秀的工具,现在国内已经有很多的中小型互联网公司都在使用它,相较于传统的要先出Word接口文档再测试的方式,显然这样也更符合现在的快速迭代开发行情。当然了,提醒下大家在正式环境要记得关闭Swagger,一来出于安全考虑二来也可以节省运行时内存。
以上是关于Swagger--接口测试的主要内容,如果未能解决你的问题,请参考以下文章