小程序实现滑动吸附效果
Posted yw00yw
tags:
篇首语:本文由小常识网(cha138.com)小编为大家整理,主要介绍了小程序实现滑动吸附效果相关的知识,希望对你有一定的参考价值。
wxml
<view class="container">
  <view class="header-top"></view>
  <view class="content-wrapper"
    bindtouchstart="handletouchstart"
    bindtouchmove="handletouchmove"
    bindtouchend="handletouchend"
    style="transform: {{coverTransform}}; transition: {{coverTransiton}}">
  </view>
</view>
wxss
page {
  width: 100%;
  height: 100%;
}

.container {
  width: 100%;
  height: 100%;
  box-sizing: border-box;
}

.header-top {
  width: 100%;
  height: 400rpx;
  background: #1496f1;
}

.header-top image {
  width: 100%;
  height: 100%;
}

.content-wrapper {
  width: 100%;
  height: 500rpx;
  background: #eee;
  position: relative;
  top: -80px;
}

.content-wrapper::after {
  content: '';
  width: 100%;
  height: 60rpx;
  position: absolute;
  left: 0;
  top: 0;
  z-index: -1;
  border-radius: 0 0 100% 100%;
  background: #ef0fff;
}
wxs
let  startY = 0; // 手指起始的坐标
let moveY = 0; // 手指移动的坐标
let moveDistance = 0; // 手指移动的距离
Page({
  data: {
    coverTransform: 'translateY(0rpx)',
    coverTransiton: 'transform 1s linear'
  },
  handletouchstart(event) {
    this.setData({
      coverTransiton: ''
    })
    // 获取手指起始坐标
    startY = event.touches[0].clientY;
  },
  handletouchmove(event) {
    moveY = event.touches[0].clientY;
    moveDistance = moveY - startY;
    if (moveDistance <= 0) {
      return;
    }
    if (moveDistance >= 80) {
      moveDistance = 80;
    }
    // 动态更新coverTransform的状态值
    this.setData({
      coverTransform: `translateY(${moveDistance}rpx)`
    })
  },
  handletouchend(event) {
    this.setData({
      coverTransform: `translateY(${0}rpx)`,
      coverTransiton: 'transform 1s linear'
    })
  }
})
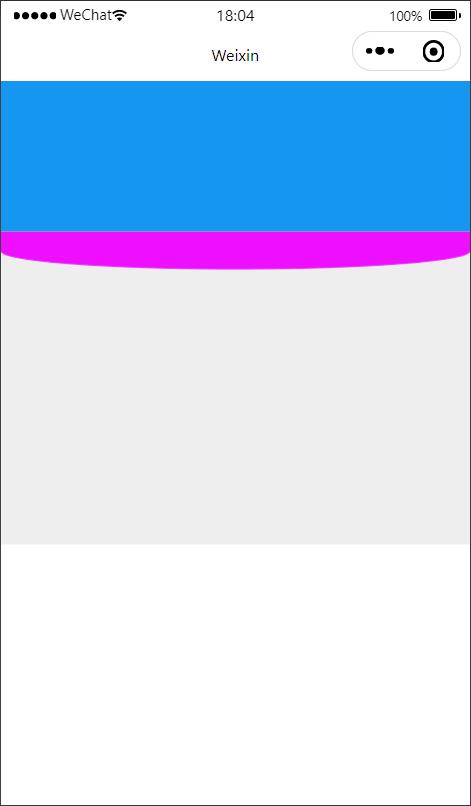
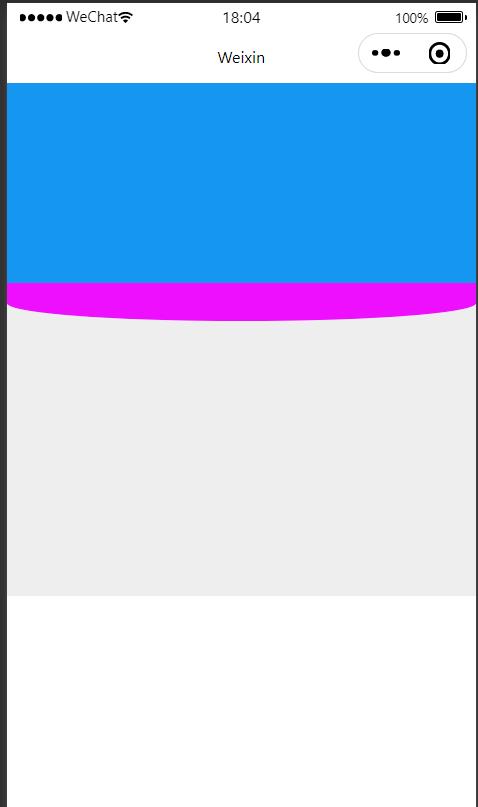
效果图


以上是关于小程序实现滑动吸附效果的主要内容,如果未能解决你的问题,请参考以下文章