Vue项目中使用图片裁切器 cropperjs (头像裁切)
Posted 小小白学计算机
tags:
篇首语:本文由小常识网(cha138.com)小编为大家整理,主要介绍了Vue项目中使用图片裁切器 cropperjs (头像裁切)相关的知识,希望对你有一定的参考价值。
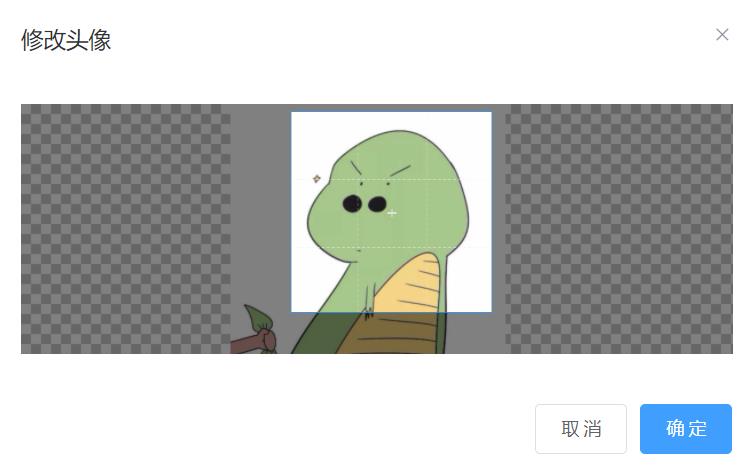
cropperjs结合element-ui 组件后的显示效果:
1. npm 安装 cropperjs
cmd命令行输入:npm install cropperjs --save
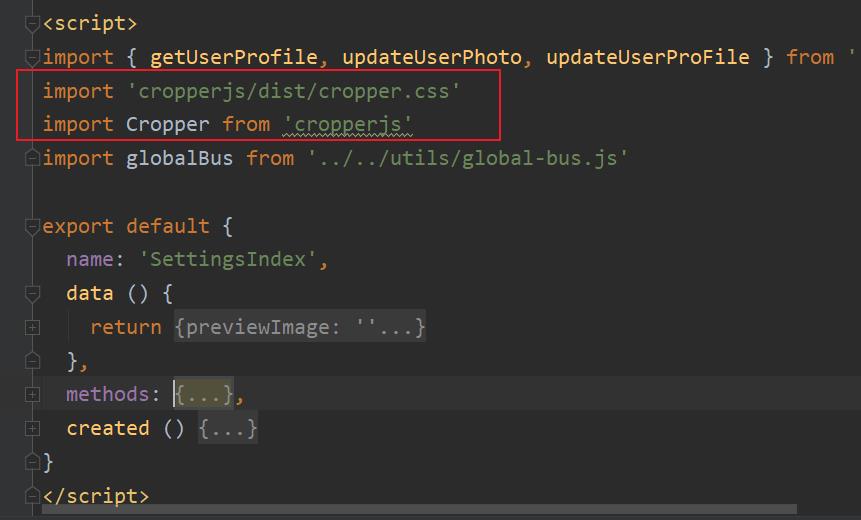
2. 导入相关js和css文件
import 'cropperjs/dist/cropper.css'
import Cropper from 'cropperjs'
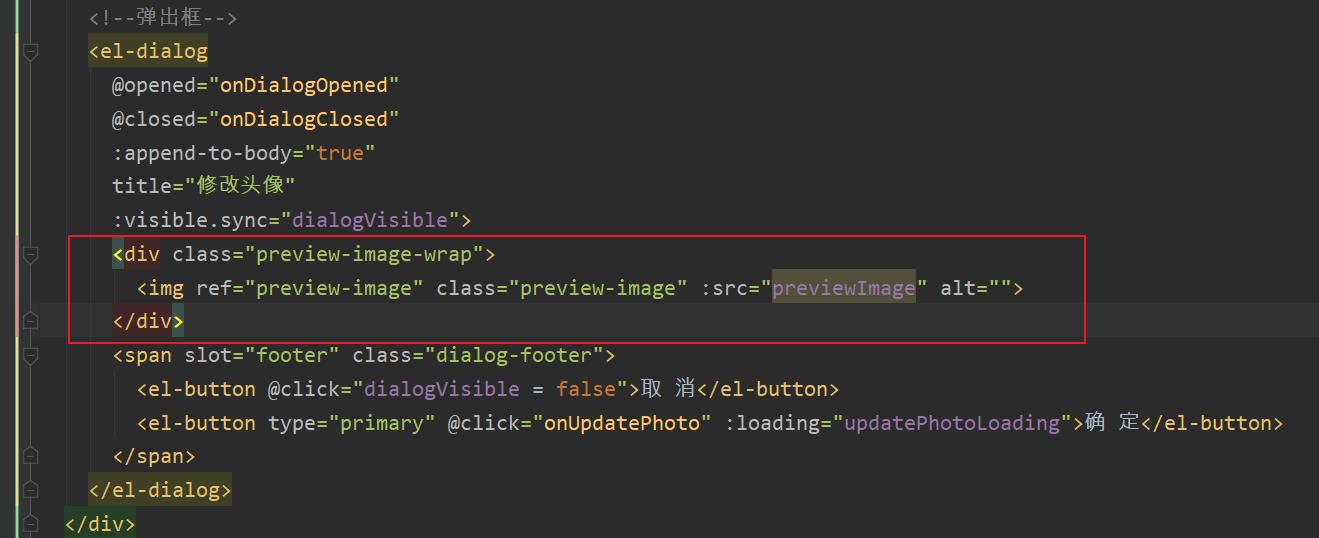
3. 用块元素(容器)包裹图像或画布元素
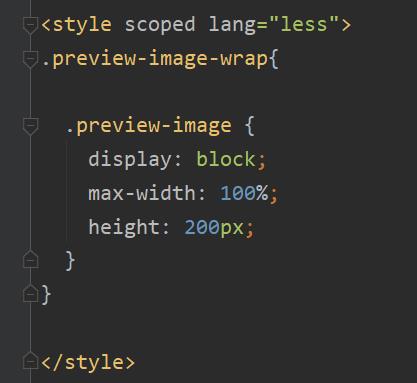
4. 设置样式,确保图像的大小完全铺满容器
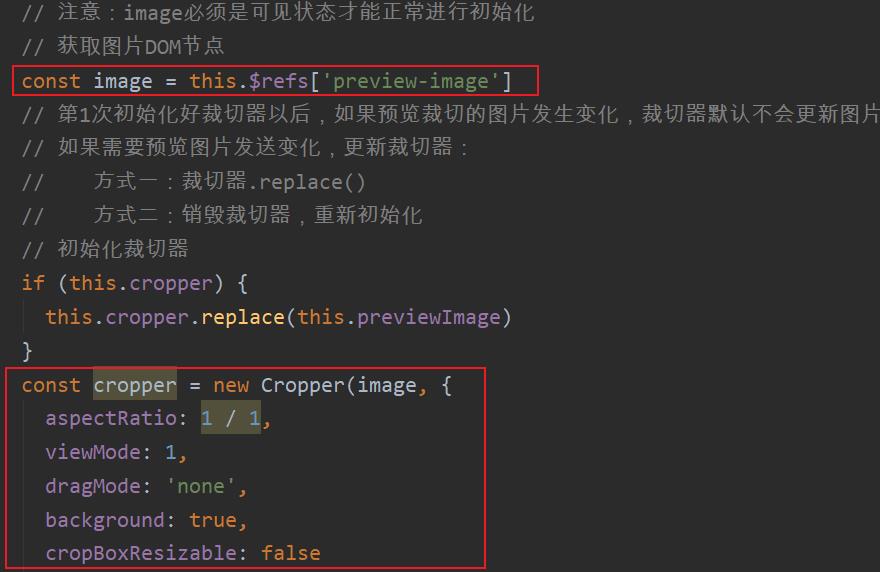
5. 初始化裁切器
<template>
  <div class="settings-container">
    <!--卡片-->
    <el-card class="box-card">
      <div slot="header" class="clearfix">
        <!--面包屑导航-->
        <el-breadcrumb separator-class="el-icon-arrow-right">
          <el-breadcrumb-item :to="{ path: '/' }">首页</el-breadcrumb-item>
          <el-breadcrumb-item>个人设置</el-breadcrumb-item>
        </el-breadcrumb>
      </div>
      <!--表单-->
      <el-row>
        <el-col :span="15">
          <el-form ref="user" :rules="FormRules" :model="user" label-width="100px">
            <el-form-item label="编号:">
              {{ user.id }}
            </el-form-item>
            <el-form-item label="手机:">
              {{ user.mobile }}
            </el-form-item>
            <el-form-item label="媒体名称:" prop="name">
              <el-input v-model="user.name"></el-input>
            </el-form-item>
            <el-form-item label="媒体介绍:" prop="intro">
              <el-input type="textarea" v-model="user.intro"></el-input>
            </el-form-item>
            <el-form-item label="邮箱:" prop="email">
              <el-input v-model="user.email"></el-input>
            </el-form-item>
            <el-form-item>
              <el-button type="primary" :loading="updateProfileLoading" @click="onUpdateUser">保存</el-button>
            </el-form-item>
          </el-form>
        </el-col>
        <el-col :span="4" :offset="3">
<!--          <p @click="$refs.file.click()">点击修改头像</p>-->
          <label for="file">
            <el-avatar shape="square" :size="150" fit="cover" :src="user.photo"></el-avatar>
            <p>点击修改头像</p>
          </label>
          <input @change="onFileChange" id="file" type="file" hidden ref="file">
        </el-col>
      </el-row>
    </el-card>
    <!--弹出框-->
    <el-dialog
      @opened="onDialogOpened"
      @closed="onDialogClosed"
      :append-to-body="true"
      title="修改头像"
      :visible.sync="dialogVisible">
      <div class="preview-image-wrap">
        <img ref="preview-image" class="preview-image" :src="previewImage" alt="">
      </div>
      <span slot="footer" class="dialog-footer">
        <el-button @click="dialogVisible = false">取 消</el-button>
        <el-button type="primary" @click="onUpdatePhoto" :loading="updatePhotoLoading">确 定</el-button>
      </span>
    </el-dialog>
  </div>
</template>

<script>
import { getUserProfile, updateUserPhoto, updateUserProFile } from '../../api/user.js'
import 'cropperjs/dist/cropper.css'
import Cropper from 'cropperjs'
import globalBus from '../../utils/global-bus.js'

export default {
  name: 'SettingsIndex',
  data () {
    return {
      user: {
        email: '',
        id: null,
        intro: '',
        mobile: '',
        name: '',
        photo: ''
      }, // 用户资料
      dialogVisible: false, // 上传图片裁切预览的弹出层是否显示
      previewImage: '', // 预览图片
      cropper: null, // 裁切器实例
      updatePhotoLoading: false, // 是否正在更新用户头像 loading显示与否
      FormRules: {
        name: [
          { required: true, message: '请输入媒体名称', trigger: 'change' },
          { min: 3, max: 7, message: '媒体名称长度在 3 到 7 个字符', trigger: 'change' }
        ],
        intro: [
          { required: true, message: '请输入媒体介绍', trigger: 'change' }
        ],
        email: [
          { required: true, message: '请输入邮箱', trigger: 'change' },
          {
            validator (rule, value, callback) {
              if (/^([a-zA-Z0-9_-])+@([a-zA-Z0-9_-])+(.[a-zA-Z0-9_-])+/.test(value)) {
                callback()
              } else {
                callback(new Error('请输入正确的邮箱'))
              }
            }
          }
        ]
      },
      updateProfileLoading: false
    }
  },
  methods: {
    onUpdateUser () {
      // 表单验证
      this.$refs.user.validate((valid) => {
        if (!valid) {
          this.$message({
            type: 'warning',
            message: '表单验证不通过'
          })
          return false
        }
        this.updateProfileLoading = true
        // 验证通过,提交表单
        const { name, intro, email } = this.user
        updateUserProFile({
          name: name,
          intro: intro,
          email: email
        }).then(res => {
          console.log(res)
          this.$message({
            type: 'success',
            message: '保存成功'
          })
          this.updateProfileLoading = false

          // 发布通知,用户信息已修改
          globalBus.$emit('update-user', this.user)
        })
      })
    },
    loadUser () {
      getUserProfile().then(res => {
        this.user = res.data.data
      })
    },
    onFileChange () {
      console.log('file change')
      // 处理图片预览
      const file = this.$refs.file
      // console.log(file.files[0])
      const blobData = window.URL.createObjectURL(file.files[0])
      console.log(blobData)
      this.previewImage = blobData
      // 展示弹出层,预览用户选择的图片
      this.dialogVisible = true
      // 解决选择相同图片不触发change事件的问题
      this.$refs.file.value = ''
    },
    handleClose (done) {
      this.$confirm('确认关闭?')
        .then(_ => {
          done()
        })
        .catch(_ => {})
    },
    // 对话框完全打开后
    onDialogOpened () {
      // 图片裁切器必须基于image初始化
      // 注意:image必须是可见状态才能正常进行初始化
      // 获取图片DOM节点
      const image = this.$refs['preview-image']
      // 第1次初始化好裁切器以后,如果预览裁切的图片发生变化,裁切器默认不会更新图片
      // 如果需要预览图片发送变化,更新裁切器:
      //    方式一:裁切器.replace()
      //    方式二:销毁裁切器,重新初始化
      // 初始化裁切器
      if (this.cropper) {
        this.cropper.replace(this.previewImage)
      }
      const cropper = new Cropper(image, {
        aspectRatio: 1 / 1,
        viewMode: 1,
        dragMode: 'none',
        background: true,
        cropBoxResizable: false
        // 当你移动裁切器的时候会触发crop方法的调用
        // crop (event) {
        //   console.log(event.detail.x)
        //   console.log(event.detail.y)
        //   console.log(event.detail.width)
        //   console.log(event.detail.height)
        //   console.log(event.detail.rotate)
        //   console.log(event.detail.scaleX)
        //   console.log(event.detail.scaleY)
        // }
      })
      this.cropper = cropper
    },
    // 对话框完全关闭后
    onDialogClosed () {
      // 销毁裁切器
      // this.cropper.destroy()
    },
    onUpdatePhoto () {
      // 让确定按钮开始显示loading
      this.updatePhotoLoading = true
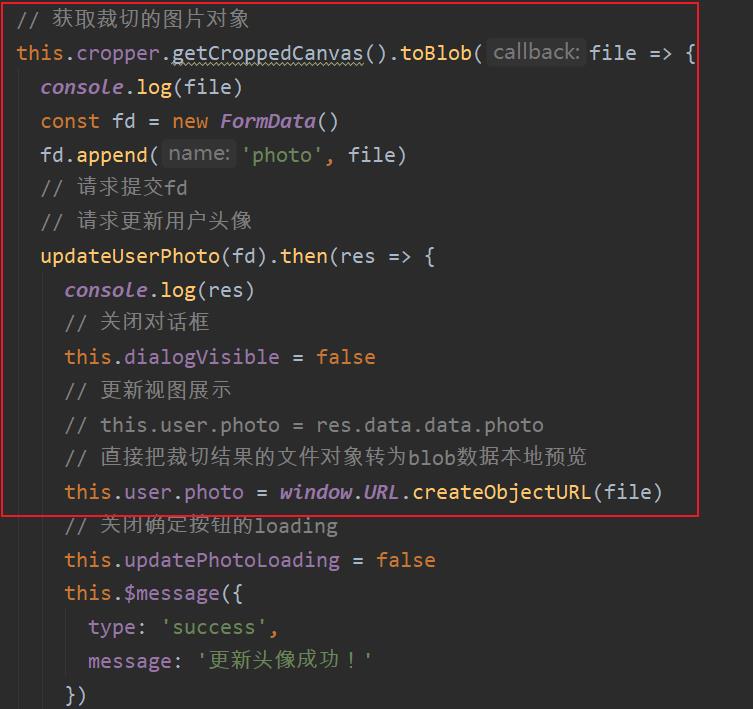
      // 获取裁切的图片对象
      this.cropper.getCroppedCanvas().toBlob(file => {
        console.log(file)
        const fd = new FormData()
        fd.append('photo', file)
        // 请求提交fd
        // 请求更新用户头像
        updateUserPhoto(fd).then(res => {
          console.log(res)
          // 关闭对话框
          this.dialogVisible = false
          // 更新视图展示
          // this.user.photo = res.data.data.photo
          // 直接把裁切结果的文件对象转为blob数据本地预览
          this.user.photo = window.URL.createObjectURL(file)
          // 关闭确定按钮的loading
          this.updatePhotoLoading = false
          this.$message({
            type: 'success',
            message: '更新头像成功!'
          })
          // 发送自定义事件
          globalBus.$emit('update-user', this.user)
        })
      })
    }
  },
  created () {
    this.loadUser()
  }
}
</script>

<style scoped lang="less">
.preview-image-wrap{

  .preview-image {
    display: block;
    max-width: 100%;
    height: 200px;
  }
}

</style>
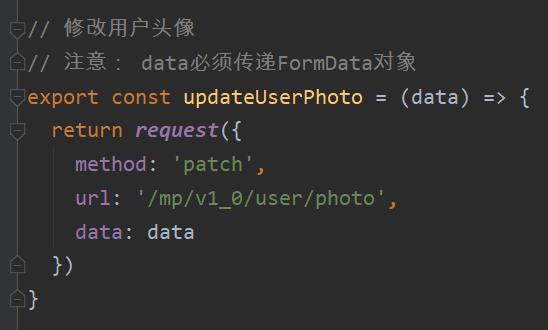
6. 图片上传到服务器
以上是关于Vue项目中使用图片裁切器 cropperjs (头像裁切)的主要内容,如果未能解决你的问题,请参考以下文章