lnmp部署
Posted 卑微小胡
tags:
篇首语:本文由小常识网(cha138.com)小编为大家整理,主要介绍了lnmp部署相关的知识,希望对你有一定的参考价值。
lnmp部署
安装nginx
#关闭防火墙和selinx
[root@localhost ~]# systemctl disable firewalld
[root@localhost ~]# vim /etc/selinux/config
SELINUX=disabled
#创建系统用户nginx
[root@localhost ~]# useradd -r -M -s /sbin/nologin nginx
#安装依赖环境
[root@localhost ~]# yum -y install pcre-devel openssl openssl-devel gd-devel gcc gcc-c++ make
#安装过程略....
[root@localhost ~]# yum -y groups mark install 'Development Tools'
#创建日志存放目录
[root@localhost ~]# mkdir -p /var/log/nginx
[root@localhost ~]# chown -R nginx.nginx /var/log/nginx
#下载nginx
[root@localhost ~]# wget https://nginx.org/download/nginx-1.20.1.tar.gz
[root@localhost ~]# ls
anaconda-ks.cfg  nginx-1.20.1.tar.gz
编译安装
[root@localhost ~]# tar xf nginx-1.20.1.tar.gz
[root@localhost ~]# ls
anaconda-ks.cfg  nginx-1.20.1  nginx-1.20.1.tar.gz
[root@localhost ~]# cd nginx-1.20.1
[root@localhost nginx-1.20.1]# ./configure \\
> --prefix=/usr/local/nginx \\
> --user=nginx \\
> --group=nginx \\
> --with-debug \\
> --with-http_ssl_module \\
> --with-http_realip_module \\
> --with-http_image_filter_module \\
> --with-http_gunzip_module \\
> --with-http_gzip_static_module \\
> --with-http_stub_status_module \\
> --http-log-path=/var/log/nginx/access.log \\
> --error-log-path=/var/log/nginx/error.log
[root@localhost nginx-1.20.1]# make
[root@localhost nginx-1.20.1]# make install
nginx安装后配置
#配置环境变量
[root@localhost ~]# echo 'export PATH=/usr/local/nginx/sbin:$PATH' > /etc/profile.d/nginx.sh
[root@localhost ~]# source /etc/profile.d/nginx.sh
//服务控制方式,使用nginx命令
    -t  //检查配置文件语法
    -v  //输出nginx的版本
    -c  //指定配置文件的路径
    -s  //发送服务控制信号,可选值有{stop|quit|reopen|reload}
#输出nginx的版本
[root@localhost ~]# nginx -v
nginx version: nginx/1.20.1
#查看nginx有那些功能
[root@localhost ~]# nginx -V
nginx version: nginx/1.20.1
built by gcc 8.5.0 20210514 (Red Hat 8.5.0-2) (GCC)
built with OpenSSL 1.1.1k  FIPS 25 Mar 2021
TLS SNI support enabled
configure arguments: --prefix=/usr/local/nginx --user=nginx --group=nginx --with-debug --with-http_ssl_module --with-http_realip_module --with-http_image_filter_module --with-http_gunzip_module --with-http_gzip_static_module --with-http_stub_status_module --http-log-path=/var/log/nginx/access.log --error-log-path=/var/log/nginx/error.log
#检查配置文件
[root@localhost ~]# nginx -t
nginx: the configuration file /usr/local/nginx/conf/nginx.conf syntax is ok
nginx: configuration file /usr/local/nginx/conf/nginx.conf test is successful
[root@localhost ~]# nginx
[root@localhost ~]# ss -antl
State   Recv-Q  Send-Q   Local Address:Port    Peer Address:Port  Process
LISTEN  0       128            0.0.0.0:80           0.0.0.0:*
LISTEN  0       128            0.0.0.0:22           0.0.0.0:*
LISTEN  0       128               [::]:22              [::]:*

安装mysql
安装php
运行以下命令添加并更新epel源
[root@localhost ~]# dnf -y install epel-release
[root@localhost ~]# dnf update epel-release
运行以下命令删除缓存的无用软件包并更新软件源。
[root@localhost ~]# dnf clean all
[root@localhost ~]# dnf makecache
启用php:7.3模块
[root@localhost ~]# dnf module enable php:7.3
运行以下命令安装PHP相应的模块
[root@localhost ~]# dnf install php php-curl php-dom php-exif php-fileinfo php-fpm php-gd php-hash php-json php-mbstring php-mysqli php-openssl php-pcre php-xml libsodium
#安装过程省略
#查看PHP版本
[root@localhost ~]# php -v
PHP 7.3.20 (cli) (built: Jul  7 2020 07:53:49) ( NTS )
Copyright (c) 1997-2018 The PHP Group
Zend Engine v3.3.20, Copyright (c) 1998-2018 Zend Technologies
配置Nginx
[root@localhost ~]# vi /usr/local/nginx/conf/nginx.conf
location / {
            root   html;
            fastcgi_pass 127.0.0.1:9000;
            fastcgi_index index.php;
            #添加默认首页信息index.php。
            index  index.html index.htm index.php;
        }
#去掉被注释的location ~ \\.php$大括号内容前的#,并修改大括号的内容。修改完成如下所示
location ~ \\.php$ {
            proxy_pass   http://127.0.0.1;
            root           /usr/local/nginx/html;
             #Nginx通过unix套接字与PHP-FPM建立联系,该配置与/etc/php-fpm.d/www.conf文件内的listen配置一致。
            fastcgi_pass   unix:/run/php-fpm/www.sock;
             fastcgi_index  index.php;
             fastcgi_param  SCRIPT_FILENAME  $document_root$fastcgi_script_name;
              #Nginx调用fastcgi接口处理PHP请求。
            include        fastcgi_params;
        }
[root@localhost ~]# nginx -s stop
[root@localhost ~]# nginx
配置PHP
[root@localhost ~]# vim /etc/php-fpm.d/www.conf
#找到user = apache和group = apache,将apache修改为nginx
user = nginx
; RPM: Keep a group allowed to write in log dir.
group = nginx
#新建phpinfo.php文件,用于展示PHP信息
[root@localhost ~]# vim /usr/local/nginx/html/phpinfo.php
#输入下列内容,函数phpinfo()会展示PHP的所有配置信息。
<?php echo phpinfo(); ?>
#运行以下命令启动PHP-FPM
[root@localhost ~]# systemctl start php-fpm
#运行以下命令设置PHP-FPM开机自启动
[root@localhost ~]# systemctl enable php-fpm
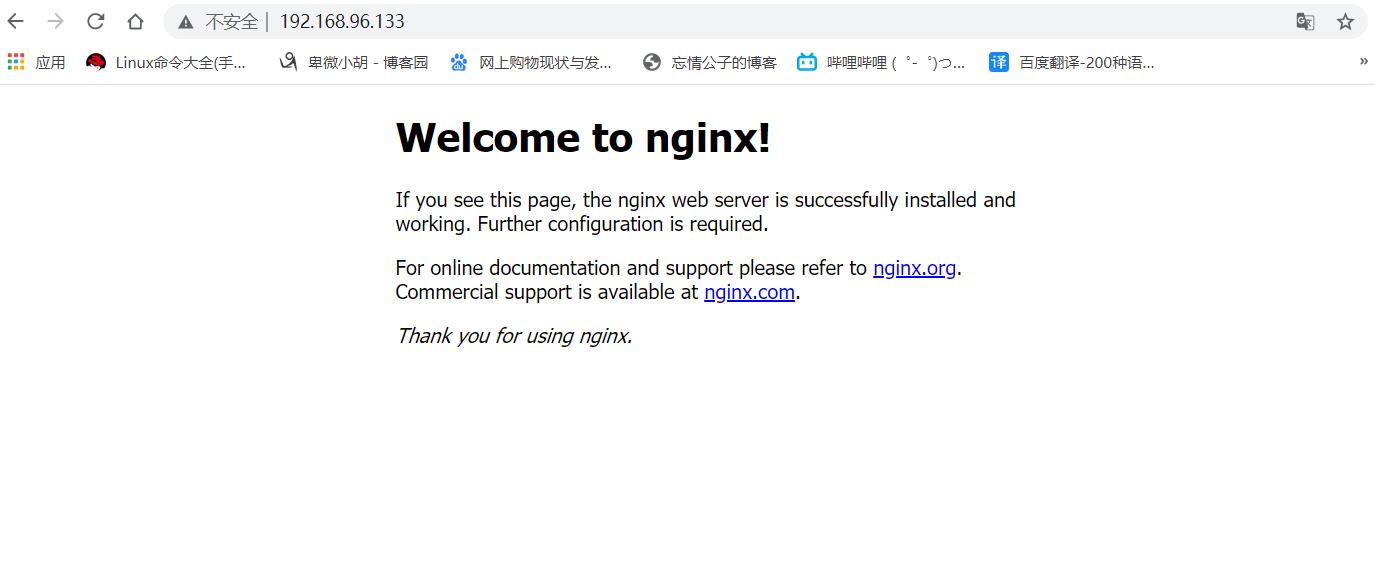
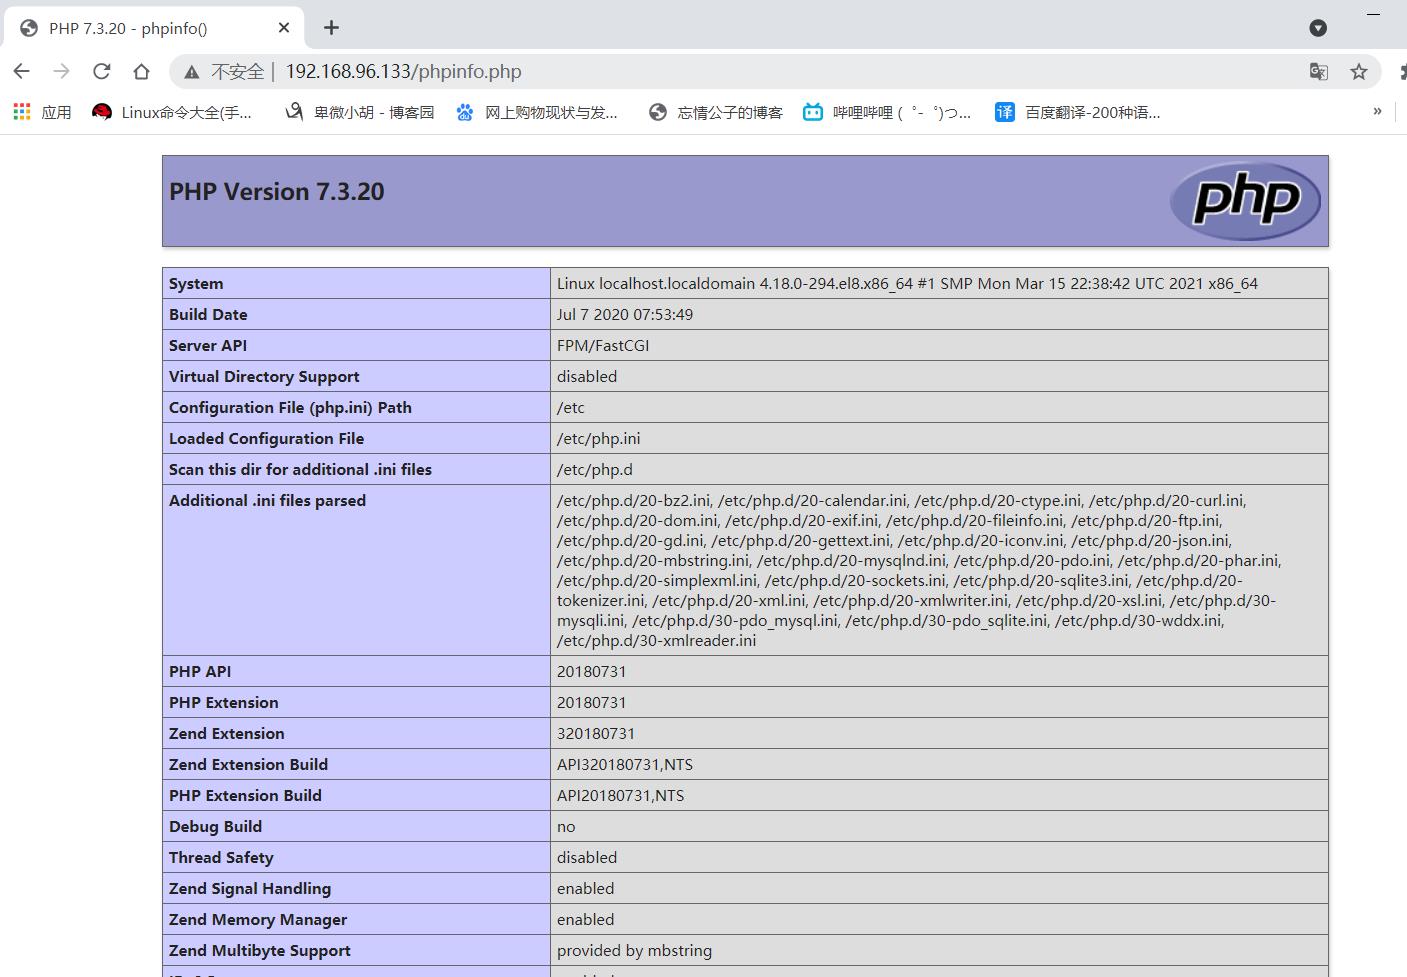
测试访问LNMP平台
在本地物理机打开浏览器,
在地址栏输入http://<ECS实例公网IP地址>/phpinfo.php。
返回结果如下图所示,表示LNMP环境部署成功。

以上是关于lnmp部署的主要内容,如果未能解决你的问题,请参考以下文章