微信小程序基本语法介绍
Posted 低代码布道师
tags:
篇首语:本文由小常识网(cha138.com)小编为大家整理,主要介绍了微信小程序基本语法介绍相关的知识,希望对你有一定的参考价值。
我们用了一定的篇幅介绍了一下小程序的全局语法,包括app.json的配置,app.js的语法及全局样式app.wxss的配置。本节我们就介绍一下页面的具体语法。
页面组成
小程序是由一个个页面组成的,pages目录下的二级目录就是具体的页面
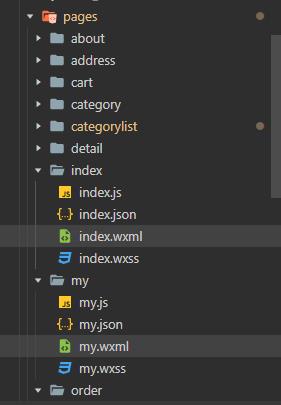
每一个页面都由一个页面的文件夹和四个文件组成。比如首页的文件夹名字叫index,文件夹里包含四个文件index.js、index.json、index.wxml和index.wxss。文件的目录和文件名需要都保持一致,这样方便管理。
文件命名好后需要将创建的页面路径配置到app.json文件中,具体注册的目录如下:
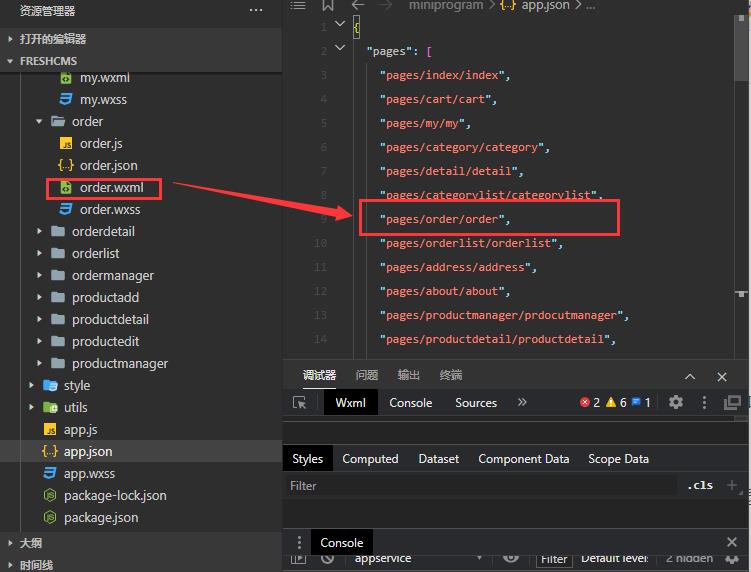
index.wxml语法介绍
wxml文件类似于html,他也是通过标签来结构化的显示信息,但是又不同于html的静态标签,他有个叫数据绑定的语法,可以动态的加载数据。
我们学习它的语法时候先需要从组件学起,不同的功能要靠不同的组件来支撑。为了方便讲解,我们还是拿我们的电商小程序举例。
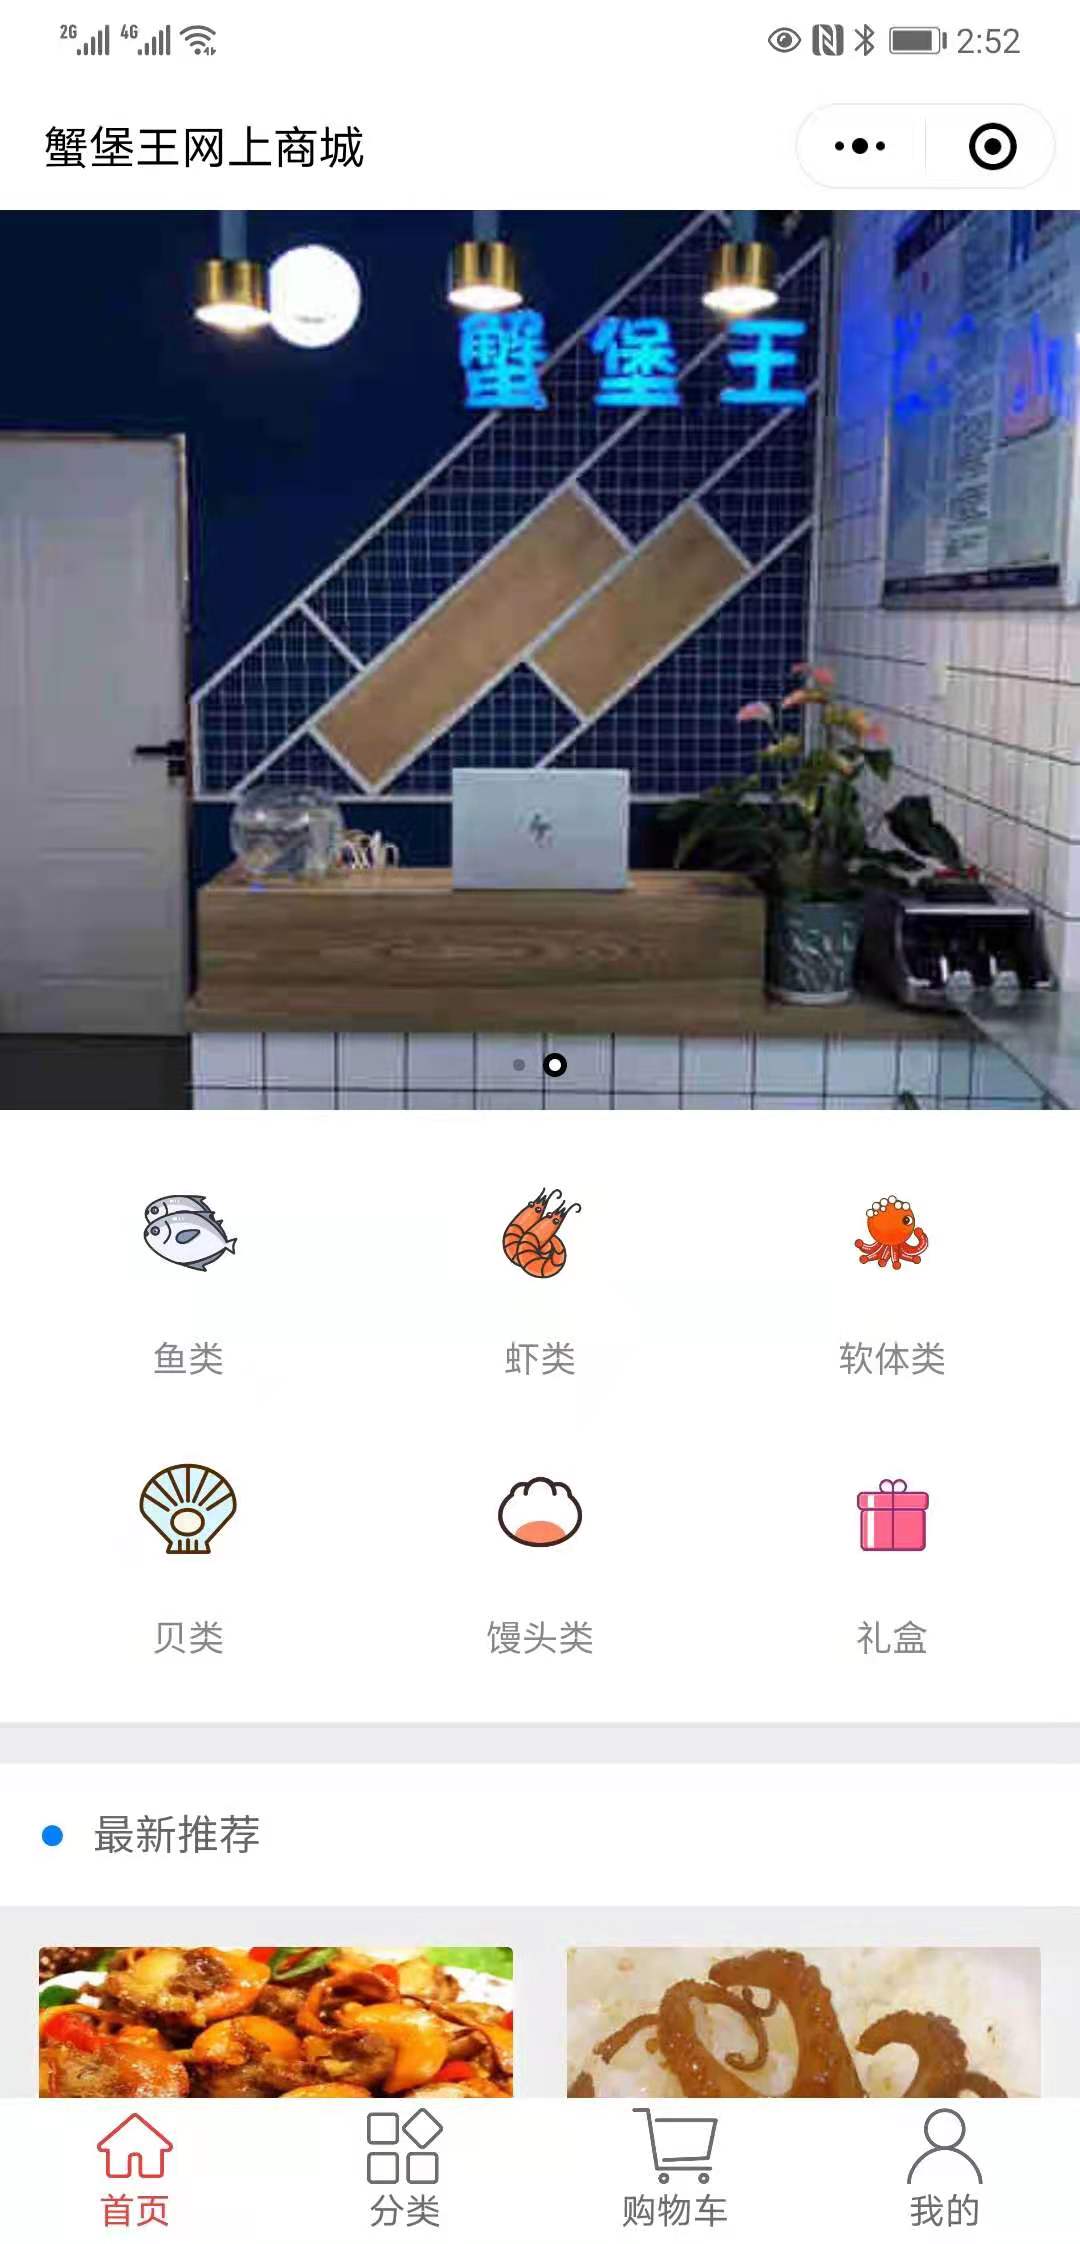
我们这个首页是分成三部分内容,第一部分是轮播图,图片可以进行自动切换。第二部分是九宫格的快捷菜单。第三部分是最新推荐。
轮播图
我们先贴一下轮播图的代码
<view class="swiper-container">
<swiper class="screen-swiper {{DotStyle?'square-dot':'round-dot'}}" indicator-dots="true" circular="true" autoplay="true" interval="5000" duration="500">
  <swiper-item wx:for="{{imgUrls}}" wx:key>
    <image src="{{item}}" mode="widthFix"></image>
  </swiper-item>
</swiper>
</view>
这里我们用到了三个组件,分别是view、swiper、swiper-item。看到自己不会的代码就需要查阅官方文档,我们可以打开官方文档看一看究竟是啥。其实是在官方文档的组件目录下边
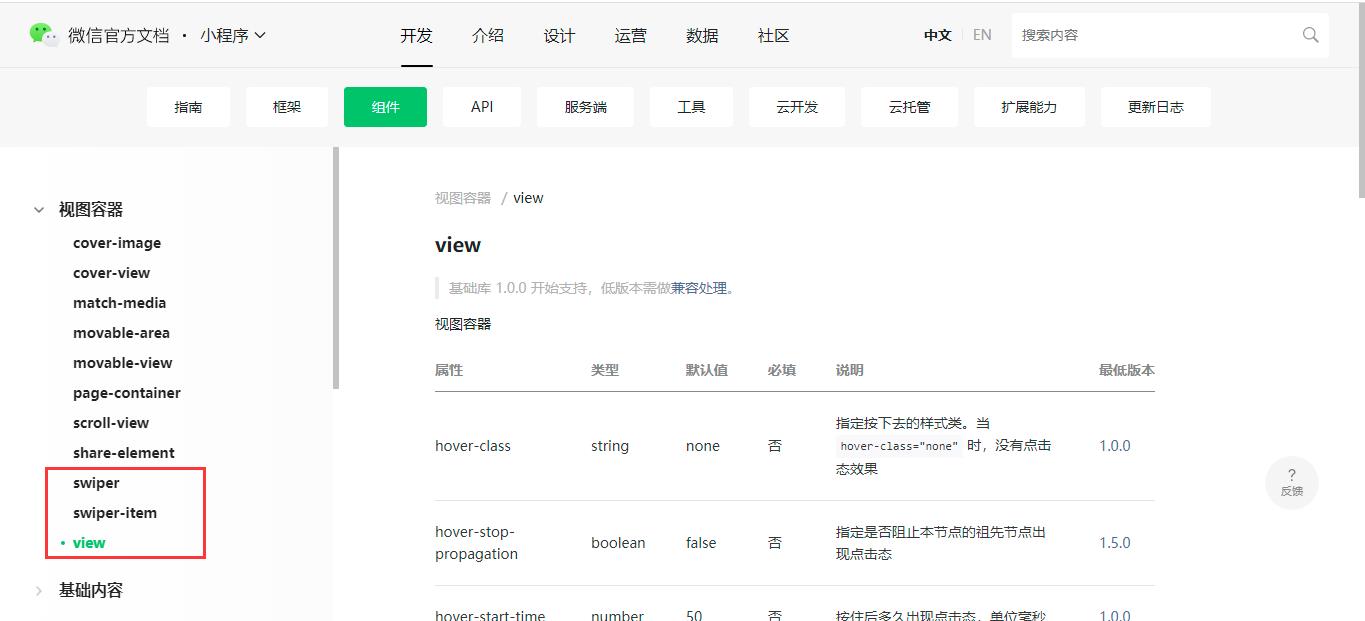
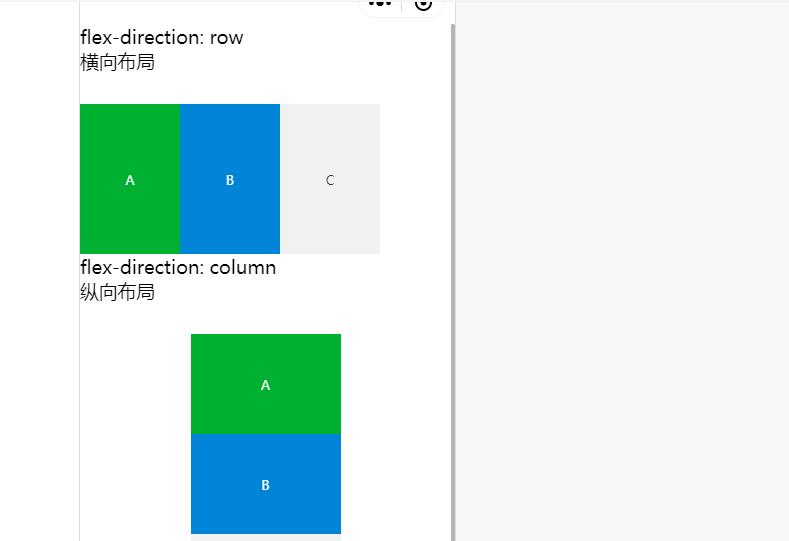
view是视图容器,用来决定容器里的元素是横向排列和纵向排列
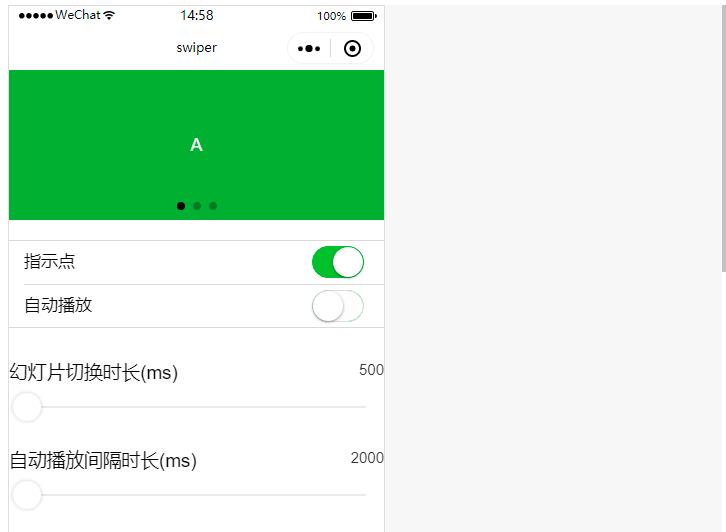
swiper是滑块容器,用来放置每一个滑块的内容
swiper-item就是具体需要放置的滑块了。
知道了组件的含义,我看到代码还有不明白的地方,{{}} 这种两个大括号是啥意思啊?
这个就是小程序自己的语法了,叫数据绑定,这个里边可以放变量,程序在运行的时候会自动将变量的值进行填充显示。
那变量在哪里定义呢?这需要在js文件中定义
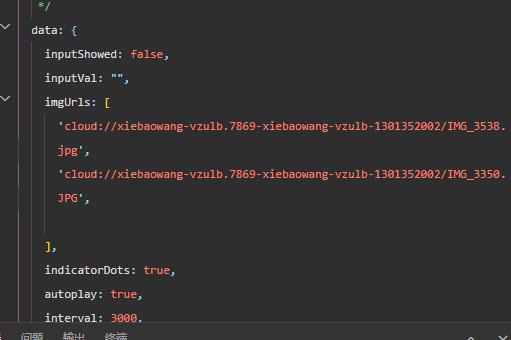
还有个不明白的地方,wx:for这是什么意思呢?这个是小程序l的语法,就像我们编程里的for循环一样,只不过他加了一个前缀。
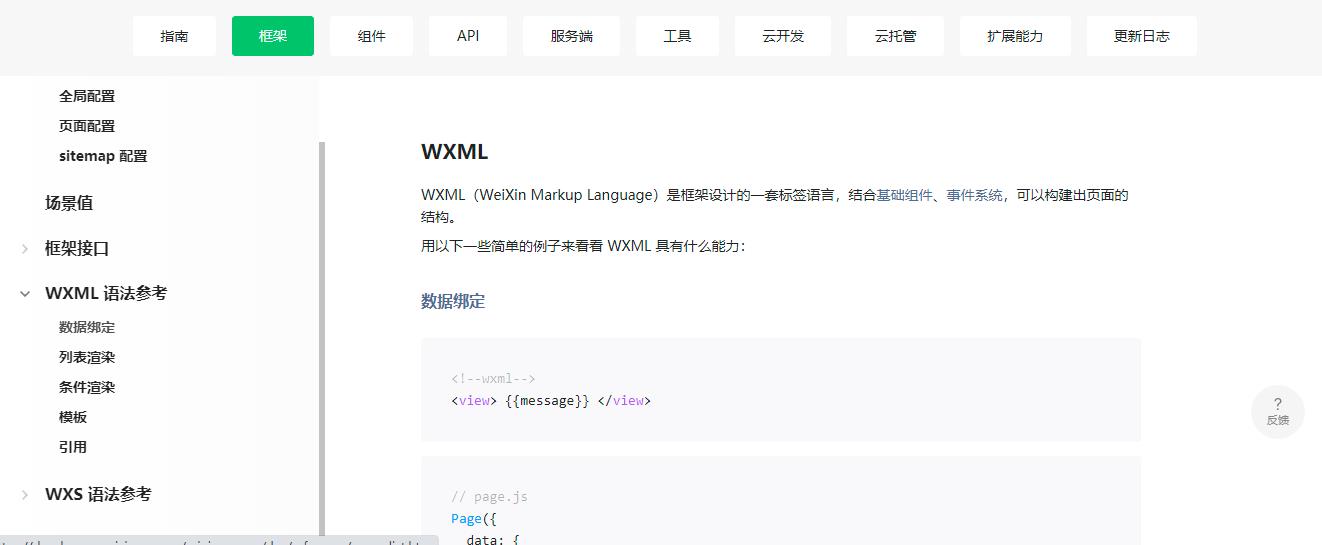
九宫格布局
那九宫格的菜单是如何实现的呢?主要是通过view容器来进行展示,看一下具体的代码
<view class="cu-list grid col-{{gridCol}} {{gridBorder?'':'no-border'}}">
  <view class="cu-item" wx:for="{{categories}}" wx:key wx:if="{{index<gridCol*2}}">
  <navigator url="../categorylist/categorylist?name={{item.name}}">
    <view class="cuIcon-{{item.icon}} text-{{item.color}}">
      <image mode="aspectFill" class="category-imgbox" src="{{item.icon}}"></image>
    </view>
    <text>{{item.name}}</text>
    </navigator>
  </view>

</view>
这里边大量用到了了class,class就是组件的样式的类名,具体的样式定义在了wxss文件夹中
新手小白可能会有个疑问,你代码里的样式类为啥在页面的样式文件中找不到啊?是因为我们在全局样式app.wxss中引入了第三方的库,这里边有些是调用的样式库,所以你会找不到。
最新推荐
最新推荐我们也使用view进行布局,具体代码如下:
<view class="cu-bar bg-white solid-bottom margin-top">
  <view class="action">
    <text class="cuIcon-title text-blue"></text>最新推荐
  </view>
</view>
<view class="grid col-2 padding-xs">
  <view class="padding-sm" wx:for="{{newProducts}}" wx:key>
  <navigator url="../detail/detail?id={{item._id}}">
    <view class="bg-white  radius text-center shadow-blur">
      <image class="radius imageheight" src="{{item.imgUrls[0]}}" mode="widthFix" lazy-load="true" />
      <view class="text-Abc">{{item.title}}</view>
      <view class="text-Abc">
        <text class="text-cut">
										<text class="text-price text-red margin-right-xs">{{item.price}}</text>
        </text>
      </view>
    </view>
  </navigator>
  </view>
  </view>
wxss语法介绍
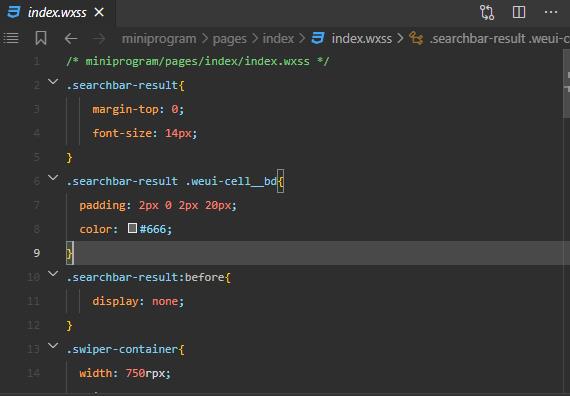
我们将公共的样式库和共用的样式在app.wxss中定义好,如果页面中还需要定义的,可以在页面的wxss中进行定义,如下代码:
/* miniprogram/pages/index/index.wxss */
.searchbar-result{
    margin-top: 0;
    font-size: 14px;
}
.searchbar-result .weui-cell__bd{
  padding: 2px 0 2px 20px;
  color: #666;
}
.searchbar-result:before{
    display: none;
}
.swiper-container{
  width: 750rpx;
  height: 300px;
  position: relative;
}
.swiper-container swiper {
  width: 750rpx;
  height: 300px;
}
.swiper-container swiper image {
  width: 750rpx;
  height: 300px;
}


.category-box {
  background-color: #fff;
  display: flex;
  flex-wrap: wrap;
}
.category-list{
  width:150rpx;
  margin-top:20rpx;
  text-align: center;
  display: inline-block;
  overflow: hidden;
}
.category-column{
  width:100%;
  margin-top:20rpx;
  overflow: hidden;
}
.category-imgbox{
  width:80rpx;
  height:80rpx;
}
.category-title{
  font-size: 24rpx;
  text-align:center;
  margin-top:10rpx;
}

image.imageheight{
  height:325rpx!important;
}
这里边大部分是和css的语法保持一致的,唯一不同的地方就是像素的单位,css中是使用px作为单位,但是在小程序中是使用rpx作为单位,主要是解决手机分辨率不同的问题的。
js语法介绍
和app.js类似,页面也有自己的生命周期,不同状态需要调用不同的方法。比如我们可以在加载的方法里执行数据库查询。在data里定义我们页面需要的各种数据,可以参考一下我的js
// miniprogram/pages/index/index.js
wx.cloud.init()
const db = wx.cloud.database()
const productsCollection = db.collection('products')
const _ = db.command
Page({

  /**
   * 页面的初始数据
   */
  data: {
    inputShowed: false,
    inputVal: "",
    imgUrls: [
      'cloud://xiebaowang-vzulb.7869-xiebaowang-vzulb-1301352002/IMG_3538.jpg',
      'cloud://xiebaowang-vzulb.7869-xiebaowang-vzulb-1301352002/IMG_3350.JPG',

    ],
    indicatorDots: true,
    autoplay: true,
    interval: 3000,
    duration: 1000,
    gridCol: 3,
    noticeList: { dataList: [{ title: "1111" }, { title: "2222" }]},
    categories: [{ name: "鱼类", icon: "/images/categories/yu.png" }, { name: "虾类", icon: "/images/categories/xia.png" }, { name: "软体类", icon: "/images/categories/zhangyu.png" },{ name: "贝类", icon: "/images/categories/beike.png" },  { name: "馒头类", icon: "/images/categories/mantou.png" }, { name: "礼盒", icon: "/images/categories/lihe.png" }],
    hotProducts: [],
    newProducts:[],
    loadingHidden: false,
  },

  /**
   * 生命周期函数--监听页面加载
   */
  onLoad: function (options) {
    productsCollection.where(
      {
        is_hot: true,
        is_delete:false
      }).get({
      success: res => {
        this.setData({
          hotProducts: res.data
        })
      }
    })
    productsCollection.where(
      {
        is_new: true,
        is_delete: false
      }).get({
        success: res => {
          this.setData({
            newProducts: res.data
          })
        }
      })
  },

  /**
   * 生命周期函数--监听页面初次渲染完成
   */
  onReady: function () {

  },

  /**
   * 生命周期函数--监听页面显示
   */
  onShow: function () {
    productsCollection.where(
      {
        is_hot: true,
        is_delete: false
      }).get({
        success: res => {
          this.setData({
            hotProducts: res.data
          })
        }
      })
    productsCollection.where(
      {
        is_new: true,
        is_delete: false
      }).get({
        success: res => {
          this.setData({
            newProducts: res.data
          })
        }
      })
  },

  /**
   * 生命周期函数--监听页面隐藏
   */
  onHide: function () {

  },

  /**
   * 生命周期函数--监听页面卸载
   */
  onUnload: function () {

  },

  /**
   * 页面相关事件处理函数--监听用户下拉动作
   */
  onPullDownRefresh: function () {
    productsCollection.where(
      {
        is_hot: true,
        is_delete: false
      }).get({
        success: res => {
          this.setData({
            hotProducts: res.data
          })
        }
      })
    productsCollection.where(
      {
        is_new: true,
        is_delete: false
      }).get({
        success: res => {
          this.setData({
            newProducts: res.data
          })
        }
      })
  },

  /**
   * 页面上拉触底事件的处理函数
   */
  onReachBottom: function () {

  },

  /**
   * 用户点击右上角分享
   */
  onShareAppMessage: function () {

  },
  showInput: function () {
    this.setData({
      inputShowed: true
    });
  },
  hideInput: function () {
    this.setData({
      inputVal: "",
      inputShowed: false
    });
  },
  clearInput: function () {
    this.setData({
      inputVal: ""
    });
  },
  inputTyping: function (e) {
    console.log(e.detail.value)
    this.setData({
      inputVal: e.detail.value
    });
  }
})
json语法介绍
和app.json类似,页面的json文件夹中也可以配置页面的各种属性,当然最常用的是配置自定义组件,语法如下:
{
  "usingComponents": {
    "mp-toptips": "../components/toptips/toptips",
    "mp-cells": "../components/cells/cells",
    "mp-cell": "../components/cell/cell",
    "mp-checkbox": "../components/checkbox/checkbox",
    "mp-checkbox-group": "../components/checkbox-group/checkbox-group",
    "mp-form": "../components/form/form"
  }
}
我们这里就引用了weui的扩展组件,引入之后我们就可以在wxml里直接使用标签了。
总结
我们用了几篇的篇幅简要的介绍了微信小程序的语法,有了入门的基础,大家就可以结合官方的文档开发自己的小程序啦。
以上是关于微信小程序基本语法介绍的主要内容,如果未能解决你的问题,请参考以下文章