uni-app实战项目,跟着做完你就可以独立作战了
Posted David凉宸
tags:
篇首语:本文由小常识网(cha138.com)小编为大家整理,主要介绍了uni-app实战项目,跟着做完你就可以独立作战了相关的知识,希望对你有一定的参考价值。
初始化项目
编辑器为HBuilder
编辑器的安装看之前的打包项目中有介绍
十分钟教你学会打包APP
创建uniapp项目
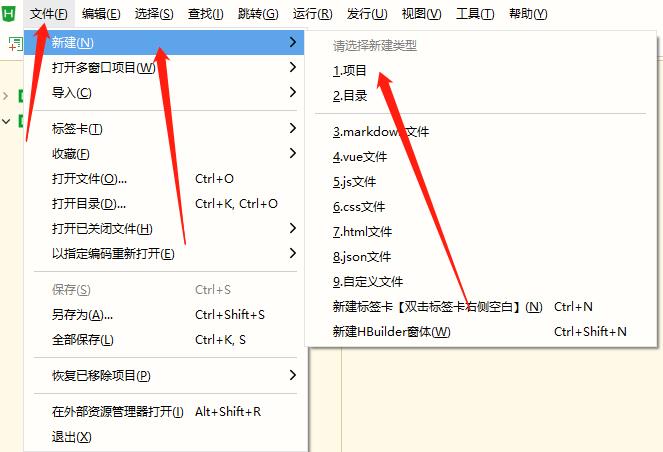
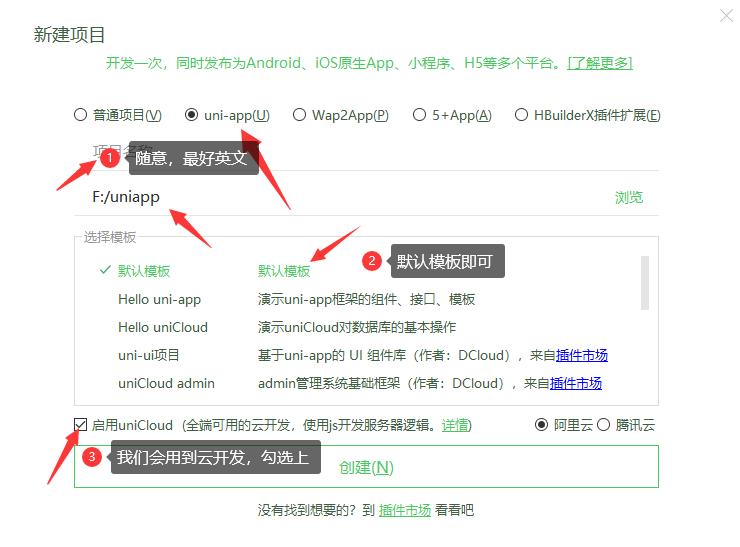
一开始是没有云服务空间的,我们右击创建
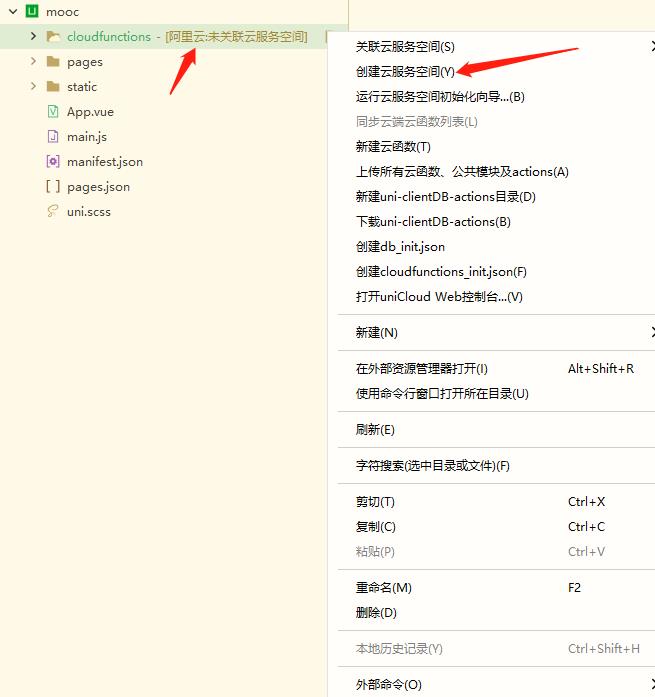
点击之后会打开云空间网址
阿里云 云空间
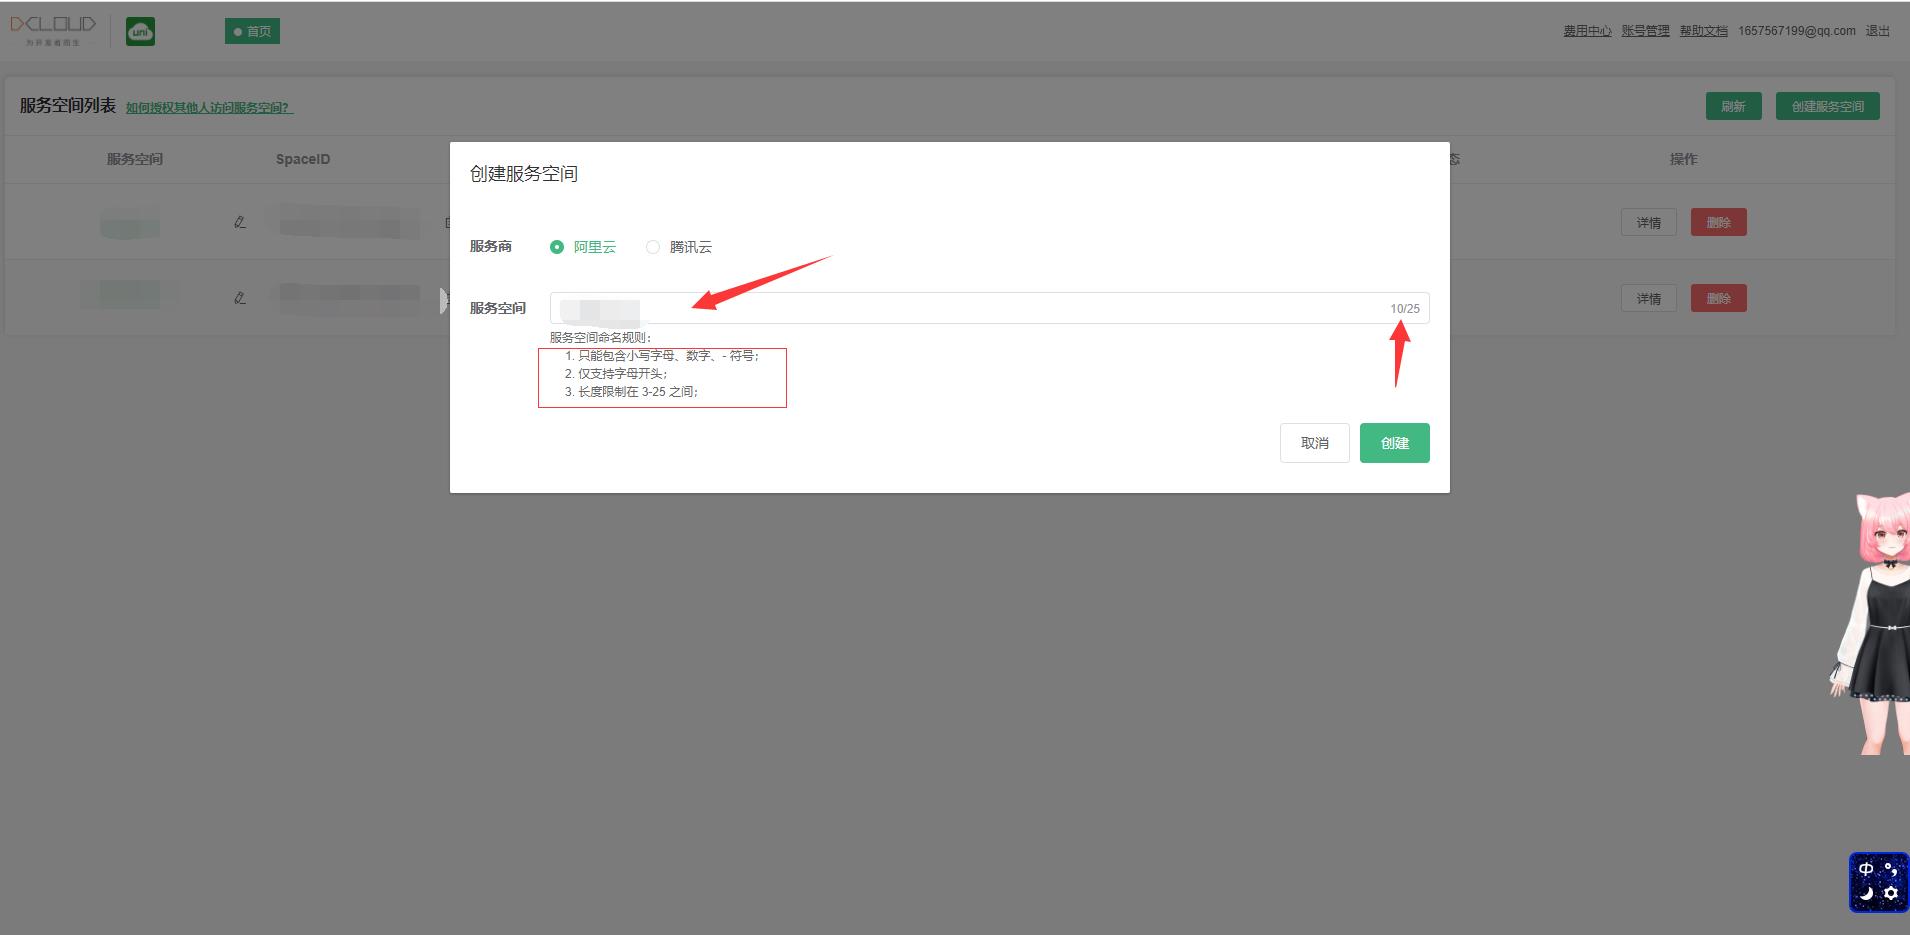
创建好之后

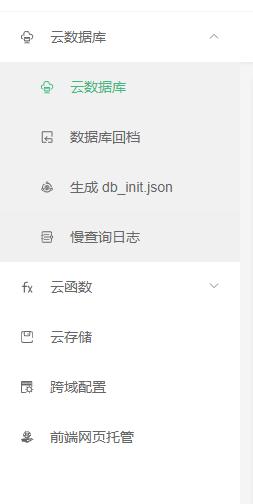
右击关联即可
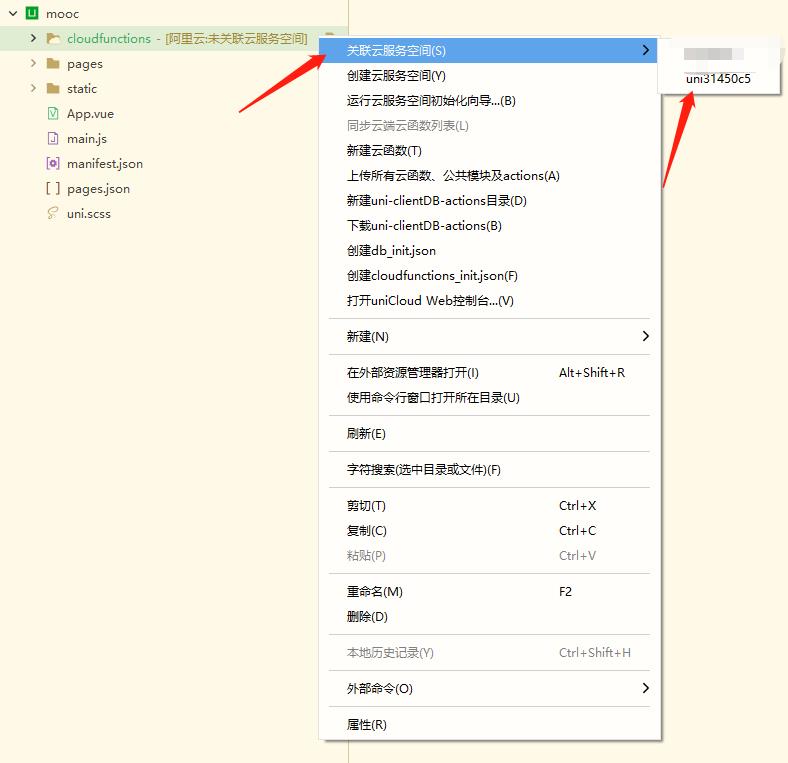
初始化数据库
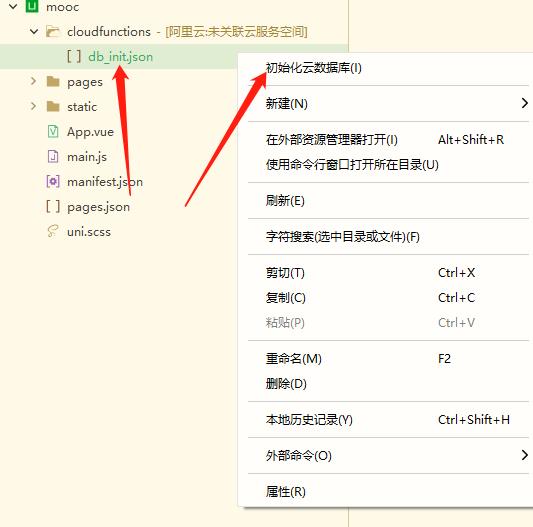
我们有一个云数据库文件
数据库下载链接
此文件一定要放到cloudfunctions 文件夹下
右击初始化等待即可
实现tabbar
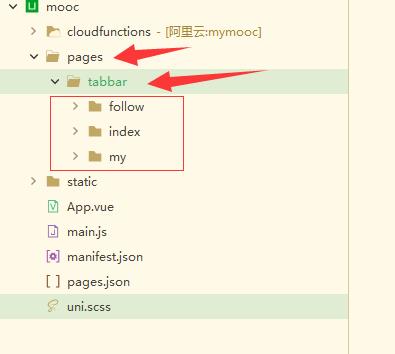
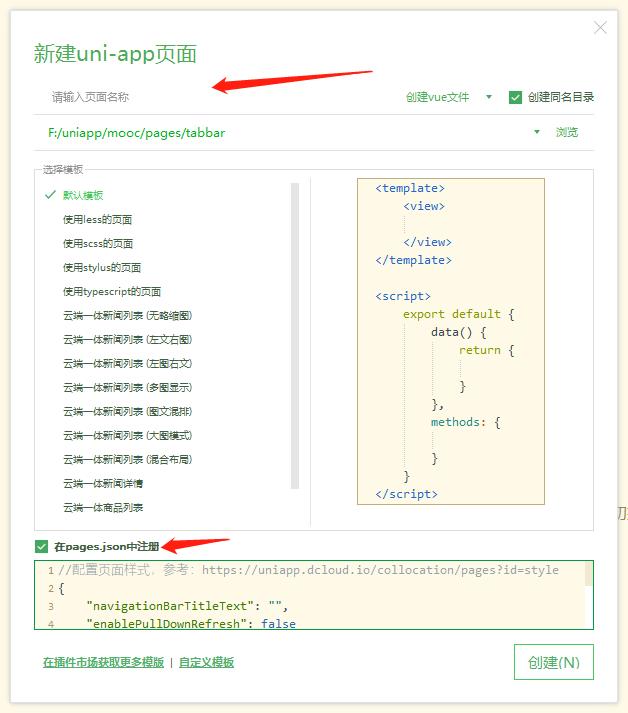
准备工作:在pages下面创建tabbar文件夹,然后在此文件夹下创建三个文件夹,右击新建页面,勾选上在pages.json注册
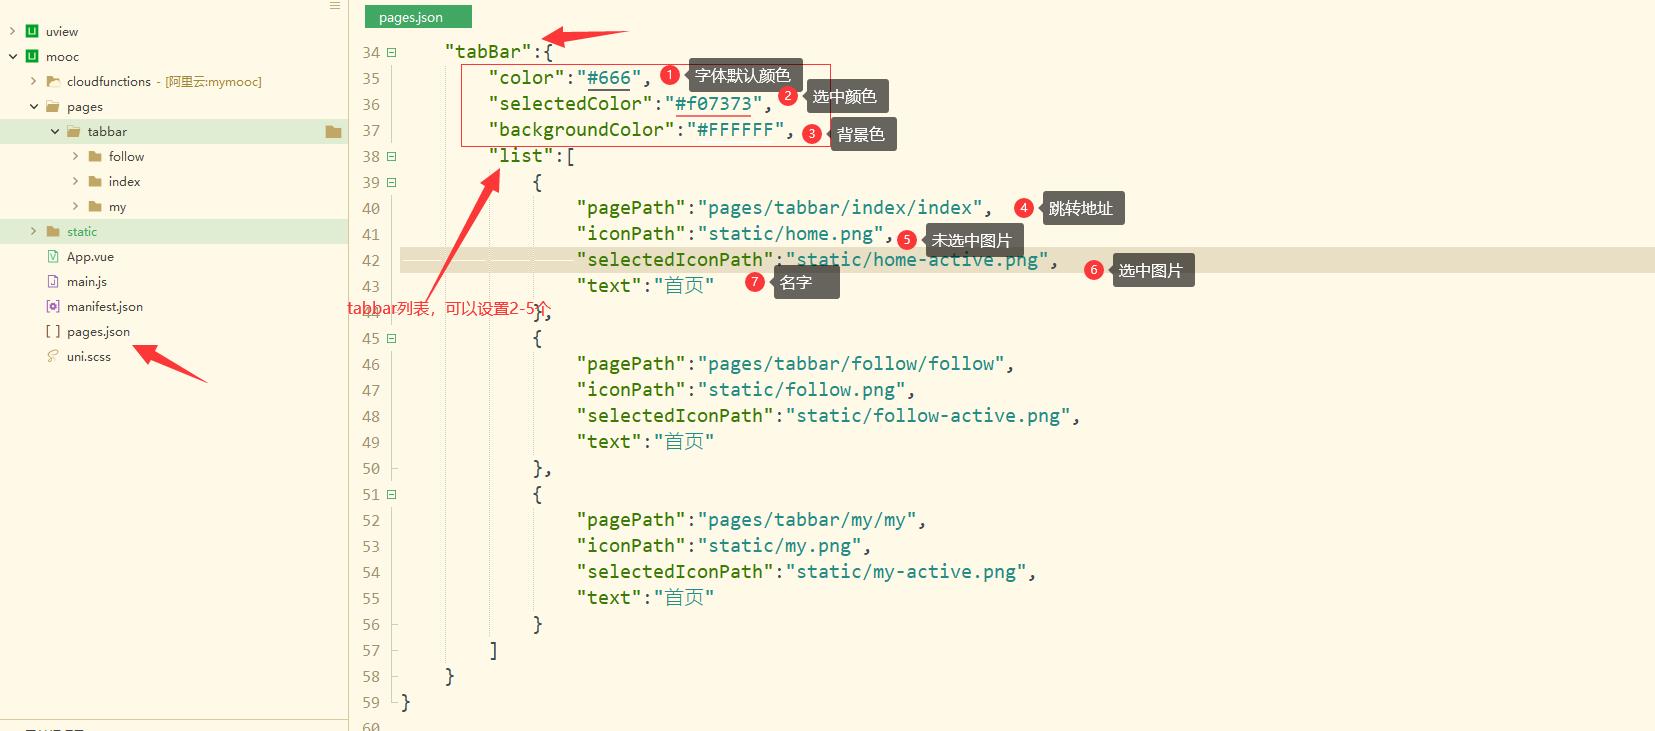
"tabBar":{
		"color":"#666",
		"selectedColor":"#f07373",
		"backgroundColor":"#FFFFFF",
		"list":[
			{
				"pagePath":"pages/tabbar/index/index",
				"iconPath":"static/home.png",
				"selectedIconPath":"static/home-active.png",
				"text":"首页"
			},
			{
				"pagePath":"pages/tabbar/follow/follow",
				"iconPath":"static/follow.png",
				"selectedIconPath":"static/follow-active.png",
				"text":"关注"
			},
			{
				"pagePath":"pages/tabbar/my/my",
				"iconPath":"static/my.png",
				"selectedIconPath":"static/my-active.png",
				"text":"我的"
			}
		]
	}
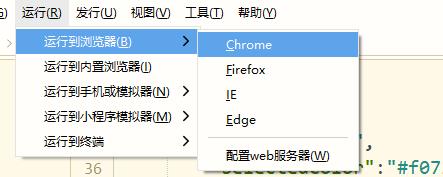

点击对应的就可以跳转了
图片可以自己做,也可以去阿里巴巴矢量库图标下载喜欢的
iconfont-阿里巴巴矢量库图标
自定义导航栏
我们使用scss语法做样式编写,大家可以去插件市场下载
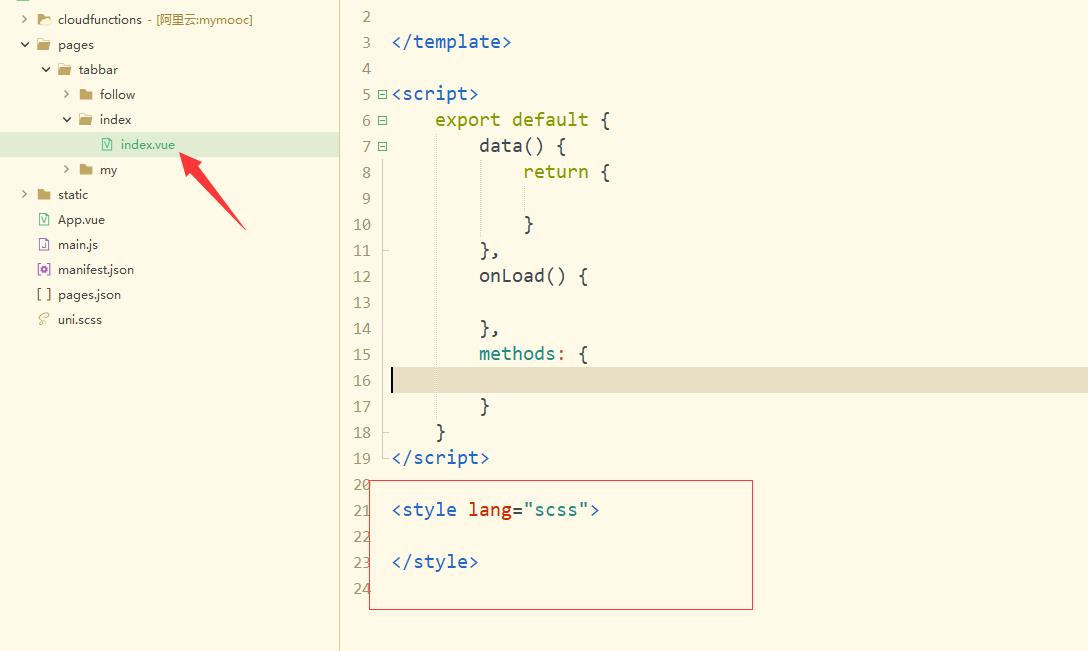
插件链接
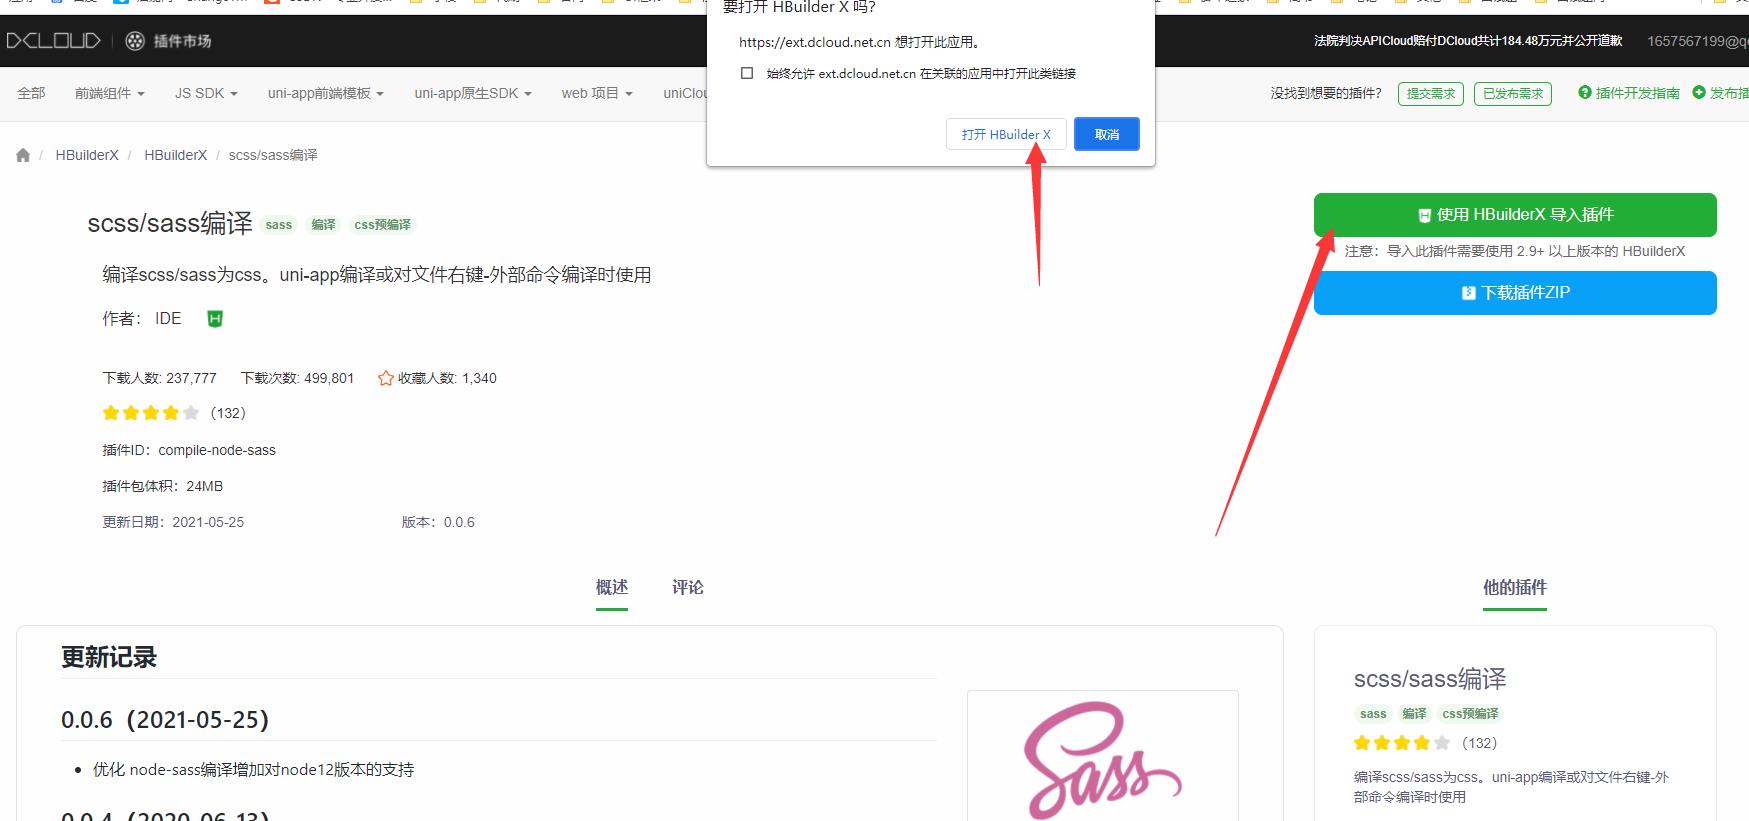
等待他自己导入即可
我们做自定义导航栏

pages.json对应下面加入这个语句
就可以将他原本的导航栏去掉
正常情况,我们需要引入组件才可以使用,但是uniapp中不需要写,自带easyCom功能
如果是components/组件名/组件名.vue的话就可以直接使用此组件
组件名写错了,大家改为正确的哦 navbar
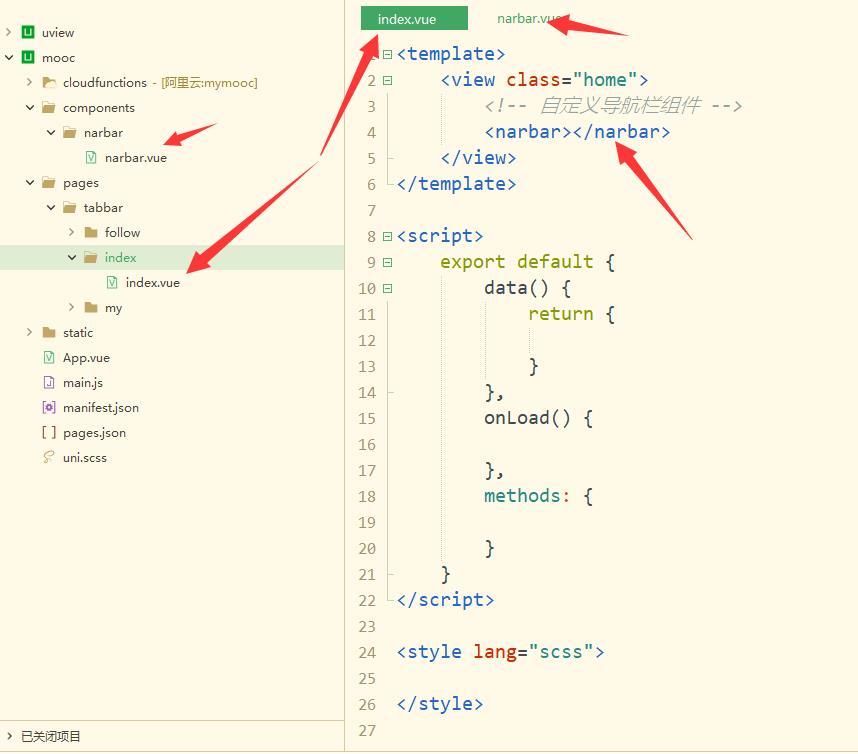
components/navbar/navbar.vue编写
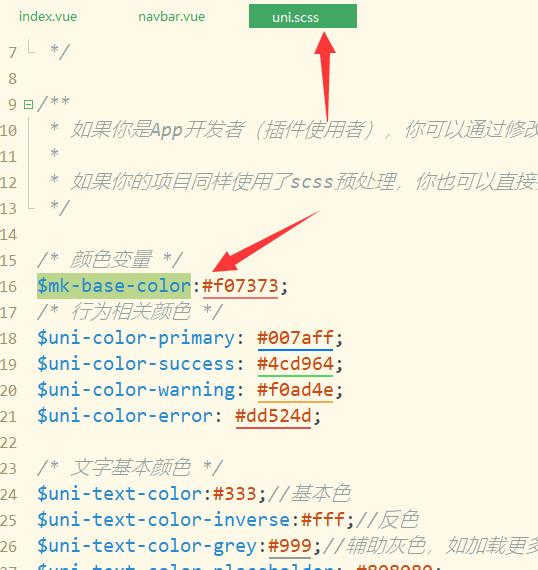
uni.scss可以设置颜色变量全局使用
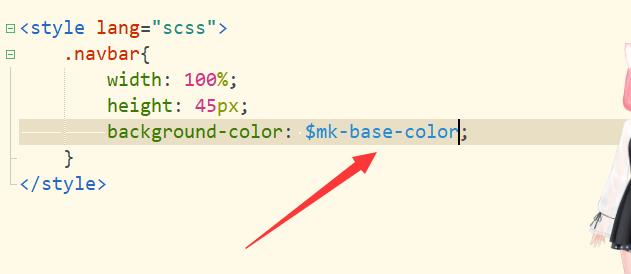
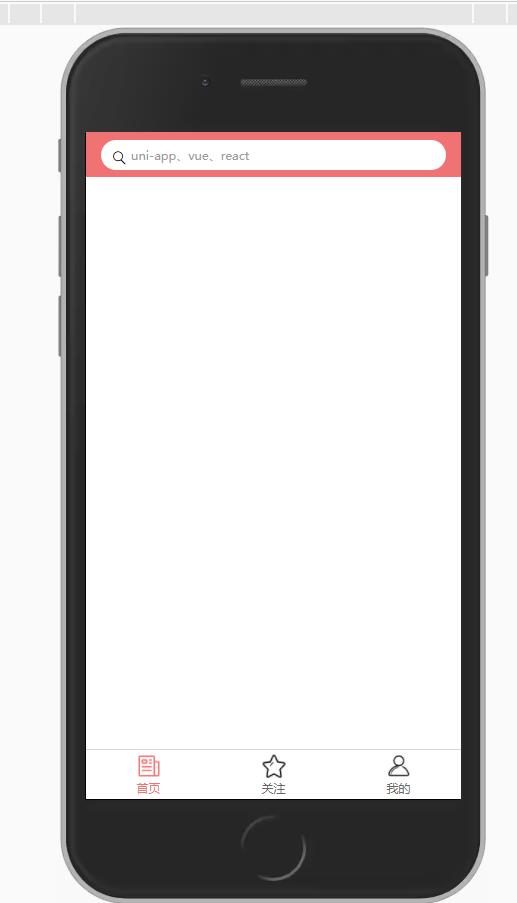
虽然h5页面中无影响但是小程序中就不同了
我们要做一下小程序适配工作
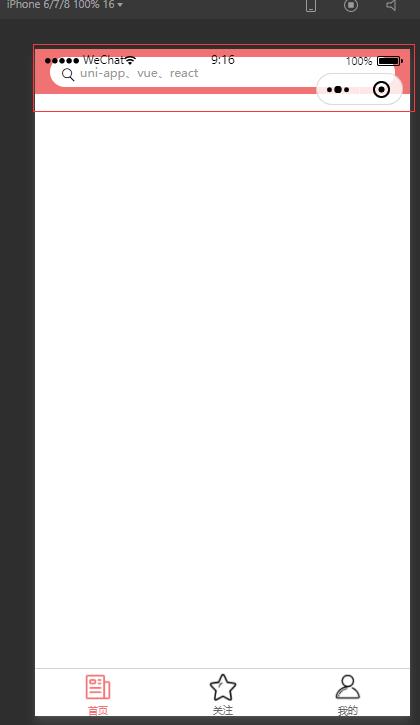
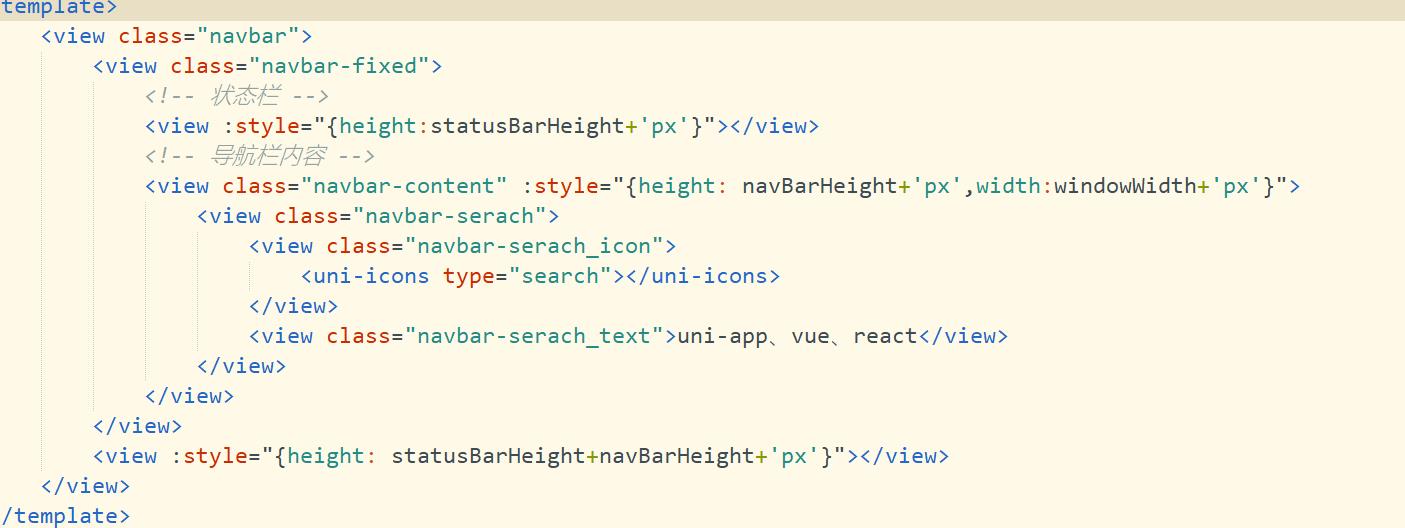
最终效果
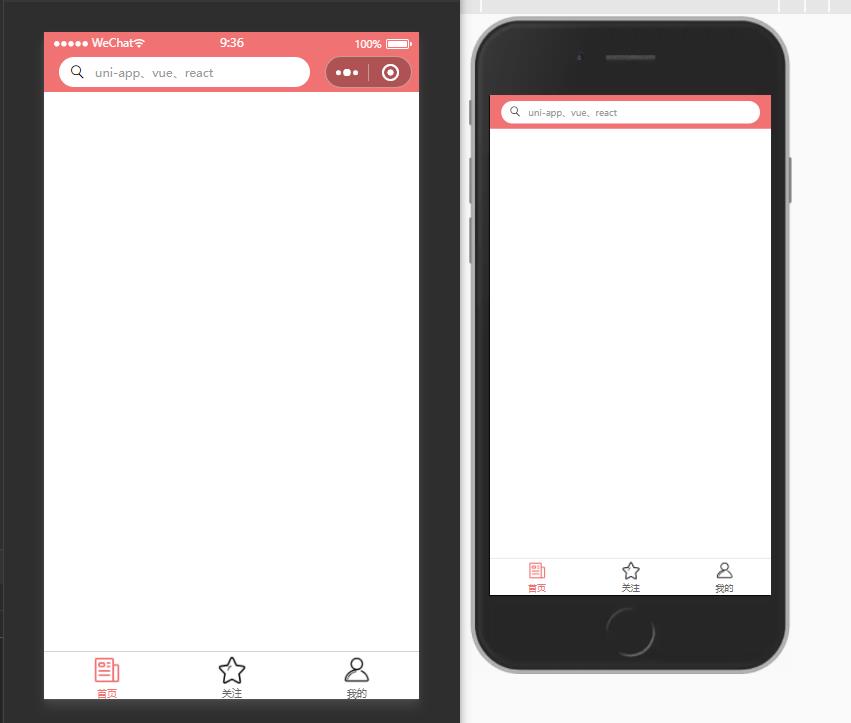
最终代码
<template>
	<view class="navbar">
		<view class="navbar-fixed">
			<!-- 状态栏 -->
			<view :style="{height:statusBarHeight+'px'}"></view>
			<!-- 导航栏内容 -->
			<view class="navbar-content" :style="{height: navBarHeight+'px',width:windowWidth+'px'}">
				<view class="navbar-serach">
					<view class="navbar-serach_icon">
						<uni-icons type="search"></uni-icons>
					</view>
					<view class="navbar-serach_text">uni-app、vue、react</view>
				</view>
			</view>
		</view>
		<view :style="{height: statusBarHeight+navBarHeight+'px'}"></view>
	</view>
</template>

<script>
	export default {
		data() {
			return {
				statusBarHeight:20,
				navBarHeight:45,
				windowWidth:375
			};
		},
		created() {
			this.onload()
		},
		methods:{
			onload(){
				// 获取手机信息
				const info= uni.getSystemInfoSync()
				this.statusBarHeight=info.statusBarHeight
				this.windowWidth=info.windowWidth
				// #ifndef H5 || APP-PLUS || MP-ALIPAY
				// 获取胶囊位置
				const menuButtonInfo=uni.getMenuButtonBoundingClientRect()
				this.navBarHeight=(menuButtonInfo.bottom-info.statusBarHeight)+(menuButtonInfo.top-info.statusBarHeight)
				this.windowWidth=menuButtonInfo.left
				// #endif
			}
		}
	}
</script>

<style lang="scss">
.navbar{
	.navbar-fixed{
		position: fixed;
		top: 0;
		left: 0;
		z-index: 99;
		width: 100%;
		background-color: $mk-base-color;
		.navbar-content{
			padding: 0 15px;
			box-sizing: border-box;
			display: flex;
			justify-content: center;
			align-items: center;
			.navbar-serach{
				display: flex;
				align-items: center;
				width: 100%;
				height: 30px;
				border-radius: 30px;
				padding: 0 10px;
				background-color: #fff;
				.navbar-serach_icon{
					margin-right: 10px;
				}
				.navbar-serach_text{
					font-size: 12px;
					color: #999;
				}
			}
		}
	}
}
</style>
自定义导航栏组件
components/tab/tab.vue编写

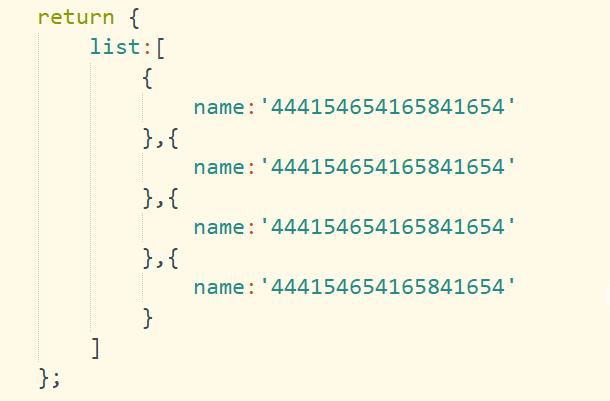

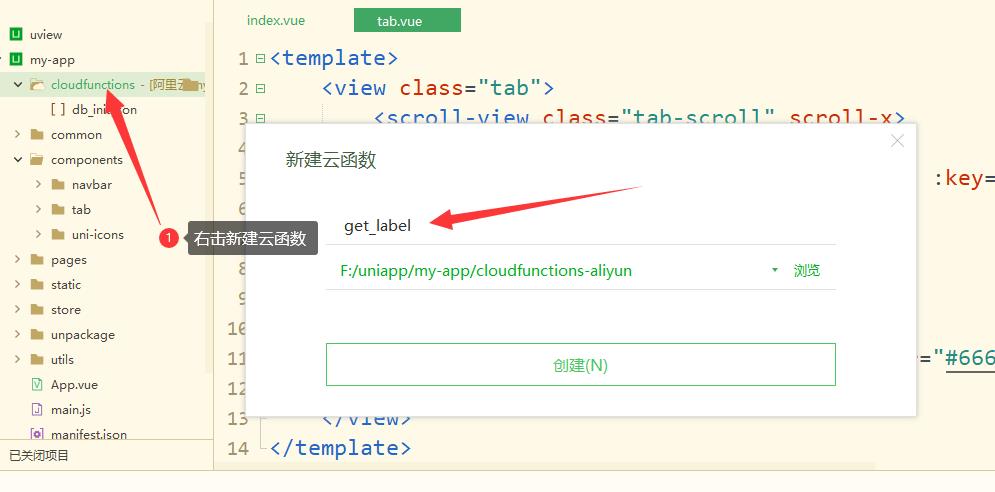
get_label 云函数编写
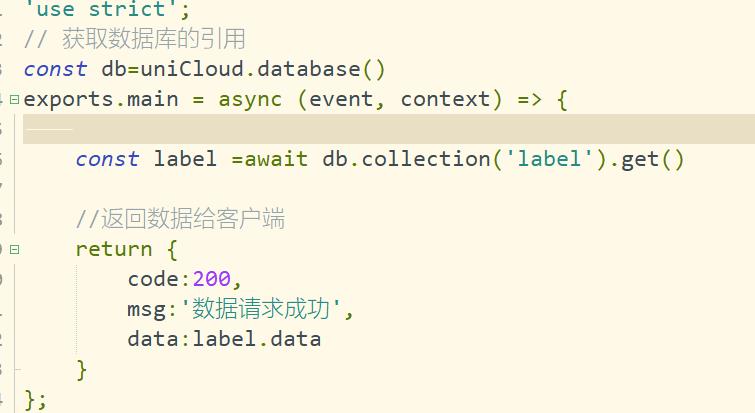
引用数据库数据
在pages\\tabbar\\index\\index.vue中编写如下
我们需要在methods里面定义函数来获取云函数返回的值,让将值赋值给定义的变量,再传给组件
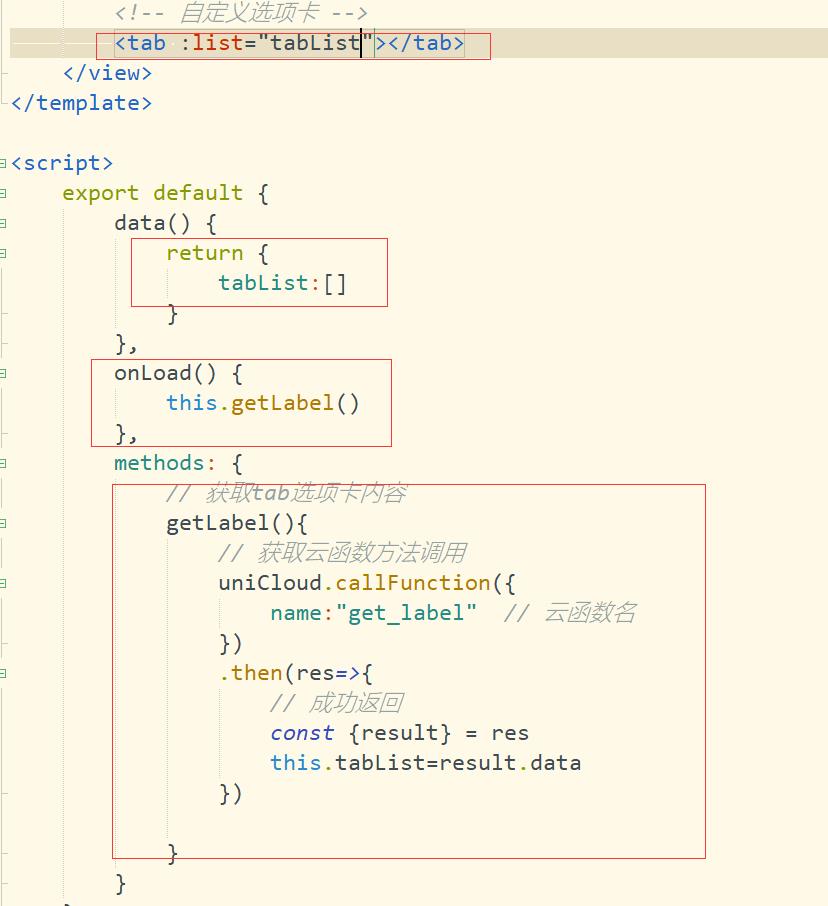
组件里使用props来接收父组件传过来的值
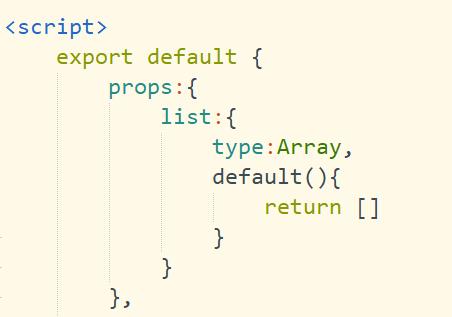
效果就是这样子

统一管理云函数请求
我们在根目录下/common/api里面进行封装请求
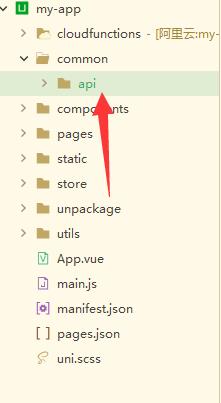
在api/index.js编写
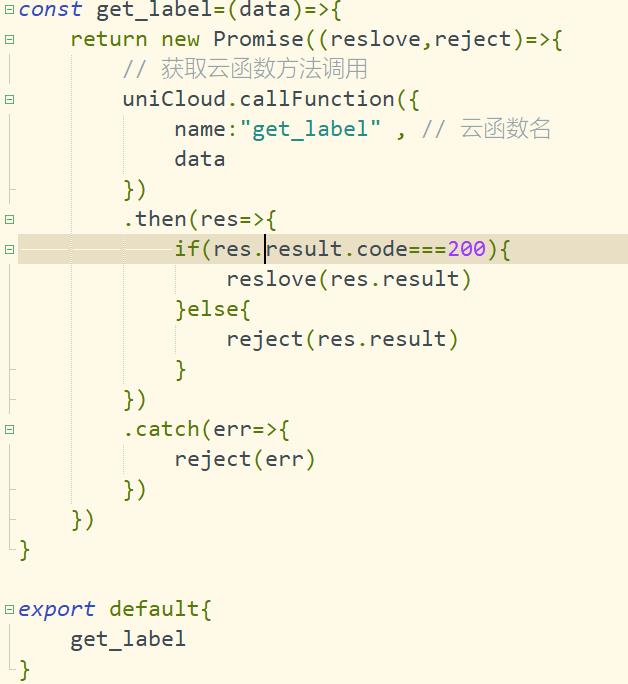
在main.js中引入,在挂载至$api上供全局使用

我们就可以在index.vue首页中调用了

效果还是一样的 没变化

但是我建议分开写
不至于一个文件写很多代码
list代表文章类的
后面还有许多类可以自己起名字,我们将一个类的请求放到一个里面
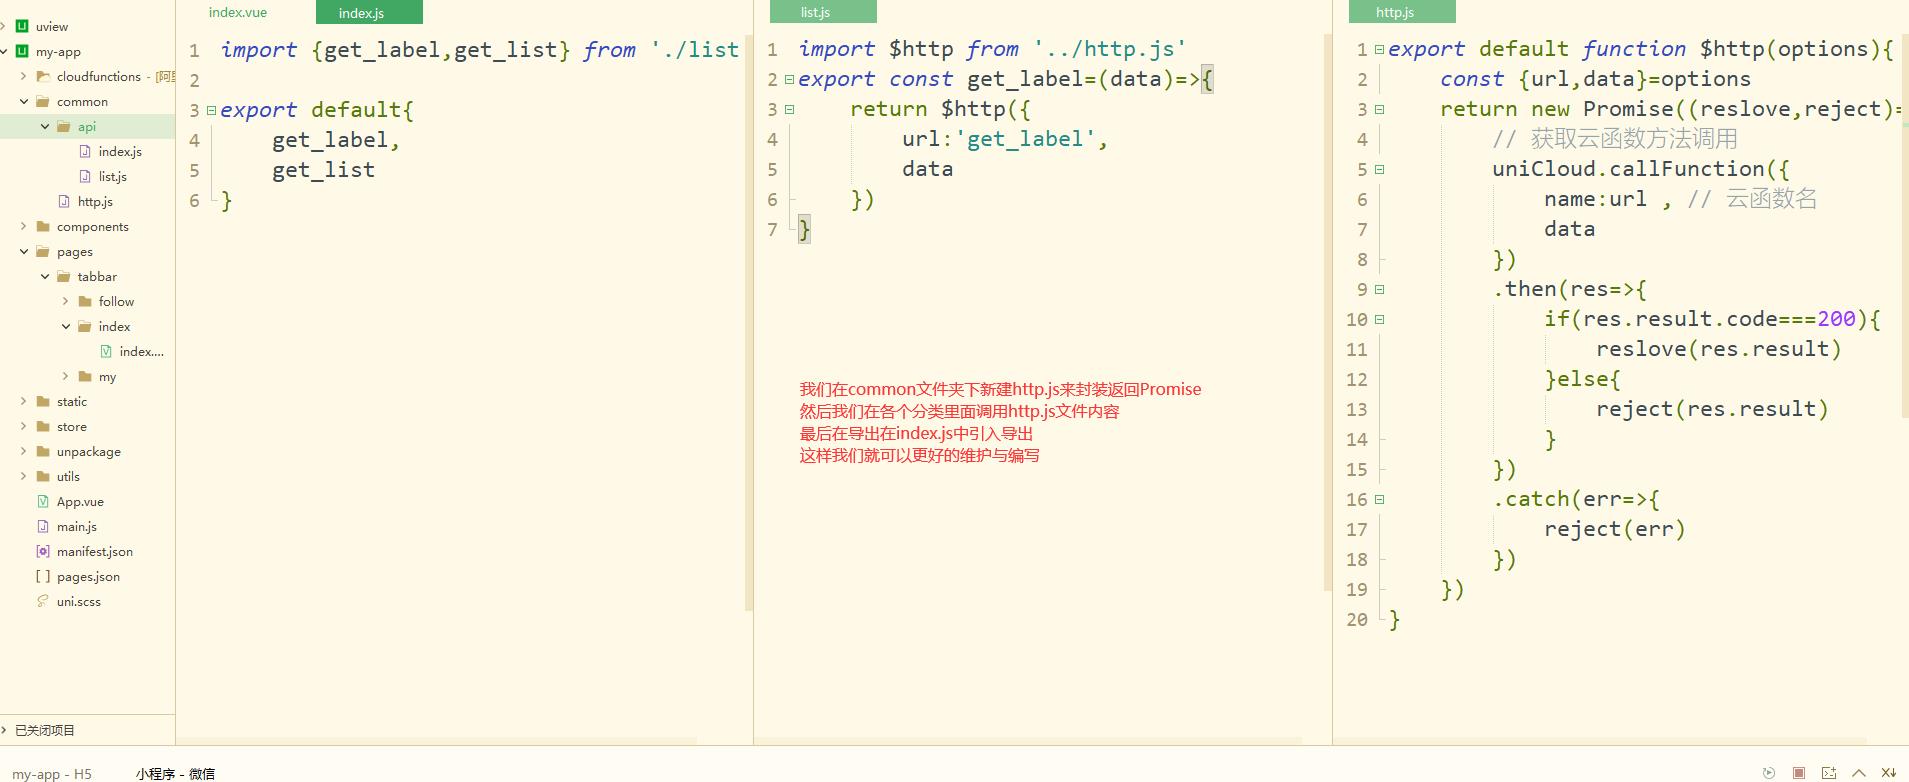
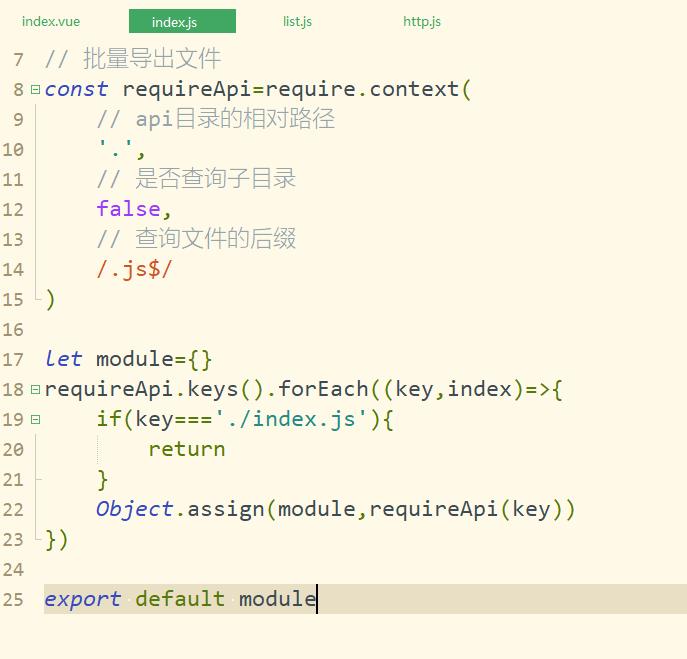
我们在index.js中做一个批量导出操作,这样我们就不需要写一个导出一个了
完成tab选项卡切换高亮
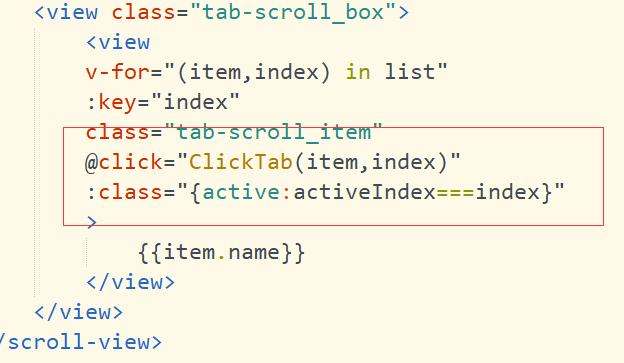
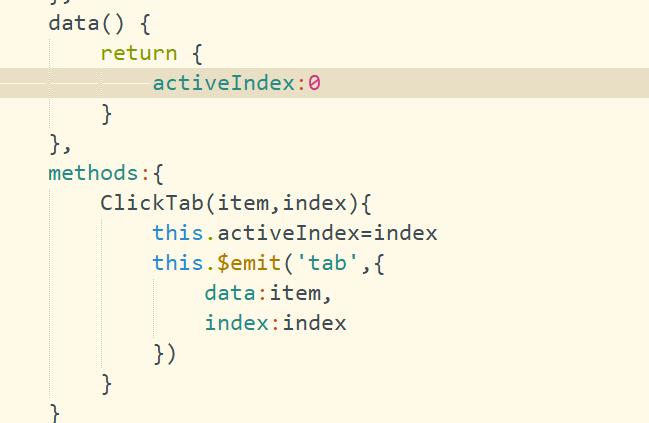
点击某个颜色高亮

添加点击事件并处理
添加类名做颜色改变
index.vue父组件中接收


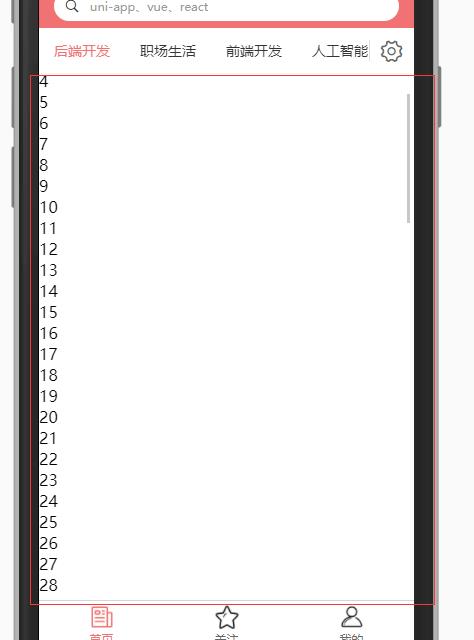
完成首页内容
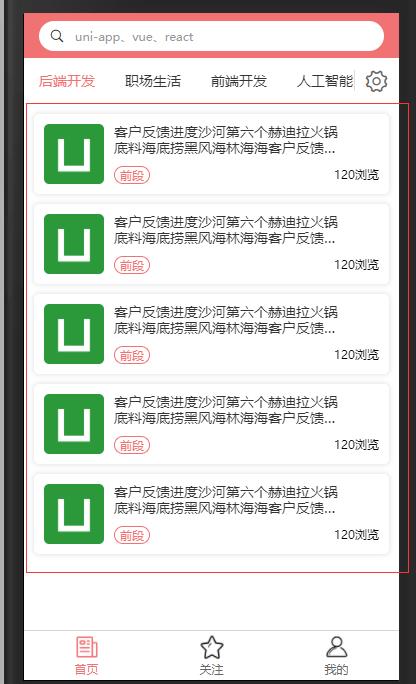
红色框内为内容区域,可以在框内上下滚动的
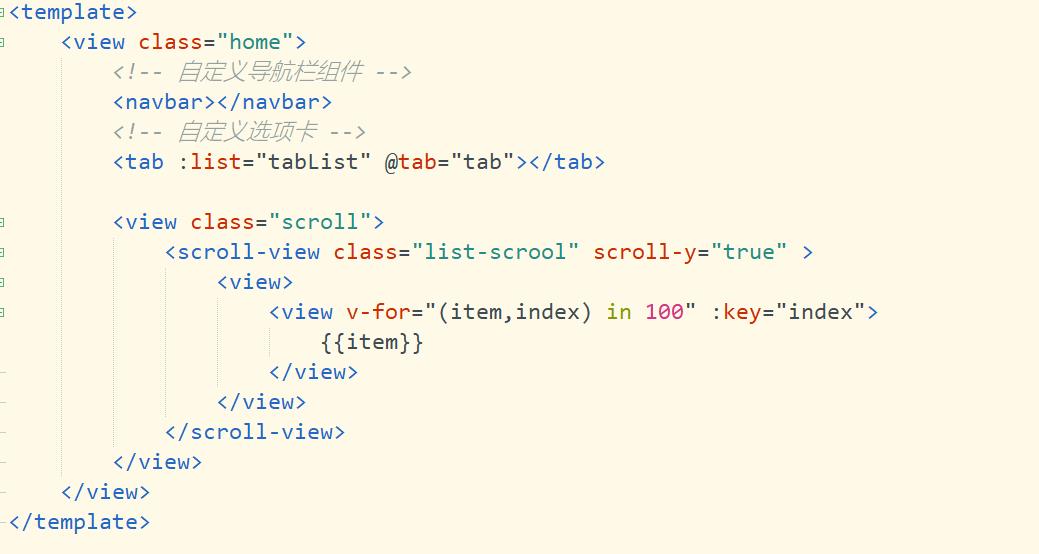
暂时代码
<template>
	<view class="home">
		<!-- 自定义导航栏组件 -->
		<navbar></navbar>
		<!-- 自定义选项卡 -->
		<tab :list="tabList" @tab="tab"></tab>

		<view class="scroll">
			<scroll-view class="list-scrool" scroll-y="true" >
				<view>
					<view v-for="(item,index) in 100" :key="index">
						{{item}}
					</view>
				</view>
			</scroll-view>
		</view>
	</view>
</template>

<script>
	export default {
		data() {
			return {
				tabList:[]
			}
		},
		onLoad() {
			this.getLabel()
		},
		methods: {
			// 获取tab选项卡内容
			getLabel(){
				// 调用api
				this.$api.get_label({name:'get_label'})
				.then(res=>{
					this.tabList=res.data
				})
			},
			tab({data,index}){
				// console.log(data,index)
			}
		}
	}
</script>

<style lang="scss">
	page{
		height: 100%;
		display: flex;
		.home{
			display: flex;
			flex-direction: column;
			flex: 1;
			.scroll{
				flex: 1;
				overflow: hidden;
				box-sizing: border-box;
				.list-scrool{
					height: 100%;
					display: flex;
					flex-direction: column;
				}
			}
		}
	}
</style>
我们在内容区域放置自定义内容组件

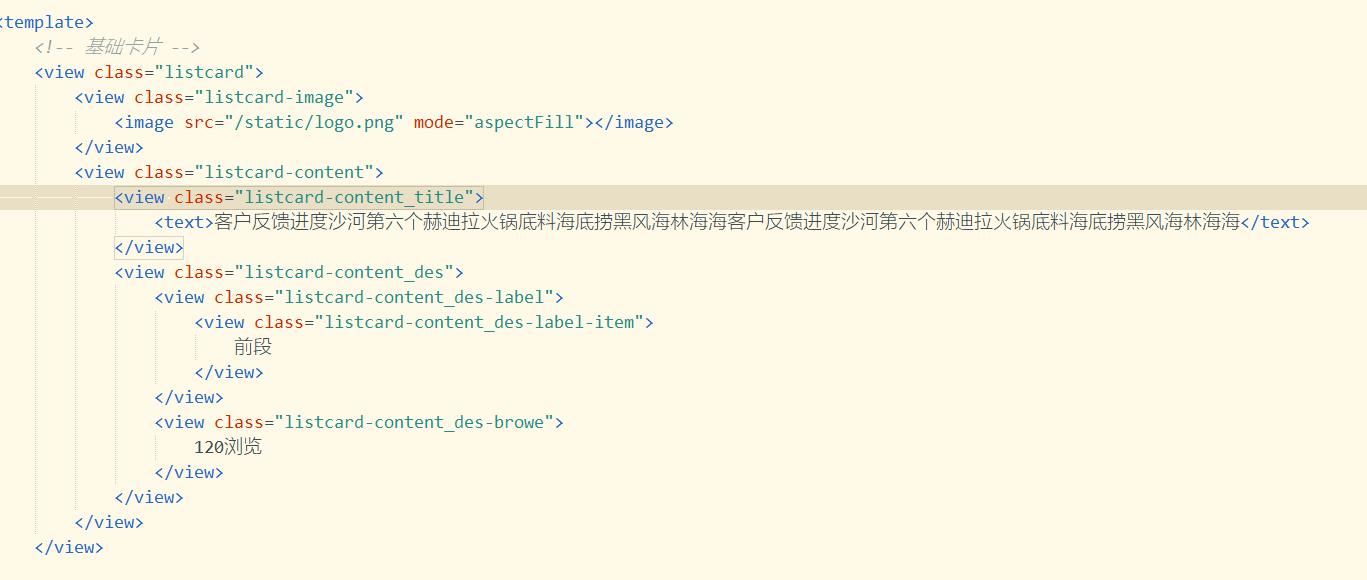
基础卡片实现
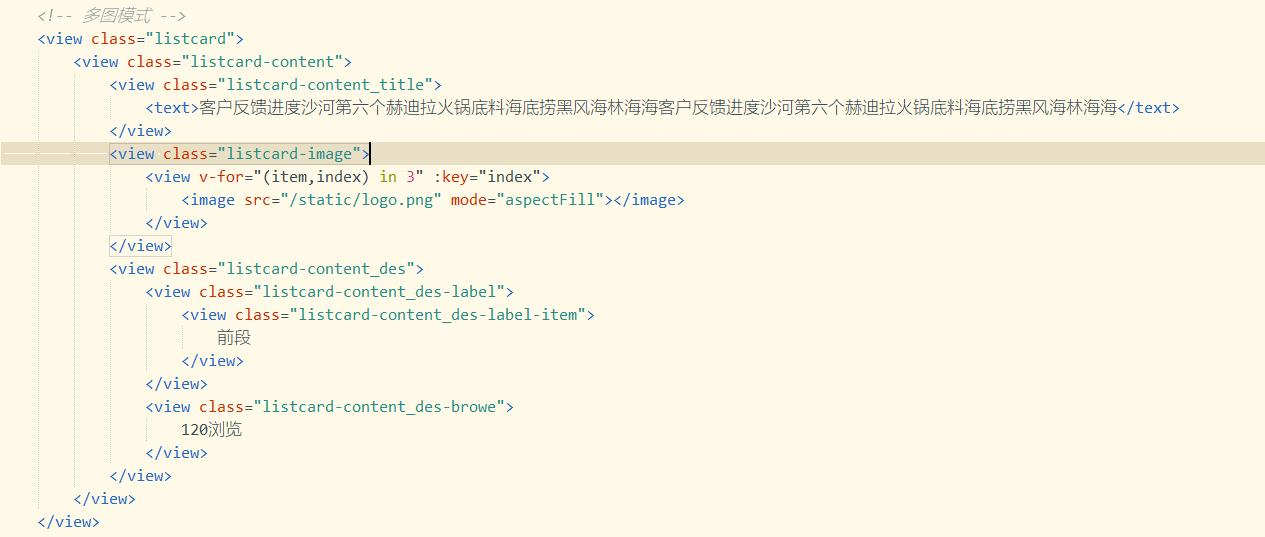
多图卡片实现
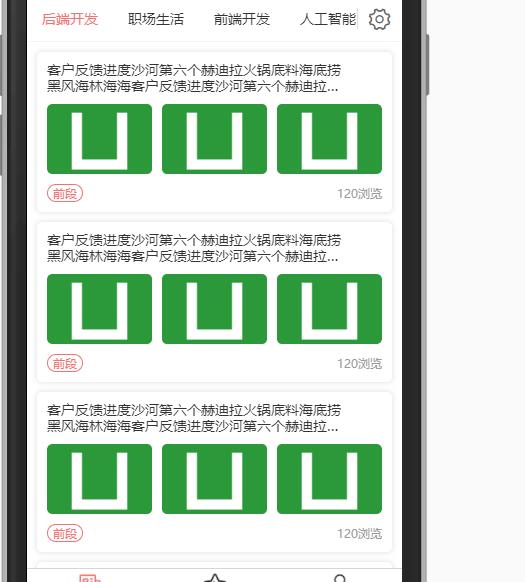
大图模式
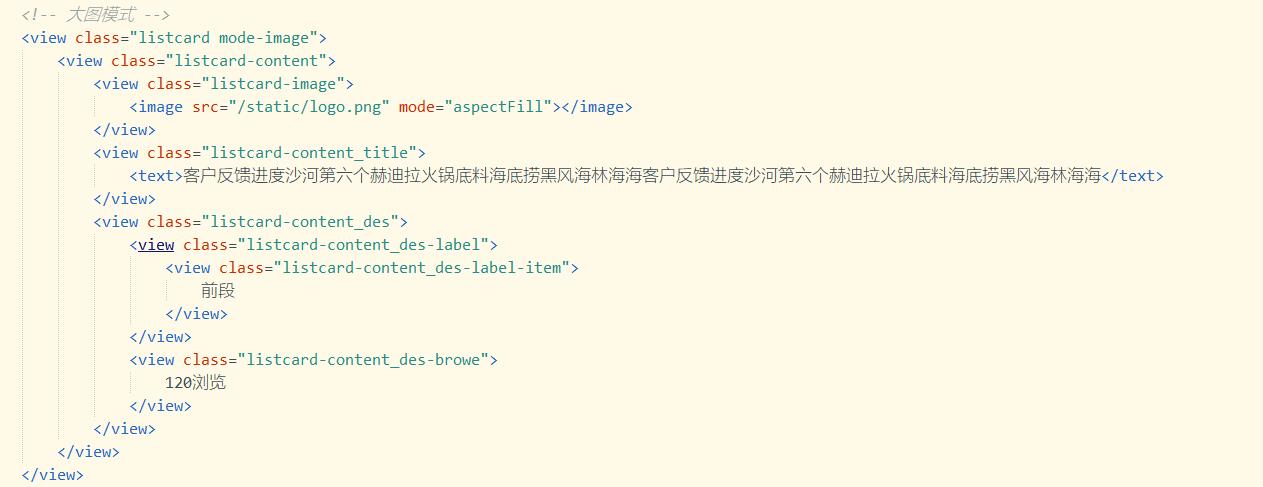
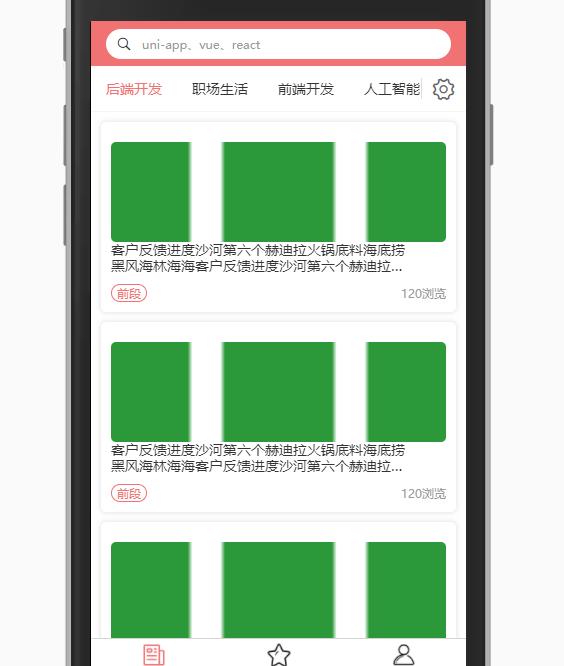
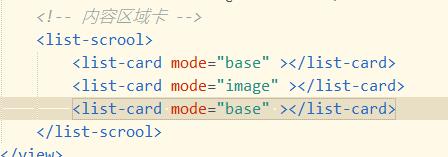
最后一个mode值应该为column
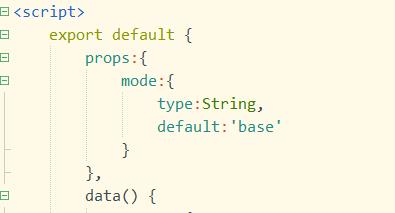

在主页面传值,组件中接收,然后再用条件判断显示
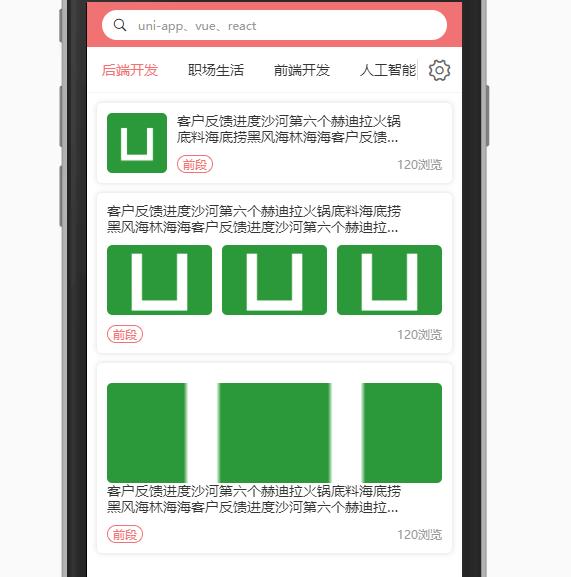
完整代码
<template>
	<view class="list">
		<!-- 基础卡片 -->
		<view v-if="mode==='base'" class="listcard">
			<view class="listcard-image">
				<image src="/static/logo.png" mode="aspectFill"></image>
			</view>
			<view class="listcard-content">
				<view class="listcard-content_title">
					<text>客户反馈进度沙河第六个赫迪拉火锅底料海底捞黑风海林海海客户反馈进度沙河第六个赫迪拉火锅底料海底捞黑风海林海海</text>
				</view>
				<view class="listcard-content_des">
					<view class="listcard-content_des-label">
						<view class="listcard-content_des-label-item">
							前段
						</view>
					</view>
					<view class="listcard-content_des-browe">
						120浏览
					</view>
				</view>
			</view>
		</view>

		<!-- 多图模式 -->
		<view v-if="mode==='image'" class="listcard mode-column">
			<view class="listcard-content">
				<view class="listcard-content_title">
					<text>客户反馈进度沙河第六个赫迪拉火锅底料海底捞黑风海林海海客户反馈进度沙河第六个赫迪拉火锅底料海底捞黑风海林海海</text>
				</view>
				<view class="listcard-image">
					<view v-for="(item,index) in 3" :key="index" class="listcard-image_item">
						<image src="/static/logo.png" mode="aspectFill"></image>
					</view>
				</view>
				<view class="listcard-content_des">
					<view class="listcard-content_des-label">
						<view class="listcard-content_des-label-item">
							前段
						</view>
					</view>
					<view class="listcard-content_des-browe">
						120浏览
					</view>
				</view>
			</view>
		</view>
		<!-- 大图模式 -->
		<view v-if="mode==='column'" class="listcard mode-image">
			<view class="listcard-content">
				<view class="listcard-image">
					<image src="/static/logo.png" mode="aspectFill"></image>
				</view>
				<view class="listcard-content_title">
					<text>客户反馈进度沙河第六个赫迪拉火锅底料海底捞黑风海林海海客户反馈进度沙河第六个赫迪拉火锅底料海底捞黑风海林海海</text>
				</view>
				<view class="listcard-content_des">
					<view class="listcard-content_des-label">
						<view class="listcard-content_des-label-item">
							前段
						</view>
					</view>
					<view class="listcard-content_des-browe">
						120浏览
					</view>
				</view>
			</view>
		</view>
	</view>
</template>

<script>
	export default {
		props:{
			mode:{
				type:String,
				default:'base'
			}
		},
		data() {
			return {

			};
		}
	}
</script>

<style lang="scss">
	.list{
		.listcard {
			display: flex;
			padding: 10px;
			margin: 10px;
			border-radius: 5px;
			box-shadow: 0 0 5px 1px rgba($color: #000000, $alpha: 0.1);
			box-sizing: border-box;

			.listcard-image {
				flex-shrink: 0;
				width: 60px;
				height: 60px;
				border-radius: 5px;
				overflow: hidden;

				image {
					width: 100%;
					height: 100%;
				}
			}

			.listcard-content {
				display: flex;
				flex-direction: column;
				justify-content: space-between;
				padding-left: 10px;
				width: 100%;

				.listcard-content_title {
					position: relative;
					padding-right: 30px;
					font-size: 14px;
					color: #333;
					font-weight: 400;
					line-height: 1.2;

					text {
						overflow: hidden;
						text-overflow: ellipsis;
						display: -webkit-box;
						-webkit-line-clamp: 2;
						-webkit-box-orient: vertical;
					}

				}

				.listcard-content_des {
					display: flex;
					justify-content: space-between;
					font-size: 12px;

					.listcard-content_des-label {
						display: flex;

						.listcard-content_des-label-item {
							padding: 0 5px;
							margin-right: 5px;
							border-radius: 15px;
							color: $mk-base-color;
							border: 1px $mk-base-color solid;
						}
					}

					.listcard-content_des-browe {
						color: #999;
						line-height: 1.5;
					}
				}
			}

			&.mode-column {
				.listcard-content {
					width: 100%;
					padding-left: 0;
				}

				.listcard-image {
					display: flex;
					margin-top: 10px;
					width: 100%;
					height: 70px;

					.listcard-image_item {
						margin-left: 10px;
						width: 100%;
						border-radius: 5px;
						overflow: hidden;

						&:first-child {
							margin-left: 0;
						}

						image {
							width: 100%;
							height: 100%;
						}
					}
				}

				.listcard-content_des {
					margin-top: 10px;
				}
			}

			&.mode-image {
				flex-direction: column;
				.listcard-image {
					width: 100%;
					height: 100px;
				}

				.listcard-content {
					padding-left: 0;
					margin-top: 10px;

					.listcard-content_des {
						display: flex;
						align-items: center;
						margin-top: 10px;
					}
				}
			}
		}
	}
</style>
首页切换实现 敬请期待下一篇
以上是关于uni-app实战项目,跟着做完你就可以独立作战了的主要内容,如果未能解决你的问题,请参考以下文章