Spring中两种编程式事务管理
Posted nuist__NJUPT
tags:
篇首语:本文由小常识网(cha138.com)小编为大家整理,主要介绍了Spring中两种编程式事务管理相关的知识,希望对你有一定的参考价值。
Spring中两种编程式事务管理
在代码中显示调用beginTransaction,commit,rollback等与事务处理相关的方法,这就是编程式事务管理,当只有少数事务操作时,编程式事务管理才比较合理。
编程式事务管理一般有两种:
1-基于底层API的编程式事务管理
2-基于TransactionTemplate的编程式事务管理
基于底层API的编程式事务管理
就是根据PlatformTransactionMananger,TransactionDefinition和TransanctionStatus几个核心接口,通过编程的方式进行事务处理。
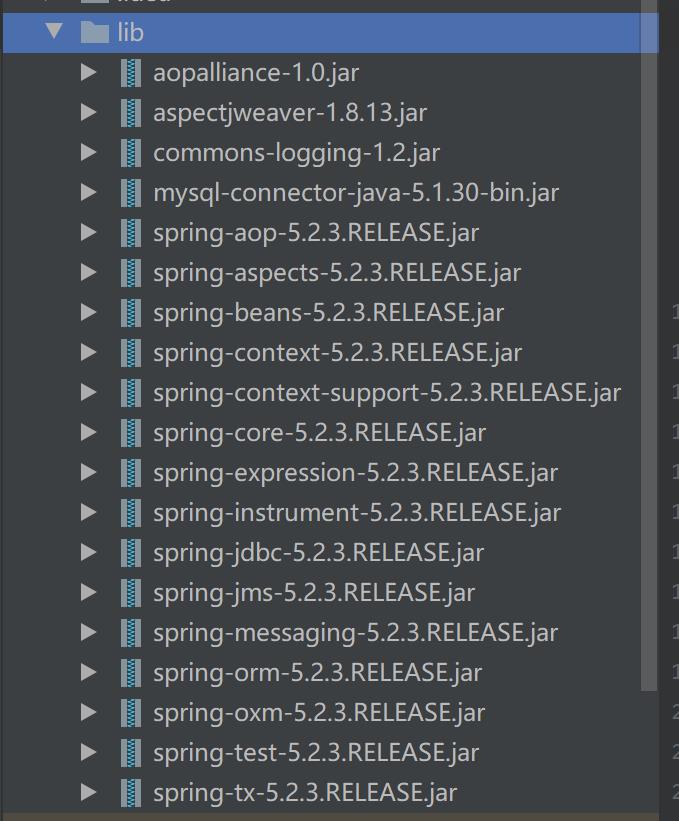
1.创建spring应用ch17,在该应用中导入相关jar包,并在mysql中创建数据库spring,并在该数据库中创建表user,编码方式选择utf8,如下所示

2.在src目录下创建配置文件applicationContext2,在该配置文件中指定包,使得注解生效,配置数据源,给数据源配置事务管理器。
<?xml version="1.0" encoding="UTF-8"?>
<beans xmlns="http://www.springframework.org/schema/beans"
       xmlns:xsi="http://www.w3.org/2001/XMLSchema-instance"
       xmlns:context="http://www.springframework.org/schema/context"
       xsi:schemaLocation="http://www.springframework.org/schema/beans
       http://www.springframework.org/schema/beans/spring-beans.xsd
       http://www.springframework.org/schema/context
       https://www.springframework.org/schema/context/spring-context.xsd">
    <!--指定需要扫描的包,使得注解生效-->
   <context:component-scan base-package="com.ch17"/>
    <!--配置数据源-->
    <bean id = "dataSource" class = "org.springframework.jdbc.datasource.DriverManagerDataSource">
        <!--MySQl数据驱动-->
        <property name = "driverClassName" value = "com.mysql.jdbc.Driver"/>
        <!--连接数据库的URL-->
        <property name = "url" value = "jdbc:mysql://localhost:3306/spring?characterEncoding=utf8"/>
        <!--连接数据库的用户名-->
        <property name = "username" value = "root"/>
        <!--连接数据库的密码-->
        <property name = "password" value = "123456" />
    </bean>

    <!--配置JDBC模板-->
    <bean id = "jdbcTemplate" class = "org.springframework.jdbc.core.JdbcTemplate">
        <property name = "dataSource" ref = "dataSource"/>
    </bean>

    <!--为数据添加事务管理-->
    <bean id = "txManager" class = "org.springframework.jdbc.datasource.DataSourceTransactionManager">
        <property name = "dataSource" ref = "dataSource"/>
    </bean>
</beans>
3.在src目录下创建包com.ch17,并在该包中创建数据访问类CodeTransaction,并注解为@Repository(“codeTransaction”)
在该类中使用编程的方式进行数据库事务管理
import org.springframework.beans.factory.annotation.Autowired;
import org.springframework.jdbc.core.JdbcTemplate;
import org.springframework.jdbc.datasource.DataSourceTransactionManager;
import org.springframework.stereotype.Repository;
import org.springframework.transaction.TransactionDefinition;
import org.springframework.transaction.TransactionStatus;
import org.springframework.transaction.support.DefaultTransactionDefinition;
//声明数据访问层注解有效
@Repository("codeTransaction")
public class CodeTransaction {
    @Autowired
    //使用配置文件的JDBC模板
   private JdbcTemplate jdbcTemplate ;
    @Autowired
    //使用数据源事务管理对象
    private DataSourceTransactionManager txManager ;
    public String test(){
        //默认事务定义,例如隔离级别,传播行为等
        TransactionDefinition tf = new DefaultTransactionDefinition() ;
        //开启事务ts
        TransactionStatus ts = txManager.getTransaction(tf) ;
        String message = "执行成功,没有事务回滚!" ;
        try{
            //删除表中数据
            String sql = "delete from user" ;
            //添加数据
            String sql1 = "insert into user value(?,?,?)" ;
            Object [] param1 = {1, "杨敏玲", "女"} ;
            Object [] param2 = {2, "张珂珂", "男"} ;
            Object [] param3 = {3, "王国栋", "男"} ;
            Object [] param4 = {4, "刘海", "男"} ;
            Object [] param5 = {5, "齐超", "男"} ;
            Object [] param6 = {6, "崔丽华", "女"} ;
            Object [] param7 = {7, "张燕娜", "女"} ;
            Object [] param8 = {8, "魏子俊", "男"} ;
            Object [] param9 = {9, "康伟", "男"} ;
            Object [] param10 = {10, "吴丽丽","女"} ;
            Object [] param11 = {11, "赵冠霖", "男"} ;
            Object [] param12 = {12, "智磊","男"} ;
            Object [] param13 = {13, "韩中洋", "男"} ;
            jdbcTemplate.update(sql) ;
            //添加2条数据
            jdbcTemplate.update(sql1,param1) ;
            jdbcTemplate.update(sql1,param2) ;
            jdbcTemplate.update(sql1,param3) ;
            jdbcTemplate.update(sql1,param4) ;
            jdbcTemplate.update(sql1,param5) ;
            jdbcTemplate.update(sql1,param6) ;
            jdbcTemplate.update(sql1,param7) ;
            jdbcTemplate.update(sql1,param8) ;
            jdbcTemplate.update(sql1,param9) ;
            jdbcTemplate.update(sql1,param10) ;
            jdbcTemplate.update(sql1,param11) ;
            jdbcTemplate.update(sql1,param12) ;
            jdbcTemplate.update(sql1,param13) ;
            //提交事务
            txManager.commit(ts) ;
        }catch(Exception e){
            //出现异常,事务回滚
            txManager.rollback(ts) ;
            message = "主键重复,事务回滚!" ;
            System.out.println(e.getMessage()) ;
        }
        return message ;
    }
}
4-在com.ch17包中创建测试类TestCodeTransaction
import org.springframework.context.ApplicationContext;
import org.springframework.context.support.ClassPathXmlApplicationContext;

public class TestCodeTransaction {
    public static void main(String[] args){
        //初始化Spring容器,加载配置文件
        ApplicationContext appCon = new ClassPathXmlApplicationContext("applicationContext2.xml") ;
        //获取对象实例
        CodeTransaction ct = (CodeTransaction) appCon.getBean("codeTransaction");
        String result =ct.test() ;
        System.out.println(result) ;
    }
}
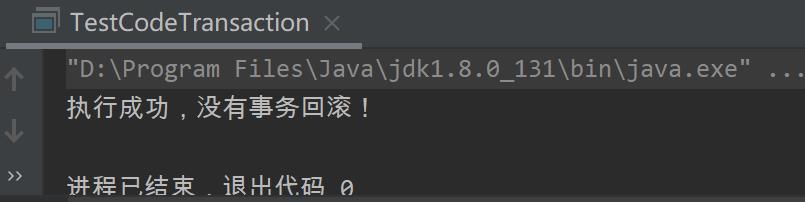
5-执行结果如下:
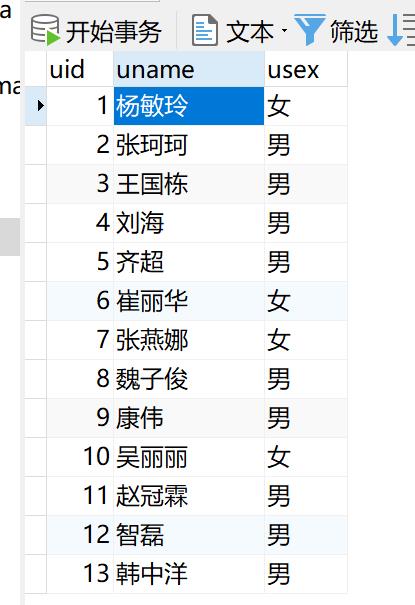
6-数据库user表中数据如下
- 基于TransactionTemplate的编程式事务管理
- 事务处理的代码散落在业务逻辑代码中,破坏了原有代码的条理性
- 并且每一个业务方法都包含了类似的启动事务,提交以及回滚事务的代码
- TransactionTemplate的execute方法有一个TransactionCallback接口类似的参数,
- 该接口中定义了doInTransaction方法,通常以匿名内部类的形式实现TransactionCallback接口
- 并在doInTransaction方法中书写业务逻辑代码,在这里可以使用默认的事务提交和回滚规则,
- 在业务代码中不需要显示的调用任何事务处理的API
- doInTransaction方法有一个TransactionStatus类型的参数,可以在方法的任何位置调用参数的setRollbackOnly方法将事务标识为回滚,
- 以执行事务回滚
- 根据默认规则,如果在执行方法的过程中抛出未检查异常,或者显式调用setRollbackOnly方法,则事务回滚
- 如果事务执行完成或者抛储checked类型的异常,则提交事务.
1-创建spring应用ch17,在该应用中导入相关jar包,并在mySQL中创建数据库spring,并在该数据库中创建表user,编码方式选择utf8.
2-在src目录下创建配置文件applicationContext3,在该配置文件中指定包,使得注解生效,配置数据源,给数据源配置事务管理器,为事务管理器txManager创建transactionTemplate。
<?xml version="1.0" encoding="UTF-8"?>
<beans xmlns="http://www.springframework.org/schema/beans"
       xmlns:xsi="http://www.w3.org/2001/XMLSchema-instance"
       xmlns:context="http://www.springframework.org/schema/context"
       xsi:schemaLocation="http://www.springframework.org/schema/beans
       http://www.springframework.org/schema/beans/spring-beans.xsd
       http://www.springframework.org/schema/context
       https://www.springframework.org/schema/context/spring-context.xsd">
    <!--指定需要扫描的包,使得注解生效-->
    <context:component-scan base-package="com.ch17"/>
    <!--配置数据源-->
    <bean id = "dataSource" class = "org.springframework.jdbc.datasource.DriverManagerDataSource">
        <!--MySQl数据驱动-->
        <property name = "driverClassName" value = "com.mysql.jdbc.Driver"/>
        <!--连接数据库的URL-->
        <property name = "url" value = "jdbc:mysql://localhost:3306/spring?characterEncoding=utf8"/>
        <!--连接数据库的用户名-->
        <property name = "username" value = "root"/>
        <!--连接数据库的密码-->
        <property name = "password" value = "123456" />
    </bean>

    <!--配置JDBC模板-->
    <bean id = "jdbcTemplate" class = "org.springframework.jdbc.core.JdbcTemplate">
        <property name = "dataSource" ref = "dataSource"/>
    </bean>

    <!--为数据添加事务管理-->
    <bean id = "txManager" class = "org.springframework.jdbc.datasource.DataSourceTransactionManager">
        <property name = "dataSource" ref = "dataSource"/>
    </bean>

    <!--为事务管理器txManager创建transactionTemplate-->
    <bean id = "transactionTemplate" class = "org.springframework.transaction.support.TransactionTemplate">
        <property name = "transactionManager" ref = "txManager"/>
    </bean>
</beans>
3-在在src目录下创建包com.ch17,在该包中创建数据访问类TransactionTemplateDao,并注解为@Repository(“transactionTemplateDao”)
在该类中通过编程的方式进行事务管理
import org.springframework.beans.factory.annotation.Autowired;
import org.springframework.jdbc.core.JdbcTemplate;
import org.springframework.stereotype.Repository;
import org.springframework.transaction.TransactionStatus;
import org.springframework.transaction.support.TransactionCallback;
import org.springframework.transaction.support.TransactionTemplate;

@Repository("transactionTemplateDao")
public class TransactionTemplateDao {
    @Autowired
    //使用配置文件的JDBC模板
    private JdbcTemplate jdbcTemplate ;
    @Autowired
    private TransactionTemplate transactionTemplate ;
    String message = "" ;
    public String test(){
        /**
         * 以匿名内部类的方式实现TransactionCallback接口,使用默认的事务提交和回流规则
         * 在业务代码中不需要显示调用任何事务处理的API
         */
        transactionTemplate.execute(new TransactionCallback<Object>() {
            @Override
            public Object doInTransaction(TransactionStatus transactionStatus) {
                //删除表中的数据
                String sql = "delete from user" ;
                //添加数据
                String sql1 = "insert into user value(?,?,?)" ;
                Object [] param1 = {1,"王国栋1","男"} ;
                Object [] param2 = {2,"刘海2", "男"} ;
                Object [] param3 = {3,"崔丽娜3","女"} ;
                Object [] param4 = {4,"张燕娜4","女"} ;
                Object [] param5 = {5,"张珂珂","男神"};
                try{
                    //先删除数据
                    jdbcTemplate.update(sql) ;
                    //添加数据
                    jdbcTemplate.update(sql1,param1) ;
                    jdbcTemplate.update(sql1,param2) ;
                    jdbcTemplate.update(sql1,param3) ;
                    jdbcTemplate.update(sql1,param4) ;
                    jdbcTemplate.update(sql1,param5) ;
                    message = "执行成功,没有事务回滚!" ;
                }catch(Exception e){
                    message = "主键重复,事务回滚!" ;
                    System.out.println(e.getMessage())  ;
                }
                return message;
            }
        }) ;
        return message ;
    }
}
4-在com.ch17包中创建测试类TransactionTemplateTest
在该类中获取目标对象的实例,并执行相应的目标方法
import org.springframework.context.ApplicationContext;
import org.springframework.context.support.ClassPathXmlApplicationContext;

public class TransactionTemplateTest {
    public static void main(String[] args){
        //初始化Spring容器,加载配置文件
        ApplicationContext appCon = new ClassPathXmlApplicationContext("applicationContext3.xml") ;
        //获取实例对象
        TransactionTemplateDao transactionTemplateDao = (TransactionTemplateDao) appCon.getBean("transactionTemplateDao");
        String result = transactionTemplateDao.test() ;
        System.out.println(result) ;
    }
}
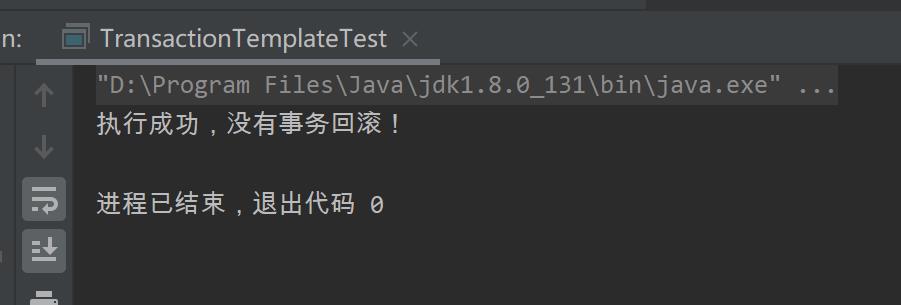
5-执行结果如下
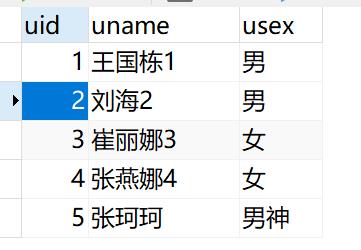
6-数据库spring中的user表如下
以上是关于Spring中两种编程式事务管理的主要内容,如果未能解决你的问题,请参考以下文章