SpringBoot + Spring Cloud +Vue 管理系统前端搭建(四引入第三方图标库)
Posted Java璐到底
tags:
篇首语:本文由小常识网(cha138.com)小编为大家整理,主要介绍了SpringBoot + Spring Cloud +Vue 管理系统前端搭建(四引入第三方图标库)相关的知识,希望对你有一定的参考价值。
Font Awesome
大多数VuElemente前端大家都会用Element UI图标,Element UI提供的图标比较少,所以我们引入第三方库Font Awesome ,Font Awesome我们就不详细介绍了,想了解的大家可以到官网。
Font Awesome 官网:https://fontawesome.com/
安装依赖
执行: npm add font-awesome
项目引入
在项目main.js中引入css依赖,可执行 import 'font-awesome/css/font-awesome.min.css'

页面使用
在项目引入后,我们就可以在页面直接使用了,我们修改Home.vue,加入一个图标。
修改后代码如下
Home.vue
<template>
<div class="page">
<h2>Home Page</h2>
<li class="fa fa-home fa-lg"></li>
<el-button type="primary" @click="testAxios()">测试Axios调用</el-button>
<el-button type="primary" @click="getUser()">获取用户信息</el-button>
<el-button type="primary" @click="getMenu()">获取菜单信息</el-button>
</div>
</template>
<script>
import axios from 'axios'
import mock from '@/mock/index.js'
export default {
name: 'Home',
methods: {
testAxios() {
axios.get('http://localhost:8080').then(res => { alert(res.data) })
},
getUser() {
axios.get('http://localhost:8080/user').then(res => { alert(JSON.stringify(res.data)) })
},
getMenu() {
axios.get('http://localhost:8080/menu').then(res => { alert(JSON.stringify(res.data)) })
}
}
}
</script>
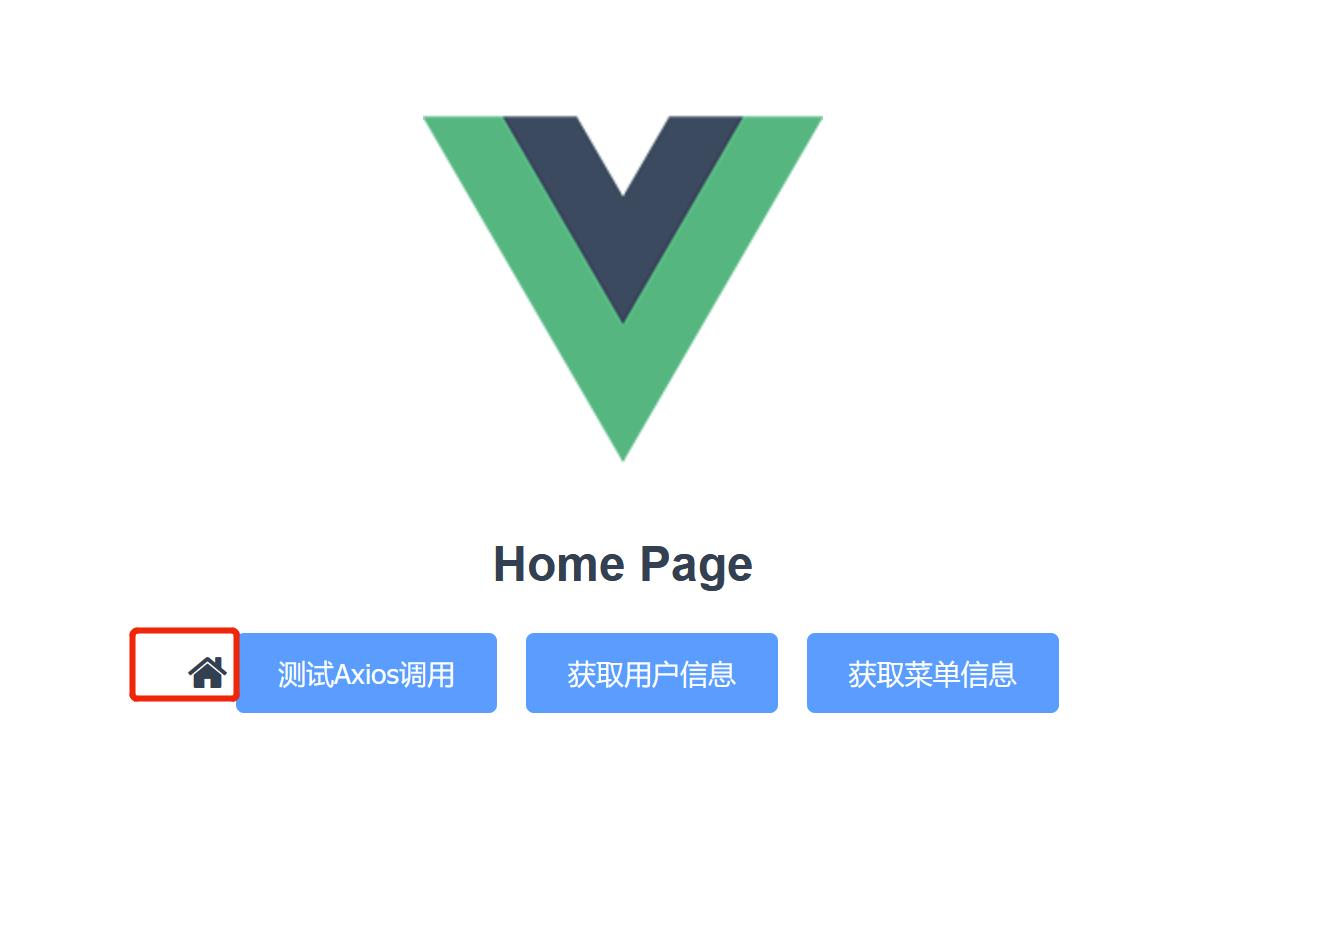
在浏览器访问:http://localhost:8080/#/

可以看到我们使用的图标,好啦,我们已经配置完了,就是这么简单好用!
看完记得点赞哦!
以上是关于SpringBoot + Spring Cloud +Vue 管理系统前端搭建(四引入第三方图标库)的主要内容,如果未能解决你的问题,请参考以下文章