Apache练习
Posted 丁CCCCC
tags:
篇首语:本文由小常识网(cha138.com)小编为大家整理,主要介绍了Apache练习相关的知识,希望对你有一定的参考价值。
练习
- 一、准备工作
- 二、stroage服务器搭建nfs服务方便Web服务器使用,提供的共享空间使用raid5磁盘阵列模式,共享目录名称为sharetest
- 三、在Web2服务器上搭建Apache服务(注意配置时候参考第3题需求),创建两台基于不同的域名(www.accp.com /www.benet.com)的虚拟主机,站点目录使用stroage提供的共享空间,并且在两台虚拟主机上建立不同测试页面,内容自定
- 四、对Web2服务器的Apache服务其中一个虚拟主机进行调优,要求能够压缩网页内容,隐藏版本号,根据日期进行日志分割每天生成一份日志文件,设置防盗链功能
- 五、在Web1服务器上搭建LAMP服务,并且能够对外提供Discuz论坛服务
- 六、在网关服务器搭建DNS服务,使外网的client访问域名www.kgc.com解析为18.0.0.1,并且能够使用域名直接访问Web1服务器的网站
- 七、对Web1服务器使用AWStats 分析系统来完成自动化的日志统计与分析工作,要求能够通过访问http://www.ccc.com/aws.html来展现统计效果
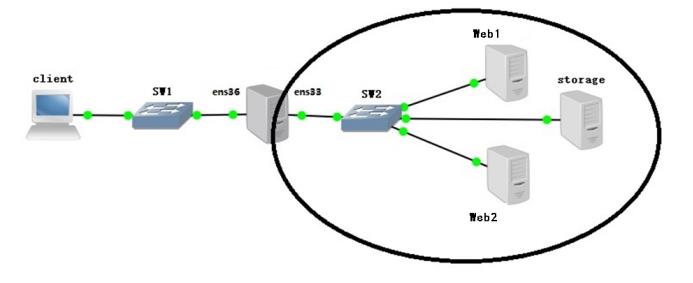
- 服务器IP地址规划:client(Windows主机):18.0.0.18/24
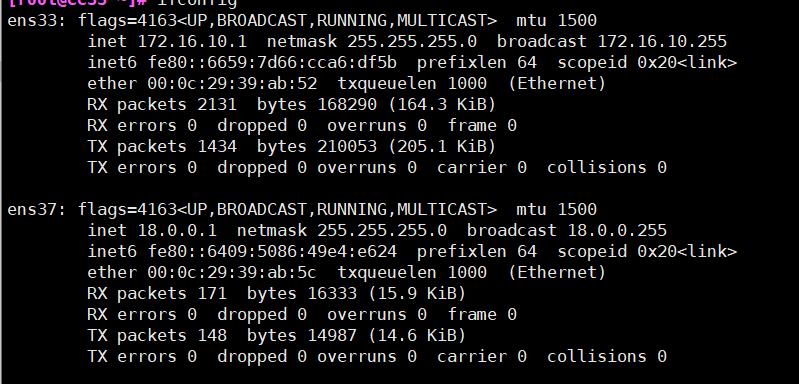
- 网关服务器:ens36:18.0.0.1/24、ens33:172.16.10.1/24
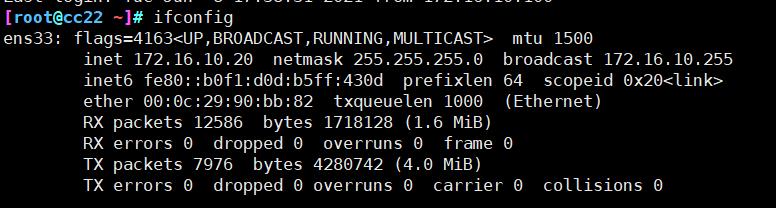
- Web1:172.16.10.10/24,Web2:172.16.10.20/24
- storage:172.16.10.88/24
一、准备工作
- systemctl stop firewalld
- systemctl disable firewalld
- setenforce 0
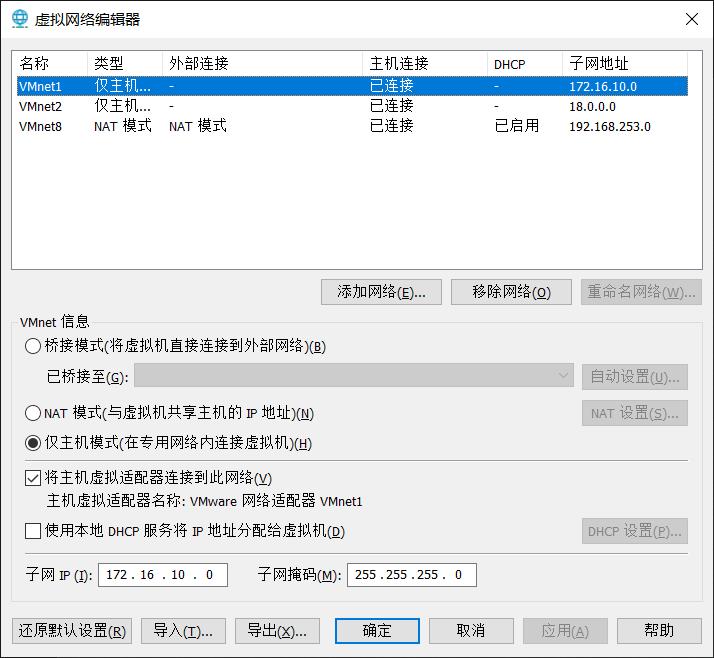
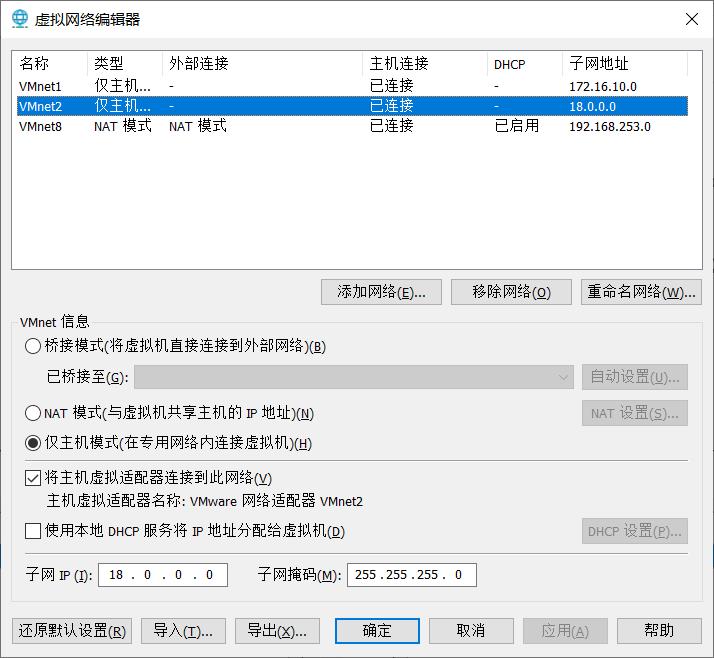
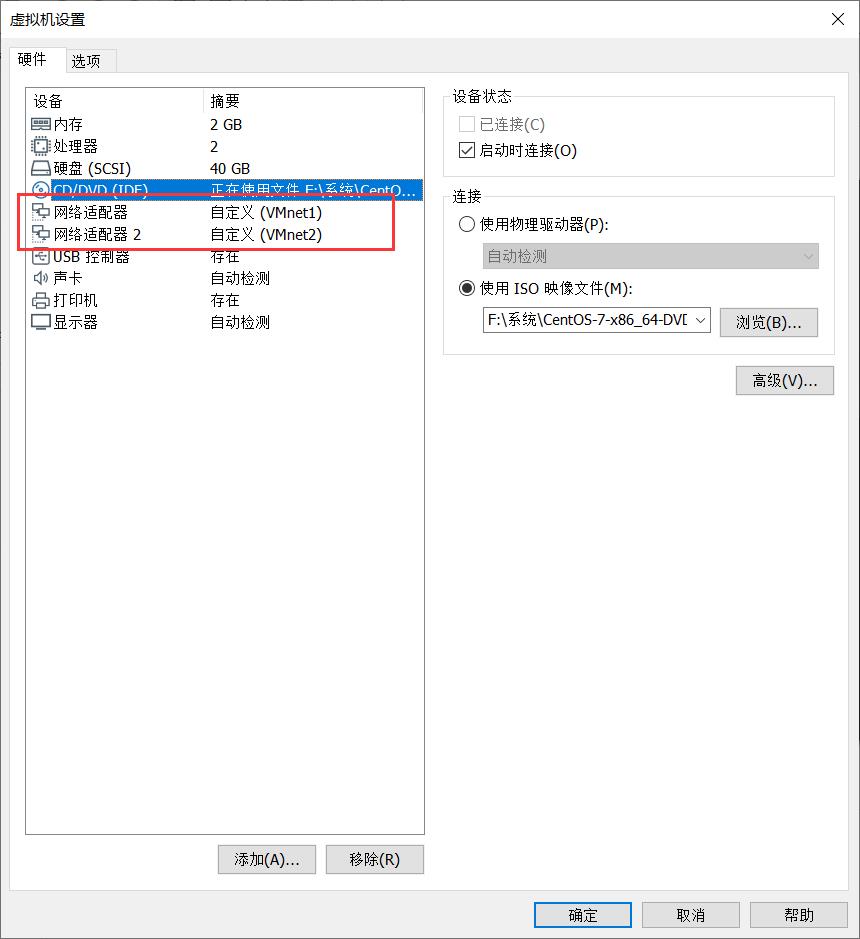
1.1 设置虚拟机 vm1 vm2 网卡配置
- vm1:172.16.10.0 网段
- vm2:18.0.0.0 网段
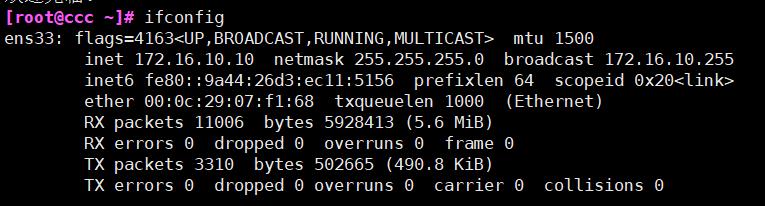
1.2 web1
1.3 web2
1.4 网关服务器
网卡设置
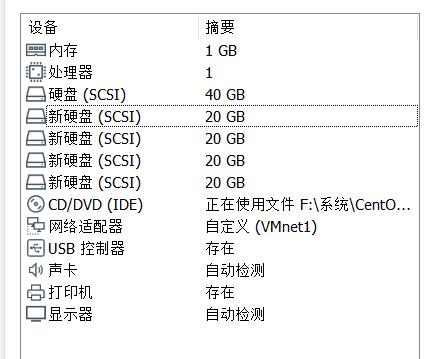
1.5 storage
添加四块硬盘
二、stroage服务器搭建nfs服务方便Web服务器使用,提供的共享空间使用raid5磁盘阵列模式,共享目录名称为sharetest
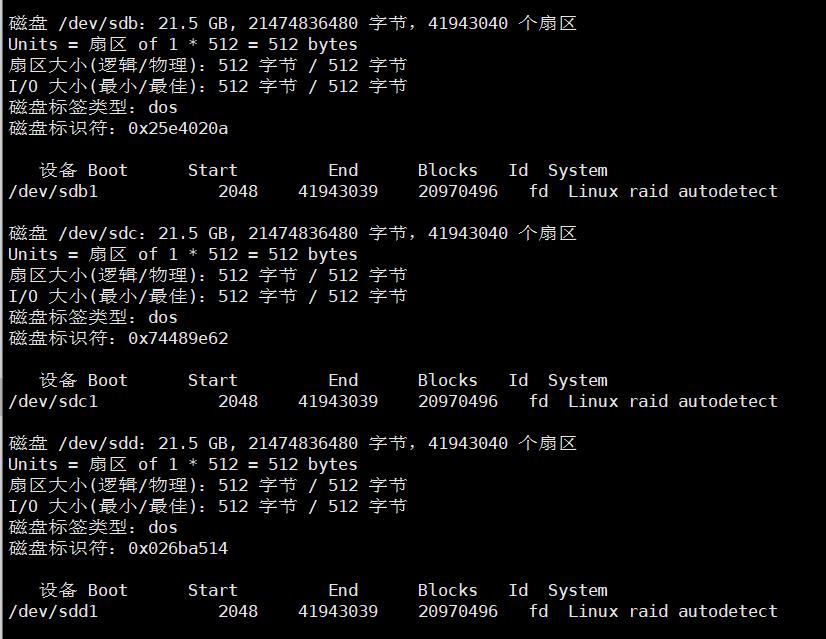
2.1 分区
使用 fdisk 对四个硬盘进行分区,硬盘类型 fd
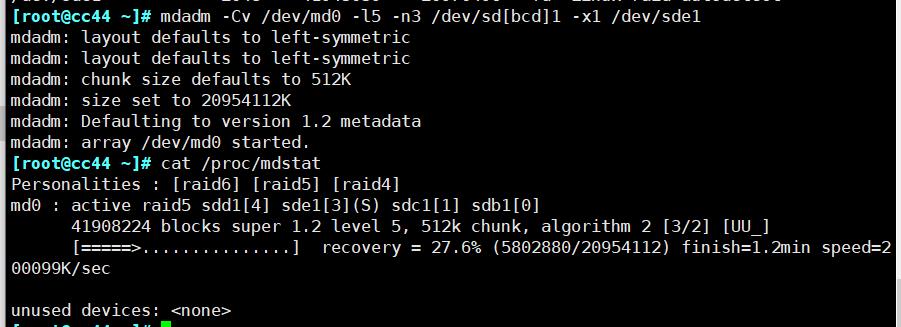
2.2 创建 raid 5
- mdadm -Cv /dev/md0 -l5 -n3 /dev/sd[bcd]1 -x1 /dev/sde1
- cat /proc/mdstat
- 查看安装进度
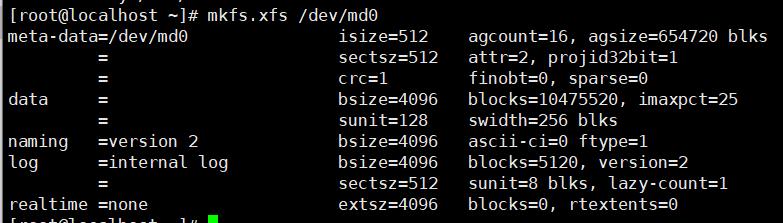
- mkfs.xfs /dev/md0
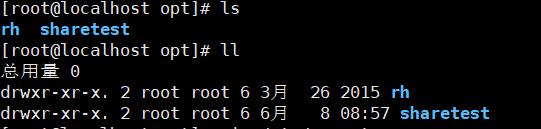
2.3 共享目录
-
mkdir -p /opt/sharetest
-
vim /etc/exports
- 编辑共享文件

- 编辑共享文件
-
showmount -e
- 查询共享的目录

- 查询共享的目录
三、在Web2服务器上搭建Apache服务(注意配置时候参考第3题需求),创建两台基于不同的域名(www.accp.com /www.benet.com)的虚拟主机,站点目录使用stroage提供的共享空间,并且在两台虚拟主机上建立不同测试页面,内容自定
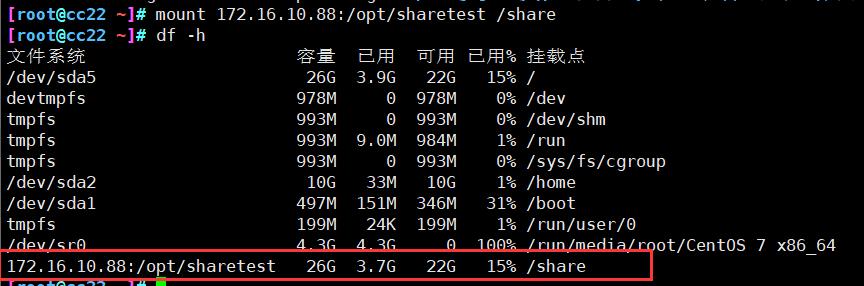
3.1 挂载 stroage 的共享目录
- mkdir /share
- 创建一个目录用于挂载
- mount 172.16.10.88:/opt/sharetest /share
3.2 搭建Apache
3.3 创建基于域名的主机
# 在文件内配置临时域名
echo "172.16.10.20 www.accp.com" >> /etc/hosts
echo "172.16.10.20 www.benet.com" >> /etc/hosts
# 创建网页文档,根据题目要求需要在挂载的共享目录内创建
mkdir -p /share/www/html/accp
mkdir -p /share/www/html/benet
# 编辑网页内容
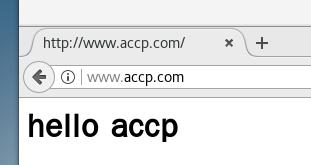
echo "<h1>hello accp" > /share/www/html/accp/index.html
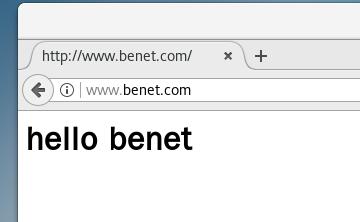
echo "<h1>hello benet" > /share/www/html/benet/index.html
# 添加虚拟主机配置
23 <VirtualHost 172.16.10.20:80>
24 # ServerAdmin webmaster@dummy-host.example.com
25 DocumentRoot "/share/www/html/accp"
26 ServerName www.accp.com
27 ErrorLog "logs/accp.com-error_log"
28 CustomLog "logs/accp.com-access_log" common
29 </VirtualHost>
30
31 <VirtualHost 172.16.10.20:80>
32 # ServerAdmin webmaster@dummy-host.example.com
33 DocumentRoot "/share/www/html/benet"
34 ServerName www.benet.com
35 ErrorLog "logs/benet.com-error_log"
36 CustomLog "logs/benet.com-access_log" common
37 </VirtualHost>
38
39 <Directory "/share/www/html">
40 Options None
41 AllowOverride None
42 Require all granted
43 </Directory>
# 主配置文件修改
482 Include conf/extra/httpd-vhosts.conf
# 重启服务
systemctl restart httpd
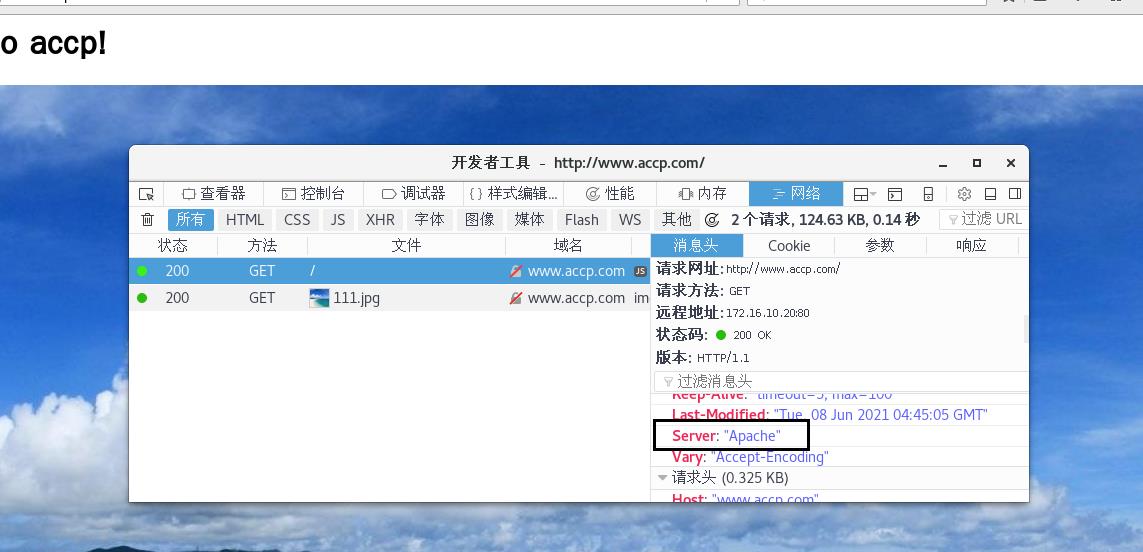
3.4 测试
四、对Web2服务器的Apache服务其中一个虚拟主机进行调优,要求能够压缩网页内容,隐藏版本号,根据日期进行日志分割每天生成一份日志文件,设置防盗链功能
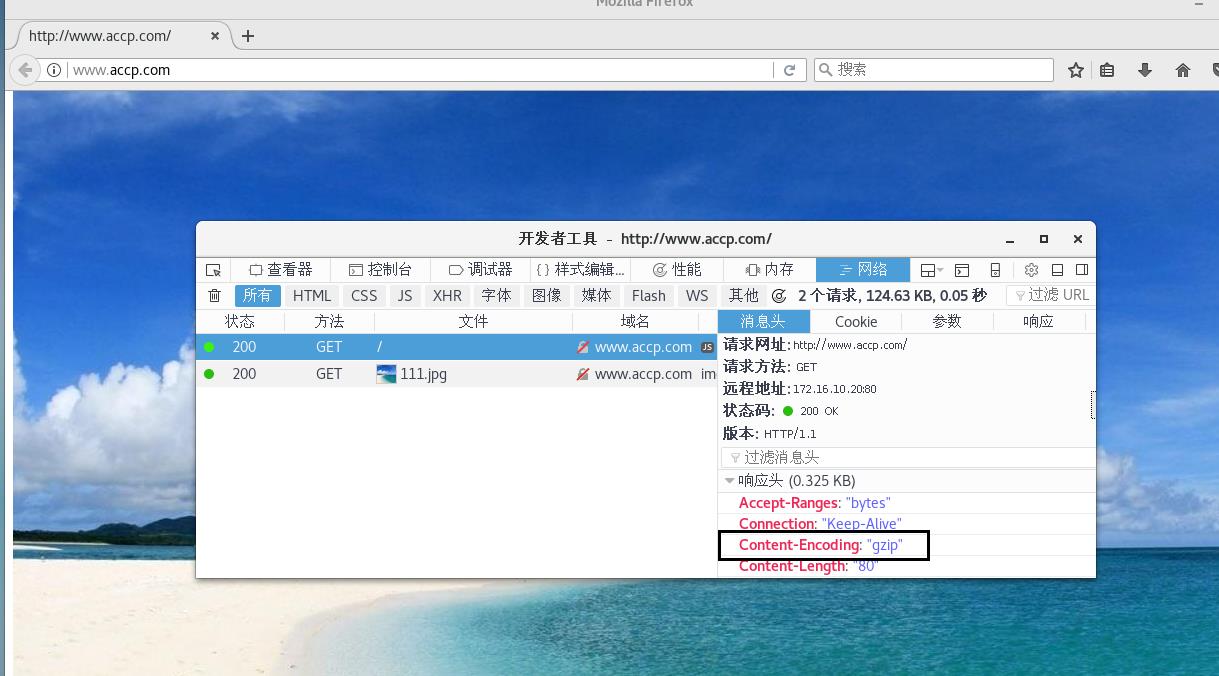
4.1 压缩网页内容
# 关闭httpd
systemctl stop httpd

# 进入目录
cd /usr/local/httpd/conf/

# 移动或删除原配置文件
mv httpd.conf httpd.conf.bak1

# 安装软件包
yum -y install gcc gcc-c++ pcre pcre-devel zlib-devel

# 加入 mod_deflate 模块
cd /opt/httpd-2.4.29/
./configure \\
> --prefix=/usr/local/httpd \\
> --enable-so \\
> --enable-rewrite \\
> --enable-charset-lite \\
> --enable-cgi \\
> --enable-deflate

# 编译解码
make -j2 && make install

# 修改配置文件
vim /usr/local/httpd/conf/httpd.conf

# 以下内容均为解注释或修改
 51 Listen 172.16.10.20:80
105 LoadModule deflate_module modules/mod_deflate.so
197 ServerName www.cc001.com:80

# 末行添加
<IfModule mod_deflate.c>
AddOutputFilterByType DEFLATE text/html text/plain text/css text/xml text/ javascript text/jpg text/png
DeflateCompressionLevel 9
SetOutputFilter DEFLATE
</IfModule>

# 检查内容
apachectl -t
编译网页内容
<html>
<body>
<h1>
hello accp!
</h1>
<img src="111.jpg"/>
</body>
</html>

测试
4.2 隐藏版本号
# 进入配置文件,取消注释
vim /usr/local/httpd/conf/httpd.conf
490 Include conf/extra/httpd-default.conf

# Full 改为 Prod 只显示名称
vim /usr/local/httpd/conf/extra/httpd-default.conf
55 ServerTokens Prod
测试
systemctl restart httpd
4.3 分割日志
# 主配置文件
vim /usr/local/httpd/conf/httpd.conf

# 修改
ErrorLog "| /usr/local/bin/rotatelogs -l /var/log/httpd/error_%Y%m%d.log 86400"
CustomLog "| /usr/local/bin/rotatelogs -l /var/log/httpd/access_%Y%m%d.log 86400" combined

# 修改文件
vim /usr/local/httpd/conf/extra/httpd-vhosts.conf

<VirtualHost 172.16.10.20:80>
    DocumentRoot "/share/www/html/accp"
    ServerName www.accp.com
    ErrorLog "| /usr/local/bin/rotatelogs -l /var/log/httpd/benet.com-error_%F.log 86400"
    CustomLog "| /usr/local/bin/rotatelogs -l /var/log/httpd/benet.com-access_%F.log 86400" combined
</VirtualHost>
# 创建分够后的日志保存目录
mkdir /var/log/httpd

# 重启服务
systemctl restart httpd
4.4 设置防盗链
软件配置
# 安装软件包
yum -y install gcc gcc-c++ pcre pcre-devel zlib-devel

# 进入软件包目录
cd /opt/httpd-2.4.29/

# 编译解码
./configure \\
> --prefix=/usr/local/httpd \\
> --enable-so \\
> --enable-rewrite \\
> --enable-charset-lite \\
> --enable-cgi \\
> --enable-deflate \\
> --enable-rewrite

make -j2 && make install

# 设置主配置文件
vim /usr/local/httpd/conf/httpd.conf

157 LoadModule rewrite_module modules/mod_rewrite.so

<Directory "/share/www/html/accp">
    Options Indexes FollowSymLinks
    AllowOverride None
    Require all granted
RewriteEngine On
RewriteCond %{HTTP_REFERER} !^http://accp.com/.*$ [NC]
RewriteCond %{HTTP_REFERER} !^http://accp.com$ [NC]
RewriteCond %{HTTP_REFERER} !^http://www.accp.com/.*$ [NC]
RewriteCond %{HTTP_REFERER} !^http://www.accp.com/$ [NC]
RewriteRule .*\\.(gif|jpg|swf)$ http://www.accp.com/111.png
</Directory>
web主机配置
根据题目要求,文件放置在共享目录内
# 进入共享目录
cd /share/www/html/accp

# 编辑网页内容
<h1>www.accp.com</h1>
<img src="111.jpg"/>

# 放置网页图片以及防盗链图片
ls
111.jpg  111.png  index.html

# 设置域名解析
echo "172.16.10.20 www.accp.com" >> /etc/hosts
echo "172.16.10.20 www.benet.com" >> /etc/hosts
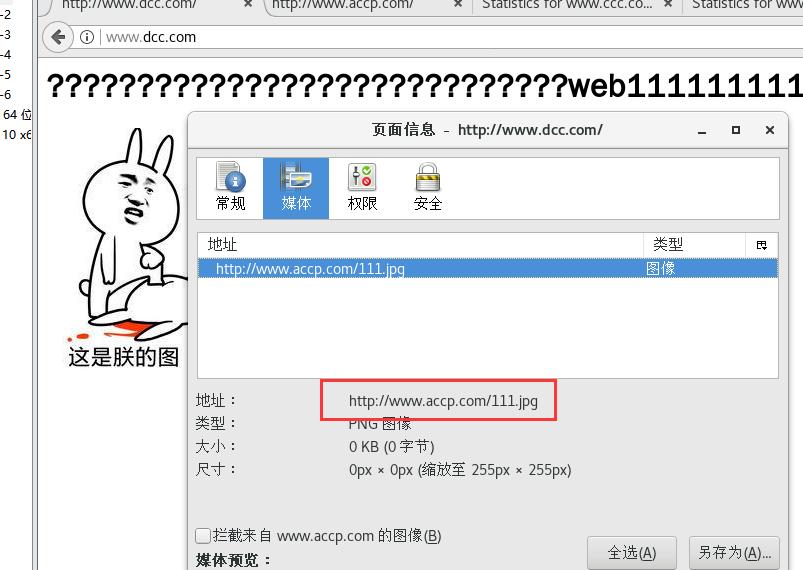
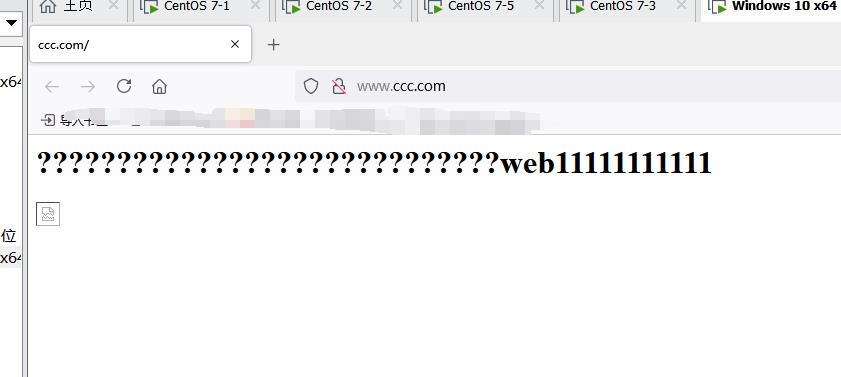
盗链机设置
# 进入目录
cd /usr/local/httpd/htdocs/

# 编辑网页内容
<html>
<body>
<h1>
?????????????????????????????web11111111111
</h1>
<img src="http://www.accp.com/111.jpg"/>
</body>
</html>
测试
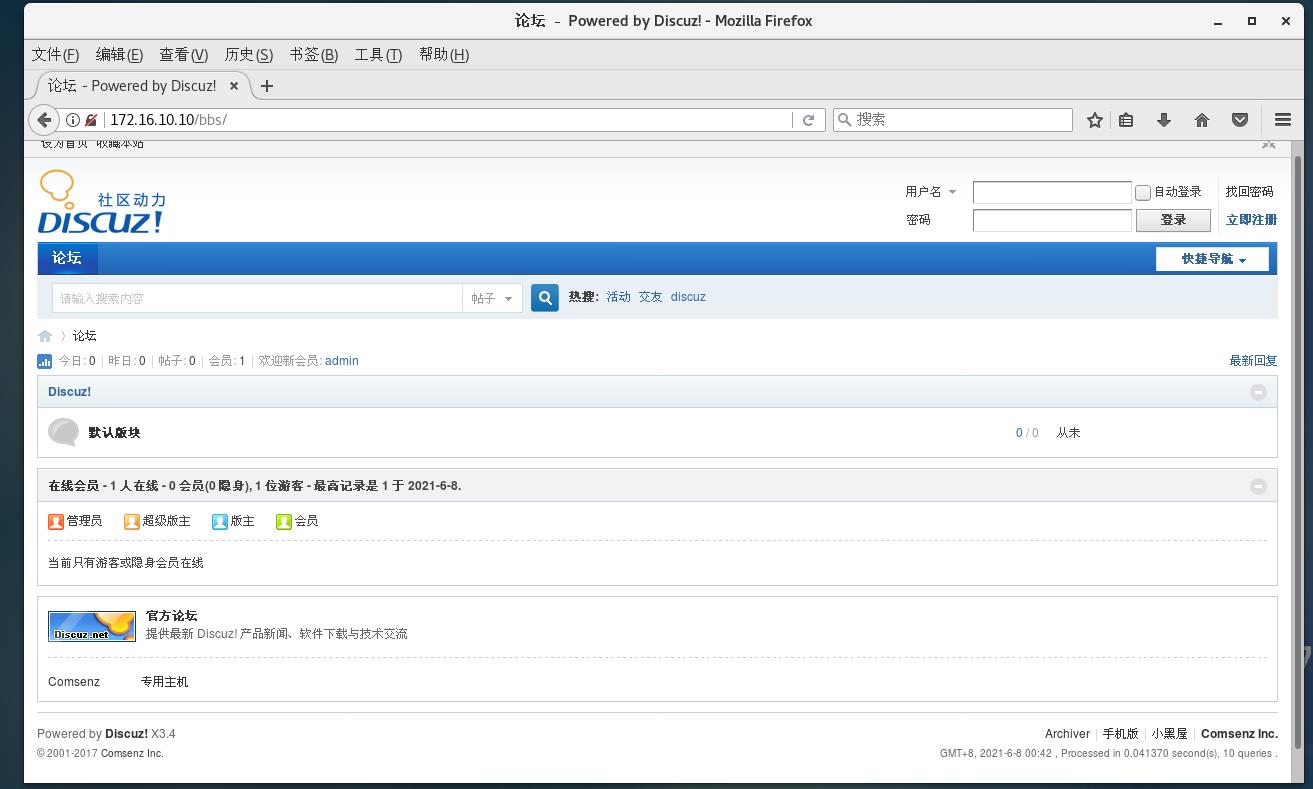
五、在Web1服务器上搭建LAMP服务,并且能够对外提供Discuz论坛服务
5.1 搭建服务

5.2 完成图
六、在网关服务器搭建DNS服务,使外网的client访问域名www.kgc.com解析为18.0.0.1,并且能够使用域名直接访问Web1服务器的网站
6.1 设置网关服务器
# 永久打开snat
vim /etc/sysctl.conf
net.ipv4.ip_forward = 1

# 读取修改后的配置
sysctl -p
net.ipv4.ip_forward = 1
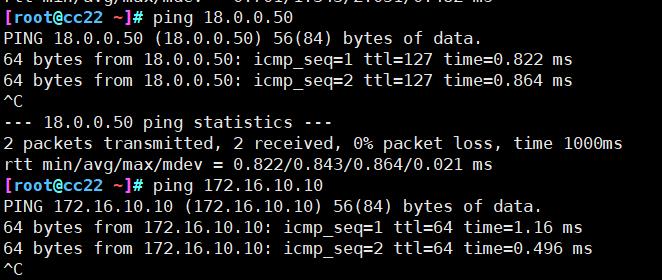
根据ip分别设置完后,web2和pc间能互相ping通
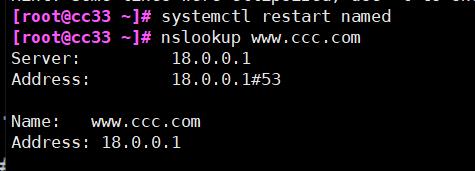
6.2 安装DNS解析
使用一键部署DNS完成安装
6.3 设置Dnat
# 发布内网的web服务
iptables -t nat -A PREROUTING -i ens37 -d 18.0.0.1 -p tcp --dport 80 -j DNAT --to 172.16.10.10
6.4 测试
七、对Web1服务器使用AWStats 分析系统来完成自动化的日志统计与分析工作,要求能够通过访问http://www.ccc.com/aws.html来展现统计效果
7.1 安装awstats
# 解压缩
tar zxvf awstats-7.6.tar.gz

# 移动
mv /opt/awstats-7.6 /usr/local/awstats

# 建立配置文件
cd /usr/local/awstats/tools/
./awstats_configure.pl
> /usr/local/httpd/conf/httpd.conf
> > www.ccc.com

# 修改访问权限
vim /usr/local/httpd/conf/httpd.conf
276 ErrorLog "logs/error_log"
277 CustomLog "logs/access_log" combined

## 143行
<IfModule !mpm_prefork_module>
	LoadModule cgid_module modules/mod_cgid.so
</IfModule>
<IfModule mpm_prefork_module>
	LoadModule cgi_module modules/mod_cgi.so
</IfModule>

## 末行
<Directory "/usr/local/awstats/wwwroot">
    Options None
    AllowOverride None
    #Order allow,deny			#注释掉
    #Allow from all				#注释掉
    Require all granted			#添加
</Directory>

# 修改站点统计文件
vim /etc/awstats/awstats.www.cc01.com.conf
LogFile="/usr/local/httpd/logs/access_log"
DirData="/var/lib/awstats"
7.2 执行日志分析
# 创建目录
mkdir /var/lib/awstats

# 重启httpd
systemctl restart httpd

# 进入目录
cd /usr/local/awstats/tools/

# 更新数据
./awstats_updateall.pl now

# 自动任务
crontab -e
 */5 * * * * /usr/local/awstats/tools/awstats_updateall.pl now

# 开启服务
systemctl start crond
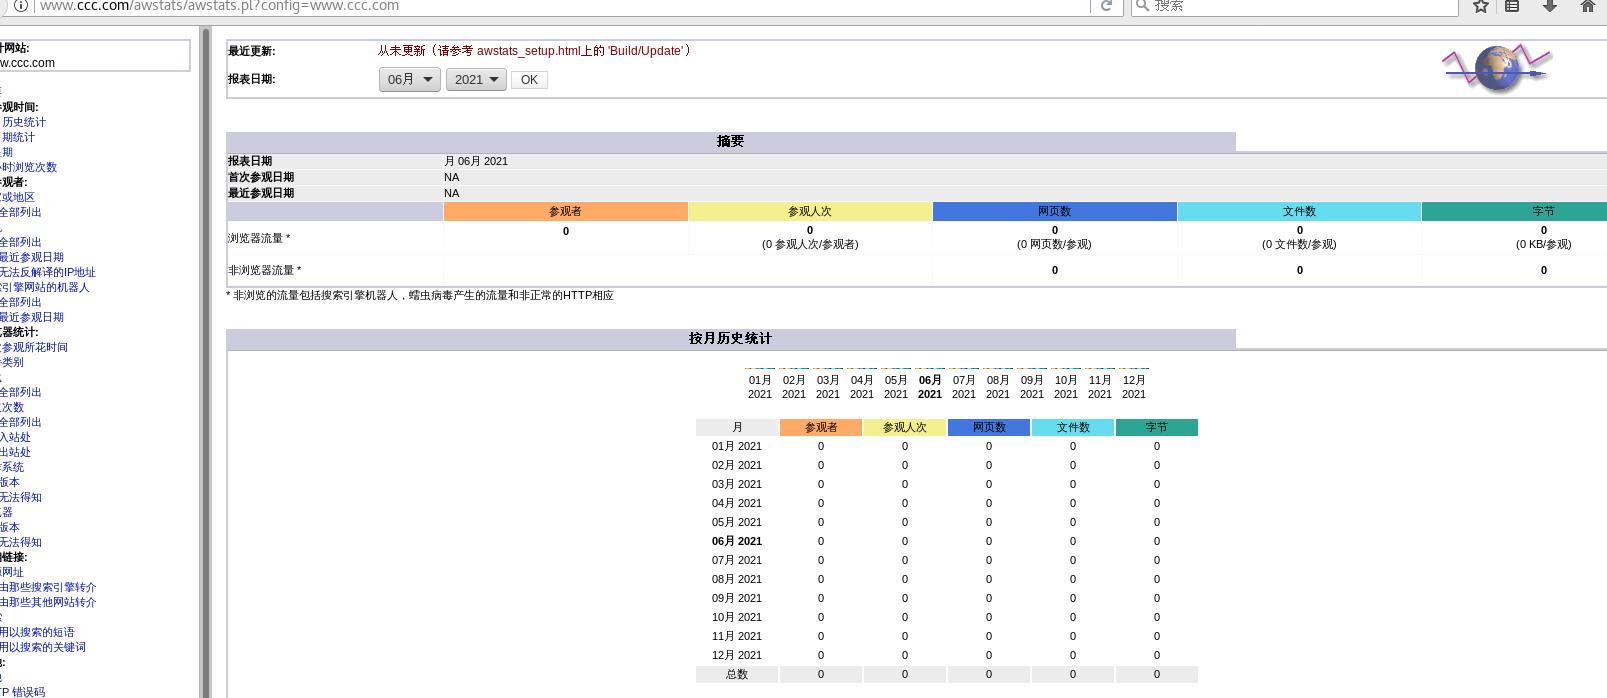
7.3 分析系统站点
# 导入解析
echo “172.16.10.10 www.ccc.com” >> /etc/hosts

# 访问
http://www.ccc.com/awstats/awstats.pl?config=www.ccc.com
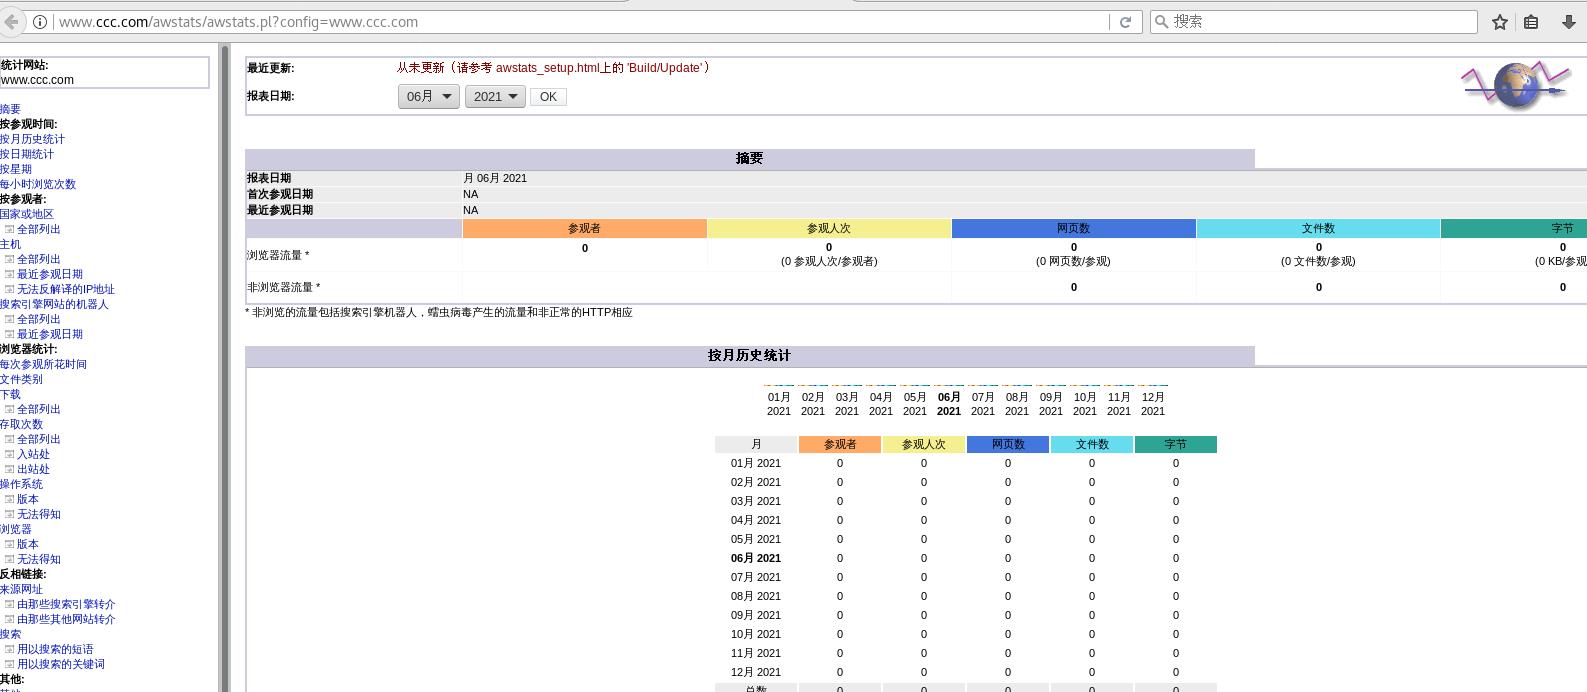
7.4 优化网址
# 编辑文件
vim /usr/local/httpd/htdocs/aws.html
<html>
<head>
<meta http-equiv=refresh content="0;url=http://www.ccc.com/awstats/awstats.pl?config=www.ccc.com">
</head>
<body></body>
</html>
访问
http://www.ccc.com/aws.html
以上是关于Apache练习的主要内容,如果未能解决你的问题,请参考以下文章