[零基础][完结]vue后台管理系统开发流程全记录(十三)_文章管理功能开发:审核模块(下)
Posted 前端呆头鹅
tags:
篇首语:本文由小常识网(cha138.com)小编为大家整理,主要介绍了[零基础][完结]vue后台管理系统开发流程全记录(十三)_文章管理功能开发:审核模块(下)相关的知识,希望对你有一定的参考价值。
文章目录
一 标签名展示
在这个功能中,我们先获取可用的标签和分类,然后显示选中的标签。
我们使用多级选择器来展示。
不可编辑的多级选择器:

1.1 接口添加
URL: /article/category/label/list
methods: get
描述: 获取可用的分类和标签
{
	"code": 20000,
	"message": "查询成功",
	"data|5": [{ // 5个分类
		"id|+1": 1, // 分类id, 初始值1开始,每条+1
        "name": "@cname", // 分类名称
        "labelList|3": [{ // 分类下的有3个标签
        	"id|+1": 10, // 标签id
            "name": '@word' //标签名
        }]
}
1.2 接口封装
// src/api/category.js
getCategoryAndLabel() {
    return request({
        url: `/article/category/label/list`,
        method: 'get'
    })
}
1.3 接口调用
<script>
    import api from '@/api/article.js';
    import categoryApi from '@/api/category.js';

    export default {
        data(){
            return {
                formData: {},
                labelOptions: {}
            }
        },
        ... ...
        methods: {
        	... ...
            getLabelOptions(){
                categoryApi.getCategoryAndLabel().then(response => {
                    this.labelOptions = response.data;
                })
            }
        }
    }
</script>
这样,我们就将需要用到的数据放到了变量labelOptions当中。
1.4 页面绘制-多级选择器
我们使用多级选择器来展示所有可用的标签和分类,然后高亮显示选中的标签。
我们使用elementui组件 <el-cascader> 来实现。
我们根据文档将代码嵌入页面,替换相关数据即可。
<el-form-item label="标签">
    <el-cascader
    disabled
    style="display: block"
    v-model="formData.labelIds"
    :options="labelOptions"
    :props="{ multiple: true, emitPath: false, children: 'labelList', value: 'id', label: 'name'}"
	/>
</el-form-item>
二 文章内容展示
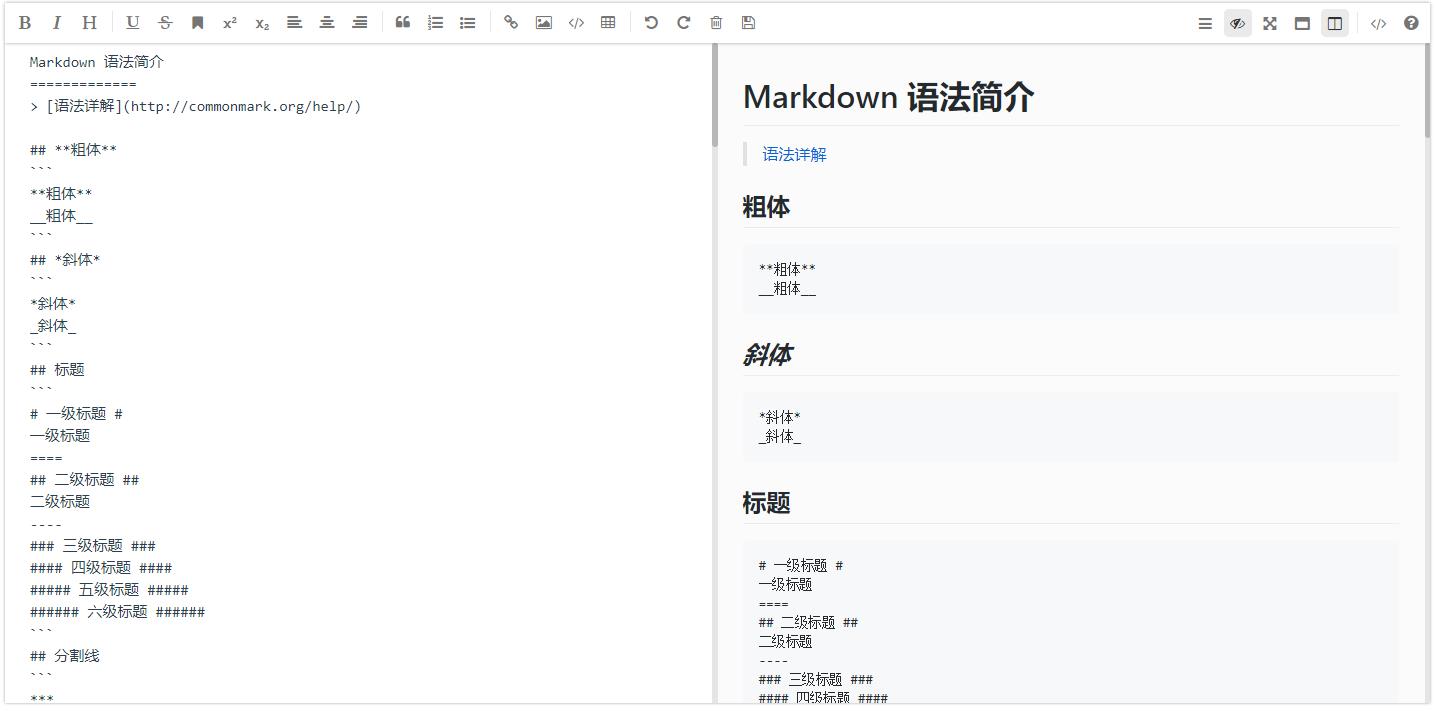
上章中我们取到了文章内容的数据,但是md格式,我们需要使用md插件来进行展示。
2.1 mavon-editor简介

Vue中比较流行的 Markdown 插件有: mavon-editor 、marked + highlight.js 、tui-editor ……
我们项目采用 mavon-editormavon-editor 。
网址:https://github.com/hinesboy/mavonEditor。
网页下方有使用说明,我们根据说明来使用该组件。
2.2 mavon-editor使用
首先,在项目中安装依赖。
$ npm install mavon-editor --save
和前面我们自己开发的组件一样,我们引入注册该组件,并在模板中使用。
<script>
    ...
    import { mavonEditor } from 'mavon-editor'

    export default {
        components: {
            mavonEditor
        }
        ...
    }
</script>
<mavon-editor v-model="formData.mdContent" :editable="false" />
// editable 是否可编辑
三 提交审核结果


提交审核结果,就是给审核通过,审核不通过按钮添加事件,定义对应接口,在通过this.$confirm进行确认后调用接口。
3.1 接口添加
首先添加两个接口到mock,对应审核通过和审核不通过事件。
两个接口的内容是相同的,都是操作成功提示,只是url不同。
url:/article/article/audit/success/{id}
methods: get
描述:审核通过接口
{ "code": 20000, "message": "操作成功"}
url:/article/article/audit/fail/{id}
methods: get
描述:审核未通过接口
{ "code": 20000, "message": "操作成功"}
3.2 接口封装
    // src/api/article.js
	// 审核通过
	auditSuccess(id) {
        return request({
            url: `/article/article/audit/success/${id}`, // 反单引号 ``
            method: 'get',
        })
    },
    // 审核不通过
    auditFail(id) {
        return request({
            url: `/article/article/audit/fail/${id}`, // 反单引号 ``
            method: 'get',
        })
    }
3.3 接口调用
// 审核通过
auditSuccess () {
    this.$confirm('确认审核通过吗?', '提示', {
       confirmButtonText: '确定',
       cancelButtonText: '取消',
       type: 'warning' })
    .then(() => {
       // 确认
       api.auditSuccess(this.id).then(response => {
       //提示信息
       this.$message({ type: 'success', message: '审核通过提交成功' }) // 关闭窗口
          this.remoteClose()
       })
     }).catch(() => {
       // 取消删除,不理会
     })
}
// 审核不通过
auditFail () {
    this.$confirm('确认审核不通过吗?', '提示', {
       confirmButtonText: '确定',
       cancelButtonText: '取消',
       type: 'warning' })
    .then(() => {
       // 确认
       api.auditfail(this.id).then(response => {
       //提示信息
       this.$message({ type: 'success', message: '审核不通过提交成功' }) // 关闭窗口
          this.remoteClose()
       })
     }).catch(() => {
       // 取消删除,不理会
     })
}
在模板中,将事件与按钮绑定。
<el-button type="primary" @click="auditSuccess()">审核通过</el-button>
<el-button type="danger" @click="auditFail()">审核不通过</el-button>
文章删除按钮与其相同,都是通过this.$confirm确认后,调用接口即可,这里不再展开。
四 查看文章详情
根据标志位打开审核窗口,只是通过查看按钮打开时传入特定的标志位,窗口不显示审核按钮。
prop如下。
props: {
   id: null, // 文章id
   isAudit: true, // 是否为审核页面,false 为详情页
   visible: { //弹出隐藏
      type: Boolean,
      default: false
   },
   title: { // 标题
      type: String,
      default: ''
   },
   remoteClose: Function // 用于关闭窗口
}
其中isAudit为标志位,我们将其与审核相关的部分-两个审核按钮绑定。
<el-form-item align="center" v-if="isAudit">
    <el-button type="primary" @click="auditSuccess()">审核通过</el-button>
	<el-button type="danger" @click="auditFail()">审核不通过</el-button>
</el-form-item>
在父页面,我们在审核按钮前面添加查看按钮。
<el-button size="mini" @click="openView(scope.row.id)" type="primary">
    查看
</el-button>
填写事件openView,内容与审核事件只是传入的标志位不同。
openView(id){
   this.audit.id = id // 文章id
   this.audit.isAudit = false // 是审核页面
   this.audit.title = '审核文章'
   this.audit.visible = true
}
尾声
就此,本系统基础功能开发完毕,接下来会在篇外中,继续记录权限部分的开发,暂定菜单管理,角色管理和用户管理三部分,有兴趣的同学请关注呆头鹅,和呆头鹅一起走上致富道路。
以上是关于[零基础][完结]vue后台管理系统开发流程全记录(十三)_文章管理功能开发:审核模块(下)的主要内容,如果未能解决你的问题,请参考以下文章