CommonJS基于浏览器端运用
Posted eyes++
tags:
篇首语:本文由小常识网(cha138.com)小编为大家整理,主要介绍了CommonJS基于浏览器端运用相关的知识,希望对你有一定的参考价值。
我之前还有一篇CommonJS基于node环境运用,大家有兴趣可以去看看,放链接:CommonJS基于服务端(node运用)
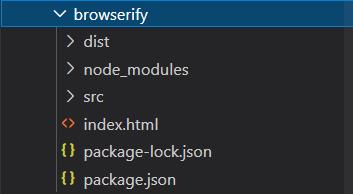
先放文件目录:dist文件夹放打包生成的代码,src文件夹放自己写的代码

先初始化环境,方便下包:
npm init
之所以不用 npm init --yes是因为我根目录叫browserify,后续下browserify包时不允许同名,当然也可以npm init --yes后再package.json手动更改name值。
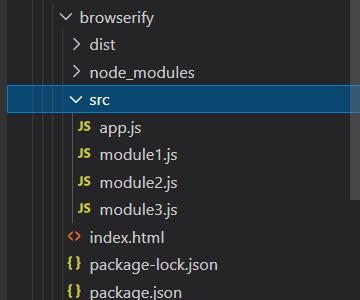
src文件目录:
 module1.js:
// 暴露一个对象
module.exports = {
    foo() {
        console.log('module1 foo()');
    }
}
module2.js:
// 暴露一个函数
module.exports = function() {
    console.log('module2()');
}
module3.js:
// 分别暴露函数
exports.foo = function() {
    console.log('module3 foo()');
}
exports.bar = function() {
    console.log('module3 bar()')
}
app.js:
// 引入模块
let module1 = require('./module1');
let module2 = require('./module2');
let module3 = require('./module3');

module1.foo();
module2();
module3.foo();
module3.bar();
通过index.html测试模块代码
<!DOCTYPE html>
<html lang="en">
<head>
    <meta charset="UTF-8">
    <meta http-equiv="X-UA-Compatible" content="IE=edge">
    <meta name="viewport" content="width=device-width, initial-scale=1.0">
    <title>Document</title>
</head>
<body>
    <script src="./src/app.js"></script>
</body>
</html>
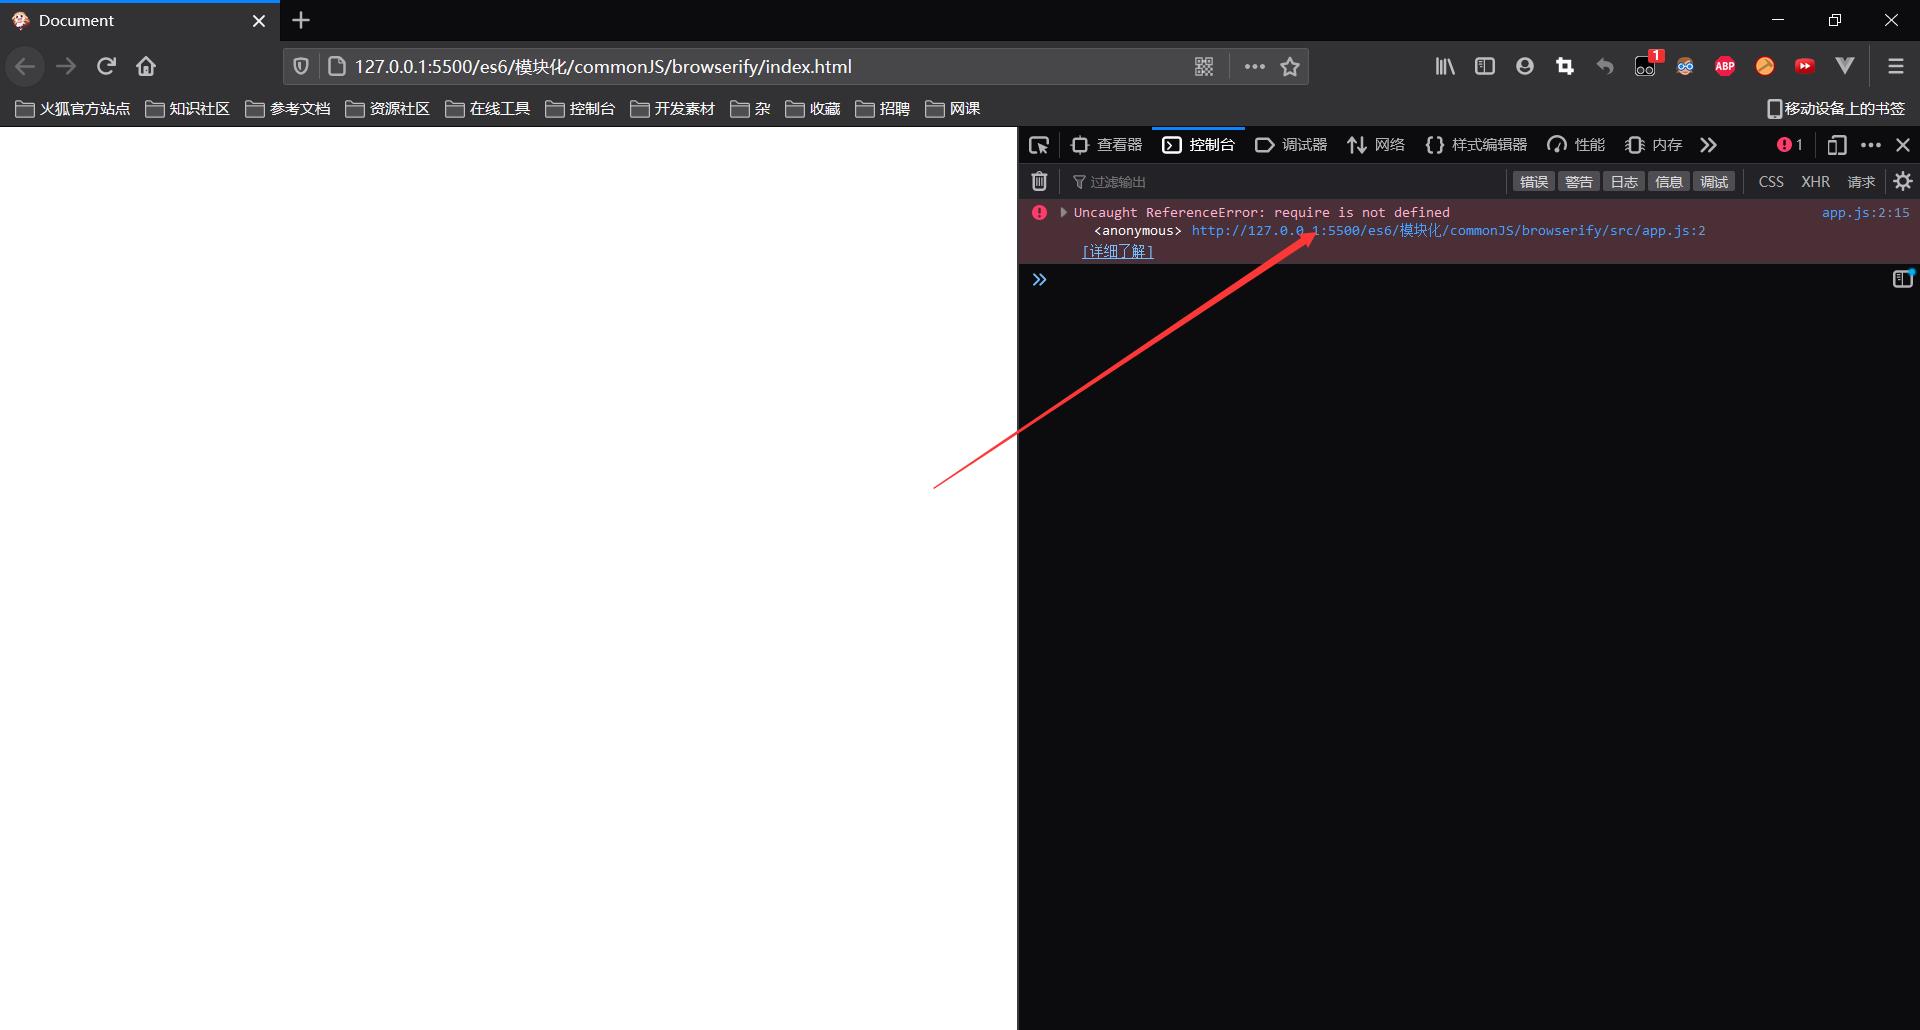
浏览器效果:
 可见浏览器无法识别require,因此需要使用browserify对代码经行打包成浏览器能识别的代码
安装browserify:(browserify要求全局和局部都得安装)
全局安装:
npm install -g browserify
局部安装:
npm install browserify --save-dev
安装后生成node_modules文件夹和package-lock.json文件
现在经行打包处理:(安装后新增browserify命令)
browserify src/app.js -o dist/bundle.js
打包完成后dist文件夹下生成bundle.js文件,可直接引用
修改index.html引用:
<!DOCTYPE html>
<html lang="en">
<head>
    <meta charset="UTF-8">
    <meta http-equiv="X-UA-Compatible" content="IE=edge">
    <meta name="viewport" content="width=device-width, initial-scale=1.0">
    <title>Document</title>
</head>
<body>
    <script src="./dist/bundle.js"></script>
</body>
</html>
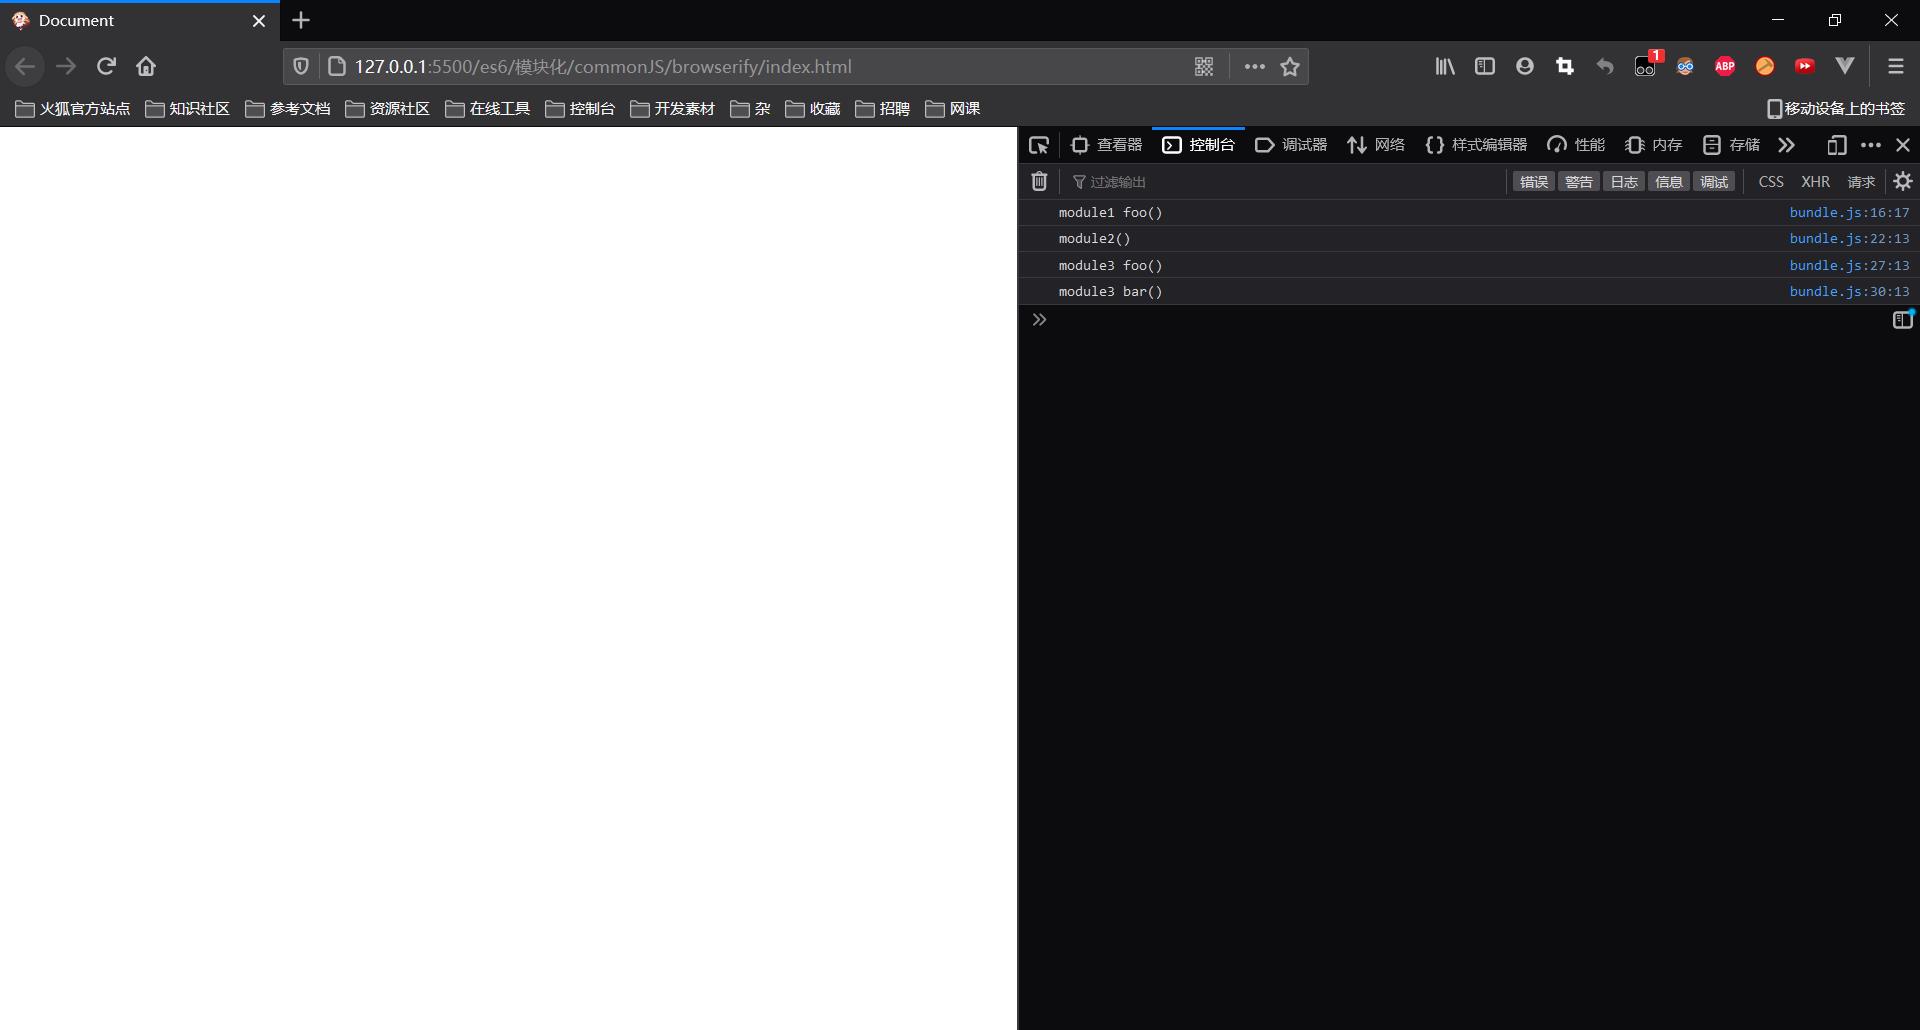
效果展示:

以上是关于CommonJS基于浏览器端运用的主要内容,如果未能解决你的问题,请参考以下文章