多线程(七):单例模式+阻塞式队列
Posted 头发都哪去了
tags:
篇首语:本文由小常识网(cha138.com)小编为大家整理,主要介绍了多线程(七):单例模式+阻塞式队列相关的知识,希望对你有一定的参考价值。
单例模式
单例模式:整个程序的运行中只存储了一个对象。
饿汉模式
优点:不用加锁也是线程安全的。
饿汉模式的实现,示例代码如下:
/*
 * 饿汉模式
 */

public class ThreadDemo84 {
    static class Singleton {
        //1.创建私用的构造函数(防止其他类直接创建)
        private Singleton() {
        }

        //2.定义私有变量(线程安全)
        private static Singleton singleton = new Singleton();

        //3.提供公共的获取实例的方法
        public static Singleton getInstance() {
            return singleton;
        }
    }

    public static void main(String[] args) {
        Singleton singleton = Singleton.getInstance();
        System.out.println(singleton);
    }
}
该代码的执行结果如下:

单例模式的饿汉模式成功得到创建。
缺点:程序启动之后就会创建,但是创建完了之后有可能不会使用,从而浪费了系统资源。
所以我们需要另一种单例模式——懒汉模式。
懒汉模式
当程序启动之后并不会进行初始化;而是在什么时候调用,什么时候再初始化。
版本1,示例代码如下:
/*
 * 懒汉模式 v1
 */

public class ThreadDemo85 {
    static class Singleton {
        //1.创建私用的构造函数(防止其他类直接实例化)
        private Singleton() {
        }

        //2.定义私有变量(线程安全)
        private static Singleton singleton = null;

        //3.提供公共的获取实例的方法
        public static Singleton getInstance() {
            if (singleton == null) {
                singleton = new Singleton();
            }
            return singleton;
        }
    }

    public static void main(String[] args) {
        //创建第一个对象
        Singleton s1 = Singleton.getInstance();
        //创建第二个对象
        Singleton s2 = Singleton.getInstance();
        System.out.println(s1 == s2);
    }
}
该代码的执行结果如下:

我们发现,两个对象使用的是同一个私有变量。但是,此代码存在问题:会造成线程不安全,示例代码如下:
/*
 * 懒汉模式 v1
 */

public class ThreadDemo86 {
    static class Singleton {
        //1.创建私用的构造函数(防止其他类直接实例化)
        private Singleton() {
        }

        //2.定义私有变量(线程安全)
        private static Singleton singleton = null;

        //3.提供公共的获取实例的方法
        public static Singleton getInstance() {
            if (singleton == null) {
                try {
                    Thread.sleep(1000);
                } catch (InterruptedException e) {
                    e.printStackTrace();
                }
                singleton = new Singleton();
            }
            return singleton;
        }
    }

    private static Singleton s1 = null;
    private static Singleton s2 = null;

    public static void main(String[] args) throws InterruptedException {
        //创建新线程执行任务
        Thread t1 = new Thread(new Runnable() {
            @Override
            public void run() {
                s1 = Singleton.getInstance();
            }
        });
        t1.start();

        //使用主线程执行任务
        s2 = Singleton.getInstance();
        //等待t1执行完毕。
        t1.join();
        System.out.println(s1 == s2);
    }
}
该代码的执行结果如下:

可见,此程序是线程不安全的。
对程序进行优化,加锁可以解决线程非安全的问题,懒汉模式版本2,示例代码如下:
/*
 * 懒汉模式 v2
 */

public class ThreadDemo87 {
    static class Singleton {
        //1.创建私用的构造函数(防止其他类直接实例化)
        private Singleton() {
        }

        //2.定义私有变量(线程安全)
        private static Singleton singleton = null;

        //3.提供公共的获取实例的方法
        public static synchronized Singleton getInstance() {
            if (singleton == null) {
                try {
                    Thread.sleep(1000);
                } catch (InterruptedException e) {
                    e.printStackTrace();
                }
                singleton = new Singleton();
            }
            return singleton;
        }
    }

    private static Singleton s1 = null;
    private static Singleton s2 = null;

    public static void main(String[] args) throws InterruptedException {
        //创建新线程执行任务
        Thread t1 = new Thread(new Runnable() {
            @Override
            public void run() {
                s1 = Singleton.getInstance();
            }
        });
        t1.start();

        //使用主线程执行任务
        s2 = Singleton.getInstance();
        //等待t1执行完毕。
        t1.join();
        System.out.println(s1 == s2);
    }
}
该代码的执行结果如下:

我们发现:该程序的线程不安全问题得到解决,但是,此程序会带来新的问题:无论是否为第一次访问,都需要排队执行,造成性能不佳。
我们对此程序再进行优化(使用双重校验锁< Double Check >),懒汉模式版本3,示例代码如下:
/*
 * 懒汉模式 v3
 */

public class ThreadDemo88 {
    static class Singleton {
        //1.创建私用的构造函数(防止其他类直接实例化)
        private Singleton() {
        }

        //2.定义私有变量(线程安全)
        private static Singleton singleton = null;

        //3.提供公共的获取实例的方法
        public static Singleton getInstance() {
            if (singleton == null) {
                synchronized (Singleton.class) {
                    if (singleton == null) {
                        singleton = new Singleton();
                    }
                }
            }
            return singleton;
        }
    }

    private static Singleton s1 = null;
    private static Singleton s2 = null;

    public static void main(String[] args) throws InterruptedException {
        //创建新线程执行任务
        Thread t1 = new Thread(new Runnable() {
            @Override
            public void run() {
                s1 = Singleton.getInstance();
            }
        });
        t1.start();

        //使用主线程执行任务
        s2 = Singleton.getInstance();
        //等待t1执行完毕。
        t1.join();
        System.out.println(s1 == s2);
    }
}
该程序的运行结果如下:

此代码当然还是有问题的,问题在于singleton = new Singleton();此行代码编译器会进行指令重排序,因此我们需要进一步优化,我们可以得到懒汉模式的最终版本
/*
 * 懒汉模式 v final
 */

public class ThreadDemo88 {
    static class Singleton {
        //1.创建私用的构造函数(防止其他类直接实例化)
        private Singleton() {
        }

        //2.定义私有变量(线程安全)(volatile)
        private static volatile Singleton singleton = null;

        //3.提供公共的获取实例的方法
        public static  Singleton getInstance() {
            if (singleton == null) {
                synchronized (Singleton.class) {
                    if (singleton == null) {
                        singleton = new Singleton();
                    }
                }
            }
            return singleton;
        }
    }

    private static Singleton s1 = null;
    private static Singleton s2 = null;

    public static void main(String[] args) throws InterruptedException {
        //创建新线程执行任务
        Thread t1 = new Thread(new Runnable() {
            @Override
            public void run() {
                s1 = Singleton.getInstance();
            }
        });
        t1.start();

        //使用主线程执行任务
        s2 = Singleton.getInstance();
        //等待t1执行完毕。
        t1.join();
        System.out.println(s1 == s2);
    }
}
自定义阻塞队列
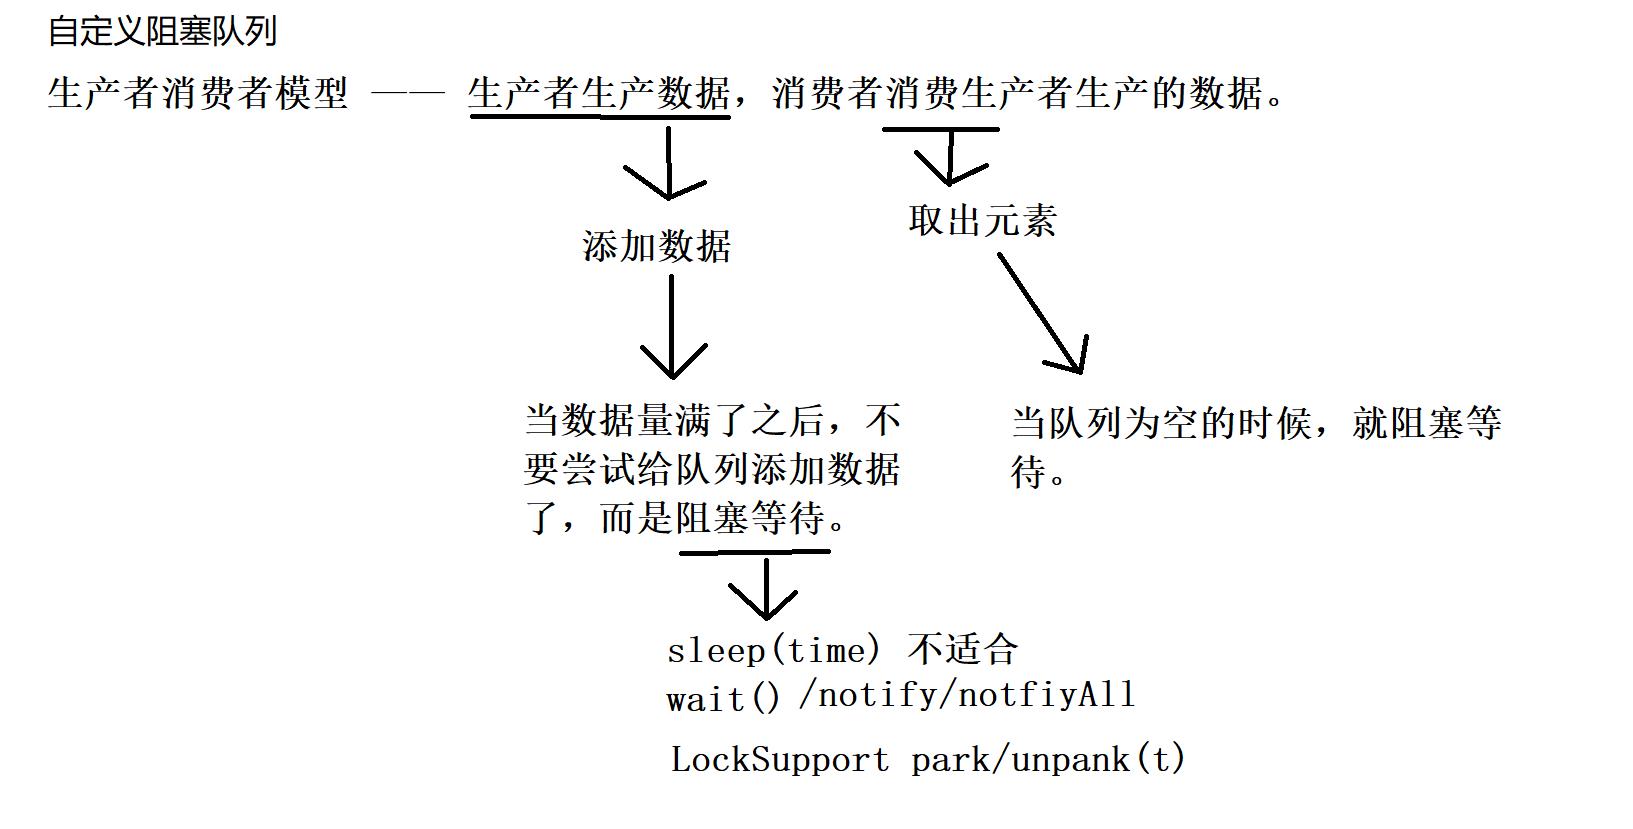
生产者消费者模型:
生产者消费者模式就是通过一个容器来解决生产者和消费者的强耦合问题。生产者和消费者彼此之间不直接通讯,而通过阻塞队列来进行通讯,所以生产者生产完数据之后不用等待消费者处理,直接扔给阻塞队列,消费者不找生产者要数据,而是直接从阻塞队列里取,阻塞队列就相当于一个缓冲区,平衡了生产者和消费者的处理能力。这个阻塞队列就是用来给生产者和消费者解耦的。

示例代码如下:
public class ThreadDemo89 {
    static class MyBlockingQueue {
        private int[] values;//实际存储数据的数组
        private int first;//队首
        private int last;//队尾
        private int size;//队列元素的实际大小

        public MyBlockingQueue(int initial) {
            //初始化变量
            values = new int[initial];
            first = 0;
            last = 0;
            size = 0;
        }

        //添加元素(队尾)
        public void offer(int val) {
            synchronized (this) {
                //判断边界值
                if (size == values.length) {
                    //队列已满,阻塞等待
                    try {
                        this.wait();
                    } catch (InterruptedException e) {
                        e.printStackTrace();
                    }
                }
                //添加元素到队尾
                values[last++] = val;
                size++;
                //判断当前值是否为最后一个元素
                if (last == values.length) {
                    last = 0;
                }
                //尝试唤醒消费者
                this.notify();
            }
        }

        //查询方法
        public int poll() {
            int result = -1;
            synchronized (this) {
                //判断边界值
                if (size == 0) {
                    //队列为空,阻塞等待
                    try {
                        this.wait();
                    } catch (InterruptedException e) {
                        e.printStackTrace();
                    }
                }
                //获取元素
                result = values[first++];
                size--;
                //判断是否为最后一个元素
                if (first == values.length) {
                    first = 0;
                }
                //尝试唤醒生产者
                this.notify();
            }
            return result;
        }
    }

    public static void main(String[] args) {

        MyBlockingQueue myBlockingQueue = new MyBlockingQueue(100);

        //创建生产者
        Thread t1 = new Thread(new Runnable() {
            @Override
            public void run() {
                //每隔500ms,生产一个数据
                while (true) {
                    int num = new Random().nextInt(10);
                    System.out.println("生产了随机数:" + num);
                    myBlockingQueue.offer(num);
                    try {
                        Thread.sleep(500);
                    } catch (InterruptedException e) {
                        e.printStackTrace();
                    }
                }
            }
        });
        t1.start();

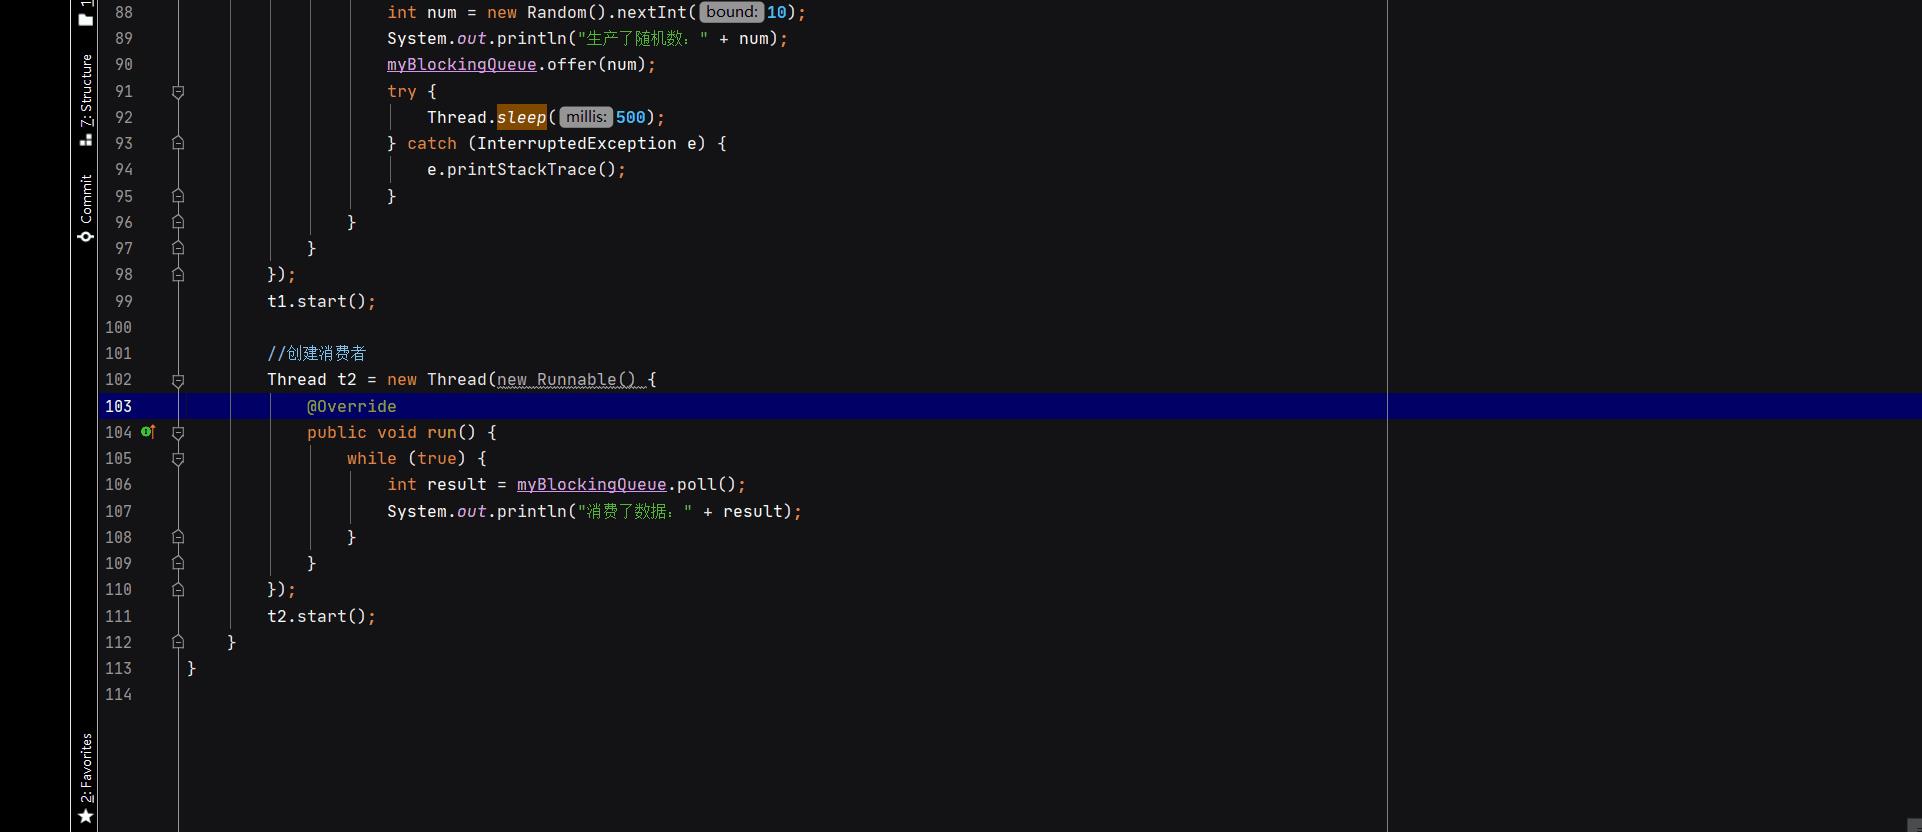
        //创建消费者
        Thread t2 = new Thread(new Runnable() {
            @Override
            public void run() {
                while (true) {
                    int result = myBlockingQueue.poll();
                    System.out.println("消费了数据:" + result);
                }
            }
        });
        t2.start();
    }
}
该代码的执行结果如下:

生产者生产一个数据,消费者就消费了此数据。
可见,我们实现了自定义阻塞队列。
以上是关于多线程(七):单例模式+阻塞式队列的主要内容,如果未能解决你的问题,请参考以下文章