mapboxGL中sprite的前端生成
Posted LZU-GIS
tags:
篇首语:本文由小常识网(cha138.com)小编为大家整理,主要介绍了mapboxGL中sprite的前端生成相关的知识,希望对你有一定的参考价值。
概述
在前面的文章讲述了mapboxGL中的sprite以及其java中的生成方式,本文将结合Promise讲讲其前端的生成方式。
效果
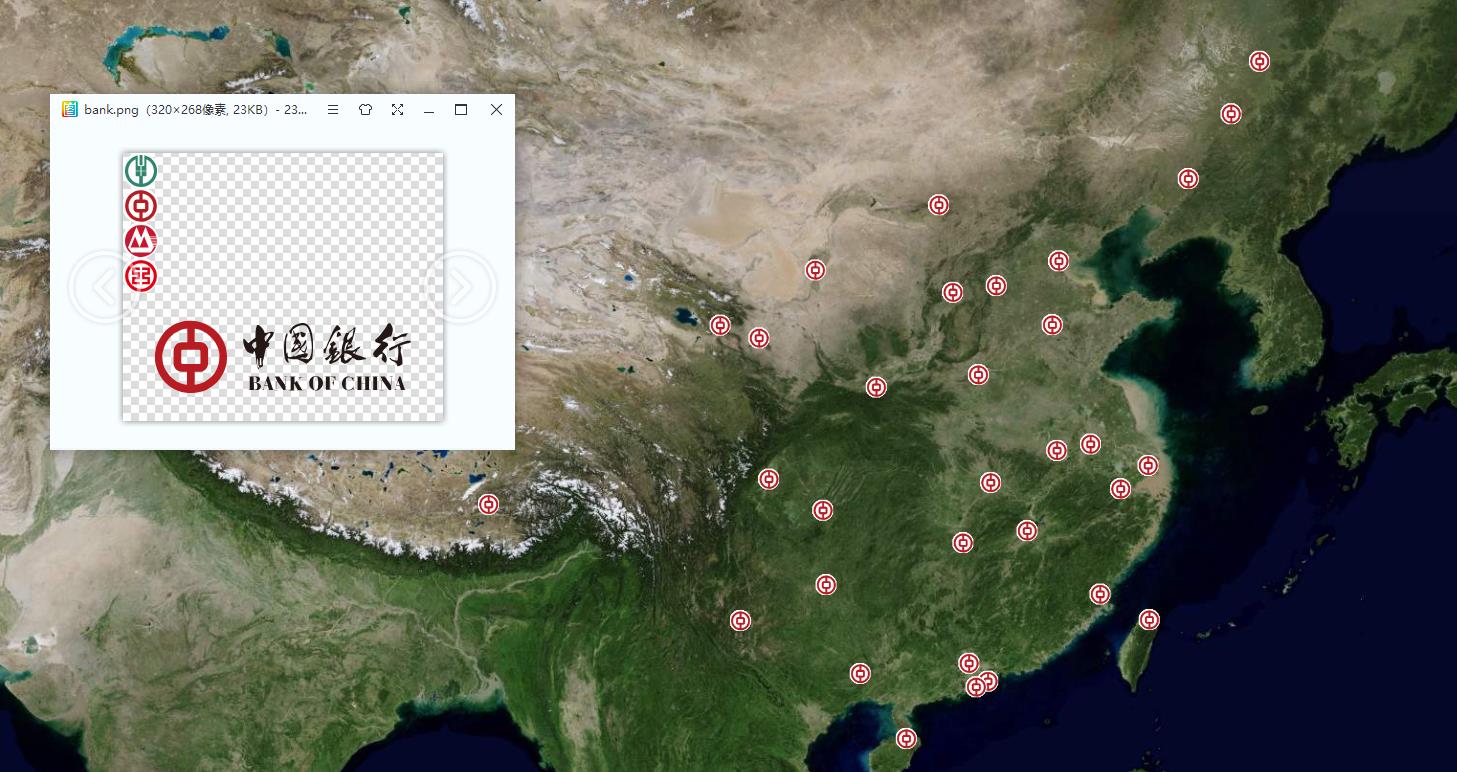
实现思路
- 通过新建一个Image,并拿到image的宽和高,动态的计算canva的大小;
- 结合Promise.all实现
sprite.json的输出;
实现
1. 生成图标库
<!DOCTYPE html>
<html lang="en">
<head>
  <meta charset="UTF-8">
  <title>sprite.json</title>
  <style>
      html,
      body {
          width: 100%;
          height: 100%;
          margin: 0;
          padding: 0;
          overflow: hidden;
      }
  </style>
</head>
<body>
<canvas id="canvas"></canvas>
<script>
    const size = 35;
    const canvas = document.getElementById('canvas')
    const ctx = canvas.getContext('2d')
    const icons = [
        'abc',
        'cbc',
        'cmbc',
        'icbc',
        'cbc1'
    ]
    let json = {}
    let promises = []
    let w = 0;
    let h = 0;
    icons.forEach((icon, index) => {
        const img = new Image()
        img.src = `icons/${icon}.png`
        const y = index * size
        promises.push(new Promise(resolve => {
            img.onload = () => {
                w = img.width > w ? img.width : w;
                h += img.height
                resolve(img)
            }
        }))
    })
    Promise.all(promises).then(imgs => {
        canvas.width  = w;
        canvas.height = h;
        let y = 0
        imgs.forEach((img, index) => {
            json[icons[index]] = {
                "x": 0,
                "y": y,
                "width": img.width,
                "height": img.height,
                "pixelRatio": 1
            }
            ctx.drawImage(img, 0, y);
            y += img.height;
        })
        console.log(JSON.stringify(json));
    })
</script>
</body>
</html>
2. 前端引用
<!DOCTYPE html>
<html lang="en">
<head>
  <meta charset="UTF-8">
  <title>Title</title>
  <link href='https://api.mapbox.com/mapbox-gl-js/v1.12.0/mapbox-gl.css' rel='stylesheet' />
  <style>
      html,
      body,
      #map {
          width: 100%;
          height: 100%;
          margin: 0;
          padding: 0;
          overflow: hidden;
      }
  </style>
</head>
<body>
<div id="map">
</div>
<script src='https://api.mapbox.com/mapbox-gl-js/v1.12.0/mapbox-gl.js'></script>
<script>
    const libPath = 'http://localhost:8080/mapbox/'
    const style = {
        "version": 8,
        "name": "lzugis",
        "sprite": libPath + "bank",
        "sources": {
            "nav": {
                "type": "raster",
                "tiles": ['https://webst01.is.autonavi.com/appmaptile?style=6&x={x}&y={y}&z={z}'],
                "tileSize": 256
            }
        },
        "layers": [{
            "id": "nav",
            "type": "raster",
            "source": "nav",
            "minzoom": 0,
            "maxzoom": 17
        }]
    }
    const dom = document.getElementById('map');
    window.map = new mapboxgl.Map({
        container: dom,
        style: style,
        center: [103.081163, 37.1612],
        zoom: 3.5,
        minZoom: 2,
        maxZoom: 18
    });

    map.on('load', e => {
        map.addSource('geojson', {
            type: 'geojson',
            data: 'data/point.geojson'
        })
        map.addLayer({
            'id': 'geojson',
            'source': 'geojson',
            'type': 'symbol',
            'layout': {
                'icon-image': 'cbc',
                'icon-size': 0.6,
                'icon-allow-overlap': true
            }
        });
    })
</script>
</body>
</html>
以上是关于mapboxGL中sprite的前端生成的主要内容,如果未能解决你的问题,请参考以下文章