android底部导航栏
Posted 穷少年
tags:
篇首语:本文由小常识网(cha138.com)小编为大家整理,主要介绍了android底部导航栏相关的知识,希望对你有一定的参考价值。
文章目录
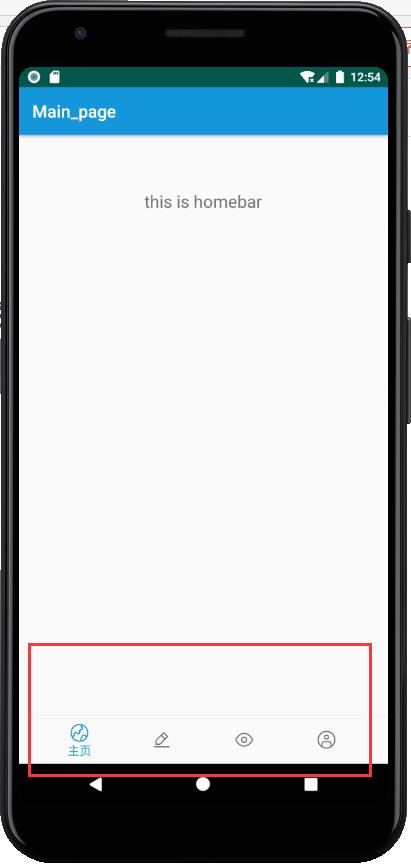
常见的底部导航栏
动态效果
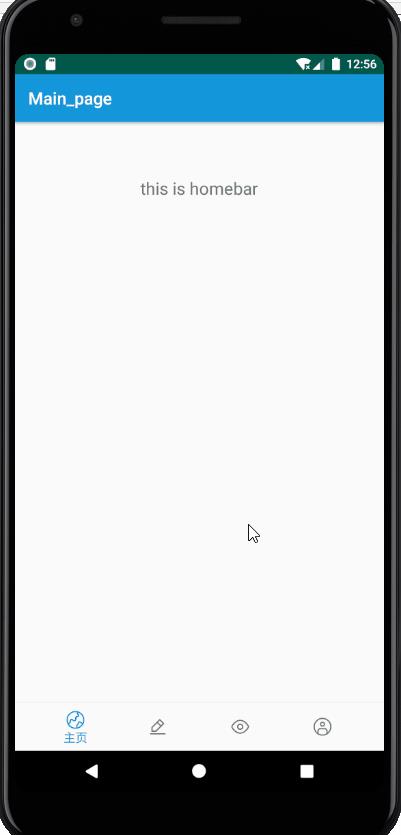
实现步骤
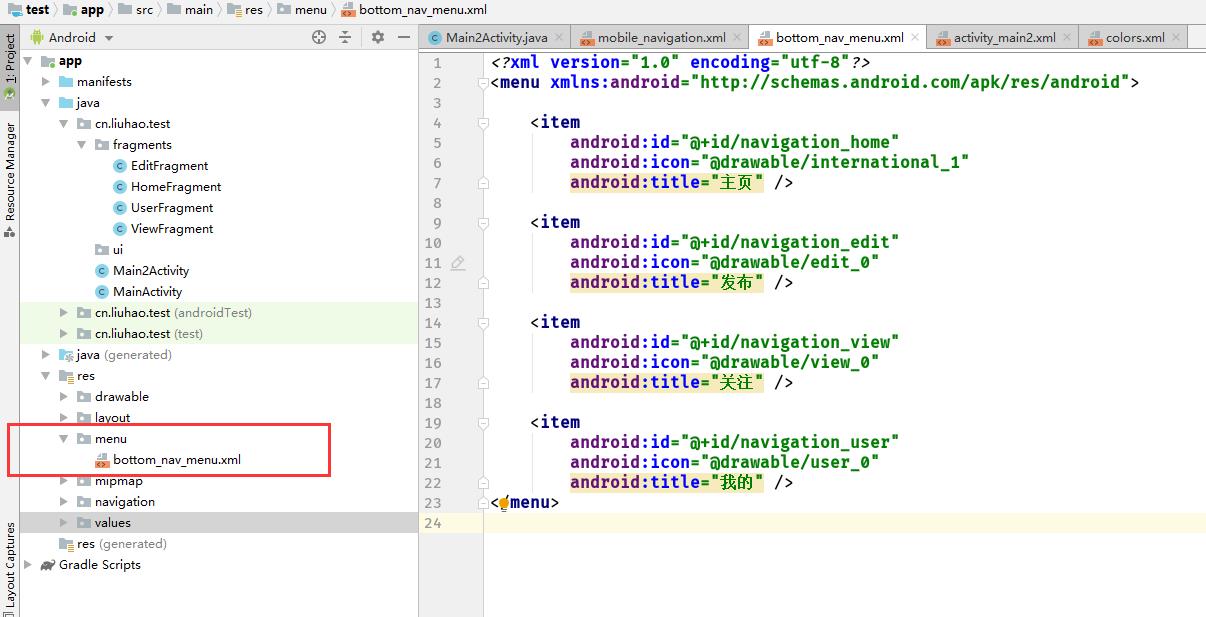
1.底部导航栏样式
我们应该在项目的res文件夹下新建一个menu文件夹,用来装menu布局文件
<?xml version="1.0" encoding="utf-8"?>
<menu xmlns:android="http://schemas.android.com/apk/res/android">

    <item
        android:id="@+id/navigation_home"
        android:icon="@drawable/international_1"
        android:title="主页" />

    <item
        android:id="@+id/navigation_edit"
        android:icon="@drawable/edit_0"
        android:title="发布" />

    <item
        android:id="@+id/navigation_view"
        android:icon="@drawable/view_0"
        android:title="关注" />

    <item
        android:id="@+id/navigation_user"
        android:icon="@drawable/user_0"
        android:title="我的" />
</menu>
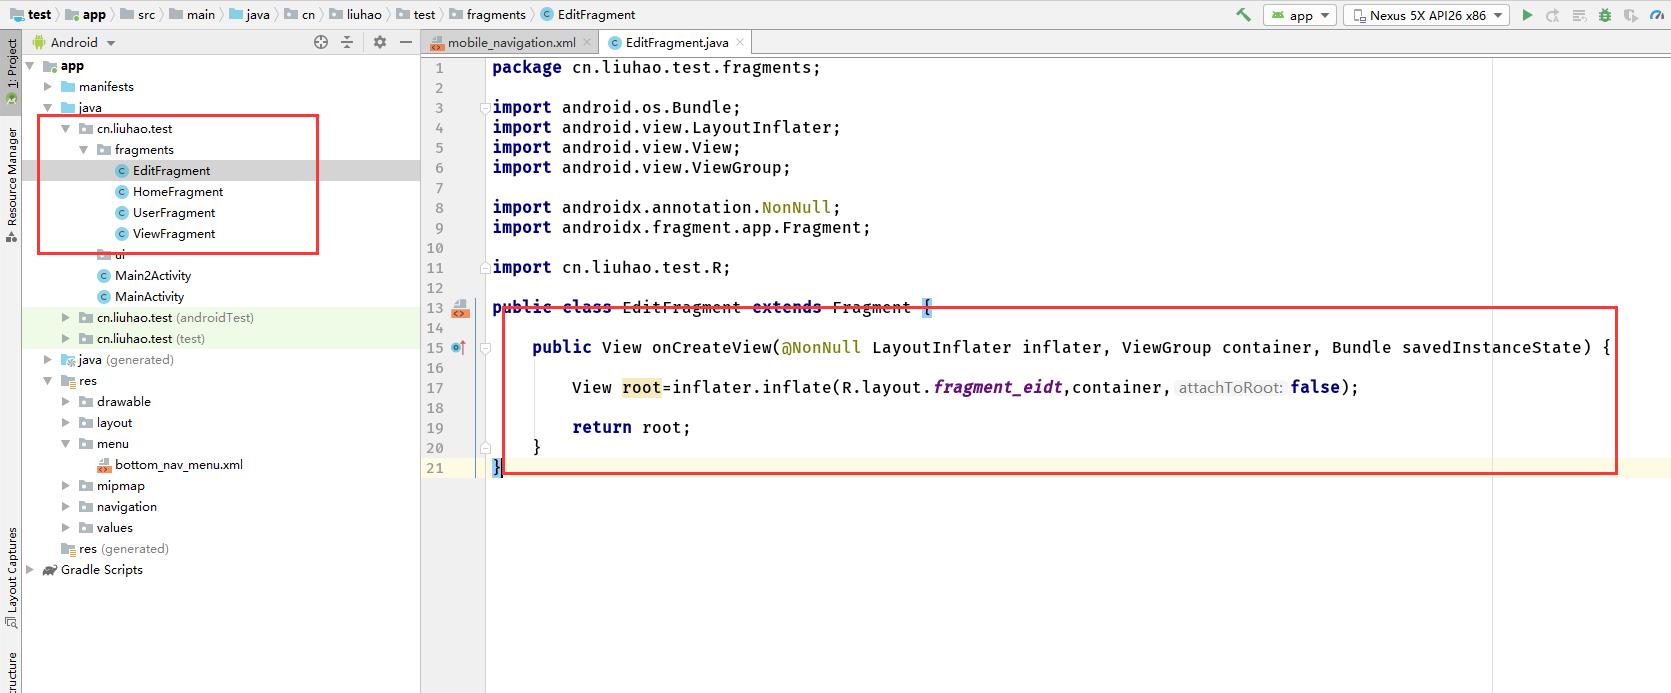
2.新建四个fragment组件
每一个fragment的组件内容相同
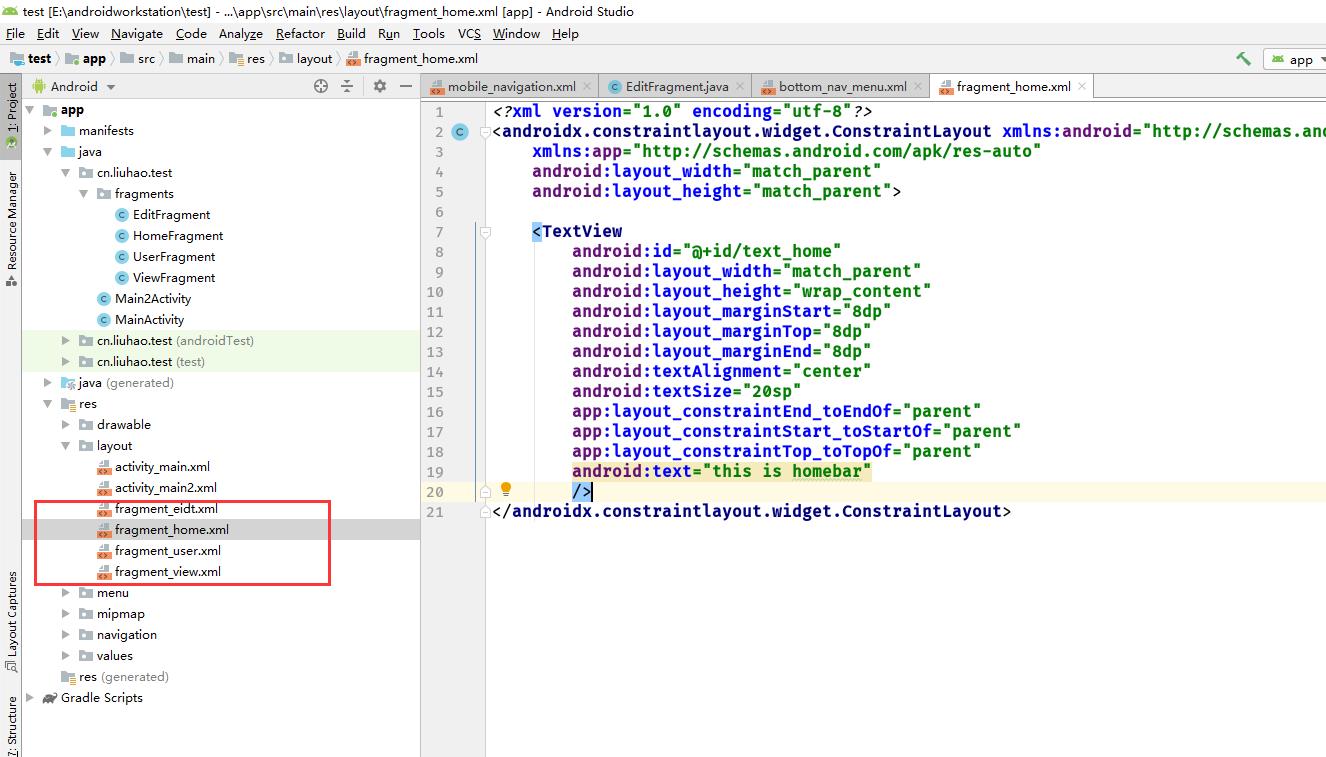
四个fragement对应的layout
四个fragment布局文件的内容也相同,写上内容以区别是哪个页面
<?xml version="1.0" encoding="utf-8"?>
<androidx.constraintlayout.widget.ConstraintLayout xmlns:android="http://schemas.android.com/apk/res/android"
    xmlns:app="http://schemas.android.com/apk/res-auto"
    android:layout_width="match_parent"
    android:layout_height="match_parent">

    <TextView
        android:id="@+id/text_home"
        android:layout_width="match_parent"
        android:layout_height="wrap_content"
        android:layout_marginStart="8dp"
        android:layout_marginTop="8dp"
        android:layout_marginEnd="8dp"
        android:textAlignment="center"
        android:textSize="20sp"
        app:layout_constraintEnd_toEndOf="parent"
        app:layout_constraintStart_toStartOf="parent"
        app:layout_constraintTop_toTopOf="parent"
        android:text="this is homebar"
        />
</androidx.constraintlayout.widget.ConstraintLayout>
3.建议navigation布局文件(至关重要)
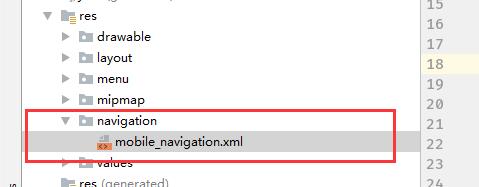
这个文件指定了页面上显式那些fragment组件
在项目res下新建一个文件夹专门用来存放此文件
id取值一定要与底部导航栏样式里面指定的ID相同,因为android自动根据底部按钮的ID来绑定按钮与fragment
<?xml version="1.0" encoding="utf-8"?>
<navigation xmlns:android="http://schemas.android.com/apk/res/android"
    xmlns:app="http://schemas.android.com/apk/res-auto"
    xmlns:tools="http://schemas.android.com/tools"
    android:id="@+id/mobile_navigation"
    app:startDestination="@+id/navigation_home">

    <fragment
    android:id="@+id/navigation_home"
    android:name="cn.liuhao.test.fragments.HomeFragment"
    tools:layout="@layout/fragment_home" />

    <fragment
        android:id="@+id/navigation_view"
        android:name="cn.liuhao.test.fragments.ViewFragment"
        tools:layout="@layout/fragment_view" />

    <fragment
        android:id="@+id/navigation_edit"
        android:name="cn.liuhao.test.fragments.EditFragment"
        tools:layout="@layout/fragment_eidt" />

    <fragment
        android:id="@+id/navigation_user"
        android:name="cn.liuhao.test.fragments.UserFragment"
        tools:layout="@layout/fragment_user" />
</navigation>
4.activity
布局文件
<?xml version="1.0" encoding="utf-8"?>
<androidx.constraintlayout.widget.ConstraintLayout xmlns:android="http://schemas.android.com/apk/res/android"
    xmlns:app="http://schemas.android.com/apk/res-auto"
    android:id="@+id/container"
    android:layout_width="match_parent"
    android:layout_height="match_parent"
    android:paddingTop="?attr/actionBarSize">

	<!-- 底部导航栏 -->
    <com.google.android.material.bottomnavigation.BottomNavigationView
        android:id="@+id/nav_view"
        android:layout_width="0dp"
        android:layout_height="wrap_content"
        android:layout_marginStart="0dp"
        android:layout_marginEnd="0dp"
        android:background="?android:attr/windowBackground"
        app:layout_constraintBottom_toBottomOf="parent"
        app:layout_constraintLeft_toLeftOf="parent"
        app:layout_constraintRight_toRightOf="parent"
        app:menu="@menu/bottom_nav_menu" />

	<!-- 页面中显式fragment的容器-->
    <fragment
        android:id="@+id/nav_host_fragment"
        android:name="androidx.navigation.fragment.NavHostFragment"
        android:layout_width="match_parent"
        android:layout_height="match_parent"
        app:defaultNavHost="true"
        app:layout_constraintBottom_toTopOf="@id/nav_view"
        app:layout_constraintLeft_toLeftOf="parent"
        app:layout_constraintRight_toRightOf="parent"
        app:layout_constraintTop_toTopOf="parent"
        app:navGraph="@navigation/mobile_navigation" />

</androidx.constraintlayout.widget.ConstraintLayout>
内容(绑定Navigation与BottomNavigationView)
public class Main2Activity extends AppCompatActivity {


    @Override
    protected void onCreate(Bundle savedInstanceState) {
        super.onCreate(savedInstanceState);
        setContentView(R.layout.activity_main2);

        // 获取页面上的底部导航栏控件
        BottomNavigationView navView = findViewById(R.id.nav_view);

        // 配置navigation与底部菜单之间的联系
        // 底部菜单的样式里面的item里面的ID与navigation布局里面指定的ID必须相同,否则会出现绑定失败的情况
        AppBarConfiguration appBarConfiguration = new AppBarConfiguration.Builder(
                R.id.navigation_home,R.id.navigation_edit,R.id.navigation_view,R.id.navigation_user)
                .build();
        // 建立fragment容器的控制器,这个容器就是页面的上的fragment容器
        NavController navController = Navigation.findNavController(this, R.id.nav_host_fragment);

        // 启动
        NavigationUI.setupActionBarWithNavController(this, navController, appBarConfiguration);
        NavigationUI.setupWithNavController(navView, navController);


    }


}
以上是关于android底部导航栏的主要内容,如果未能解决你的问题,请参考以下文章