学习笔记——JavaScript
Posted 别呀
tags:
篇首语:本文由小常识网(cha138.com)小编为大家整理,主要介绍了学习笔记——JavaScript相关的知识,希望对你有一定的参考价值。
文章目录
一、鼠标事件
鼠标事件种类:
| 事件名 | 描述 |
|---|---|
| onclick | 单击鼠标左键时触发 |
| ondblclick | 双击鼠标左键时触发 |
| onmouseover | 鼠标移动到元素上时触发 |
| onmouseout | 鼠标移除该元素边界时触发 |
| onmousedown | 鼠标任意一个按键按下时触发 |
| onmouseup | 松开鼠标任意一个按键时触发 |
| onmousemove | 鼠标移动时被触发 |
| onmousewheel | 鼠标滚轮事件 |
1.1、鼠标移动事件(onmousemove)
鼠标移动时被触发
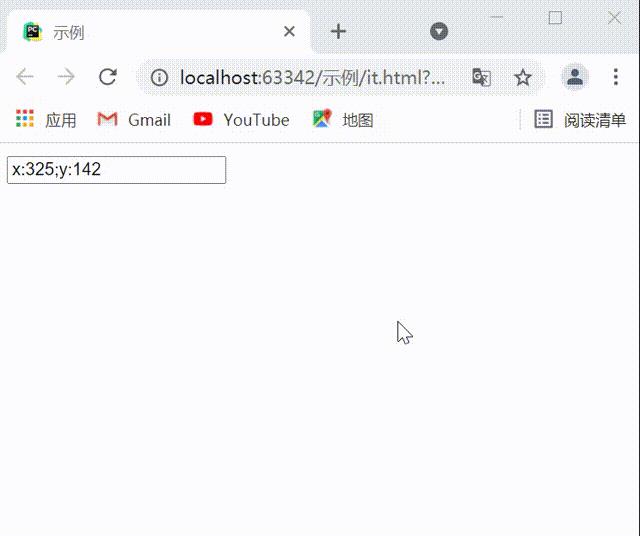
示例一:
(鼠标移动时,在input文本框中显示鼠标位置(坐标))
<!DOCTYPE html>
<html lang="en">
<head>
    <meta charset="UTF-8">
    <title>示例</title>
</head>
<body>
	<input type="text" id="text">
	<div>
		<script>
			var text = document.getElementById("text");
			document.onmousemove = function (event) {
			//event--事件对象:当事件的响应函数被触发时,浏览器每次都会将一个事件对象作为实参传入响应函数。
				text.value = 'x:'+event.pageX+' '+'y:'+event.pageY;
            }
		</script>
	</div>
</body>
</html>
结果:

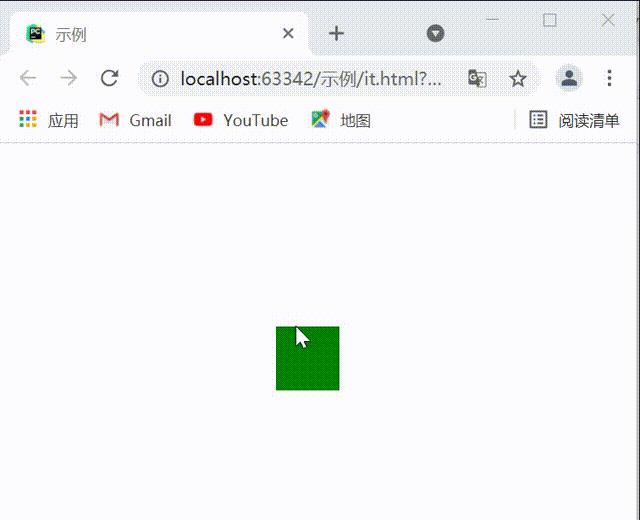
示例二:
(div随鼠标移动)
<!DOCTYPE html>
<html lang="en">
<head>
    <meta charset="UTF-8">
    <title>示例</title>
	<style>
		#box{
			width: 50px;
			height: 50px;
			background-color: green;
			position: absolute;
		}
	</style>
</head>
<body>
	<div id="box"></div>
		<script>
			var box = document.getElementById("box");
			document.onmousemove = function (event) {
			    // 获取鼠标x和y值
			    var x = event.pageX;
				var y = event.pageY;
				// 设置div的偏移量
				box.style.left = x + 'px';
				box.style.top = y + 'px';
            }
		</script>
</body>
</html>
结果:

注意:这里获取鼠标位置为什么使用
pageX和pageY?同样是获取鼠标位置它们和clientX、clientY有什么区别?
clientX、clientY是用于获取鼠标在当前的可见窗口坐标
pageX、pageY用于获取鼠标相对当前页面的坐标
举个简单的例子同样是div随鼠标移动,如果页面高度够大则会形成滚动条,如果使用clientX、clientY这时当我们滑动滚动条后,鼠标再次移动div盒子可能不会跟着移动,如果使用pageX 、pageY就不会有这个问题了。
1.2、鼠标按键按下与松开事件(onmousedown/onmouseup)
onmousedown:鼠标任意一个按键按下时触发
onmouseup:松开鼠标任意一个按键时触发
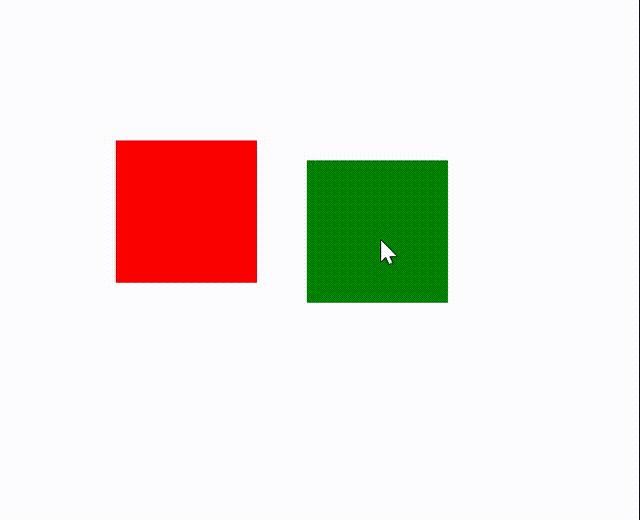
示例:
(鼠标拖拽div)
<!DOCTYPE html>
<html lang="en">
<head>
    <meta charset="UTF-8">
    <title>示例</title>
	<style>
		#box{
			width: 100px;
			height: 100px;
			background-color: green;
			position: absolute;
		}
		#box2{
				width: 100px;
				height: 100px;
				background-color: red;
				position: absolute;
				left: 100px;
				top: 100px;
			}
	</style>
</head>
<body>
	<div id="box"></div>
	<div id="box2"></div>
	<script>
		/*思路:
		1.当鼠标在被拖拽元素上按下时,开始拖拽
		onmousedown
		2.当鼠标移动时被拖拽元素根随鼠标一起移动
		onmousemove
		3.当鼠标松开时,被拖拽元素固定到当前位置
		onmouseup*/
		// 获取box
		var box = document.getElementById("box");
		// 给box绑定一个鼠标按下事件
		box.onmousedown = function(event){
			// 求出div的偏移量
			// 鼠标的x减去元素的left值
			// 鼠标的y减去元素的top值
			var ol = event.clientX - box.offsetLeft; //offsetLeft获取元素的left值
			var ot = event.clientY - box.offsetTop;//offsetTop获取元素的top值
			// 跟随鼠标进行移动,
			document.onmousemove = function(event){
				var x = event.pageX-ol;
				var y = event.pageY-ot;
				// 修改box位置
				box.style.left = x+"px";
				box.style.top = y+"px";
			}
			document.onmouseup = function(){
				// 固定box到松开位置
				// 取消document的鼠标移动事件
				document.onmousemove = null;
				// 取消鼠标松开事件
				document.onmouseup = null;
			}/*注意这里不使用box.onmouseup,因为如果使用了,当鼠标不在box元素上松开时就会出问题*/
		}
	</script>
</body>
</html>
结果:

1.3、鼠标滚轮事件(onmousewheel)
常用 事件对象的wheelDelta来判断滚轮滚动的方向,大于0向上,小于0向下。
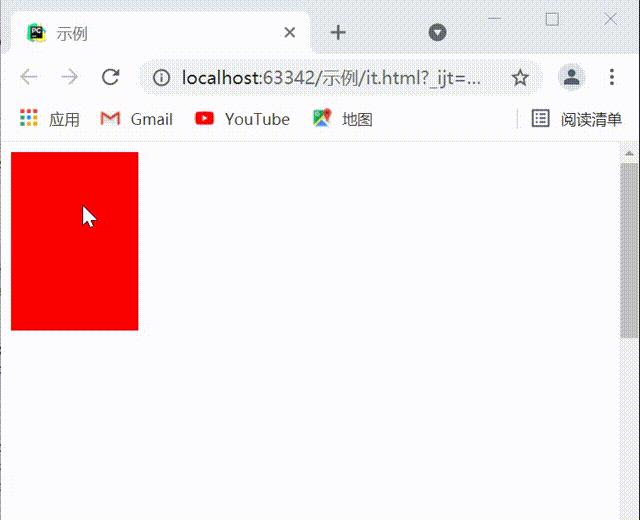
示例:
(当鼠标滚轮向下滚动时,box变长,向上滚动时,box就变短)
<!DOCTYPE html>
<html>
	<head>
		<meta charset="utf-8">
		<title></title>
		<style type="text/css">
			#box{
				width: 100px;
				height: 100px;
				background-color: #FF0000;
			}
		</style>
	</head>
	<body style="height: 2000px;">
		<div id="box"></div>
		<script type="text/javascript">
			var box = document.getElementById("box");
			// box绑定鼠标滚轮事件
			box.onmousewheel = function(event){
				if(event.wheelDelta>0){
					// 向上滚动
					box.style.height = box.clientHeight -10+"px";
				}else{
					// 向下滚动
					box.style.height = box.clientHeight + 10+"px";
				}

				// 当滚轮滚动时,如果浏览器带了轮动条,滚动时随浏览器进行滚动,属于浏览器的默认行为,如果不希望发生,可以取消默认行为
				return false;  //添加return false 取消默认行为
			}
		</script>
	</body>
</html>
结果:

注意:我这里用的是 谷歌浏览器 ,如果用其他浏览器的话代码的书写可能会有点变化。
1.4、鼠标触碰事件(onmouseover/onmouseout)
onmouseover:鼠标移动到元素上时触发
onmouseout:鼠标移出该元素边界时触发
示例:
<!DOCTYPE html>
<html lang="en">
<head>
    <meta charset="UTF-8">
    <title>JavaScript(一)作业</title>
    <style>
        #back{
            width: 100px;
            height: 100px;
            background-color: #00BFFF;
        }

    </style>
</head>
<body>
    <div id="back" onmouseover="mOver(this)" onmouseout="mOut(this)">我还是我</div>
    <button id="btn1" class="bt">颜色更改</button>
    <script type="application/javascript">

        var box = document.getElementById("back");
        var btn1 = document.getElementById("btn1")
        btn1.onclick = function(){
            box.style.backgroundColor = "green";
        }
        function mOver(box) {
          box.innerHTML = "我就是我"
        }
        function mOut(box) {
          box.innerHTML = "我还是我"
        }
    </script>
</body>
</html>
结果:

注意:onmouseenter(onmouseleave)也是鼠标移动到元素上(移出该元素边界)时触发,它们的区别在于onmouseenter鼠标在元素子元素上时不会触发,而onmouseover鼠标在元素子元素上时会触发。
二、键盘事件
| 事件名称 | 描述 |
|---|---|
| onkeydown | 某个键盘按键被按下 |
| onkeyup | 某个键盘按键被松开 |
对于键盘事件一般都会绑定给一些可以获取到焦点的对象(有光标,如文本框),或者document对象
示例:
<!DOCTYPE html>
<html lang="en">
<head>
    <meta charset="UTF-8">
    <title>示例</title>
	<style>

	</style>
</head>
<body>
	<input type="text" id="inp">
	<script>
		var inp = document.getElementById("inp");

		inp.onkeydown = function (ev) {
				//判断c是否被触发了
				if(event.keyCode==67){
					console.log("被按下了");
				}
		}
	</script>
</body>
</html>
结果:(按下c键后)
被按下了
注意:keyCode 获取的是按键的ASCII,除了 keyCode 之外,事件对象中还提供了几个属性:altKey、ctrlkey 、shiftkey可以判断alt ctrl shift是否被按下,如果按下则返回 true 否则返回 false。
三、Bom 浏览器对象模型
JavaScript 是运行在浏览器中的,因此提供了一系列对象用于浏览器进行交互。这些对象主要有:
window:代表整个浏览器窗口,同时window也是网页中的全局对象;
Navigator:代表浏览器的信息,可以通过这个对象识别不同的浏览器;
Location:地址,代表浏览器的地址栏信息,或者操作浏览器跳转页面;
History:代表浏览器的历史记录,由于涉及隐私,该对象不能获取到具体的历史记录,只能操作浏览器向前或者向后。
注意:bom 对象都是作为 windown 对象的属性来保存的,可以通过 window 对象来使用,也可以直接使用。
示例:
<body>
    <button type="button" id="btn">这是个按钮</button>
		<script type="text/javascript">
		console.log(window)	;
		console.log(window.navigator);
		// userAgent就是一个字符串,这个字符串中包含有用来描述浏览器信息的内容,不同的浏览器会有不同的userAgent,所以可以通过这个属性来判断浏览器的信息
		console.log(navigator.userAgent);


		var btn = document.getElementById("btn");
		// $("#btn")
		btn.onclick = function(){
			// 跳转到百度
			window.location = "http://www.baidu.com";
			//window.location = "css.html";  //这里也可以转跳到自己写的html文件

			// 刷新函数
			//location.reload();
		}
	</script>
</body>
历史记录对象
示例:
<body>
		<h1>历史记录页面</h1>
		<script type="text/javascript">
			// length  获取当前访问到的连接数量
			alert(history.length);

			// back();可以回退到上一个页面,作用和浏览器的回退按钮一致
			// forward():可以跳转到下一个页面,作用和浏览器的前进按钮一致
			// go():可以用来跳转到指定页面,需要传递一个整数作为参数 如果
			/* 参数为1:代表向前跳转一个页面
			        2:代表向前跳转二个页面
			        -1:代表向后跳一个页面
			        -2:代表向后跳二个页面*/
		</script>
	</body>
四、定时器
| 函数 | 描述 |
|---|---|
| setTimeout | 设置定时器 |
| clearTimeout | 清除定时器 |
| setInterval | 设置定时器 |
| clearInterval | 清除定时器 |
示例一:
<!DOCTYPE html>
<html>
	<head>
		<meta charset="utf-8">
		<title>示例</title>
	</head>
	<body>
		<h1 id="count">1</h1>

		<script>
			var h = document.getElementById("count");
			// window.setInterval();
			// 定时调用,可以将一个函数每隔一段时间执行一次
			// 参数:
			// 1.回调函数,该函数会每隔一段时间被调用一次
			// 2.每次调用间隔的时间,单位是毫秒
			var num = 1;
			// 返回值:返回数字,代表定时器的标识
			var timer = window.setInterval(function(){
				h.innerHTML = num++;
				if(num==11){
					window.clearInterval(timer);
				}
			},500);
			// 清除定时器
			// 需要传入一个定时器的标识作为参数,这样就可以关闭对应的定时器
		</script>
	</body>
</html>
示例二:
<!DOCTYPE html>
<html>
	<head>
		<meta charset="utf-8">
		<title>示例</title>
		<style>
			*{
				margin: 0;
				padding: 0;
			}
			div{
				width: 100px;
				height: 100px;
				background-color:red;
				position: absolute;
			}
		</style>
	</head>
	<body>
		<button type="button" id="btn">点击按钮之后div向右移动</button>
		<div id="box"></div>
		<script type="text/javascript">
			var btn = document.getElementById("btn");
			var box = document.getElementById("box");
			btn.onclick = function(){
				var timer = setInterval(function(){
					var oldValue =  getStyle(box,"left");
					var ov = window.parseInt(oldValue);
					// 在旧值的基础上增加
					var newvalue = ov+10;
					// 给left进行赋值
					box.style.left = newvalue+"px";
					// 当元素移动到800px时,停止
					if(newvalue>=400){
						// 清除定时器
						clearInterval(timer);
					}
				},100);
			}
			// 用来获取某一个元素的样式
			function getStyle(obj,name){
				// getComputedStyle();
				var cssobj = getComputedStyle(obj,null);

				return cssobj[name];
			}
		</script>
	</body>
</html>
结果:

有想学习 JavaScript 基本运用的可以看看我这几篇博客:
学习笔记(五)——JavaScript(二)
学习笔记(四)——JavaScript(一)
以上是关于学习笔记——JavaScript的主要内容,如果未能解决你的问题,请参考以下文章
译文:18个实用的JavaScript代码片段,助你快速处理日常编程任务
[原创]java WEB学习笔记61:Struts2学习之路--通用标签 property,uri,param,set,push,if-else,itertor,sort,date,a标签等(代码片段