十IOC操作Bean管理(基于注解方式)
Posted 上善若水
tags:
篇首语:本文由小常识网(cha138.com)小编为大家整理,主要介绍了十IOC操作Bean管理(基于注解方式)相关的知识,希望对你有一定的参考价值。
-
什么是注解
- 注解是代码特殊标记,格式:@注解名称(属性名称=属性值,属性名称=属性值…)
- 使用注解,注解作用在类上面,方法上面,属性上面
- 使用注解目的:简化xml配置
-
spring针对bean管理中创建对象提供的注解
-
@Component Spring容器提供了一种普通组件,用它可以创建对象。
-
@Service 一般用于业务逻辑层,也就是service层。
-
@Controller 一般用于控制层,也就是web层。
-
Repository 一般用于持久层,也就是dao层。
上面四个注解功能是一样的,都可以用来创建bean实例
-
-
基于注解方式实现对象创建
-
第一步:引入依赖

-
第二步:开启组件扫描
<?xml version="1.0" encoding="UTF-8"?> <beans xmlns="http://www.springframework.org/schema/beans" xmlns:xsi="http://www.w3.org/2001/XMLSchema-instance" xmlns:context="http://www.springframework.org/schema/context" xsi:schemaLocation="http://www.springframework.org/schema/beans http://www.springframework.org/schema/beans/spring-beans.xsd http://www.springframework.org/schema/context http://www.springframework.org/schema/context/spring-context.xsd"> <context:component-scan base-package="com.deewin"></context:component-scan> </beans> -
第三步:创建类,在类上面添加创建对象注解
package com.deewin.service; import org.springframework.stereotype.Component; // 在注解里面value属性值可以省略不写,默认值是类名称,首字母小写 // UserService --- userService @Component(value = "userService") // <bean id="userService" class="com.deewin.service.UserService"/> public class UserService { public void add() { System.out.println("service add..."); } } -
第四步:编写测试类
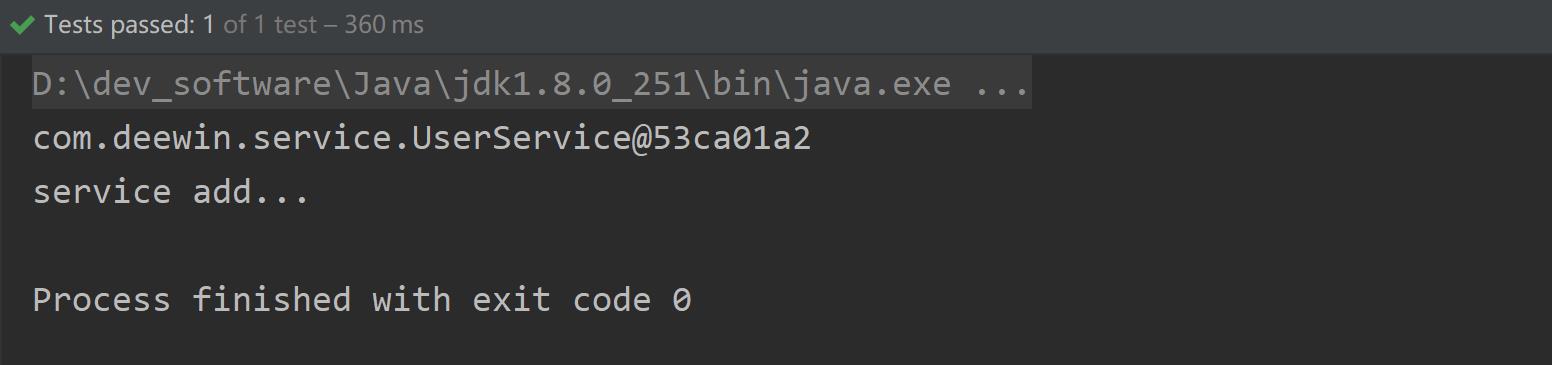
package com.deewin.test;

import com.deewin.service.UserService;
import org.junit.Test;
import org.springframework.context.ApplicationContext;
import org.springframework.context.support.ClassPathXmlApplicationContext;

public class MyTest1 {
    @Test
    public void test1()
    {
        ApplicationContext context = new ClassPathXmlApplicationContext("bean1.xml");
        UserService userService = context.getBean("userService", UserService.class);
        System.out.println(userService);
        userService.add();
    }
}
项目结构:
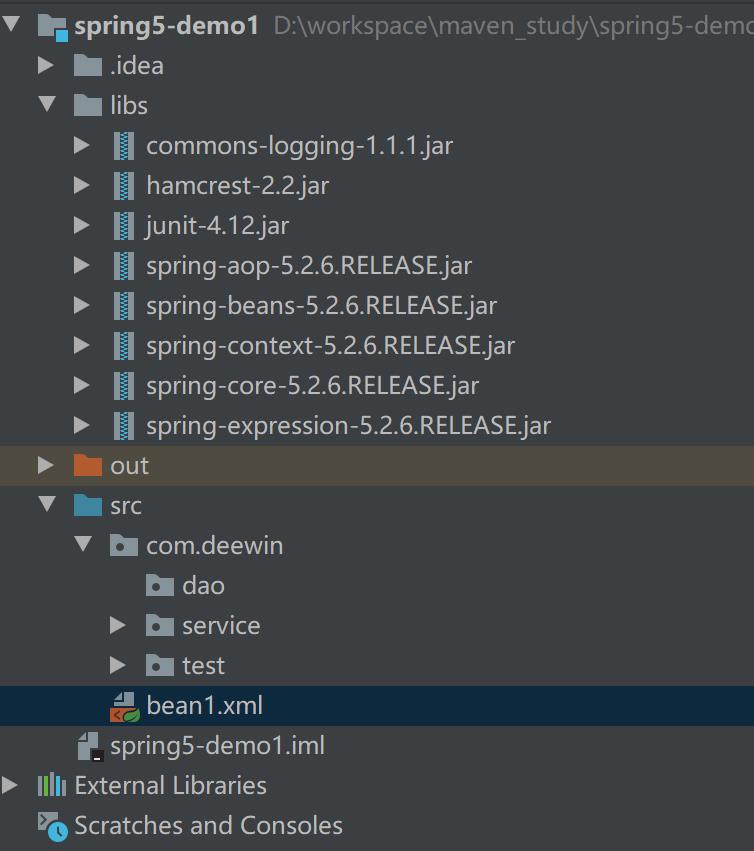
运行结果:
-
-
开启组件扫描细节配置
<?xml version="1.0" encoding="UTF-8"?> <beans xmlns="http://www.springframework.org/schema/beans" xmlns:xsi="http://www.w3.org/2001/XMLSchema-instance" xmlns:context="http://www.springframework.org/schema/context" xsi:schemaLocation="http://www.springframework.org/schema/beans http://www.springframework.org/schema/beans/spring-beans.xsd http://www.springframework.org/schema/context http://www.springframework.org/schema/context/spring-context.xsd"> <!-- 示例1 use-default-filters="false" 表示现在不使用默认filter,使用自己配置filter context:include-filter ,设置扫描那些内容。 --> <context:component-scan base-package="com.deewin" use-default-filters="false"> <!--只扫描@Controller注解配置的类--> <context:include-filter type="annotation" expression="org.springframework.stereotype.Controller"/> </context:component-scan> <!-- 示例2 下面配置扫描包所有内容 context:exclude-filter:设置那些内容不进行扫描 --> <context:component-scan base-package="com.deewin"> <!--不扫描@Controller注解配置的类--> <context:exclude-filter type="annotation" expression="org.springframework.stereotype.Controller"/> </context:component-scan> </beans> -
基于注解方式实现属性注入
-
@Autowired:根据属性类型进行自动装配
- 第一步:把service和dao对象创建,在service和dao类添加创建对象注解
package com.deewin.service;

public interface UserService
{
    public void add();
}
package com.deewin.dao; import org.springframework.stereotype.Repository; @Repository public class UserDao { public void save() { System.out.println("dao add..."); } }- 第二步:在service注入dao对象,在service类添加dao类型属性,在属性上面使用注解
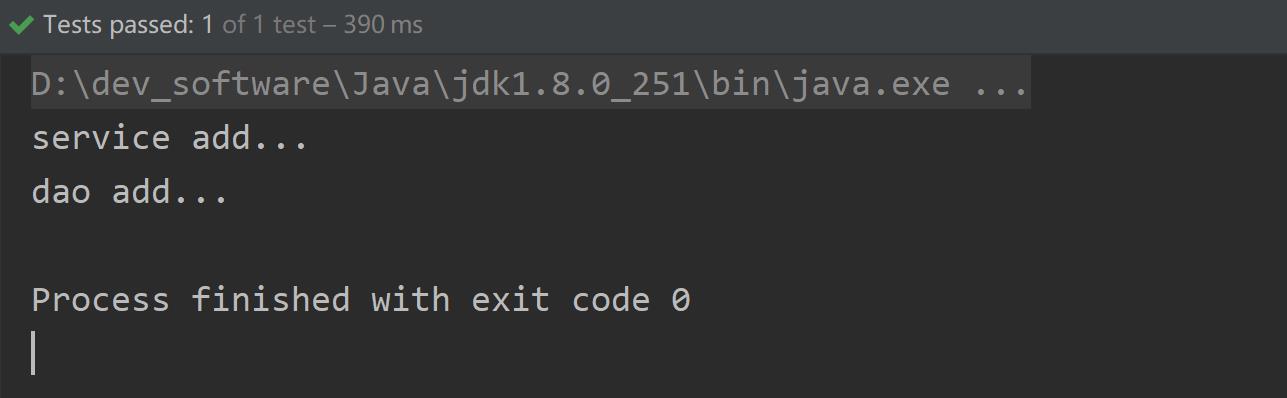
package com.deewin.service; import com.deewin.dao.UserDao; import org.springframework.beans.factory.annotation.Autowired; import org.springframework.stereotype.Service; @Service public class UserServiceImpl implements UserService { // 定义dao类型属性,不需要添加set方法 // 添加注入属性注解 @Autowired public UserDao userDao; @Override public void add() { System.out.println("service add..."); userDao.save(); } }- 第三步:测试
package com.deewin.test;

import com.deewin.service.UserService;
import org.junit.Test;
import org.springframework.context.ApplicationContext;
import org.springframework.context.support.ClassPathXmlApplicationContext;

public class MyTest1 {
    @Test
    public void test1()
    {
        ApplicationContext context = new ClassPathXmlApplicationContext("bean1.xml");
        UserService userService = context.getBean("userServiceImpl", UserService.class);
        userService.add();
    }
}
运行结果:
-
@Qualifier:根据名称进行注入
这个@Qualifier注解的使用,和上面@Autowired一起使用
package com.deewin.dao;

public interface UserDao {
    public void save();
}
package com.deewin.dao; import org.springframework.stereotype.Repository; @Repository public class UserDaoImpl implements UserDao{ @Override public void save() { System.out.println("dao add..."); } }package com.deewin.service; public interface UserService { public void add(); }package com.deewin.service; import com.deewin.dao.UserDaoImpl; import org.springframework.beans.factory.annotation.Autowired; import org.springframework.beans.factory.annotation.Qualifier; import org.springframework.stereotype.Service; @Service public class UserServiceImpl implements UserService { // 定义dao类型属性,不需要添加set方法 // 添加注入属性注解 @Autowired // 当UserDao接口有多个实现类时,需要使用@Qualifier注解按名称进行注入 @Qualifier(value = "userDaoImpl") public UserDaoImpl userDao; @Override public void add() { System.out.println("service add..."); userDao.save(); } } -
@Resource:可以根据类型注入,可以根据名称注入
package com.deewin.dao;

import org.springframework.stereotype.Repository;

@Repository(value = "userDaoImpl1")
public class UserDaoImpl implements UserDao{
    @Override
    public void save() {
        System.out.println("dao add...");
    }
}
package com.deewin.service; import com.deewin.dao.UserDaoImpl; import org.springframework.beans.factory.annotation.Autowired; import org.springframework.beans.factory.annotation.Qualifier; import org.springframework.stereotype.Service; import javax.annotation.Resource; @Service public class UserServiceImpl implements UserService { // @Resource // 根据类型进行注入 @Resource(name = "userDaoImpl1") //根据名称进行注入 public UserDaoImpl userDao; @Override public void add() { System.out.println("service add..."); userDao.save(); } } -
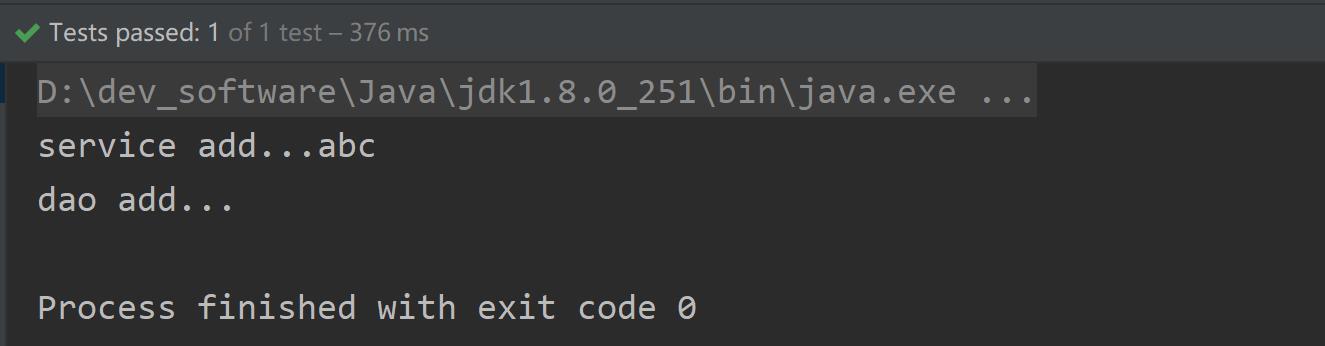
@Value:注入普通类型属性
package com.deewin.service;

import com.deewin.dao.UserDaoImpl;
import org.springframework.beans.factory.annotation.Autowired;
import org.springframework.beans.factory.annotation.Qualifier;
import org.springframework.beans.factory.annotation.Value;
import org.springframework.stereotype.Service;

import javax.annotation.Resource;

@Service
public class UserServiceImpl implements UserService {
    @Value(value = "abc")
    private String name;

    // @Resource // 根据类型进行注入
    @Resource(name = "userDaoImpl1") //根据名称进行注入
    public UserDaoImpl userDao;
    @Override
    public void add() {
        System.out.println("service add..."+name);
        userDao.save();
    }
}
运行结果:
-
-
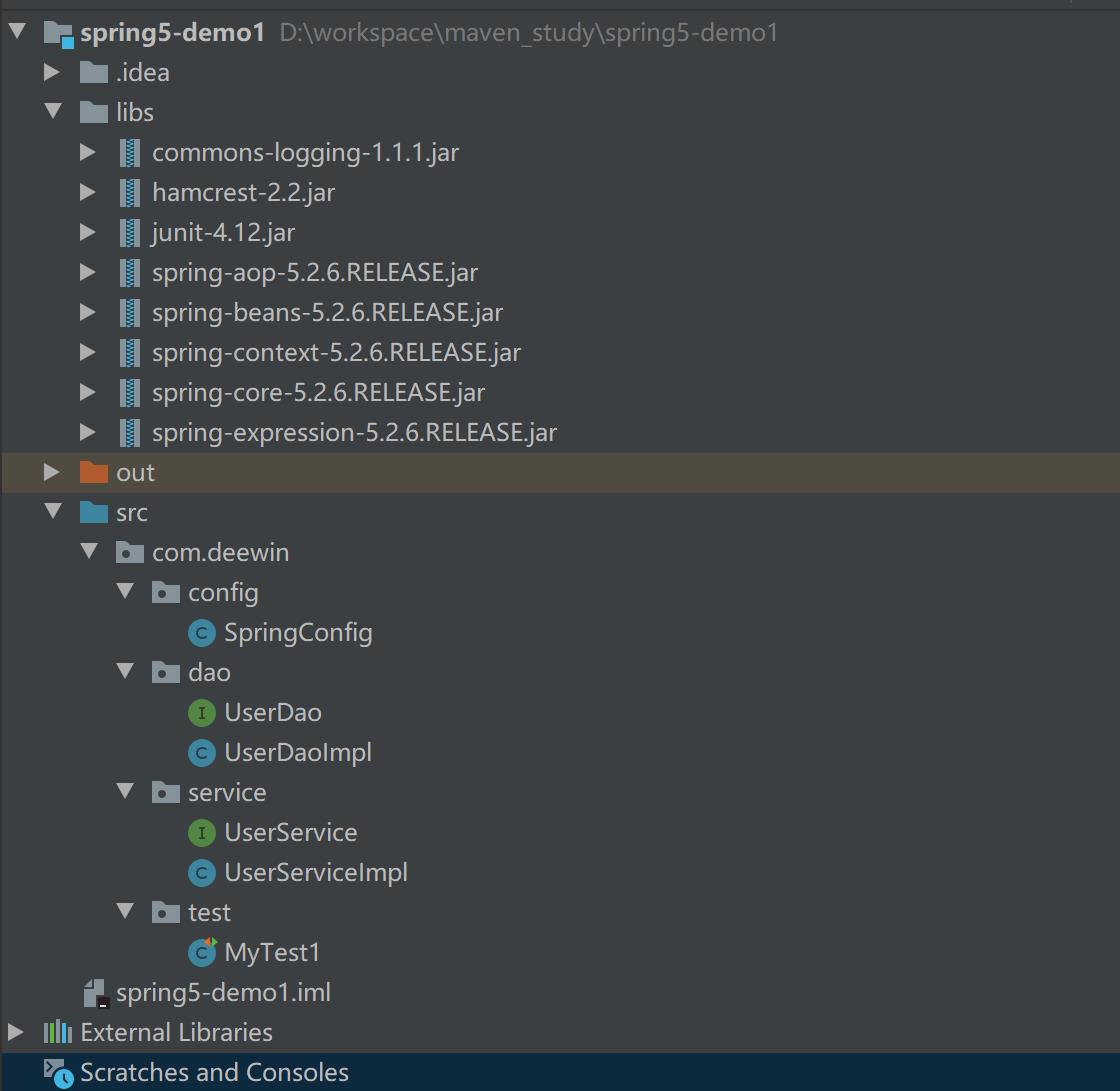
完全注解开发
package com.deewin.config;

import org.springframework.context.annotation.ComponentScan;
import org.springframework.context.annotation.Configuration;

@Configuration // 作为配置类,替代xml配置文件
@ComponentScan(basePackages = {"com.deewin"})
public class SpringConfig {
}
package com.deewin.test; import com.deewin.config.SpringConfig; import com.deewin.service.UserService; import org.junit.Test; import org.springframework.context.ApplicationContext; import org.springframework.context.annotation.AnnotationConfigApplicationContext; public class MyTest1 { @Test public void test1() { ApplicationContext context = new AnnotationConfigApplicationContext(SpringConfig.class); UserService userService = context.getBean("userServiceImpl", UserService.class); userService.add(); } }项目结构:
运行结果:

以上是关于十IOC操作Bean管理(基于注解方式)的主要内容,如果未能解决你的问题,请参考以下文章
第249天学习打卡(知识点回顾IOC操作Bean管理 基于注解方式)
spring5:IOC 操作 Bean 管理(基于注解方式)
Spring5学习笔记 — “IOC操作Bean管理(基于注解)”