多种好看好玩的词云例子Example
Posted Real&Love
tags:
篇首语:本文由小常识网(cha138.com)小编为大家整理,主要介绍了多种好看好玩的词云例子Example相关的知识,希望对你有一定的参考价值。
在之前词云可视化的代码中,我们已经大概介绍了词云生成的方法和步骤,这里我们就用了官网的一些例子来展示一下词云的美丽
如果想了解更多有趣的项目和小玩意,都可以来我这里哦通道
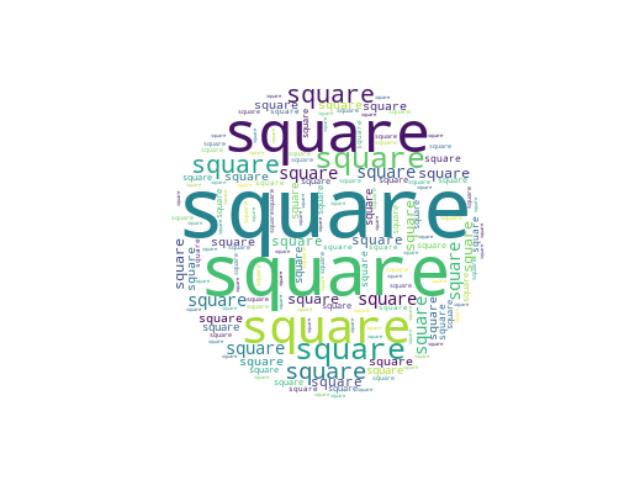
Single Word
Make a word cloud with a single word that’s repeated.
import numpy as np
import matplotlib.pyplot as plt
from wordcloud import WordCloud

text = "square"

x, y = np.ogrid[:300, :300]

# 定义一个圆心为(150,150),半径为130的圆,使得我们的mask形状是一个圆
mask = (x - 150) ** 2 + (y - 150) ** 2 > 130 ** 2
mask = 255 * mask.astype(int)

# 设置repeat参数,Make a word cloud with a single word that's repeated.
wc = WordCloud(background_color="white", repeat=True, mask=mask)
# 生成词云
wc.generate(text)

plt.axis("off")
# 采用双线性插值的方法显示颜色
plt.imshow(wc, interpolation="bilinear")
plt.show()
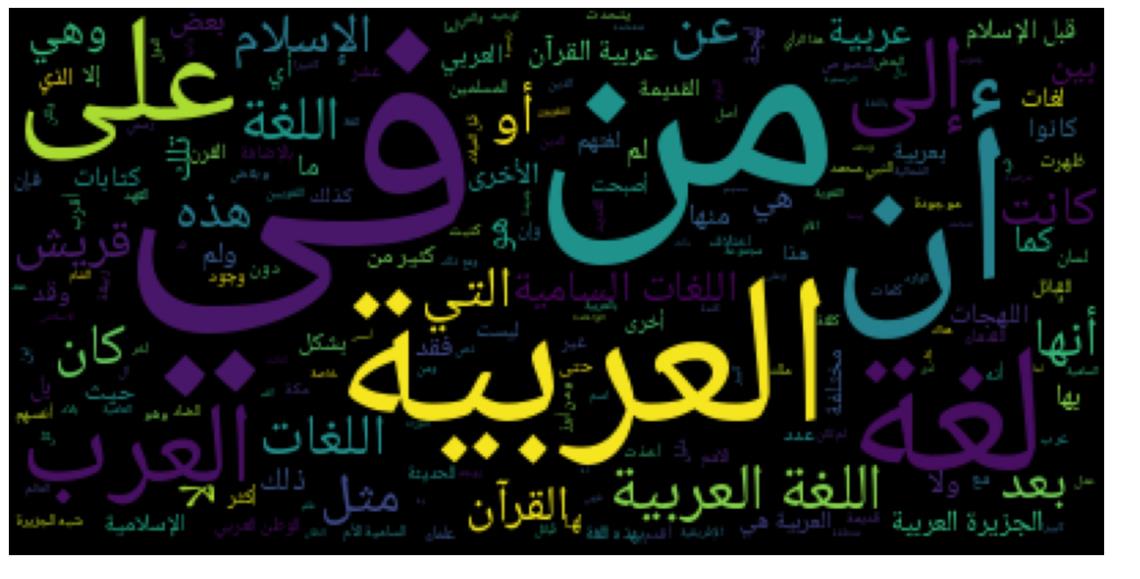
Create wordcloud with Arabic
我们现在生成阿拉伯文本
这里我们需要两个第三方库
- bidi.algorithm
- arabic_reshaper
所以我们首先要install这两个包
pip install python-bidi arabic_reshaper
import os
import codecs
from wordcloud import WordCloud
import arabic_reshaper
from bidi.algorithm import get_display

# get data directory (using getcwd() is needed to support running example in generated IPython notebook) 得到当前地址
d = os.path.dirname(__file__) if "__file__" in locals() else os.getcwd()

# Read the whole text.
f = codecs.open(os.path.join(d, 'arabicwords.txt'), 'r', 'utf-8')

# Make text readable for a non-Arabic library like wordcloud
text = arabic_reshaper.reshape(f.read())
text = get_display(text)

# Generate a word cloud image
wordcloud = WordCloud(font_path='fonts/NotoNaskhArabic/NotoNaskhArabic-Regular.ttf').generate(text)

# Export to an image
wordcloud.to_file("arabic_example.png")
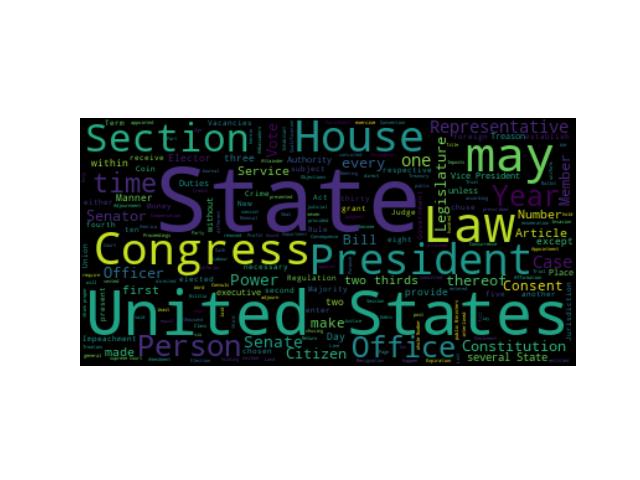
Minimal Example
Generating a square wordcloud from the US constitution using default arguments.
import os
from os import path
from wordcloud import WordCloud
# get data directory (using getcwd() is needed to support running example in generated IPython notebook)
d = path.dirname(__file__) if "__file__" in locals() else os.getcwd()
# Read the whole text.
text = open(path.join(d, 'constitution.txt')).read()
# Generate a word cloud image
wordcloud = WordCloud().generate(text)
# Display the generated image:
# the matplotlib way:
import matplotlib.pyplot as plt
plt.imshow(wordcloud, interpolation='bilinear')
plt.axis("off")
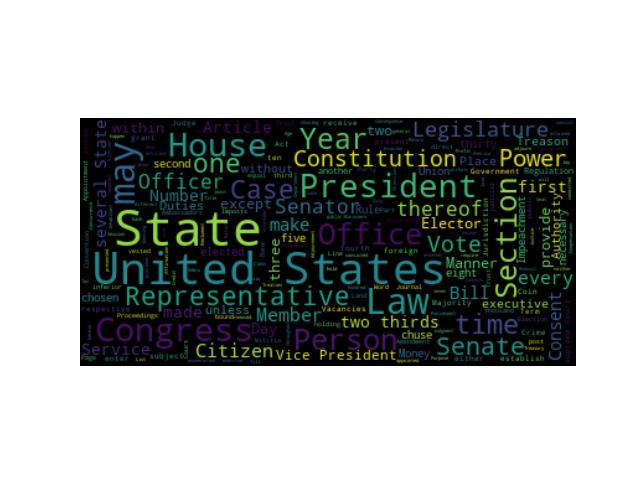
# lower max_font_size
wordcloud = WordCloud(max_font_size=40).generate(text)
plt.figure()
plt.imshow(wordcloud, interpolation="bilinear")
plt.axis("off")
plt.show()
# The pil way (if you don't have matplotlib)
# image = wordcloud.to_image()
# image.show()
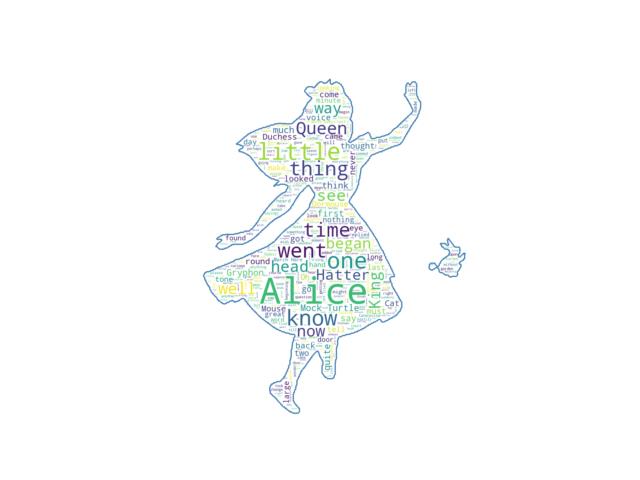
Masked wordcloud
Using a mask you can generate wordclouds in arbitrary shapes.
from os import path
from PIL import Image
import numpy as np
import matplotlib.pyplot as plt
import os
from wordcloud import WordCloud, STOPWORDS
# get data directory (using getcwd() is needed to support running example in generated IPython notebook)
d = path.dirname(__file__) if "__file__" in locals() else os.getcwd()
# Read the whole text.
text = open(path.join(d, 'alice.txt')).read()
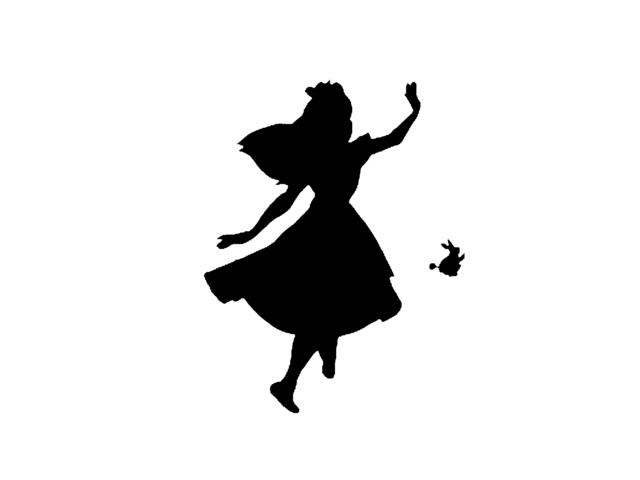
# read the mask image
# taken from
# http://www.stencilry.org/stencils/movies/alice%20in%20wonderland/255fk.jpg
alice_mask = np.array(Image.open(path.join(d, "alice_mask.png")))
stopwords = set(STOPWORDS)
stopwords.add("said")
wc = WordCloud(background_color="white", max_words=2000, mask=alice_mask,
stopwords=stopwords, contour_width=3, contour_color='steelblue')
# generate word cloud
wc.generate(text)
# store to file
wc.to_file(path.join(d, "alice.png"))
# show
plt.imshow(wc, interpolation='bilinear')
plt.axis("off")
plt.figure()
plt.imshow(alice_mask, cmap=plt.cm.gray, interpolation='bilinear')
plt.axis("off")
plt.show()
Using frequency
Using a dictionary of word frequency.
import multidict as multidict

import numpy as np

import os
import re
from PIL import Image
from os import path
from wordcloud import WordCloud
import matplotlib.pyplot as plt


def getFrequencyDictForText(sentence):
    fullTermsDict = multidict.MultiDict()
    tmpDict = {}

    # making dict for counting frequencies
    for text in sentence.split(" "):
        if re.match("a|the|an|the|to|in|for|of|or|by|with|is|on|that|be", text):
            continue
        val = tmpDict.get(text, 0)
        tmpDict[text.lower()] = val + 1
    for key in tmpDict:
        fullTermsDict.add(key, tmpDict[key])
    return fullTermsDict


def makeImage(text):
    alice_mask = np.array(Image.open("alice_mask.png"))

    wc = WordCloud(background_color="white", max_words=1000, mask=alice_mask)
    # generate word cloud
    wc.generate_from_frequencies(text)

    # show
    plt.imshow(wc, interpolation="bilinear")
    plt.axis("off")
    plt.show()


# get data directory (using getcwd() is needed to support running example in generated IPython notebook)
d = path.dirname(__file__) if "__file__" in locals() else os.getcwd()

text = open(path.join(d, 'alice.txt'), encoding='utf-8')
text = text.read()
makeImage(getFrequencyDictForText(text))
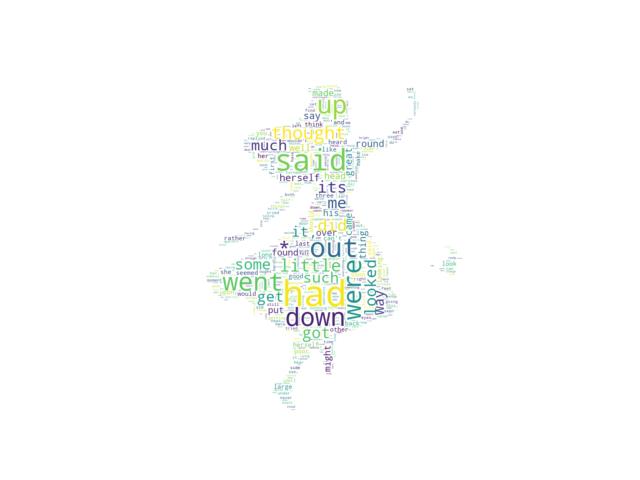
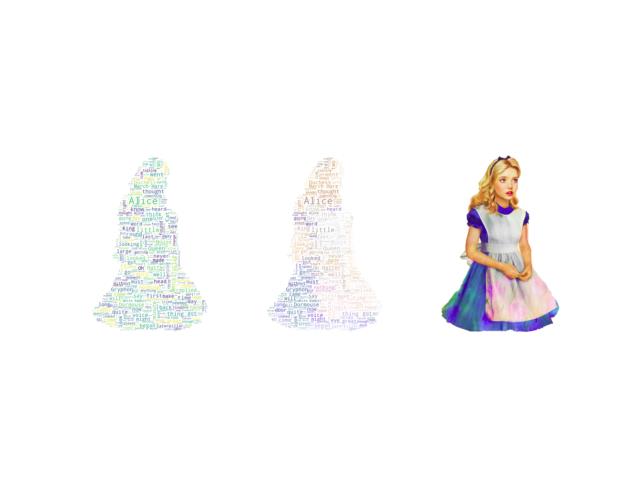
Image-colored wordcloud
You can color a word-cloud by using an image-based coloring strategy implemented in ImageColorGenerator. It uses the average color of the region occupied by the word in a source image. You can combine this with masking - pure-white will be interpreted as ‘don’t occupy’ by the WordCloud object when passed as mask. If you want white as a legal color, you can just pass a different image to “mask”, but make sure the image shapes line up.
from os import path
from PIL import Image
import numpy as np
import matplotlib.pyplot as plt
import os

from wordcloud import WordCloud, STOPWORDS, ImageColorGenerator

# get data directory (using getcwd() is needed to support running example in generated IPython notebook)
d = path.dirname(__file__) if "__file__" in locals() else os.getcwd()

# Read the whole text.
text = open(path.join(d, 'alice.txt')).read()

# read the mask / color image taken from
# http://jirkavinse.deviantart.com/art/quot-Real-Life-quot-Alice-282261010
alice_coloring = np.array(Image.open(path.join(d, "alice_color.png")))
stopwords = set(STOPWORDS)
stopwords.add("said")

wc = WordCloud(background_color="white", max_words=2000, mask=alice_coloring,
               stopwords=stopwords, max_font_size=40, random_state=42)
# generate word cloud
wc.generate(text)

# create coloring from image
image_colors = ImageColorGenerator(alice_coloring)

# show
fig, axes = plt.subplots(1, 3)
axes[0].imshow(wc, interpolation="bilinear")
# recolor wordcloud and show
# we could also give color_func=image_colors directly in the constructor
axes[1].imshow(wc.recolor(color_func=image_colors), interpolation="bilinear")
axes[2].imshow(alice_coloring, cmap=plt.cm.gray, interpolation="bilinear")
for ax in axes:
    ax.set_axis_off()
plt.show()
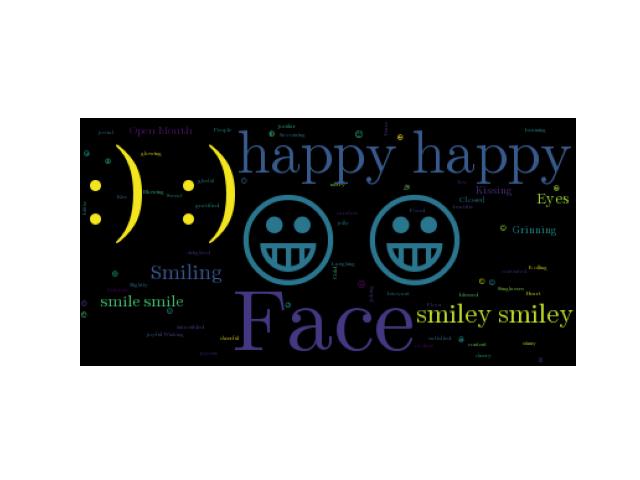
Emoji Example
A simple example that shows how to include emoji. Note that this example does not seem to work on OS X, but does work correctly in Ubuntu.
There are 3 important steps to follow to include emoji: 1) Read the text input with io.open instead of the built in open. This ensures that it is loaded as UTF-8 2) Override the regular expression used by word cloud to parse the text into words. The default expression will only match ascii words 3) Override the default font to something that supports emoji. The included Symbola font includes black and white outlines for most emoji. There are currently issues with the PIL/Pillow library that seem to prevent it from functioning correctly on OS X (https://github.com/python-pillow/Pillow/issues/1774), so try this on ubuntu if you are having problems.
import io
import os
import string
from os import path
from wordcloud import WordCloud

# get data directory (using getcwd() is needed to support running example in generated IPython notebook)
d = path.dirname(__file__) if "__file__" in locals() else os.getcwd()

# It is important to use io.open to correctly load the file as UTF-8
text = io.open(path.join(d, 'happy-emoji.txt')).read()

# the regex used to detect words is a combination of normal words, ascii art, and emojis
# 2+ consecutive letters (also include apostrophes), e.x It's
normal_word = r"(?:\\w[\\w']+)"
# 2+ consecutive punctuations, e.x. :)
ascii_art = r"(?:[{punctuation}][{punctuation}]+)".format(punctuation=string.punctuation)
# a single character that is not alpha_numeric or other ascii printable
emoji = r"(?:[^\\s])(?<![\\w{ascii_printable}])".format(ascii_printable=string.printable)
regexp = r"{normal_word}|{ascii_art}|{emoji}".format(normal_word=normal_word, ascii_art=ascii_art,
                                                     emoji=emoji)

# Generate a word cloud image
# The Symbola font includes most emoji
font_path = path.join(d, 'fonts', 'Symbola', 'Symbola.ttf')
wc = WordCloud(font_path=font_path, regexp=regexp).generate(text)

# Display the generated image:
# the matplotlib way:
import matplotlib.pyplot as plt
plt.imshow(wc)
plt.axis("off")
plt.show()
import numpy as np
from PIL import Image
from os import path
import matplotlib.pyplot as plt
import os
import random

from wordcloud import WordCloud, STOPWORDS


def grey_color_func(word, font_size, position, orientation, random_state=None,
                    **kwargs):
    return "hsl(0, 0%%, %d%%)" % random.randint(60, 100)


# get data directory (using getcwd() is needed to support running example in generated IPython notebook)
d = path.dirname(__file__) if "__file__" in locals() else os.getcwd()

# read the mask image taken from
# http://www.stencilry.org/stencils/movies/star%20wars/storm-trooper.gif
mask = np.array(Image.open(path.join(d, "stormtrooper_mask.png")))

# movie script of "a new hope"
# http://www.imsdb.com/scripts/Star-Wars-A-New-Hope.html
# May the lawyers deem this fair use.
text = open(path.join(d, 'a_new_hope.txt')).read()

# pre-processing the text a little bit
text = text.replace("HAN", "Han")
text = text.replace("LUKE'S", "Luke")

# adding movie script specific stopwords
stopwords = set(STOPWORDS)
stopwords.add("int")
stopwords.add("ext")

wc = WordCloud(max_words=1000, mask=mask, stopwords=stopwords, margin=10,
               random_state=1).generate(text)
# store default colored image
default_colors = wc.to_array()
plt.title("Custom colors")
plt.imshow(wc.recolor(color_func=grey_color_func, random_state=3),
           interpolation="bilinear")
wc.to_file("a_new_hope.png")
plt.axis("off")
plt.figure()
plt.title("Default colors")
plt.imshow(default_colors, interpolation="bilinear")
plt.axis("off")
plt.show()
Using custom colors
Using the recolor method and custom coloring functions.
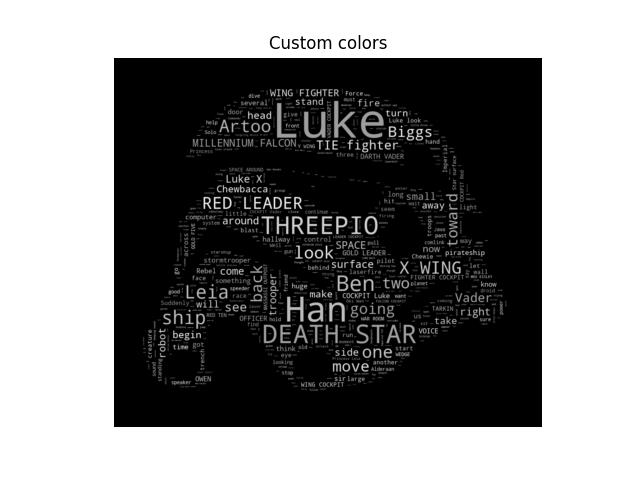
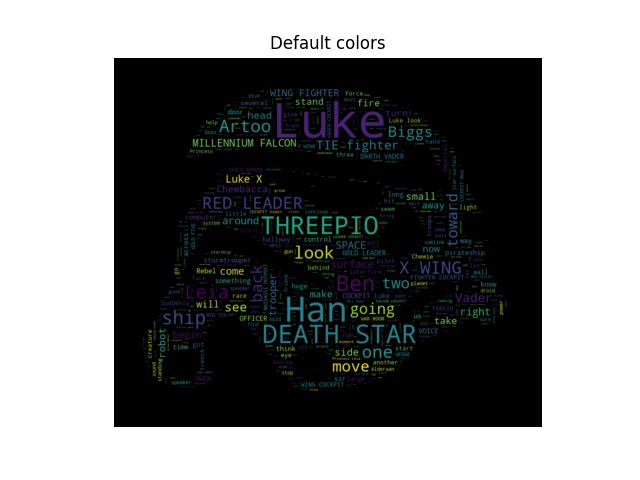
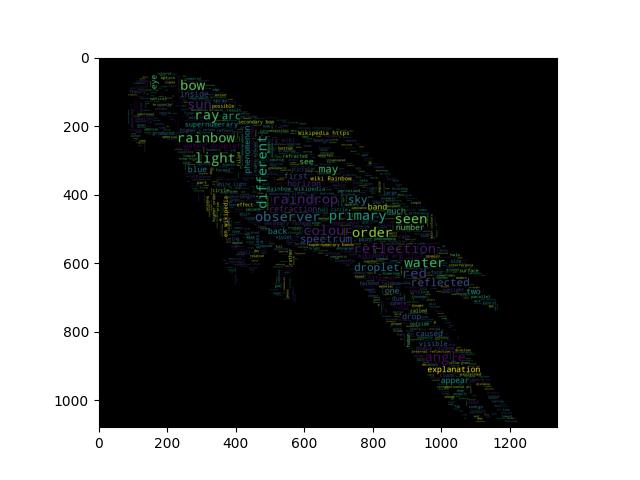
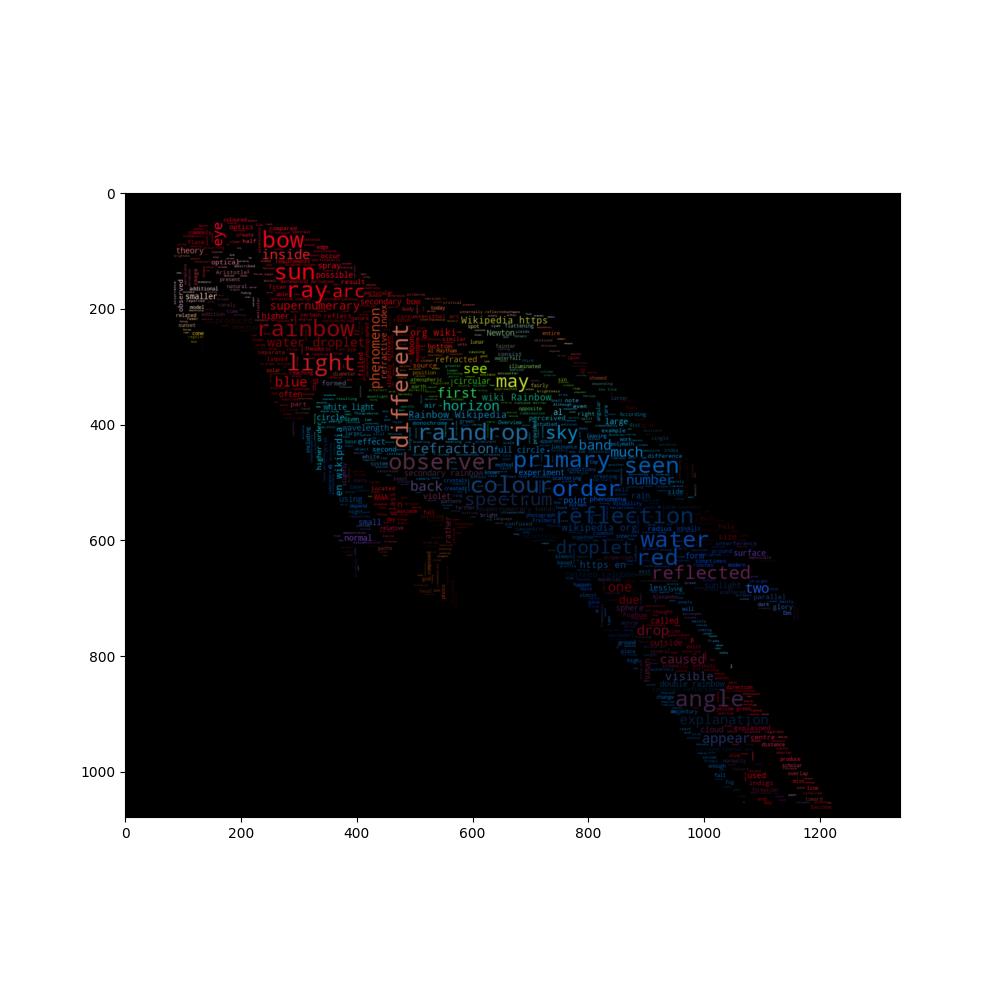
Image-colored wordcloud with boundary map
A slightly more elaborate version of an image-colored wordcloud that also takes edges in the image into account. Recreating an image similar to the parrot example.
import os
from PIL import Image
import numpy as np
import matplotlib.pyplot as plt
from scipy.ndimage import gaussian_gradient_magnitude
from wordcloud import WordCloud, ImageColorGenerator
# get data directory (using getcwd() is needed to support running example in generated IPython notebook)
d = os.path.dirname(__file__) if "__file__" in locals() else os.getcwd()
# load wikipedia text on rainbow
text = open(os.path.join(d, 'wiki_rainbow.txt'), encoding="utf-8").read()
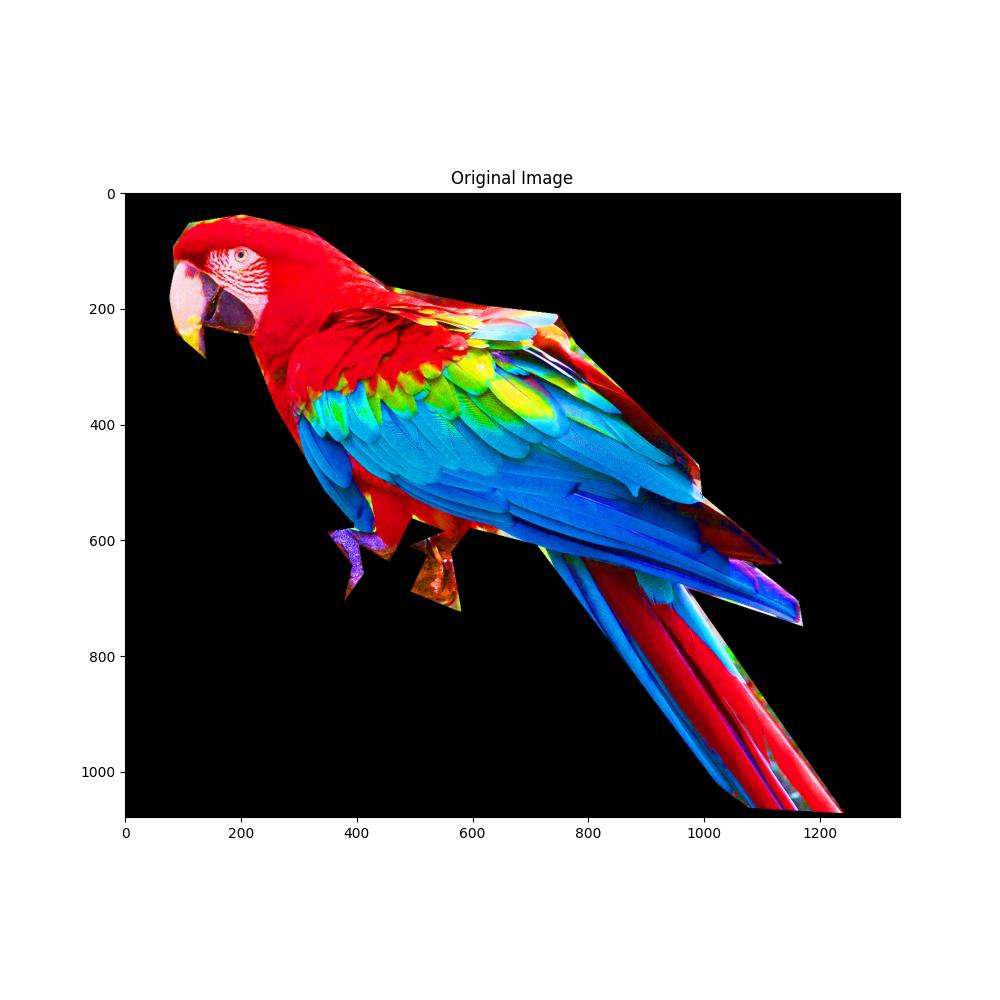
# load image. This has been modified in gimp to be brighter and have more saturation.
parrot_color = np.array(Image.open(os.path.join(d, "parrot-by-jose-mari-gimenez2.jpg")))
# subsample by factor of 3. Very lossy but for a wordcloud we don't really care.
parrot_color = parrot_color[::3, ::3]
# create mask white is "masked out"
parrot_mask = parrot_color.copy()
parrot_mask[parrot_mask.sum(axis=2) == 0] = 255
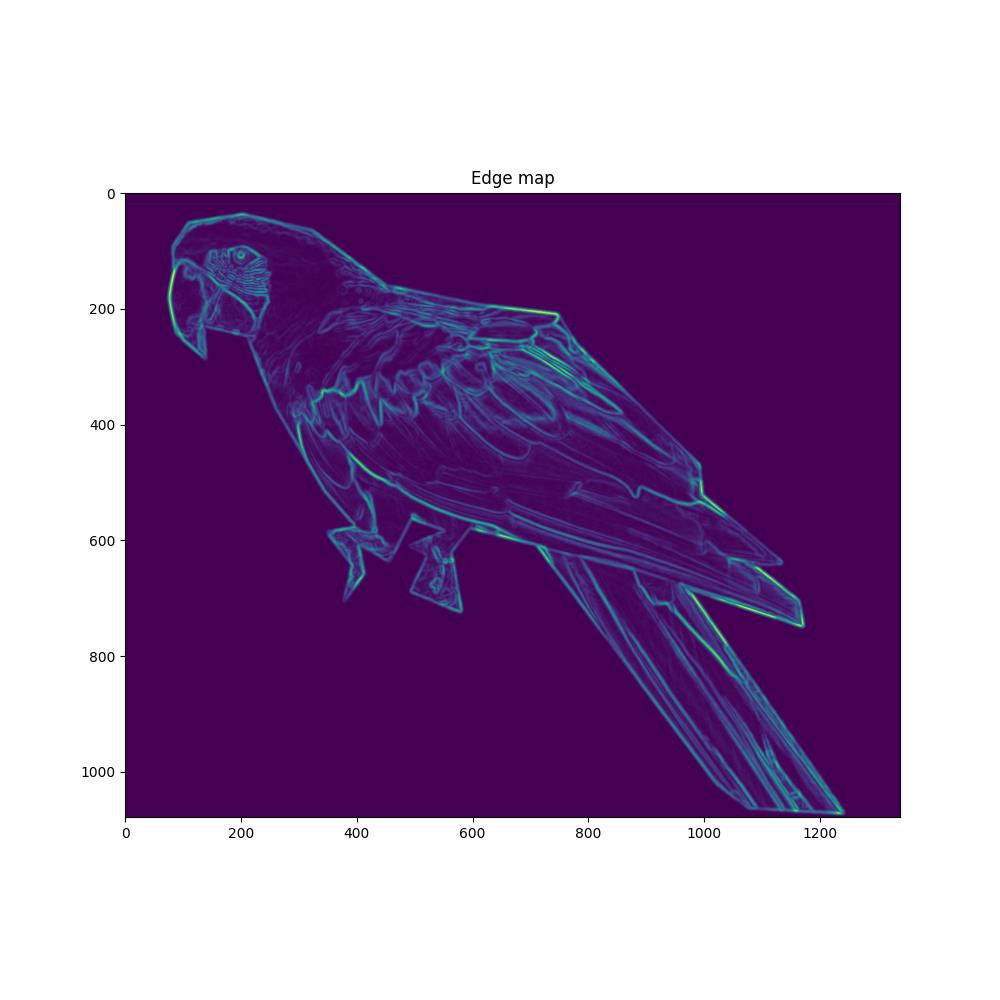
# some finesse: we enforce boundaries between colors so they get less washed out.
# For that we do some edge detection in the image
edges = np.mean([gaussian_gradient_magnitude(parrot_color[:, :, i] / 255., 2) for i in range(3)], axis=0)
parrot_mask[edges > .08] = 255
# create wordcloud. A bit sluggish, you can subsample more strongly for quicker rendering
# relative_scaling=0 means the frequencies in the data are reflected less
# acurately but it makes a better picture
wc = WordCloud(max_words=2000, mask=parrot_mask, max_font_size=40, random_state=42, relative_scaling=0)
# generate word cloud
wc.generate(text)
plt.imshow(wc)
# create coloring from image
image_colors = ImageColorGenerator(parrot_color)
wc.recolor(color_func=image_colors)
plt.figure(figsize=(10, 10))
plt.imshow(wc, interpolation="bilinear")
wc.to_file("parrot_new.png")
plt.figure(figsize=(10, 10))
plt.title("Original Image")
plt.imshow(parrot_color)
plt.figure(figsize=(10, 10))
plt.title("Edge map")
plt.imshow(edges)
plt.show()
create wordcloud with chinese
Wordcloud is a very good tool, but if you want to create Chinese wordcloud only wordcloud is not enough. The file shows how to use wordcloud with Chinese. First, you need a Chinese word segmentation library jieba, jieba is now the most elegant the most popular Chinese word segmentation tool in python. You can use ‘PIP install jieba’. To install it. As you can see, at the same time using wordcloud with jieba very convenient
import jieba
# jieba.enable_parallel(4)
# Setting up parallel processes :4 ,but unable to run on Windows
from os import path
from imageio import imread
import matplotlib.pyplot as plt
import os
# jieba.load_userdict("txt\\userdict.txt")
# add userdict by load_userdict()
from wordcloud import WordCloud, ImageColorGenerator

# get data directory (using getcwd() is needed to support running example in generated IPython notebook)
d = path.dirname(__file__) if "__file__" in locals() else os.getcwd()

stopwords_path = d + '/wc_cn/stopwords_cn_en.txt'
# Chinese fonts must be set
font_path = d + '/fonts/SourceHanSerif/SourceHanSerifK-Light.otf'

# the path to save worldcloud
imgname1 = d + '/wc_cn/LuXun.jpg'
imgname2 = d + '/wc_cn/LuXun_colored.jpg'
# read the mask / color image taken from
back_coloring = imread(path.join(d, d + '/wc_cn/LuXun_color.jpg'))

# Read the whole text.
text = open(path.join(以上是关于多种好看好玩的词云例子Example的主要内容,如果未能解决你的问题,请参考以下文章