SpringBoot 学习笔记心得自定义Starter启动器
Posted Adorable_Rocy
tags:
篇首语:本文由小常识网(cha138.com)小编为大家整理,主要介绍了SpringBoot 学习笔记心得自定义Starter启动器相关的知识,希望对你有一定的参考价值。
前言:SpringBoot较为核心的地方就是XXXAutoConfiguration了,自动配置类是SpringBoot一种十分优秀并且很棒的核心部分,所以我们也来自己模拟启动器流程来跟随框架的思维去设计吧~
1.创建starter和autoconfigure工程
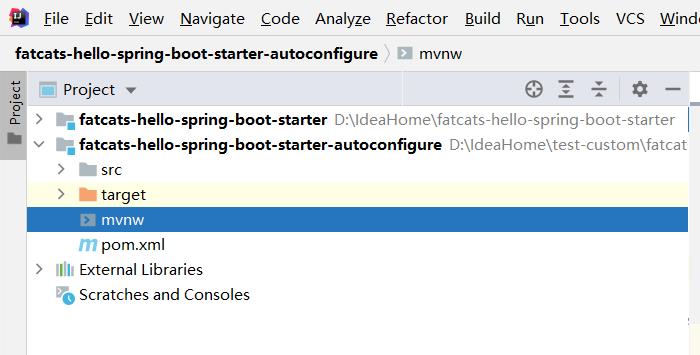
将autoconfigure模块导入到starter模块的pom文件中
<?xml version="1.0" encoding="UTF-8"?>
<project xmlns="http://maven.apache.org/POM/4.0.0"
         xmlns:xsi="http://www.w3.org/2001/XMLSchema-instance"
         xsi:schemaLocation="http://maven.apache.org/POM/4.0.0 http://maven.apache.org/xsd/maven-4.0.0.xsd">
    <modelVersion>4.0.0</modelVersion>

    <groupId>fatcats.top</groupId>
    <artifactId>fatcats-hello-spring-boot-starter</artifactId>
    <version>1.0-SNAPSHOT</version>

    <dependencies>
        <dependency>
            <groupId>fatcats.top</groupId>
            <artifactId>fatcats-hello-spring-boot-starter-autoconfigure</artifactId>
            <version>0.0.1-SNAPSHOT</version>
        </dependency>
    </dependencies>

</project>
2.主要功能书写在autoconfigure模块下。
- 步骤1:抽取一个常用的HelloService类
public class HelloService {

            //sayHello方法
        public String sayHello(String username){
        //这里需要从配置文件拼接前后缀,后续实现
            return prefix+ " :"+username + " :"+subfix;
        }
}
- 步骤2:抽取接受配置文件的实体类(HelloProperties),并且绑定前缀
@ConfigurationProperties("fatcats.hello")
public class HelloProperties {

        private String prefix;
        public String subfix;

}
将配置实体类自动注入到HelloService中
    @Autowired
        HelloProperties helloProperties;
            //sayHello方法
        public String sayHello(String username){
            return helloProperties.getPrefix() + " :"+username + " :"+helloProperties.getSubfix();
        }
- 步骤3:创建服务HelloService的自动配置类
@Configuration
@EnableConfigurationProperties(HelloProperties.class) //自动注入到容器中
public class HelloServiceAutoConfiguration {
        @Bean
        @ConditionalOnMissingBean(HelloService.class) //没有容器展示容器
        public HelloService helloService(){
            return new HelloService();
        }

}
- 步骤4:在资源文件下创建META-INF/spring.factories配置文件,将自动配置配置到spring.factories中。
org.springframework.boot.autoconfigure.EnableAutoConfiguration=\\
fatcats.top.hello.auto.HelloServiceAutoConfiguration
-
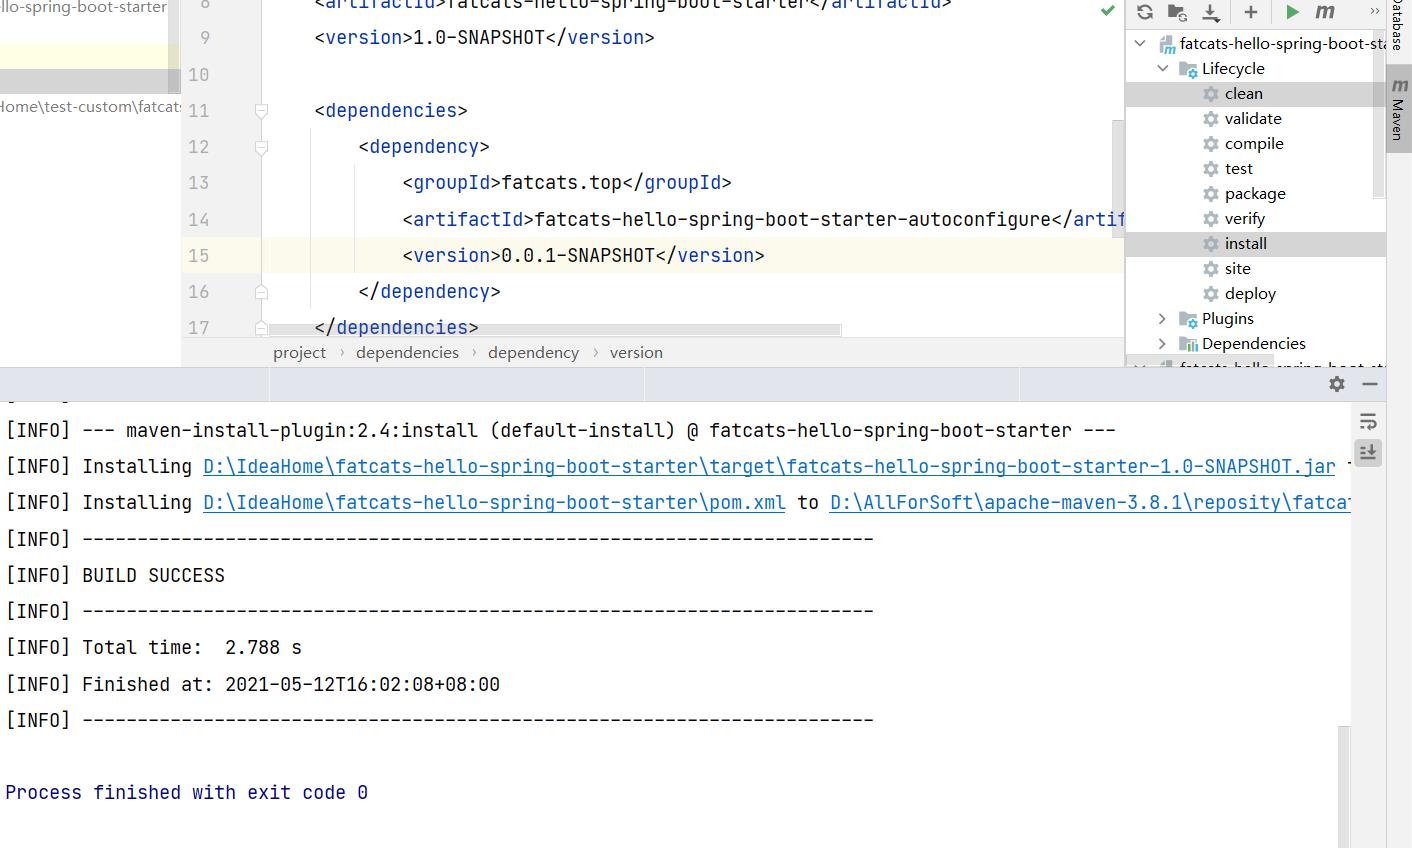
步骤5:分别将autoconfigre模块和starter模块打包 (mvc clear install)
-
步骤6:在开发场景中导入自定义starter
    <dependency>
            <groupId>fatcats.top</groupId>
            <artifactId>fatcats-hello-spring-boot-starter</artifactId>
            <version>1.0-SNAPSHOT</version>
        </dependency>
- 步骤7:自动注入HelloService
@RestController
public class HelloController {
@Autowired
HelloService helloService;
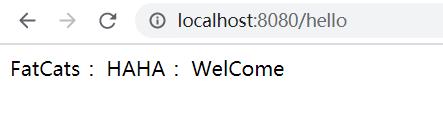
@GetMapping("/hello")
public String sayHello(){
return helloService.sayHello("HAHA");//传入用户名参数
}
}
- 步骤8:配置文件配置前后缀
fatcats.hello.prefix=FatCats
fatcats.hello.subfix=WelCome
- 结果展示:
整个自定义starter启动器的过程,让我们体验到自动配置的便捷性,在我们有需求的时候,引入场景启动器,并且按照配置文件进行配置即可。
以上是关于SpringBoot 学习笔记心得自定义Starter启动器的主要内容,如果未能解决你的问题,请参考以下文章