运维实战 Zabbix报警与优化
Posted 洛冰音
tags:
篇首语:本文由小常识网(cha138.com)小编为大家整理,主要介绍了运维实战 Zabbix报警与优化相关的知识,希望对你有一定的参考价值。
运维实战 Zabbix报警与优化
报警平台的使用
- 注册睿象云


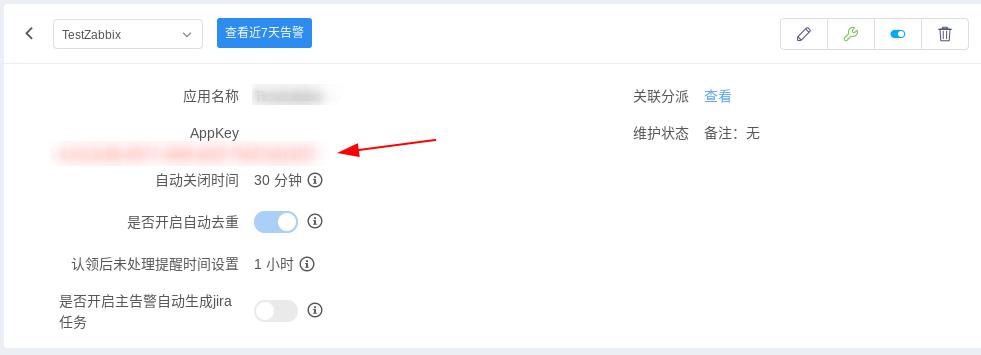

##下载探针并安装
[root@Server4 bin]# bash install.sh 41013c6b-8977-468f-a02f-7f4d7a910f1f
请输入Zabbix管理地址:http://172.25.5.1/zabbix
Check connection success!
请输入Zabbix管理员账号:Admin
请输入Zabbix管理员密码:  % Total    % Received % Xferd  Average Speed   Time    Time     Time  Current
                                 Dload  Upload   Total   Spent    Left  Speed
100   170  100    70  100   100   1208   1726 --:--:-- --:--:-- --:--:--  1754
Authentication success!
  % Total    % Received % Xferd  Average Speed   Time    Time     Time  Current
                                 Dload  Upload   Total   Spent    Left  Speed
100   108  100    41  100    67    976   1595 --:--:-- --:--:-- --:--:--  1634
Check api version success!
  % Total    % Received % Xferd  Average Speed   Time    Time     Time  Current
                                 Dload  Upload   Total   Spent    Left  Speed
100   313  100    56  100   257    978   4489 --:--:-- --:--:-- --:--:--  4508
Create new media type success!
  % Total    % Received % Xferd  Average Speed   Time    Time     Time  Current
                                 Dload  Upload   Total   Spent    Left  Speed
100   192  100    54  100   138    945   2416 --:--:-- --:--:-- --:--:--  2464
Create new group success!
  % Total    % Received % Xferd  Average Speed   Time    Time     Time  Current
                                 Dload  Upload   Total   Spent    Left  Speed
100   397  100    51  100   346    821   5574 --:--:-- --:--:-- --:--:--  5672
Create new user success!
  % Total    % Received % Xferd  Average Speed   Time    Time     Time  Current
                                 Dload  Upload   Total   Spent    Left  Speed
100  1580  100    51  100  1529    734  22032 --:--:-- --:--:-- --:--:-- 22159
Create new action success!
Install zabbix agent success!
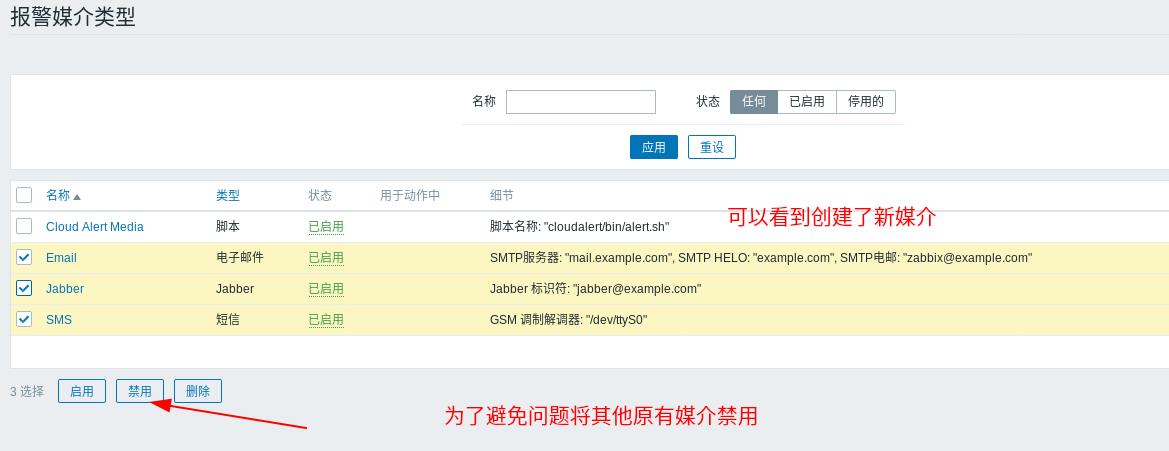


- 绑定微信,创建通知规则

- 人工制造错误
systemctl stop zabbix-agent.service

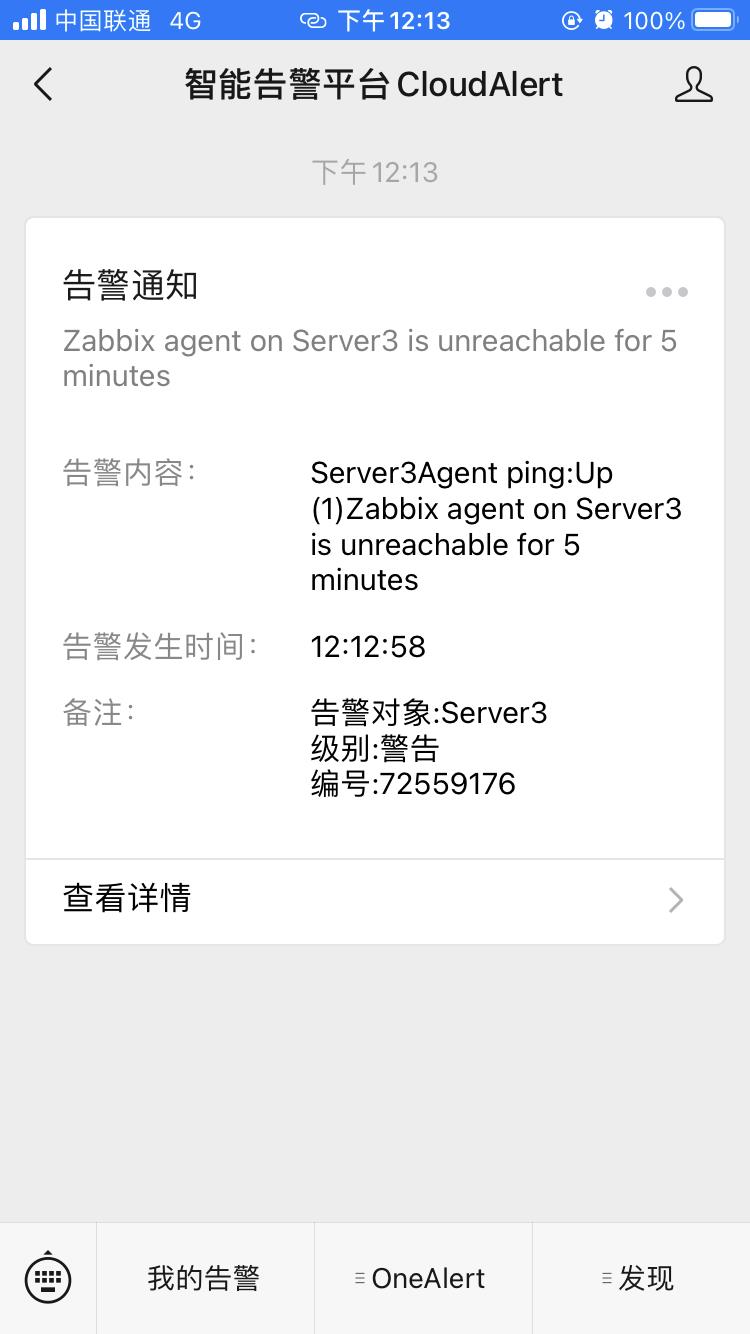
- 根据规则,5分钟后会发送报错提示
显示已送达

- 处理问题
systemctl start zabbix-agent.service
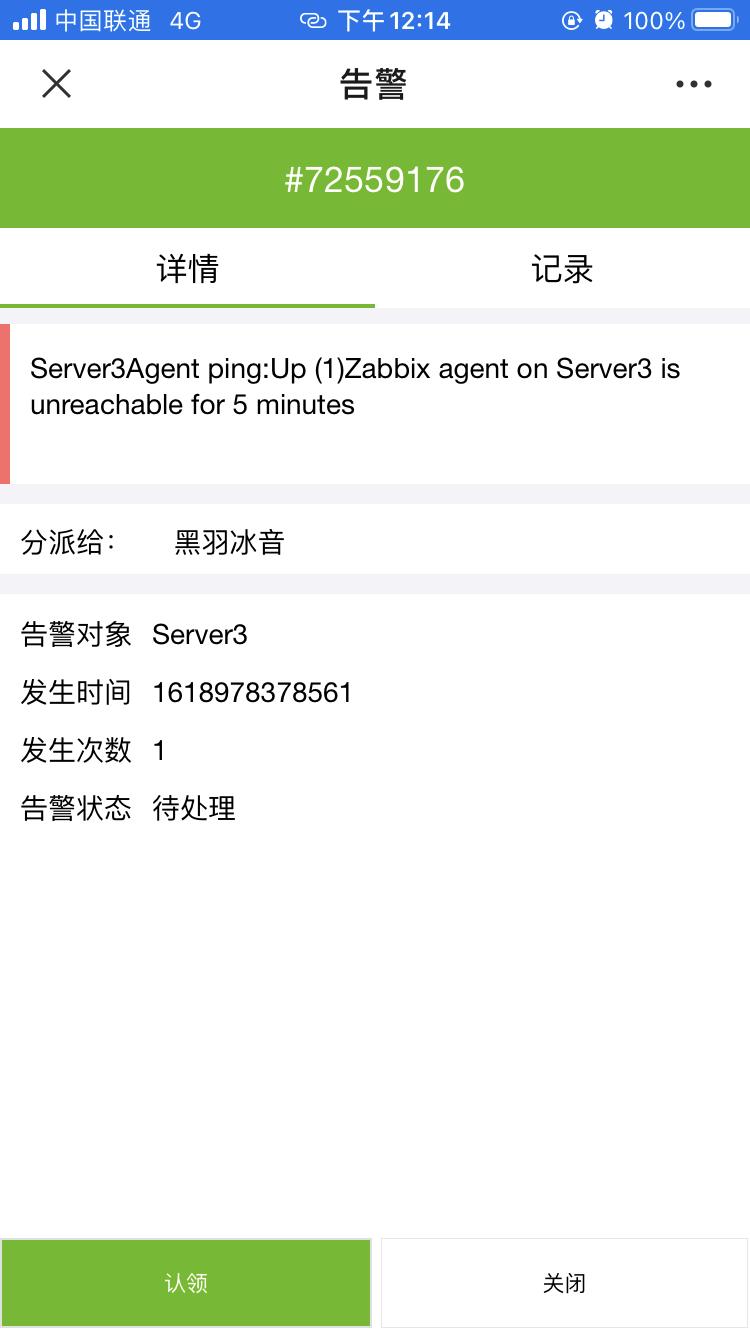
- 触发/认领/结束的流程图

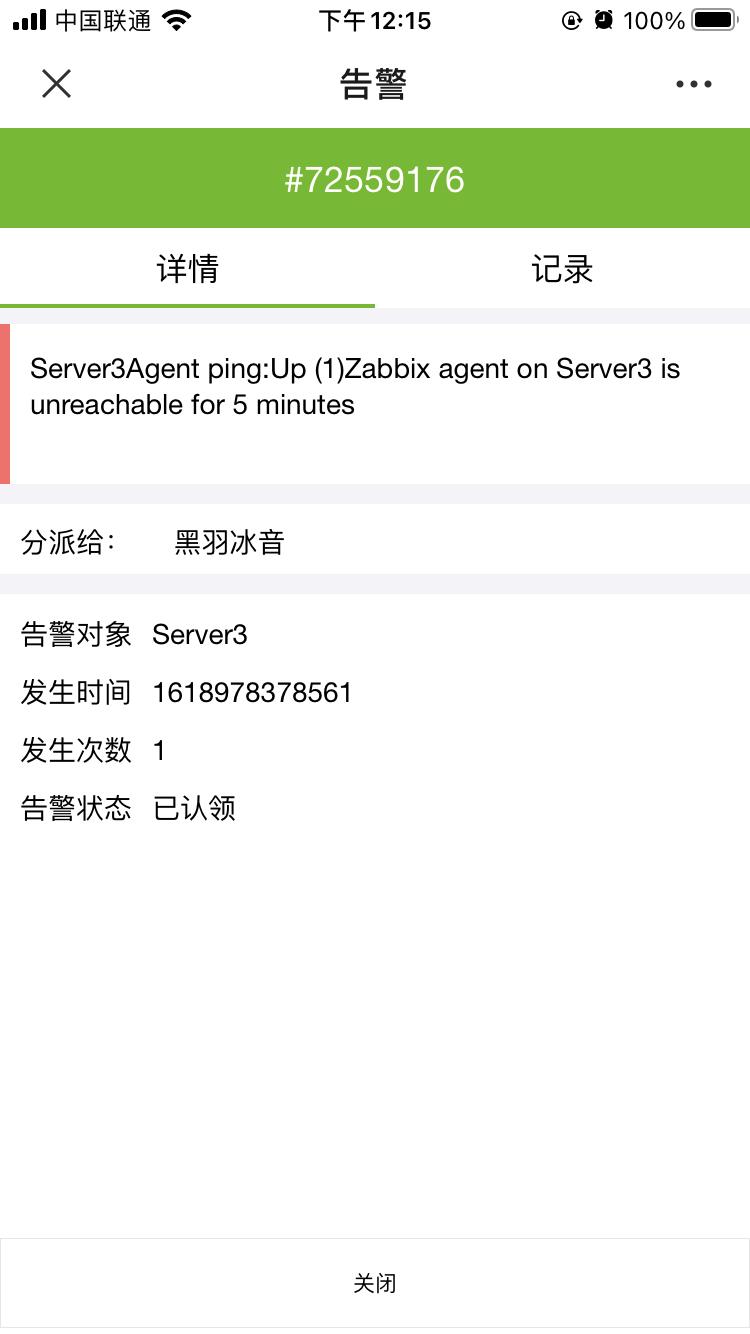
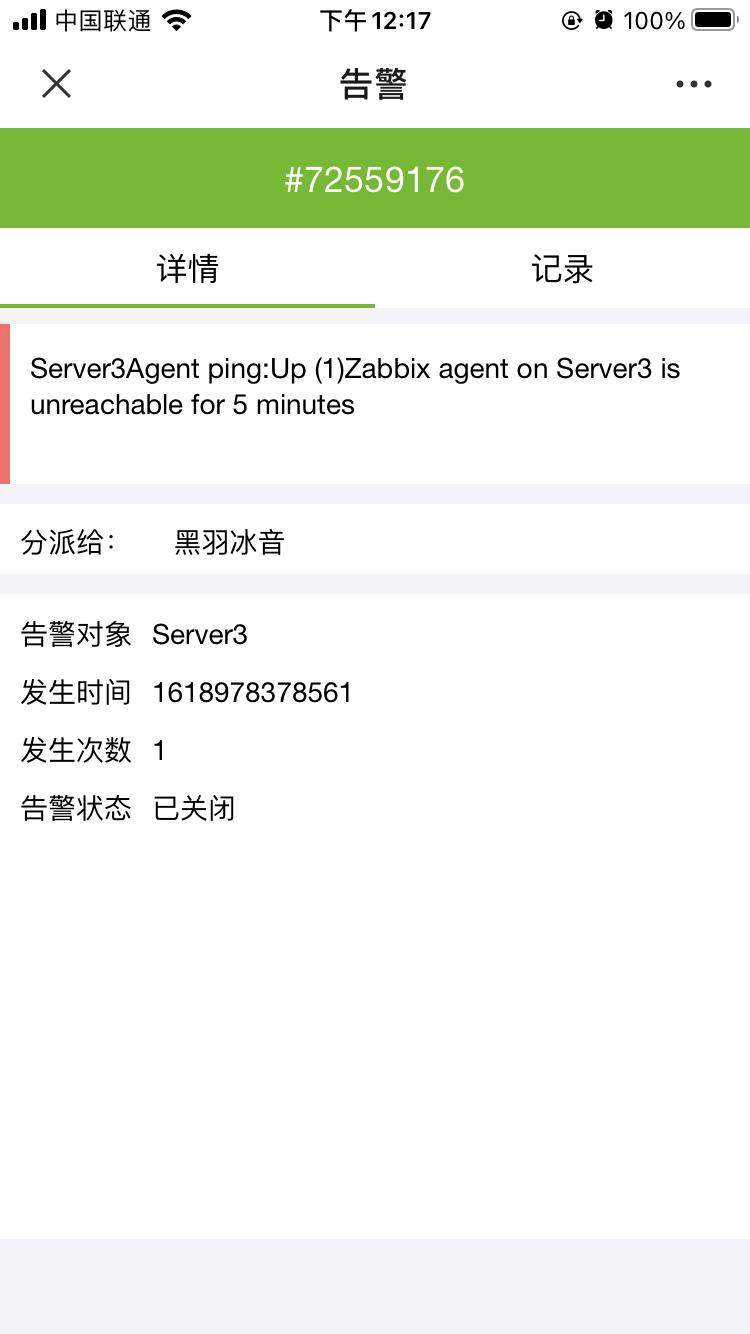
手机端情况展示
Agent 主动模式
默认情况下, 是Server端周期性的连接Agent端手机自己想要的监控信息.
不难想象, 在Agent端数量增大时, Server端的压力也在增大.
如果数量级庞大, 这也会成为业务的一个热点.
如果Agent端能主动向Server提交信息就再好不过了
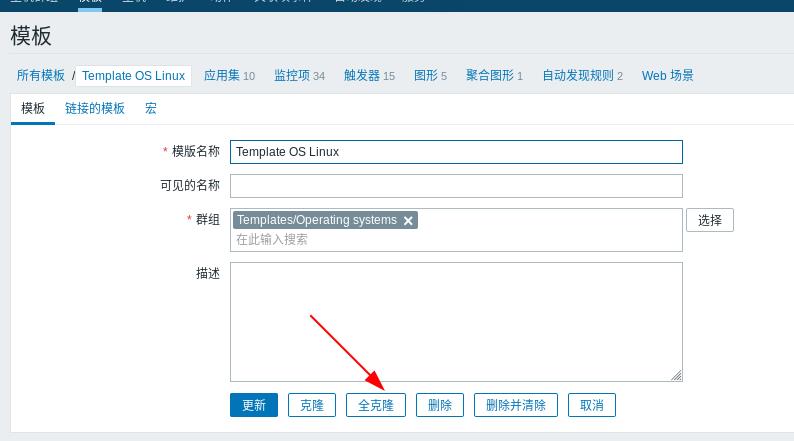
- 点击
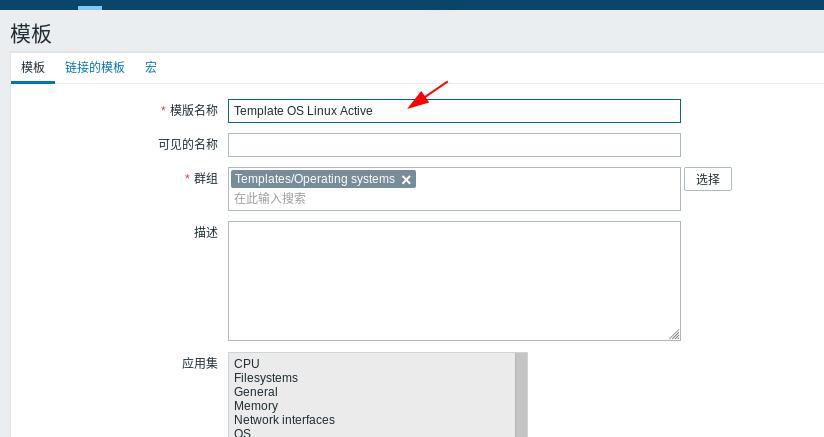
模板, 进行全克隆, 重命名新模板为模板 Active
- 全选监控项, 批量更新
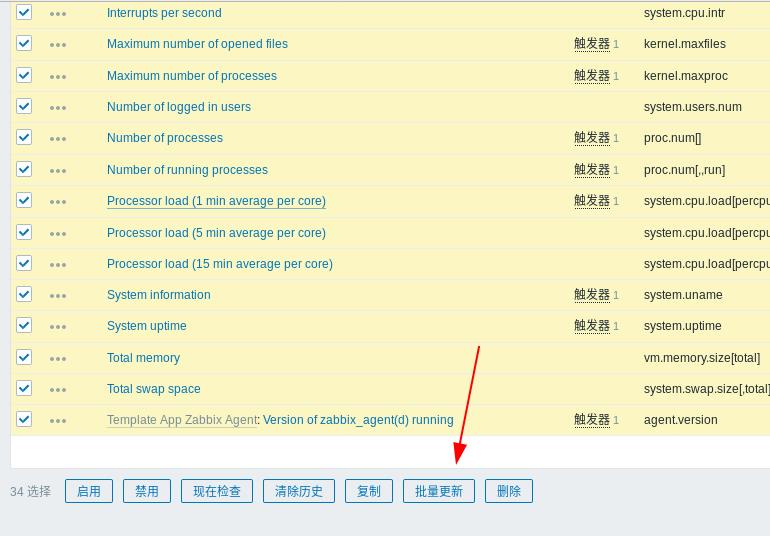
- 类型选择
Zabbix客户端(主动式)

- 更换Server3的模板用于测试
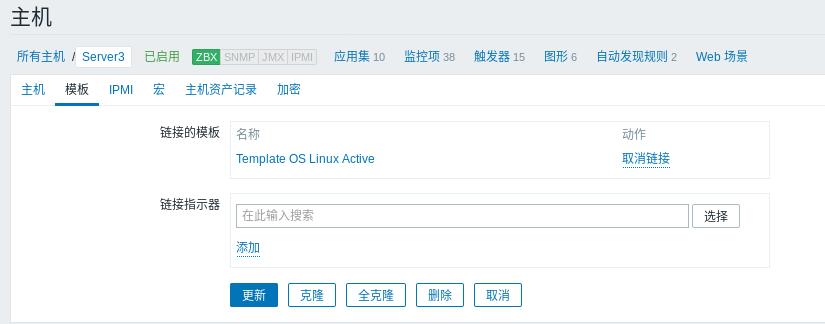
- 等待一定时间后能看到新的数据出现
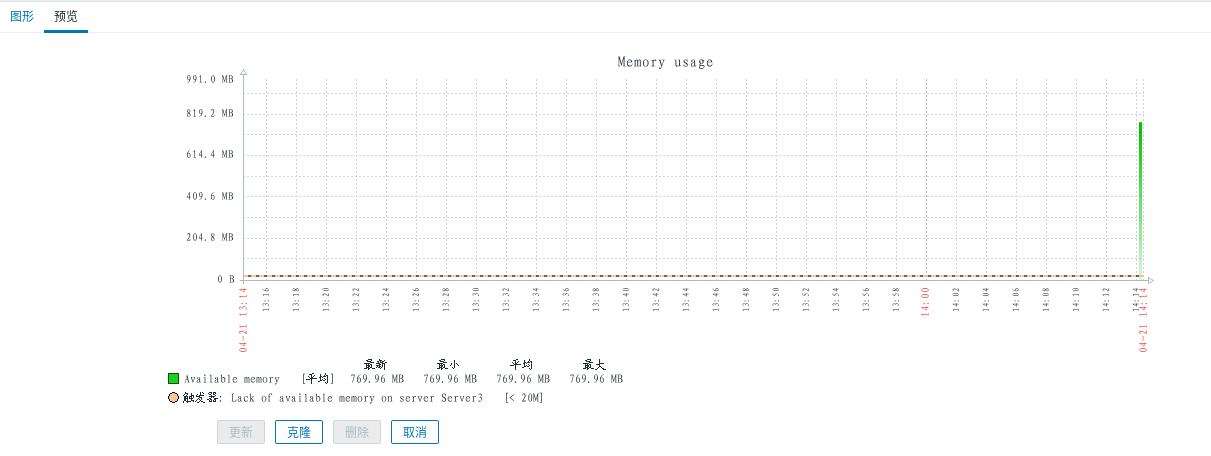
这样就是Agent端主动向Server端提供数据了,避免了Server端作为热点的情况
Proxy
如果节点数继续增大, 还可以使用Zabbix Proxy来进行层级代理.
同时这也能解决链接节点过多的情况.
在采用Zabbix Proxy时的环境状态是这样的
- 对于
Agent来说,Proxy端与Server端并无差异, 他们并不感知 Proxy主动连接Server汇报数据

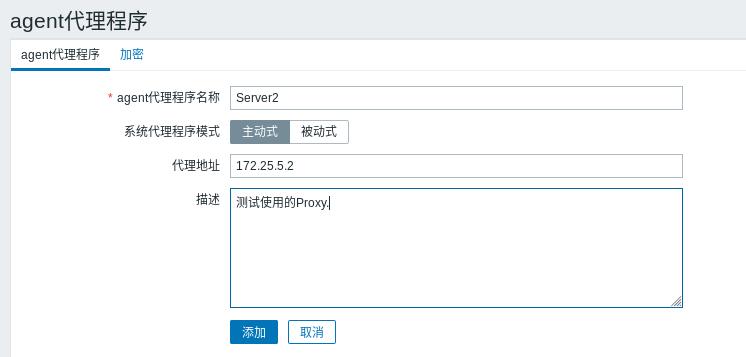

- 修改
Agent端中的Server设置为Proxy端的IP
[root@Server3 zabbix]# grep '^'[a-Z] zabbix_agentd.conf
PidFile=/var/run/zabbix/zabbix_agentd.pid
LogFile=/var/log/zabbix/zabbix_agentd.log
LogFileSize=0
Server=172.25.5.2
ServerActive=172.25.5.2
Hostname=Server3
Include=/etc/zabbix/zabbix_agentd.d/*.conf
- 对监控规则套用代理需求, 看到监控主机前出现了代理程序的标识


- 重新获取数据成功

操作节选
root@Server2 zabbix]# systemctl enable --now mariadb.service
Created symlink from /etc/systemd/system/multi-user.target.wants/mariadb.service to /usr/lib/systemd/system/mariadb.service.
[root@Server2 zabbix]# mysql
Welcome to the MariaDB monitor.  Commands end with ; or \\g.
Your MariaDB connection id is 2
Server version: 5.5.60-MariaDB MariaDB Server

Copyright (c) 2000, 2018, Oracle, MariaDB Corporation Ab and others.

Type 'help;' or '\\h' for help. Type '\\c' to clear the current input statement.

MariaDB [(none)]> create database zabbix_proxy character set utf8 collate utf8_bin;
Query OK, 1 row affected (0.01 sec)

MariaDB [(none)]> create user zabbix@localhost identified by 'westos';
Query OK, 0 rows affected (0.00 sec)

MariaDB [(none)]> grant all privileges on zabbix.* to zabbix@localhost;
Query OK, 0 rows affected (0.00 sec)

MariaDB [(none)]> exit
Bye

[root@Server2 zabbix]# cd /usr/share/doc/zabbix-proxy-mysql-4.0.5/
[root@Server2 zabbix-proxy-mysql-4.0.5]# ls
AUTHORS  ChangeLog  COPYING  NEWS  README  schema.sql.gz
[root@Server2 zabbix-proxy-mysql-4.0.5]# zcat schema.sql.gz | mysql -uzabbix -p zabbix_proxy
[root@Server2 zabbix-proxy-mysql-4.0.5]# mysql
Welcome to the MariaDB monitor.  Commands end with ; or \\g.
Your MariaDB connection id is 4
Server version: 5.5.60-MariaDB MariaDB Server

Copyright (c) 2000, 2018, Oracle, MariaDB Corporation Ab and others.

Type 'help;' or '\\h' for help. Type '\\c' to clear the current input statement.

MariaDB [(none)]> grant all privileges on zabbix_proxy.* to zabbix@localhost;
Query OK, 0 rows affected (0.00 sec)

MariaDB [(none)]> exit
Bye
[root@Server2 zabbix-proxy-mysql-4.0.5]# zcat schema.sql.gz | mysql -uzabbix -p zabbix_proxy
Enter password:
[root@Server2 zabbix-proxy-mysql-4.0.5]# systemctl enable --now zabbix-proxy.service
Created symlink from /etc/systemd/system/multi-user.target.wants/zabbix-proxy.service to /usr/lib/systemd/system/zabbix-proxy.service.
[root@Server2 zabbix-proxy-mysql-4.0.5]# ps ax
以上是关于运维实战 Zabbix报警与优化的主要内容,如果未能解决你的问题,请参考以下文章