Jenkins—— Jenkins+Docker+SpringCloud微服务持续集成
Posted stan Z
tags:
篇首语:本文由小常识网(cha138.com)小编为大家整理,主要介绍了Jenkins—— Jenkins+Docker+SpringCloud微服务持续集成相关的知识,希望对你有一定的参考价值。
Jenkins+Docker+SpringCloud微服务持续集成
Jenkins+Docker+SpringCloud持续集成流程说明
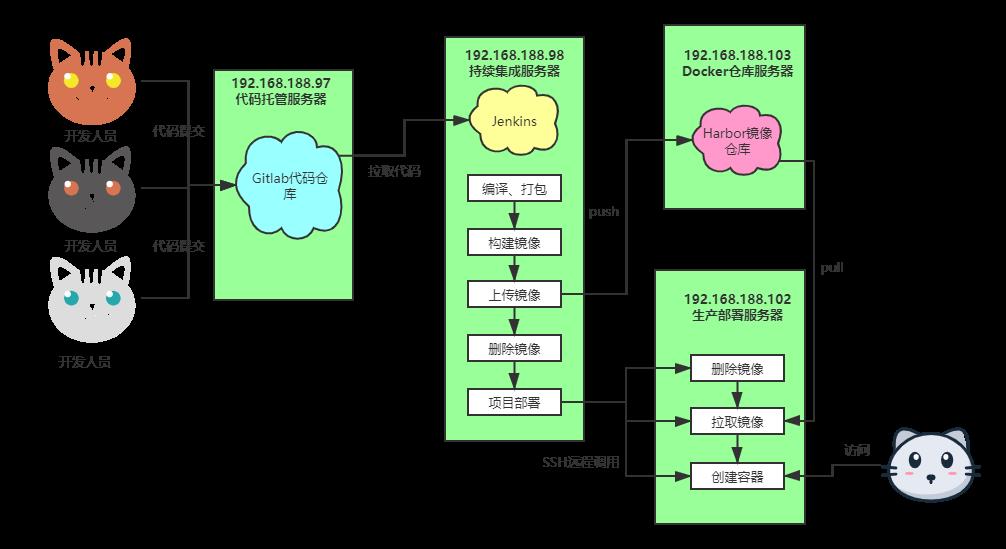
- 开发人员每天把代码提交到Gitlab代码仓库
- Jenkins从Gitlab中拉取项目源码,编译并打成jar包,然后构建成Docker镜像,将镜像上传到Harbor私有仓库
- Jenkins发送SSH远程命令,让生产部署服务器到Harbor私有仓库拉取镜像到本地,然后创建容器
- 最后,用户可以访问到容器
SpringCloud微服务源码概述
-
项目架构:前后端分离
-
后端技术栈:SpringBoot+SpringCloud+SpringDataJpa
-
微服务项目结构:
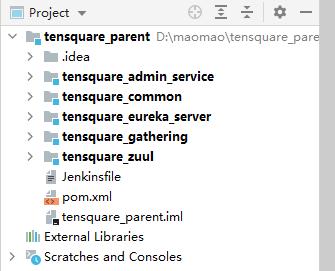
- tensquare_parent:父工程,存放基础配置
- tensquare_common:通用工程,存放工具类
- tensquare_eureka_server:SpringCloud的Eureka注册中心
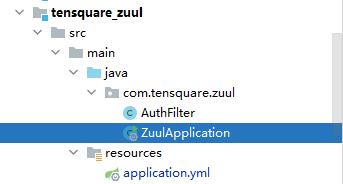
- tensquare_zuul:SpringCloud的网关服务
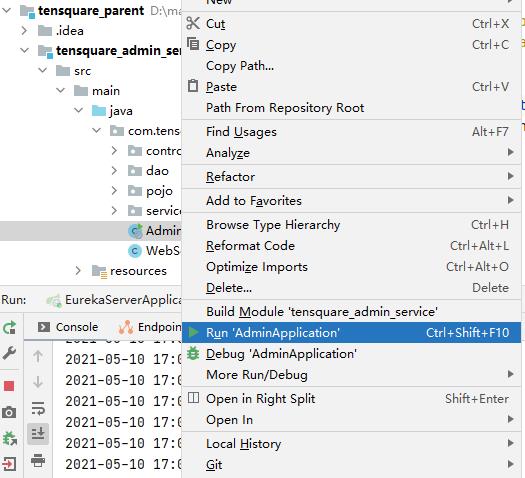
- tensquare_admin_service:基础权限认证中心,负责用户认证(使用JWT认证)
- tensquare_gathering:一个简单的业务模块,活动微服务相关逻辑
-
数据库结构:
- tensquare_user:用户认证数据库,存放用户账户数据。对应tensquare_admin_service微服务
- tensquare_gathering:活动微服务数据库。对应tensquare_gathering微服务
-
微服务配置分析:
- tensquare_eureka
- tensquare_zuul
- tensquare_admin_service
- tensquare_gathering
本地部署
逐一启动微服务
-
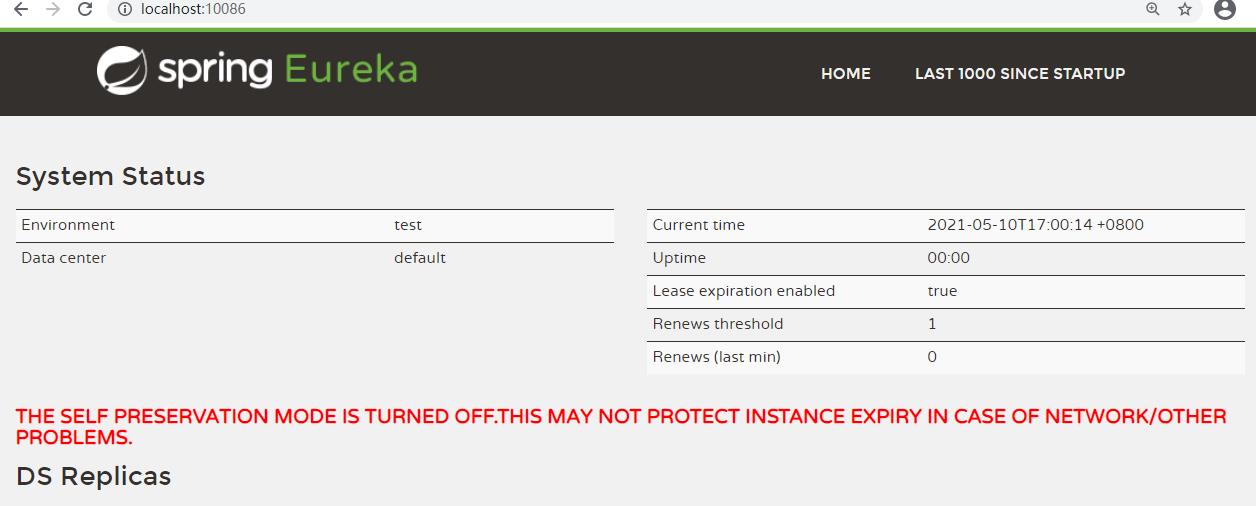
运行eureka服务器
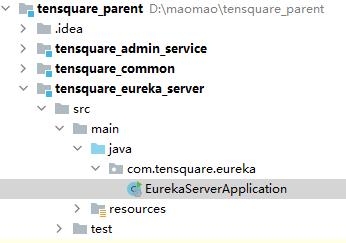
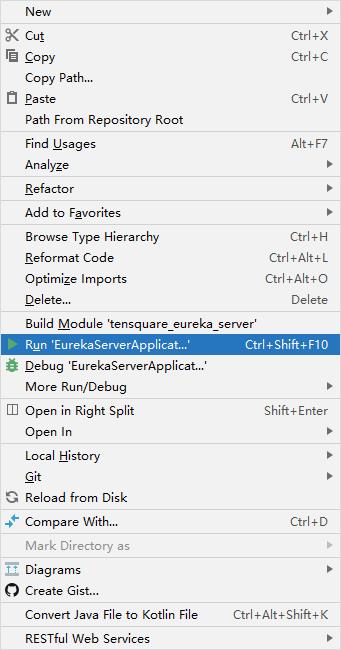

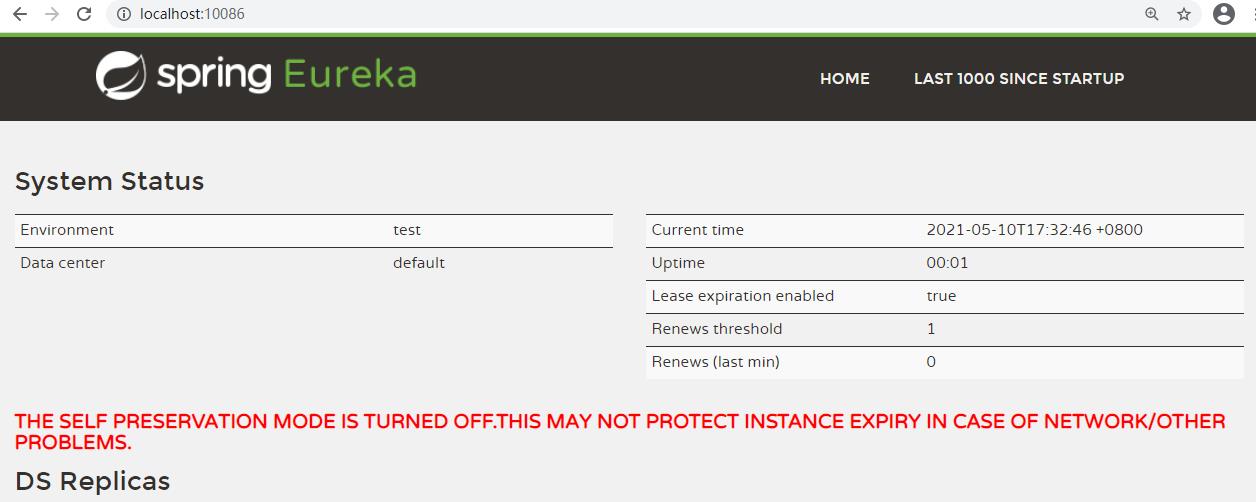
通过浏览器进入localhost:10086
-
开启网关zuul

-
开启权限中心

-
开启微服务
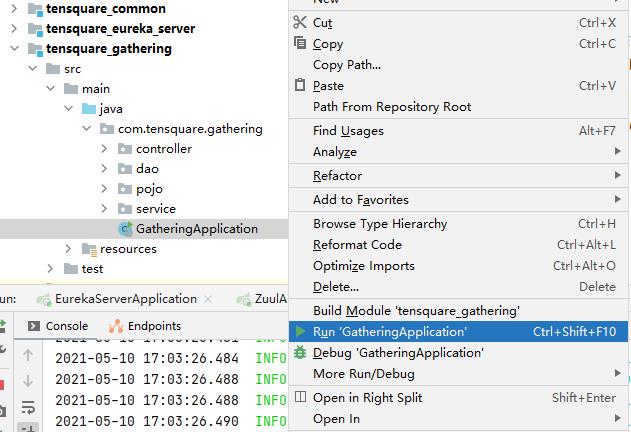
都成功启动

SpringCloud微服务部署
首先需要导入插件
在pom.xml里添加

 <plugin>
     <groupId>org.springframework.boot</groupId>
     <artifactId>spring-boot-maven-plugin</artifactId>
 </plugin>
-
SpringBoot微服务项目打包


生成的jar包在target下面
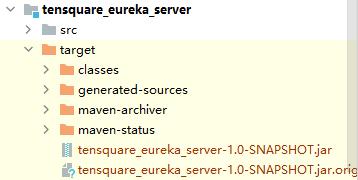
本地运行微服务的jar包java -jar xxx.jar
我们可以使用cmd运行一下

使用Dockerfile制作微服务镜像
安装docker
安装需要的安装包
yum install -y yum-utils

设置镜像仓库
我们用阿里云

yum-config-manager \\
    --add-repo \\
    http://mirrors.aliyun.com/docker-ce/linux/centos/docker-ce.repo

更新yum软件包索引
yum makecache fast

安装docker	docker-ce 社区
yum -y install docker-ce docker-ce-cli containerd.io

启动docker
systemctl start docker

查看版本
docker version
将eureka的jar包上传至服务器
mkdir /root/eureka
mv tensquare_eureka_server-1.0-SNAPSHOT.jar /root/eureka/

cd /root/eureka/
vim Dockerfile

FROM openjdk:8-jdk-alpine
ARG JAR_FILE
COPY ${JAR_FILE} app.jar
EXPOSE 10086
ENTRYPOINT ["java","-jar","/app.jar"]

docker build --build-arg JAR_FILE=tensquare_eureka_server-1.0-SNAPSHOT.jar -t eureka:v1

构建完成之后查看

[root@jenkins eureka]# docker images
REPOSITORY   TAG            IMAGE ID       CREATED         SIZE
eureka       v1             255f6b6c7c53   4 seconds ago   150MB
openjdk      8-jdk-alpine   a3562aa0b991   2 years ago     105MB

验证镜像是否成功
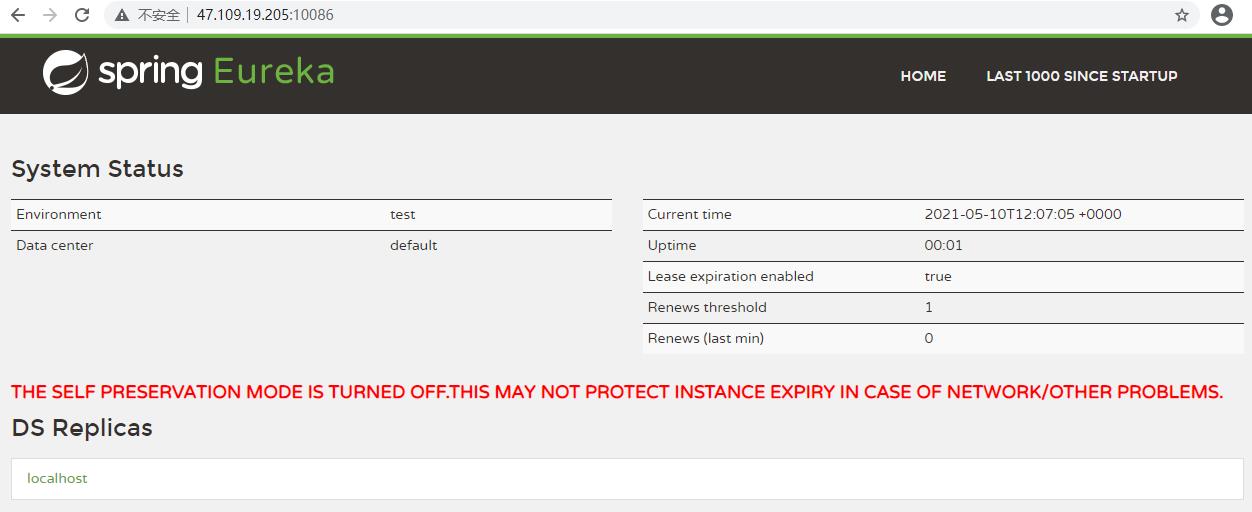
docker run -di -p 10086:10086 eureka:v1

查看日志
docker logs -f 容器id
浏览器访问
Harbor镜像仓库安装及使用
- Harbor(港口,港湾)是一个用于存储和分发Docker镜像的企业级Registry服务器。
- 除了Harbor这个私有镜像仓库之外,还有Docker官方提供的Registry。相对Registry,Harbor具有很多优势:
- 提供分层传输机制,优化网络传输
Docker镜像是是分层的,而如果每次传输都使用全量文件(所以用FTP的方式并不适合),显然不经济。必须提供识别分层传输的机制,以层的UUID为标识,确定传输的对象。 - 提供WEB界面,优化用户体验
只用镜像的名字来进行上传下载显然很不方便,需要有一个用户界面可以支持登陆、搜索功能,包括区分公有、私有镜像。 - 支持水平扩展集群
当有用户对镜像的上传下载操作集中在某服务器,需要对相应的访问压力作分解。 - 良好的安全机制
企业中的开发团队有很多不同的职位,对于不同的职位人员,分配不同的权限,具有更好的安全性。
- 提供分层传输机制,优化网络传输
Harbor安装
我们在harbor服务器上进行安装
安装docker和compose
安装需要的安装包
yum install -y yum-utils

设置镜像仓库
我们用阿里云

yum-config-manager \\
    --add-repo \\
    http://mirrors.aliyun.com/docker-ce/linux/centos/docker-ce.repo

安装docker
yum install docker-ce docker-ce-cli containerd.io

systemctl enable docker --now

下载安装compose
curl -L https://get.daocloud.io/docker/compose/releases/download/1.25.5/docker-compose-$(uname -s)-$(uname -m) > /usr/local/bin/docker-compose

授权
chmod +x /usr/local/bin/docker-compose

查看版本
docker-compose version
安装harbor
下载地址
下载完毕之后上传至服务器
tar xf harbor-offline-installer-v1.9.2.tgz -C /usr/local

cd /usr/local/harbor

修改harbor.yml 文件里面的hostname 改成本机地址
vim harbor.yml
hostname: 192.168.188.103

端口改成85 就不会与80冲突
port: 85

拉取镜像命令
./prepare

安装
./install.sh

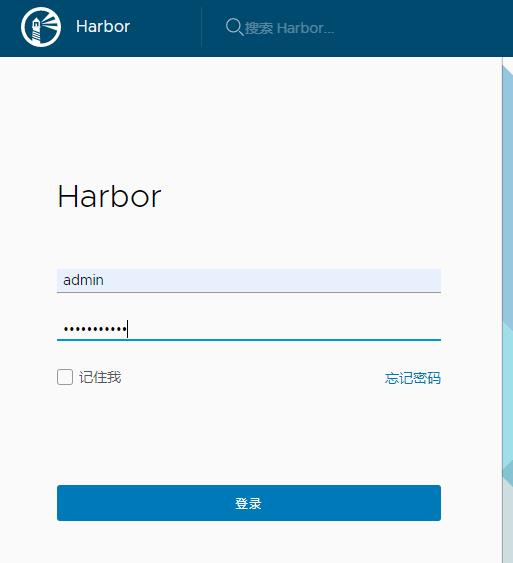
当完成安装后,即可通过本机地址进行浏览器的访问
账户名为admin,密码默认为Harbor12345
在Harbor创建用户和项目
创建项目
Harbor的项目分为公开和私有的:
- 公开项目:所有用户都可以访问,通常存放公共的镜像,默认有一个library公开项目。
- 私有项目:只有授权用户才可以访问,通常存放项目本身的镜像。
我们可以为微服务项目创建一个新的项目
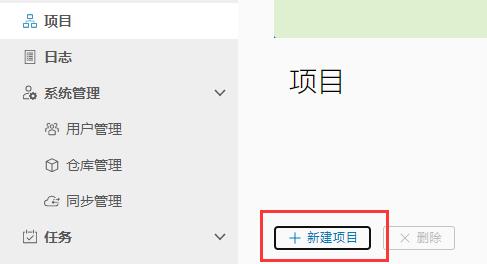
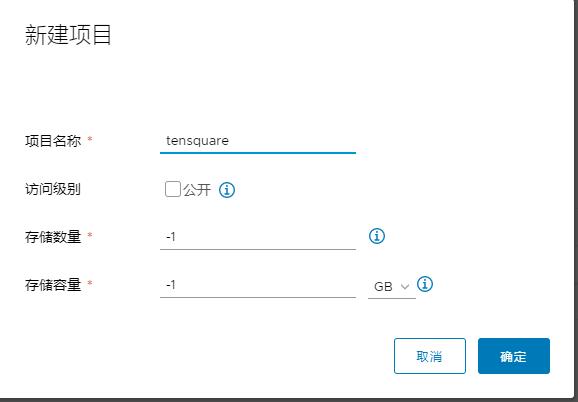

创建用户
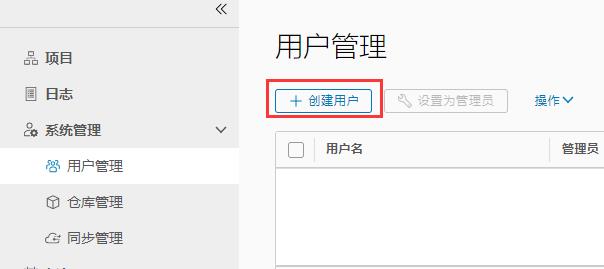
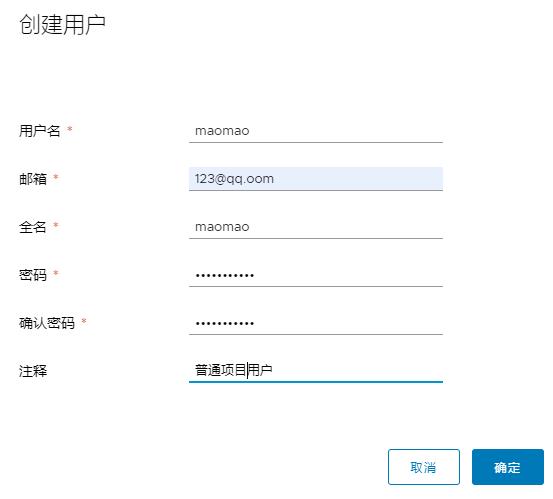
密码Xiaotian123
给私有项目分配用户
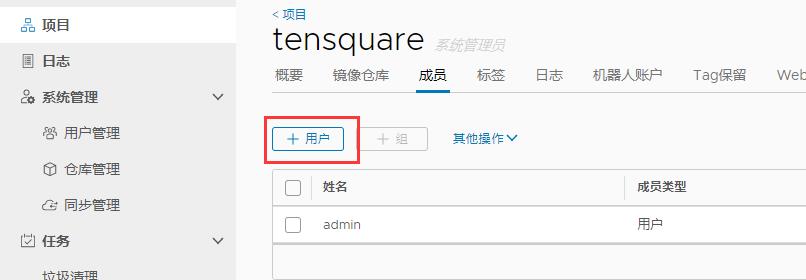
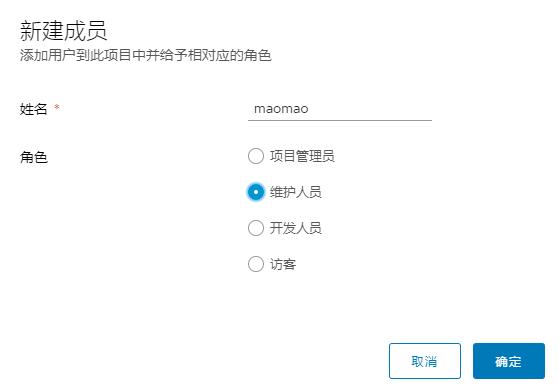
把镜像上传到Harbor
-
给镜像打上标签
[root@jenkins eureka]# docker images REPOSITORY TAG IMAGE ID CREATED SIZE eureka v1 255f6b6c7c53 32 minutes ago 150MB openjdk 8-jdk-alpine a3562aa0b991 2 years ago 105MB docker tag eureka:v1 192.168.188.103:85/tensquare/eureka:v1 [root@jenkins eureka]# docker images REPOSITORY TAG IMAGE ID CREATED SIZE 192.168.188.103:85/tensquare/eureka v1 255f6b6c7c53 33 minutes ago 150MB eureka v1 255f6b6c7c53 33 minutes ago 150MB openjdk 8-jdk-alpine a3562aa0b991 2 years ago 105MB -
把Harbor地址加入到Docker信任列表
vi /etc/docker/daemon.json { "registry-mirrors": ["https://zydiol88.mirror.aliyuncs.com"], "insecure-registries": ["192.168.188.103:85"] } 重启docker -
登录Harbor
docker login 192.168.188.103:85 -u maomao -p Xiaotian123 -
推送镜像
docker push 192.168.188.103:85/tensquare/eureka:v1
仓库里面有了上传的镜像

从Harbor下载镜像
在192.168.188.102服务器下载镜像
vi /etc/docker/daemon.json

{
"registry-mirrors": ["https://zydiol88.mirror.aliyuncs.com"],
"insecure-registries": ["192.168.188.103:85"]
}

systemctl daemon-reload
systemctl restart docker
先登录,再从Harbor下载镜像
[root@tomcat ~]# docker login 192.168.188.103:85 -u maomao -p Xiaotian123
WARNING! Using --password via the CLI is insecure. Use --password-stdin.
WARNING! Your password will be stored unencrypted in /root/.docker/config.json.
Configure a credential helper to remove this warning. See
https://docs.docker.com/engine/reference/commandline/login/#credentials-store

Login Succeeded

拉取镜像
docker pull 192.168.188.103:85/tensquare/eureka:v1

docker images
微服务持续集成
项目代码上传到Gitlab
上传后台微服务和前端web网站代码
首先去gitlab上面创建项目
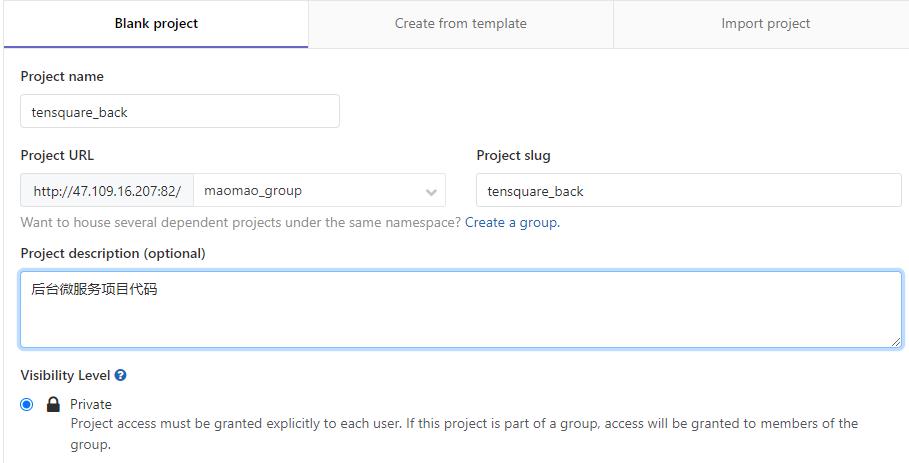
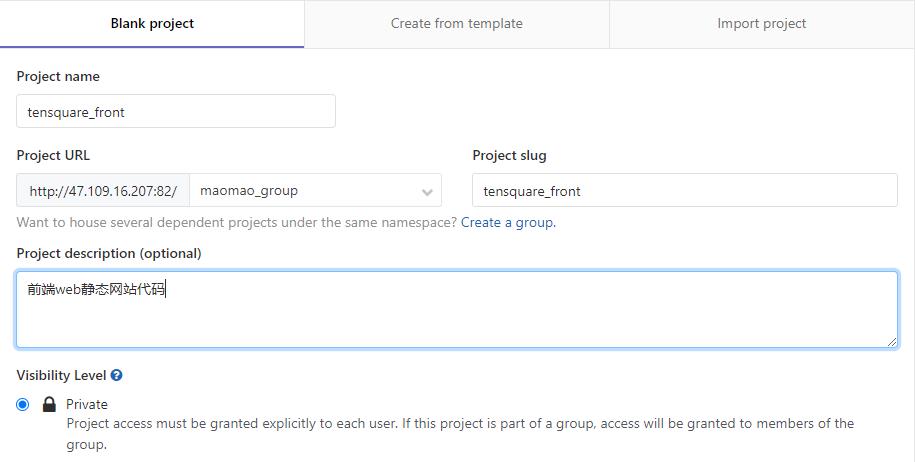
我们在这个组里就有新建的两个项目

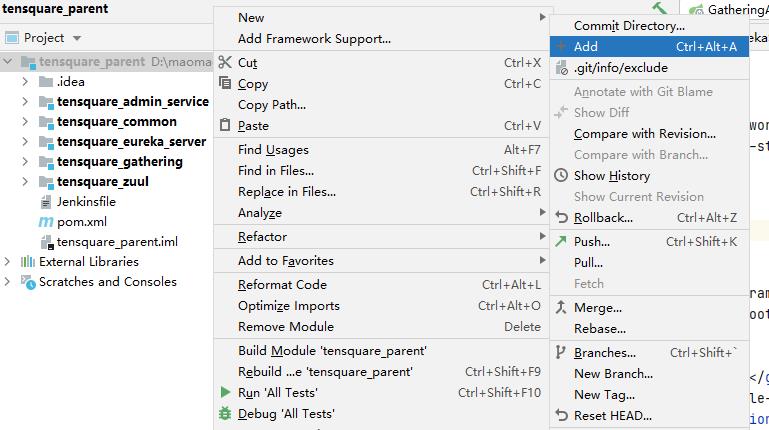
上传代码,通过IDEA操作
Add添加到本地缓冲区
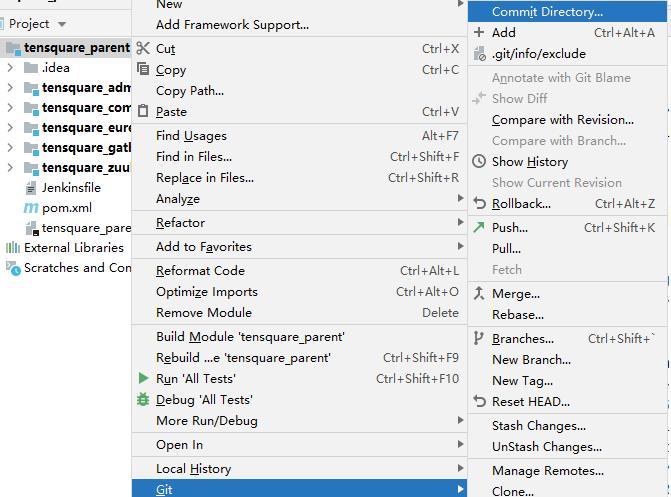
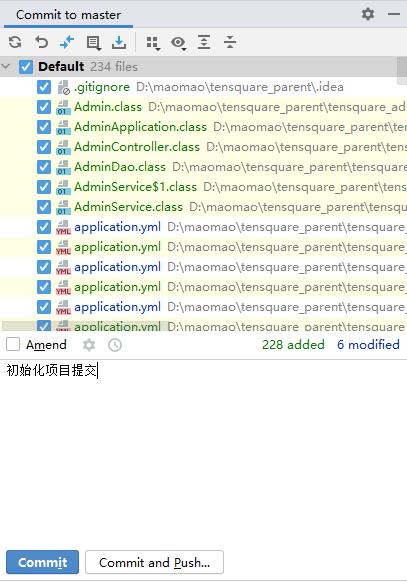
将代码提交到本地代码仓库
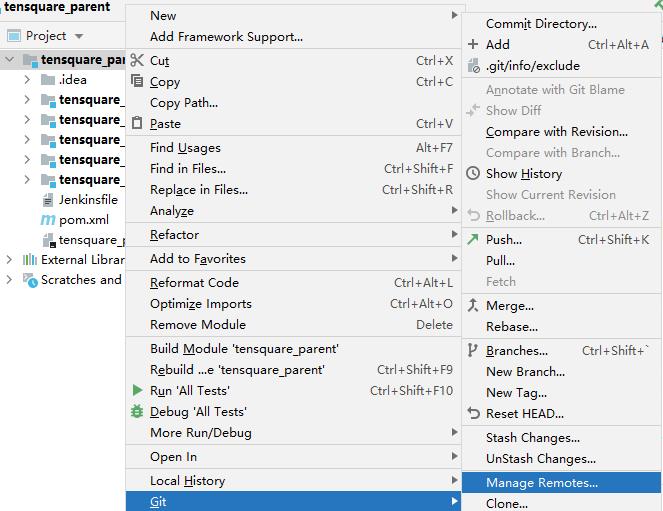
新建一个仓库地址
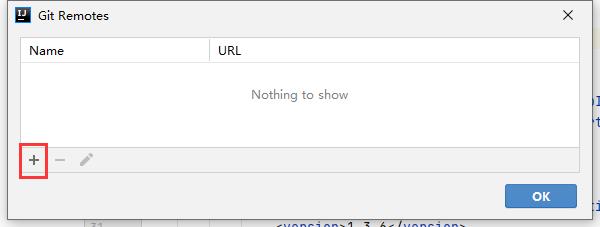
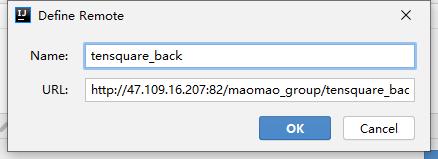
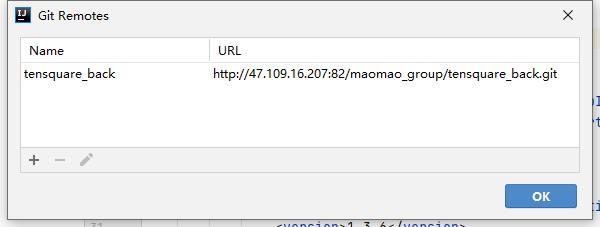
推送代码至仓库
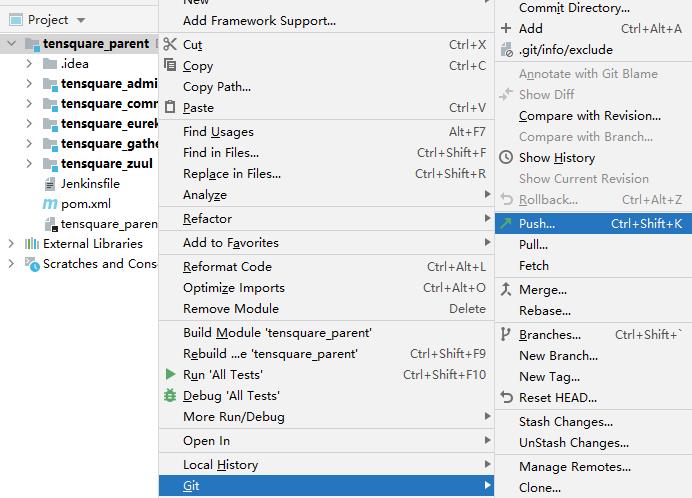
项目已经成功提交
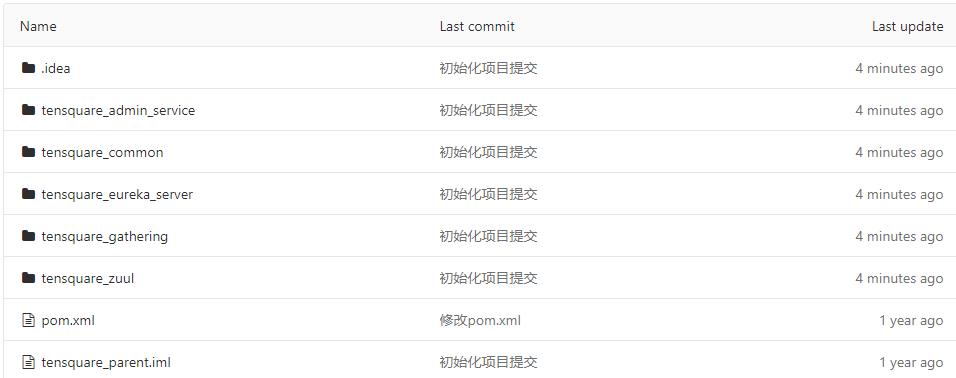
前端代码我们通过Git小乌龟来上传
安装地址
在代码目录 右键 选择在这创建版本库
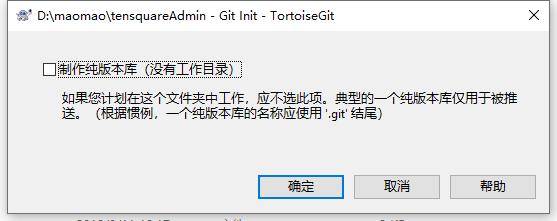
右键 选择commit
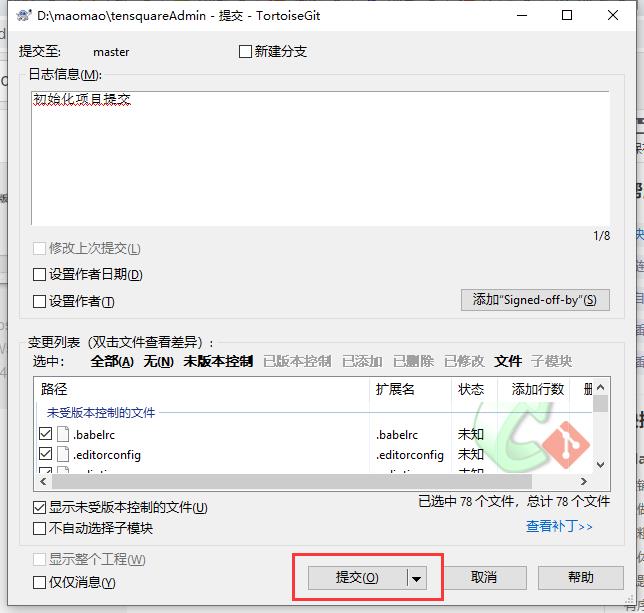
选择推送 将代码推送远程仓库
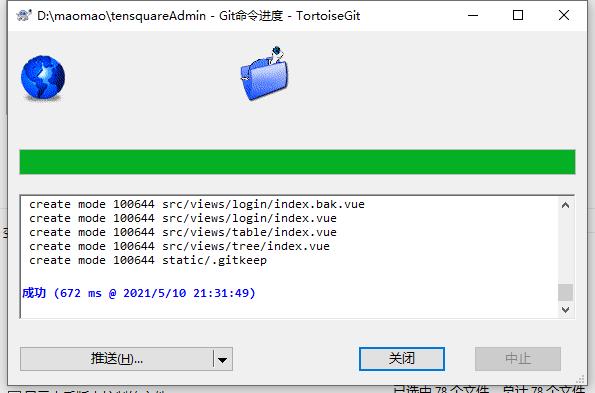
设置仓库地址
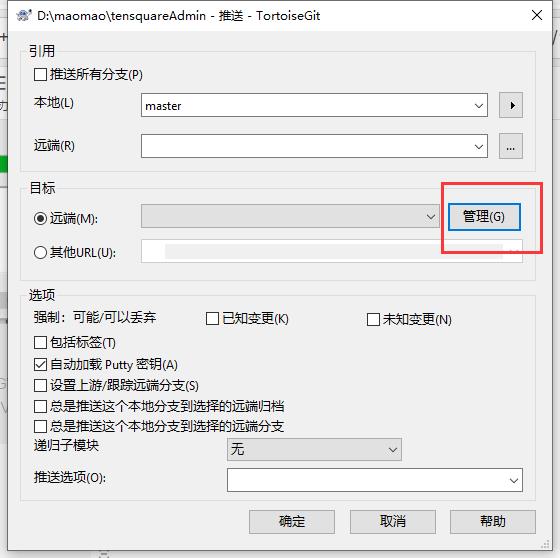
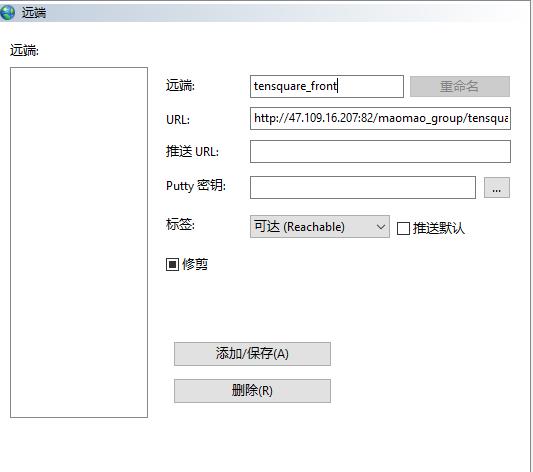
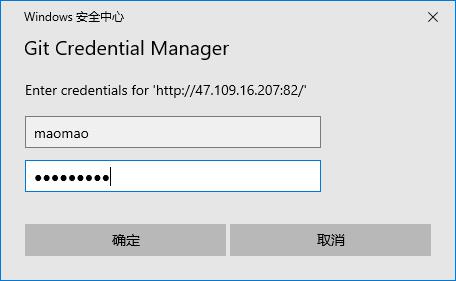
填写仓库用户和密码
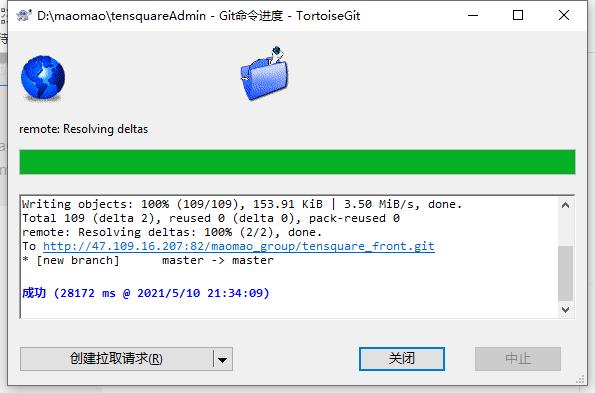
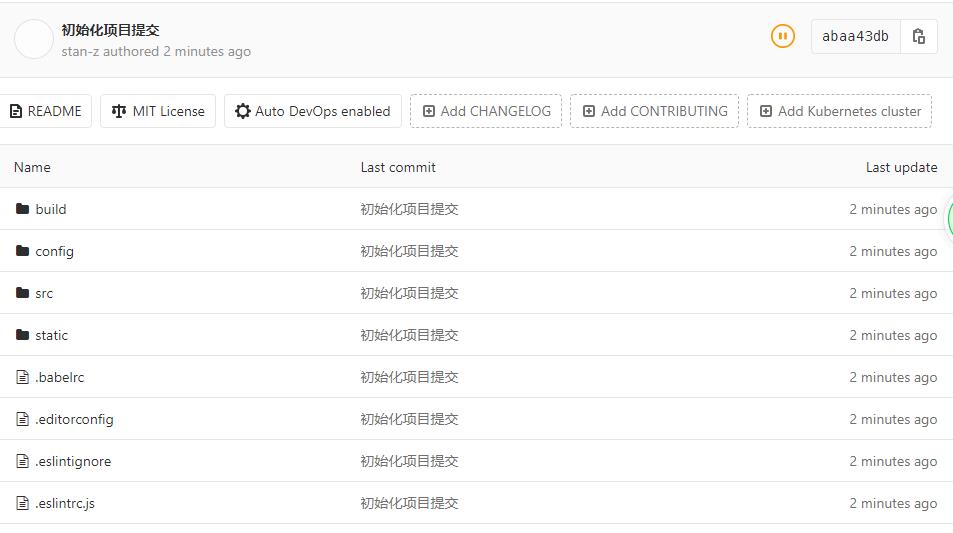
到此为止 代码都已经上传至仓库
从Gitlab拉取项目源码
我们进入jenkins构建后端流水线项目
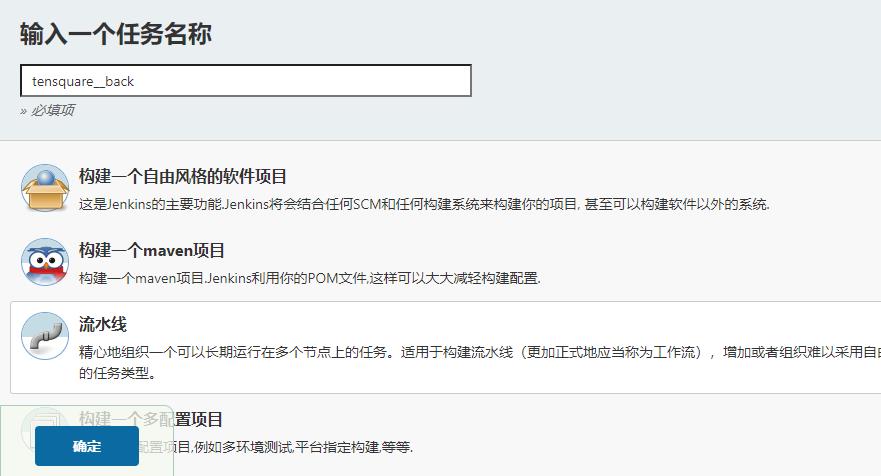
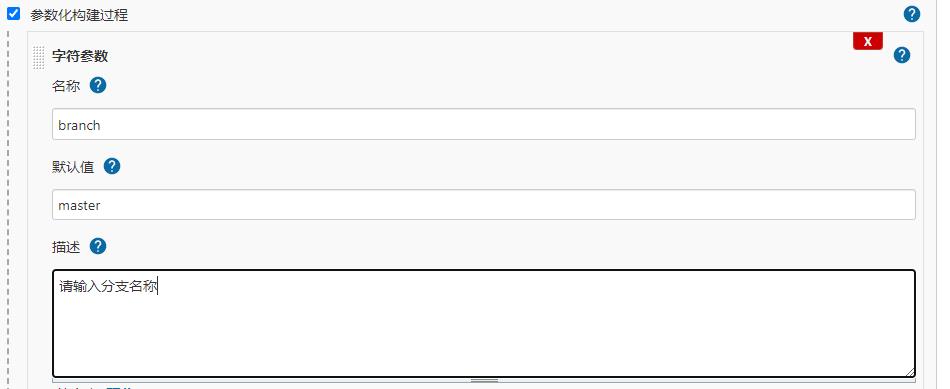
添加参数
选择SCM 脚本上传至仓库
配置git地址 通过ssh拉取
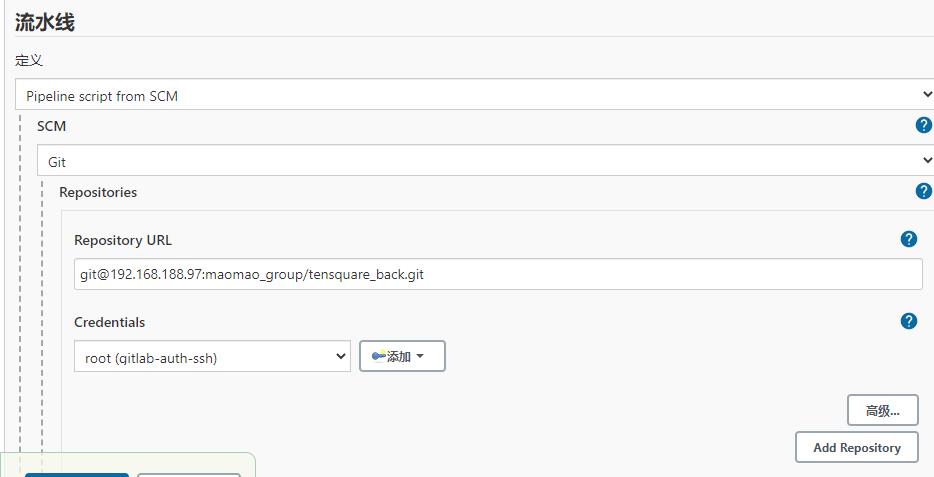
打开IDEA 在工程根目录下面创建一个Jenkinsfile
打开流水线语法
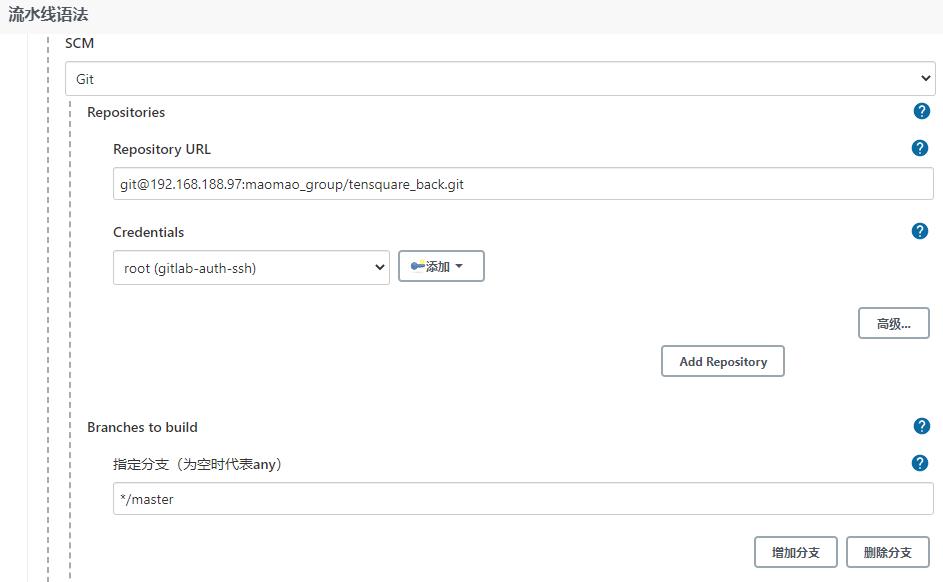
帮助我们生成脚本

我们可以定义变量
//git凭证ID
def git_auth = "41580d48-d4c3-4116-9a71-4d4d777c5753"
// git的url地址
def git_url = "git@192.168.188.97:maomao_group/tensquare_back.git"


node {
   stage('拉取代码') {
      checkout([$class: 'GitSCM', branches: [[name: "*/${branch}"]], extensions: [], userRemoteConfigs: [[credentialsId: "${git_auth}", url: "${git_url}"]]])
   }

}
上传Jenkinsfile文件
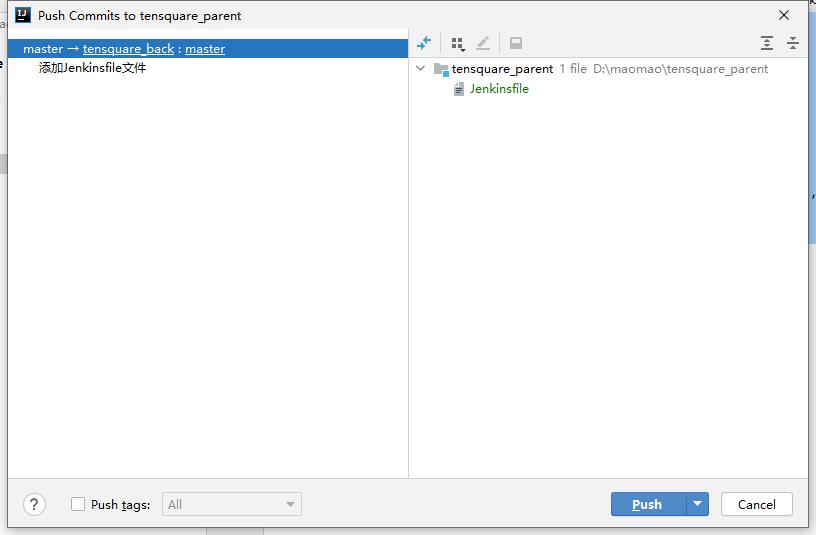
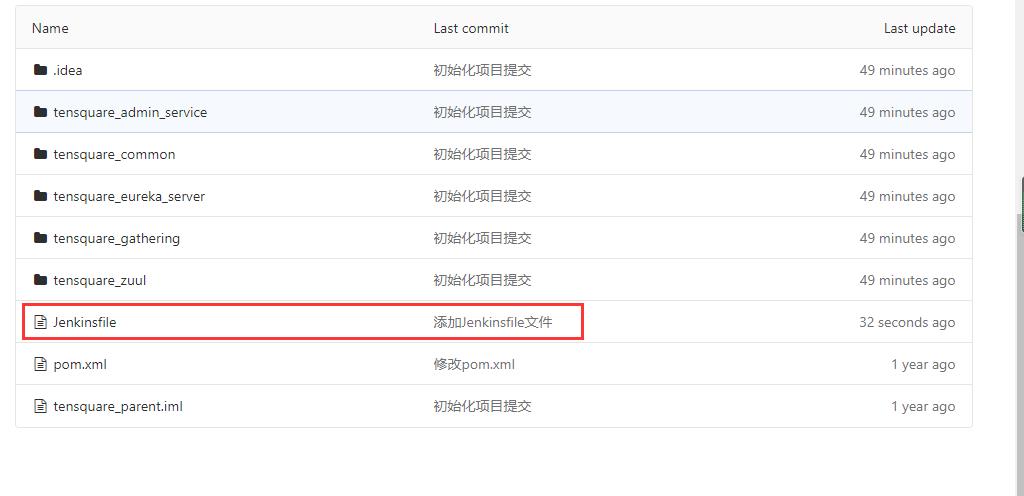
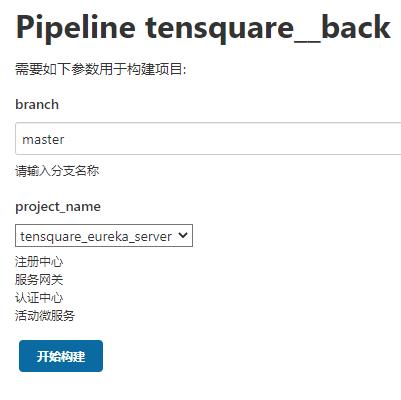
开始构建项目
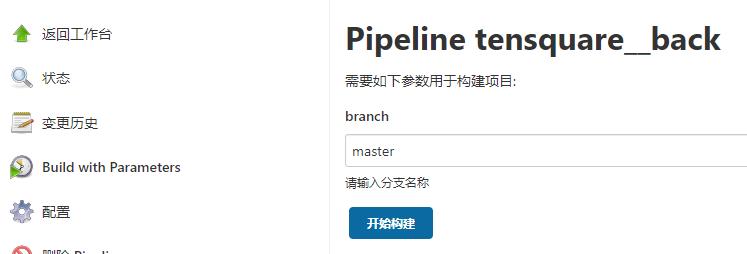

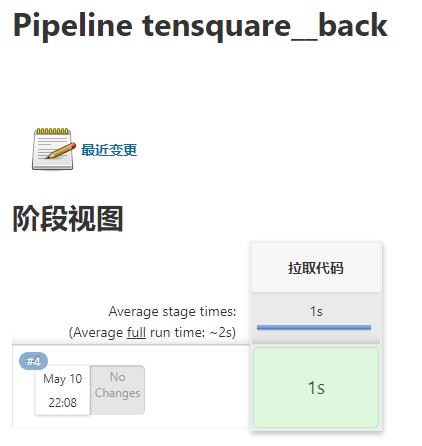
注意 脚本里面一定要注意格式和语法,自己因为冒号的原因,错了三次才改正过来
提交到SonarQube代码审查
在tensquare_back项目里,添加两个参数
这个参数选择选项参数(Choice Parameter)
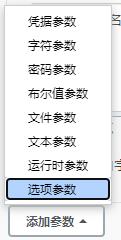
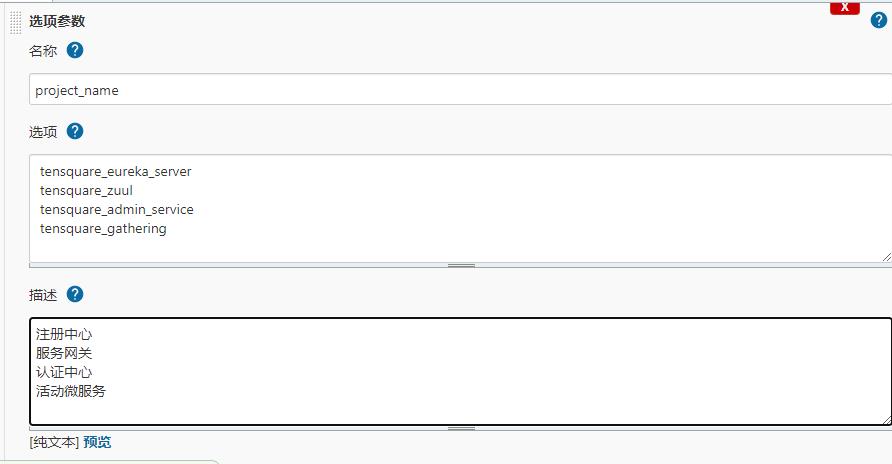
添加需要选择审查的名字
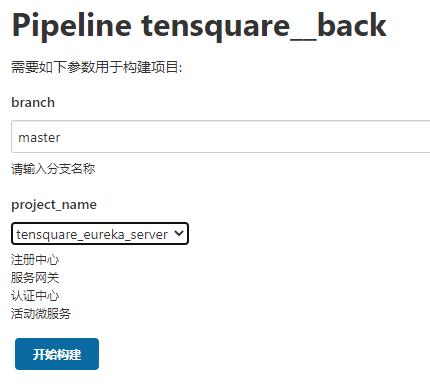
这时候构建就可以选择需要审查的代码
接下来配置sonarkube文件
在eureka_server根目录创建sonar-project.properties
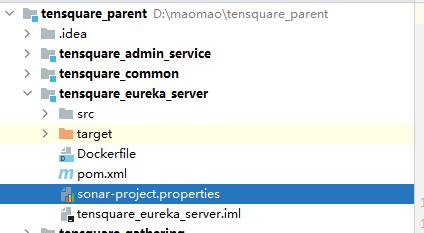
eureka_server
# must be unique in a given SonarQube instance
sonar.projectKey=tensquare_eureka_server
# this is the name and version displayed in the SonarQube UI. Was mandatory prior to SonarQube 6.1.
sonar.projectName=tensquare_eureka_server
sonar.projectVersion=1.0

# Path is relative to the sonar-project.properties file. Replace "\\" by "/" on Windows.
# This property is optional if sonar.modules is set.
sonar.sources=.
sonar.exclusions=**/test/**,**/target/**
sonar.java.binaries=.

sonar.java.source=1.8
sonar.java.target=1.8
#sonar.java.libraries=**/target/classes/**

# Encoding of the source code. Default is default system encoding
sonar.sourceEncoding=UTF-8
然后再相应的目录里添加不同的sonar-project.properties
zull
# must be unique in a given SonarQube instance
sonar.projectKey=tensquare_zuul
# this is the name and version displayed in the SonarQube UI. Was mandatory prior to SonarQube 6.1.
sonar.projectName=tensquare_zuul
sonar.projectVersion=1.0

# Path is relative to the sonar-project.properties file. Replace "\\" by "/" on Windows.
# This property is optional if sonar.modules is set.
sonar.sources=.
sonar.exclusions=**/test/**,**/target/**
sonar.java.binaries=.

sonar.java.source=1.8
sonar.java.target=1.8
#sonar.java.libraries=**/target/classes/**

# Encoding of the source code. Default is default system encoding
sonar.sourceEncoding=UTF-8
admin_service
# must be unique in a given SonarQube instance
sonar.projectKey=tensquare_admin_service
# this is the name and version displayed in the SonarQube UI. Was mandatory prior to SonarQube 6.1.
sonar.projectName=tensquare_admin_service
sonar.projectVersion=1.0

# Path is relative to the sonar-project.properties file. Replace "\\" by "/" on Windows.
# This property is optional if sonar.modules is set.
sonar.sources=.
sonar.exclusions=**/test/**,**/target/**
sonar.java.binaries=.

sonar.java.source=1.8
sonar.java.target=1.8
#sonar.java.libraries=**/target/classes/**

# Encoding of the source code. Default is default system encoding
sonar.sourceEncoding=UTF-8
gathering
# must be unique in a given SonarQube instance
sonar.projectKey=tensquare_gathering
# this is the name and version displayed in the SonarQube UI. Was mandatory prior to SonarQube 6.1.
sonar.projectName=tensquare_gathering
sonar.projectVersion=1.0

# Path is relative to the sonar-project.properties file. Replace "\\" by "/" on Windows.
# This property is optional if sonar.modules is set.
sonar.sources=.
sonar.exclusions=**/test/**,**/target/**
sonar.java.binaries=.

sonar.java.source=1.8
sonar.java.target=1.8
#sonar.java.libraries=**/target/classes/**

# Encoding of the source code. Default is default system encoding
sonar.sourceEncoding=UTF-8
修改Jenkinsfile脚本
//git凭证ID
def git_auth = "41580d48-d4c3-4116-9a71-4d4d777c5753"
// git的url地址
def git_url = "git@192.168.188.97:maomao_group/tensquare_back.git"


node {
   stage('拉取代码') {
      checkout([$class: 'GitSCM', branches: [[name: "*/${branch}"]], extensions: [], userRemoteConfigs: [[credentialsId: "${git_auth}", url: "${git_url}"]]])
   }
   stage('代码审查') {
        //定义了当前Jenkins的SonarQubeScanner工具环境     在全局工具配置里查看
        def scannerHome = tool 'sonar-scanner'
        //引用当前JenkinsSonarQube环境    在系统配置里查看
        withSonarQubeEnv('sonarqube') {
             sh """
                    cd ${project_name}
                    ${scannerHome}/bin/sonar-scanner
                """
        }
   }

}
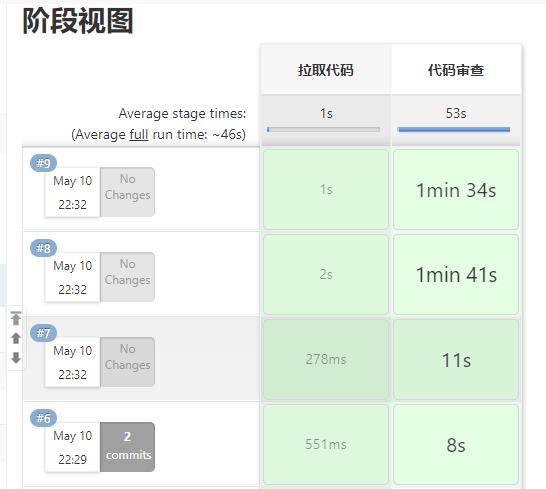
push代码至仓库 然后构建项目
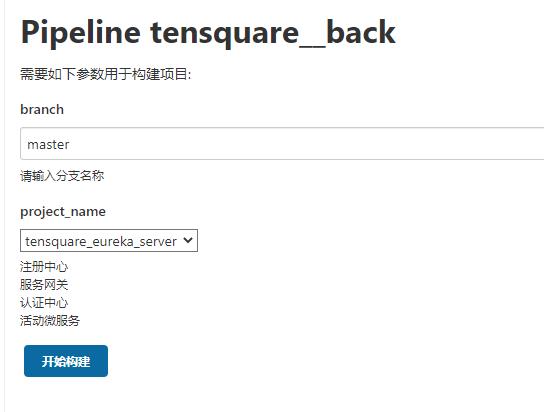
查看控制台输出
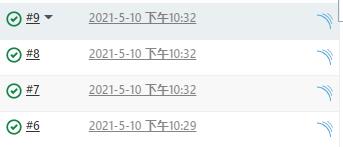
开始审查代码

构建成功
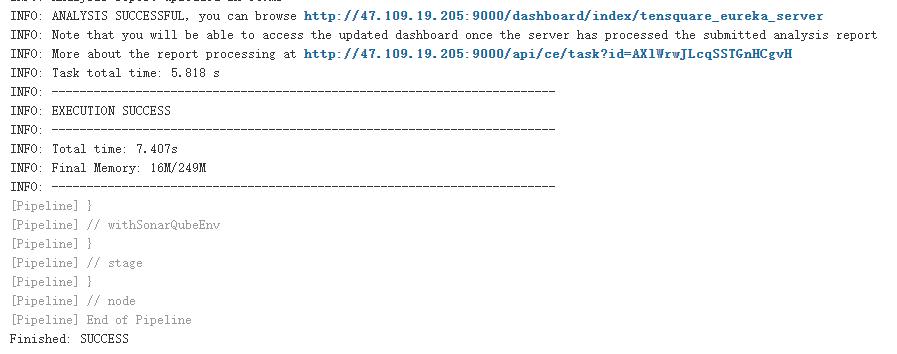
来到sonarkube后台查看审查结果
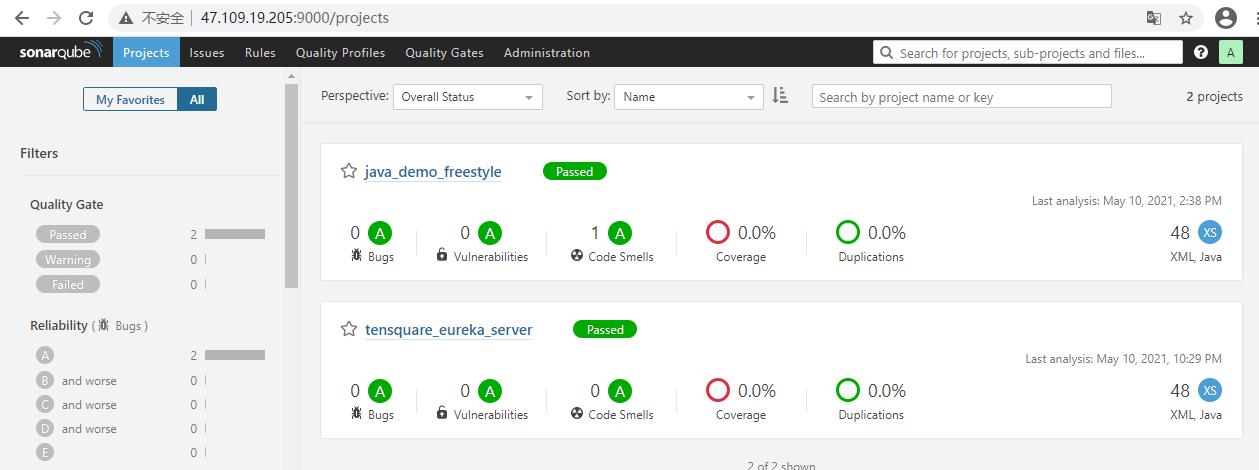
然后我们把剩下三个代码也进行审查
没有问题
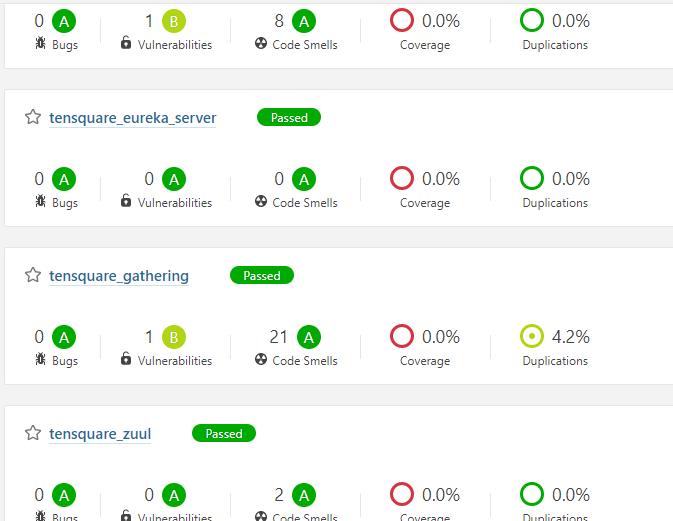
将微服务打包成jar包
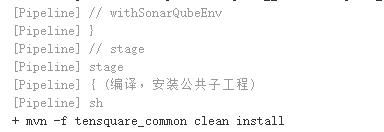
第一步 需要对一个公共的子工程进程编译,安装
在Jenkinsfile里添加一个步骤
//git凭证ID
def git_auth = "41580d48-d4c3-4116-9a71-4d4d777c5753"
// git的url地址
def git_url = "git@192.168.188.97:maomao_group/tensquare_back.git"


node {
   stage('拉取代码') {
      checkout([$class: 'GitSCM', branches: [[name: "*/${branch}"]], extensions: [], userRemoteConfigs: [[credentialsId: "${git_auth}", url: "${git_url}"]]])
   }
   stage('代码审查') {
        //定义了当前Jenkins的SonarQubeScanner工具环境     在全局工具配置里查看
        def scannerHome = tool 'sonar-scanner'
        //引用当前JenkinsSonarQube环境    在系统配置里查看
        withSonarQubeEnv('sonarqube') {
             sh """
                    cd ${project_name}
                    ${scannerHome}/bin/sonar-scanner
                """
        }
   }
   stage('编译,安装公共子工程') {
        sh "mvn -f tensquare_common clean install"
   }

}
将脚本上传至git仓库,再尝试进行一次构建
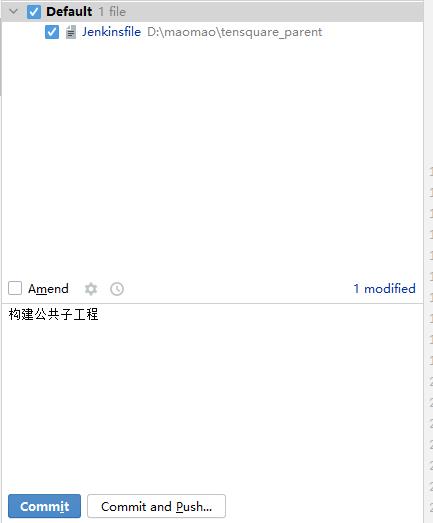
进行打包
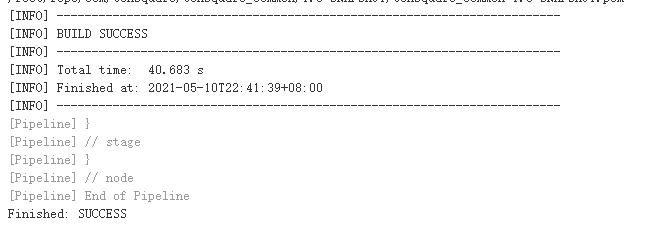
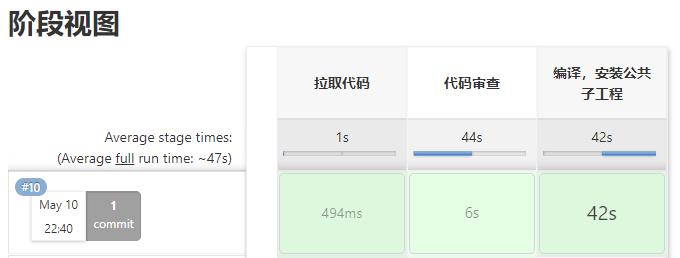
构建成功
如果失败的话,进入IDEA
将tensquare_parent父工程里面的 spring-boot-maven插件移走 移到需要项目打包的项目里去
tensquare_common子工程不需要这个插件
只需要将插件加入tensquare_eureka_server、tensquare_admin_service、tensquare_gathering、tensquare_zuul
<build>
       <plugins>
            <plugin>
                <groupId>org.springframework.boot</groupId>
                <artifactId>spring-boot-maven-plugin</artifactId>
            </plugin>
        </plugins>
    </build>
调整好之后,继续编写Jenkinsfile,需要打包其他微服务了
//git凭证ID
def git_auth = "41580d48-d4c3-4116-9a71-4d4d777c5753"
// git的url地址
def git_url = "git@192.168.188.97:maomao_group/tensquare_back.git"


node {
   stage('拉取代码') {
      checkout([$class: 'GitSCM', branches: [[name: "*/${branch}"]], extensions: [], userRemoteConfigs: [[credentialsId: "${git_auth}", url: "${git_url}"]]])
   }
   stage('代码审查') {
        //定义了当前Jenkins的SonarQubeScanner工具环境     在全局工具配置里查看
        def scannerHome = tool 'sonar-scanner'
        //引用当前JenkinsSonarQube环境    在系统配置里查看
        withSonarQubeEnv('sonarqube') {
             sh """
                    cd ${project_name}
                    ${scannerHome}/bin/sonar-scanner
                """
        }
   }
   stage('编译,安装公共子工程') {
        sh "mvn -f tensquare_common clean install"
   }
   // 这里project_name就是参数 选择对谁打包
   stage('编译,安装公共子工程') {
           sh "mvn -f ${project_name} clean package"
   }

}
对eureka服务进行打包

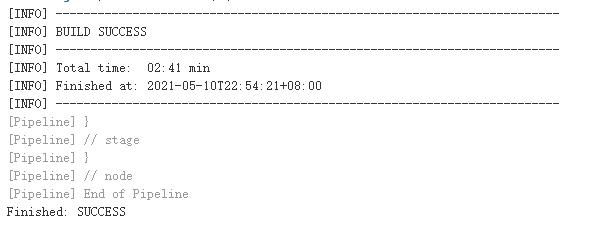
通过目录也可以看见 tensquare_admin_service没有进行打包
tensquare_eureka_server进行了打包 target下有jar包

接下来将其它三个微服务以同样方式打包
但是在打包tensquare_zuul报错了

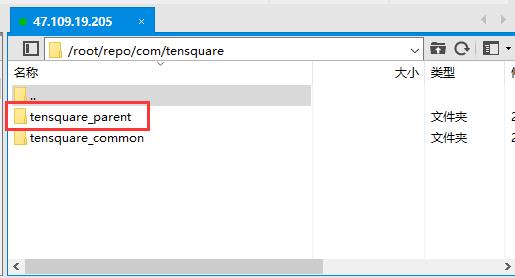
因为网关依赖父工程,但是仓库里的父工程没有
因此我们需要手动将父工程pom.xml文件传到Jenkins服务器里

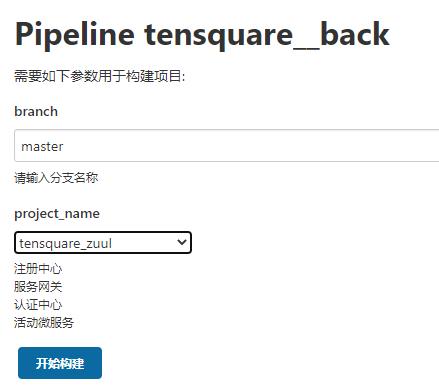
再次重新构建
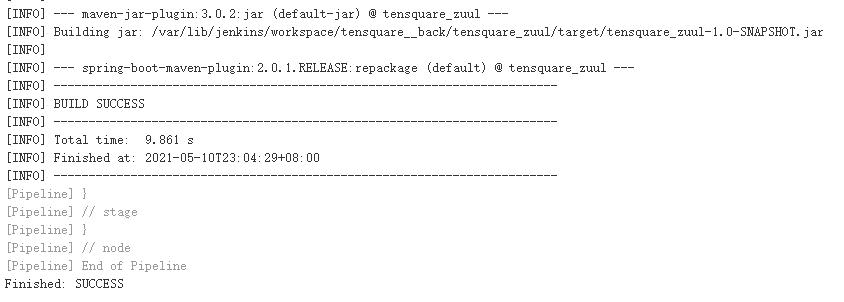
这次找到父工程的pom文件之后 打包成功
然后将剩下两个微服务打包构建
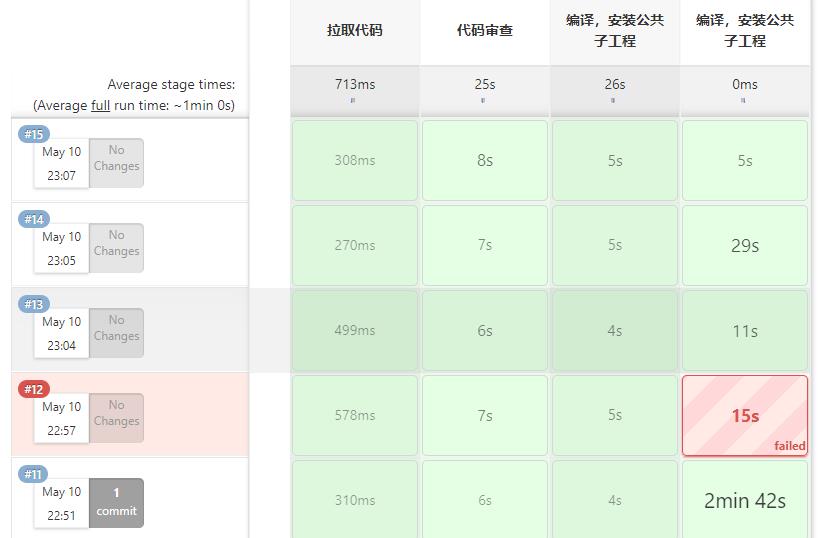
除了第二次打包网关失败 其余都成功了
使用Dockerfile编译、生成镜像
利用dockerfile-maven-plugin插件构建Docker镜像
在每个微服务项目的pom.xml加入dockerfile-maven-plugin插件
我们可以在之前spring-boot-maven-plugin插件下面添加dockerfile-maven-plugin插件
<build>
       <plugins>
            <plugin>
                <groupId>org.springframework.boot</groupId>
                <artifactId>spring-boot-maven-plugin</artifactId>
            </plugin>
            以上是关于Jenkins—— Jenkins+Docker+SpringCloud微服务持续集成的主要内容,如果未能解决你的问题,请参考以下文章