从磁盘阵列到Centos8.3系统安装
Posted 重庆生信菜鸟团
tags:
篇首语:本文由小常识网(cha138.com)小编为大家整理,主要介绍了从磁盘阵列到Centos8.3系统安装相关的知识,希望对你有一定的参考价值。
1.起因
最近再跑单细胞的数据时,忽然服务器提示/home文件夹占满了,想起我当时把数据放到Desktop了,需要从系统盘转移到存储盘,但是系统提示没有存储盘。fdisk -l也没有发现,lsblk命令后,显示sdb存储盘存在,但是不能分区,不能挂载,一番谷歌搜索后用尽各种办法,还是不能分区挂载。后来,戴尔服务器公司工程师给远程诊断后也无法实现分区挂载。以下操作具有一定的风险,一定要先把数据拷出来!一定要先把数据拷出来!一定要先把数据拷出来!
image.png
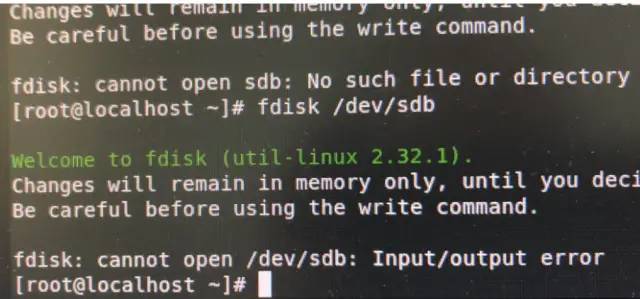
image.png

image.png
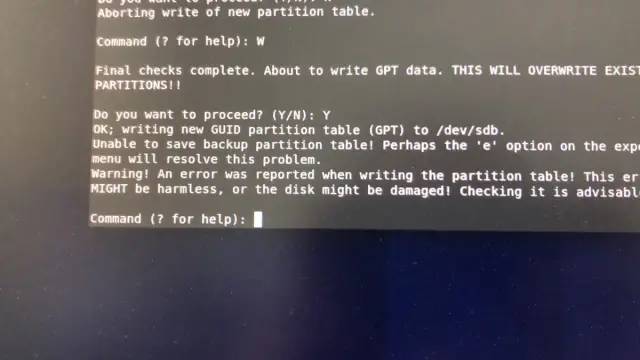
image.png
关机重启,F10后进入RAID发现存储盘出了问题。
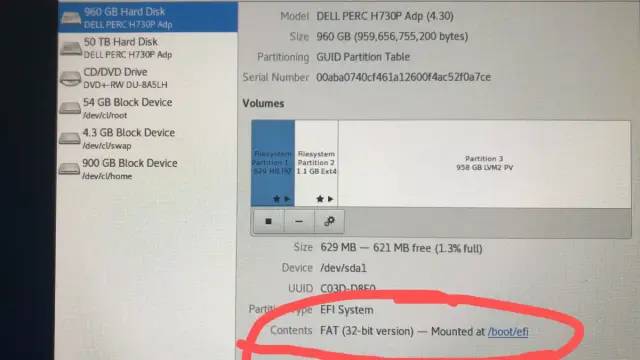
image.png
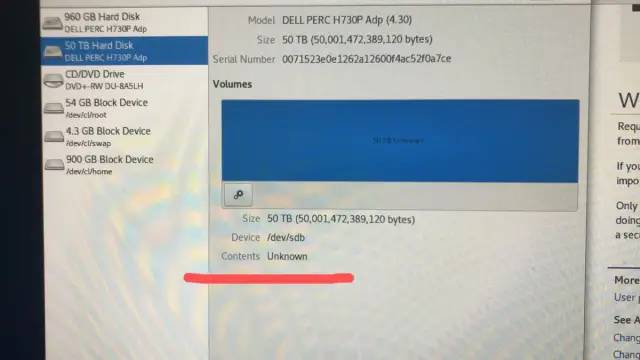
image.png
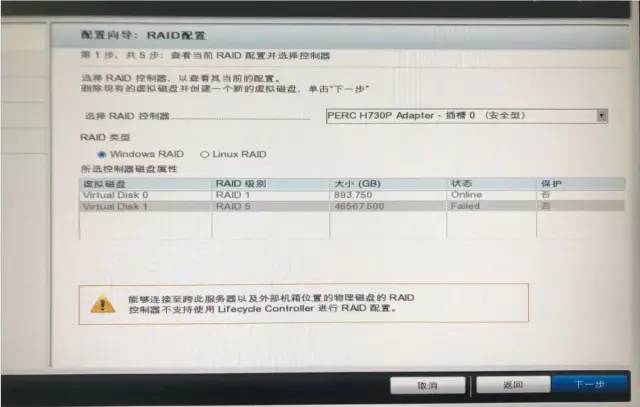
image.png
工程师说要把上图50TB左右的的存储盘做RAID5,不会影响系统盘的,事实证明这是个严重的错误!从关机重启F10进入RAID设置发现只有固态硬盘,后来在上一步的HDD里找到了6块总共45.5 T的硬盘,按照指导进行RAID5设置,提示设置成功,但是但是系统挂掉了,开机启动不了。
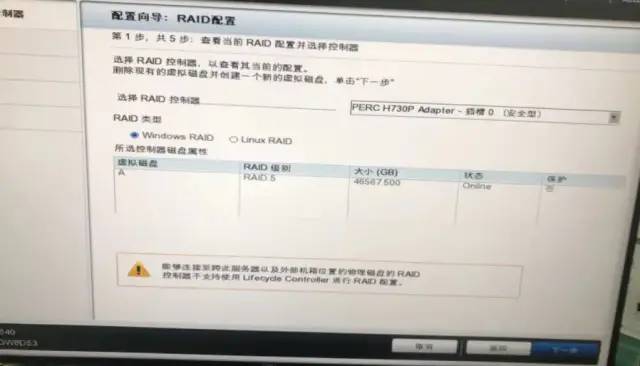
image.png
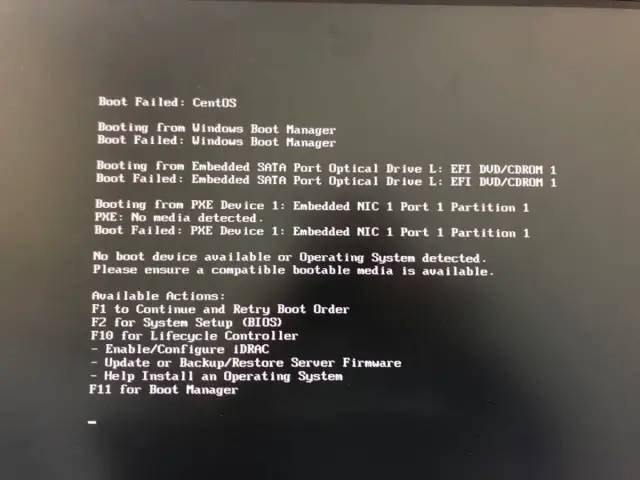
image.png
2. 制作磁盘阵列
工程师摊牌说没办法了,PE系统盘数据,重装系统。但是这时候又找不到系统盘了,重新对系统盘RAID1后,发现又找不到存储盘了,天呀!!!!!
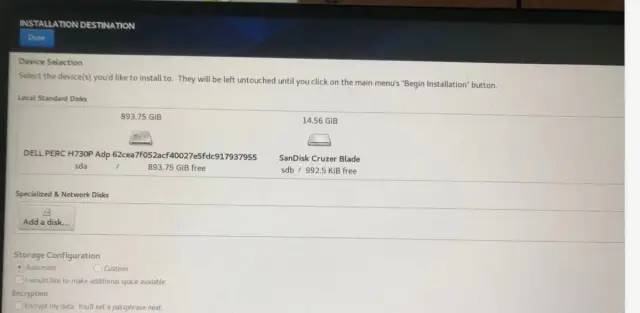
image.png

image.png

image.png

image.png
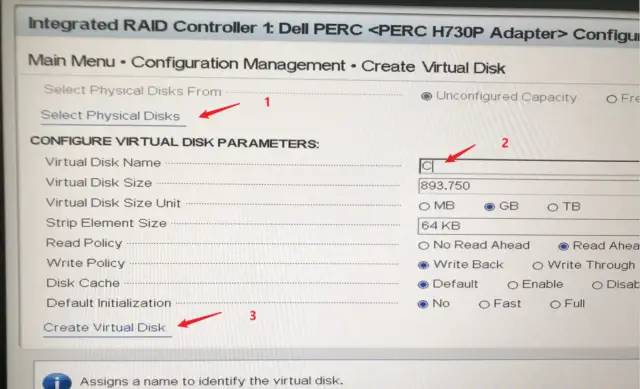
image.png

image.png

image.png

image.png
重复上面的步骤,制作出RAID5,在此不一一展示。使用view disk group看下,发现成功

image.png
3. 制作centos8系统启动盘
上面做好磁盘阵列,需要重装系统,本来我装了之前的8.2版本,开关机没问题,以为搞定了,但是发现yum升级后系统又挂了, 加上之前的磁盘问题,心里恼火的很。查看了内核是4.8的版本,但是最新内核版本是5.4了,推测内核与升级后的yum软件不匹配造成的,但是没有深究,毕竟那么多报错,不如重装系统来得快。
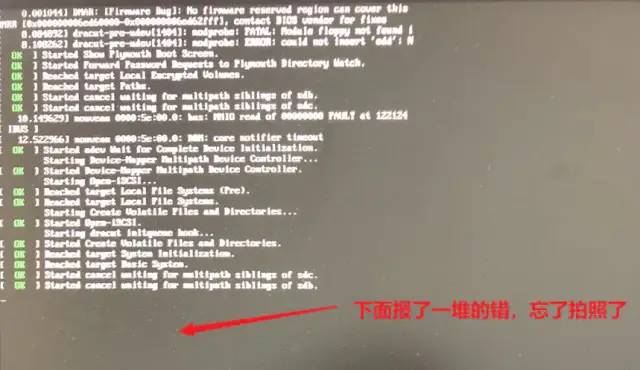
image.png
下面制作启动U盘
首先从阿里云下载8.3的DVD1.iso文件,本来选择“UltraISO”刻录,提示刻录成功,但是一装机就挂掉,系统根本装不上。后来使用Ventoy刻录成功。这个软件真心好用,下载装在启动U盘里,直接把镜像文件复制进去就刻录成功了启动盘。

image.png
坑人的UltraISO 如何制作CentOS 8 Linux安装U盘_Tristone的博客-CSDN博客_centos8 iso 制作u盘
https://blog.csdn.net/dengshulei/article/details/103697659
阿里云 https://mirrors.aliyun.com/centos/
Ventoy 多合一启动盘制作工具神器 - 将多个系统 Win/PE/Linux 镜像装在1个U盘里 - 异次元软件下载 https://www.iplaysoft.com/ventoy.html
Download . Ventoy https://www.ventoy.net/cn/download.html
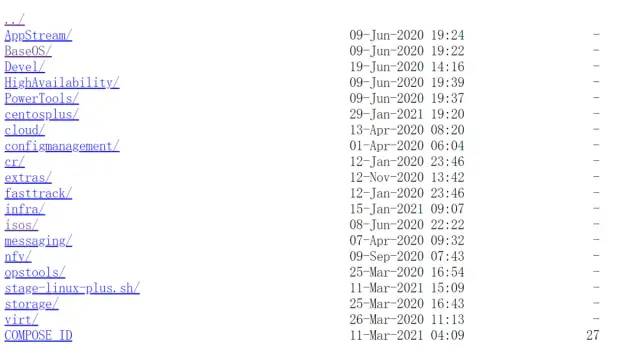
image.png
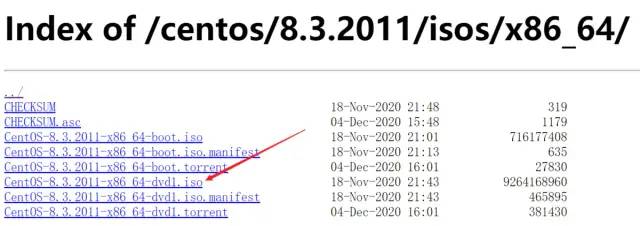
image.png

image.png
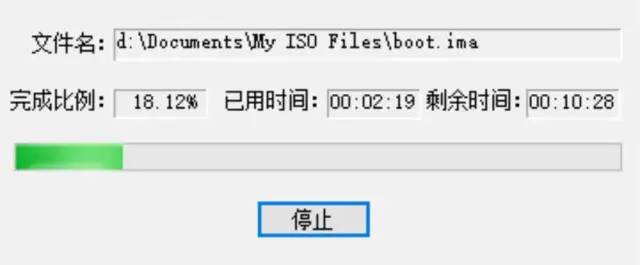
image.png
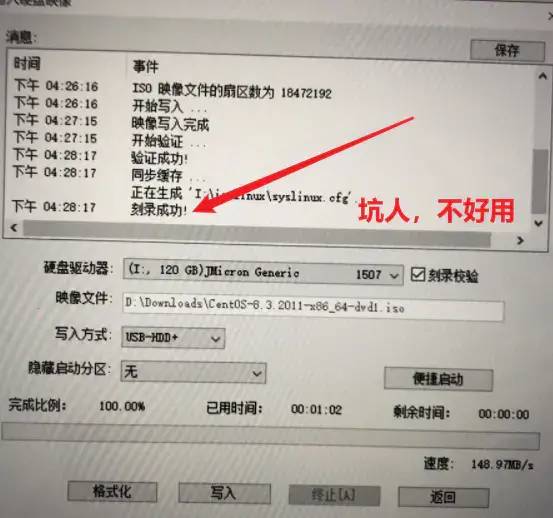
image.png
4. centos8系统装机
centos8系统装机忘了拍照片了,但是过程和之前的网上教程相似,我把慕课网oscar老师的装机过程做了个参考。把U盘插入服务器,服务器会自动寻找启动盘,按照提示进行操作,如下:
联网
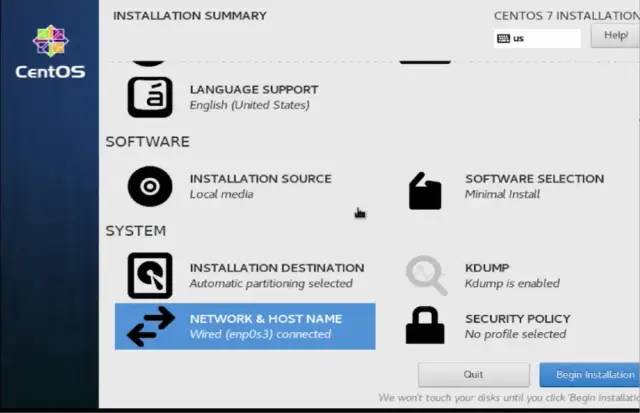
image.png
软件选择
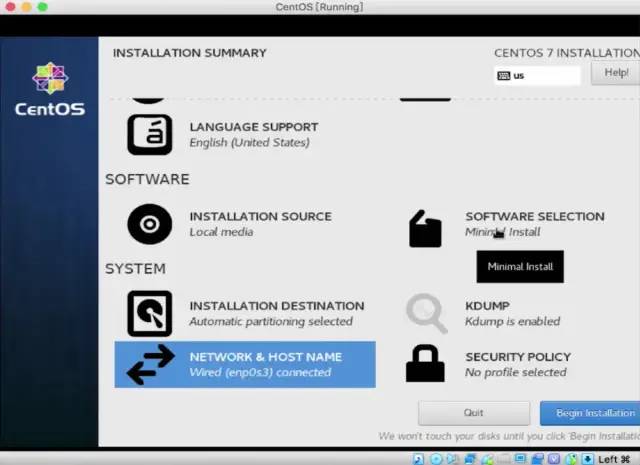
image.png
尽量选择这两个
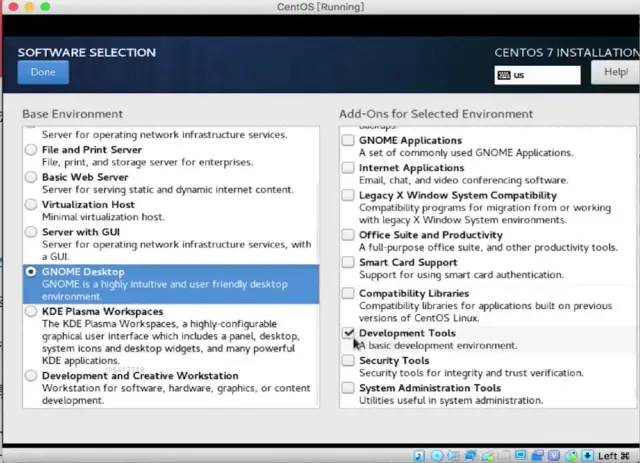
image.png
创建管理员账户和普通用户,并赋予跟普通用户管理员权限,方便后面装一些软件。
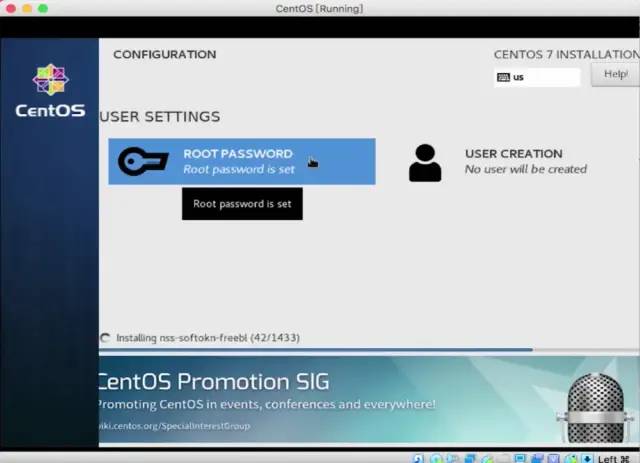
image.png
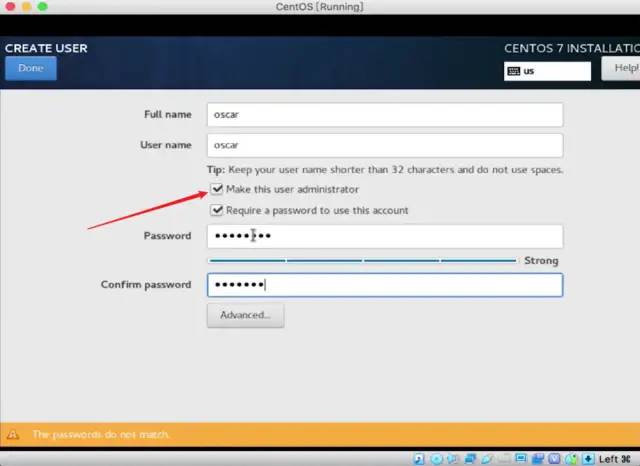
image.png
取消自动锁屏
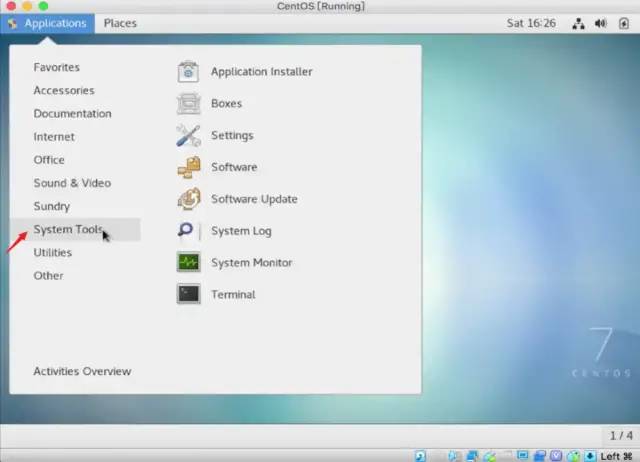
image.png
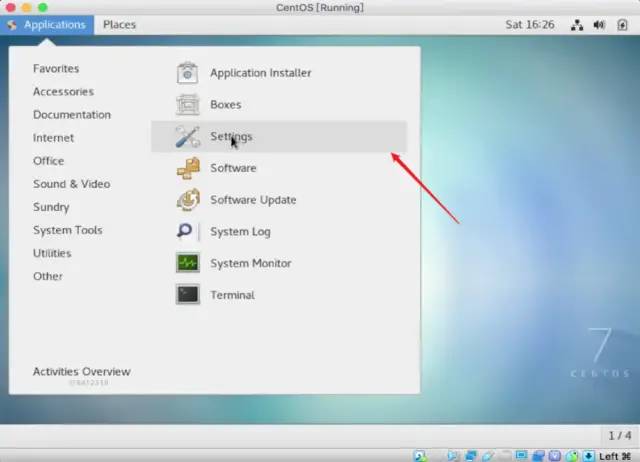
image.png
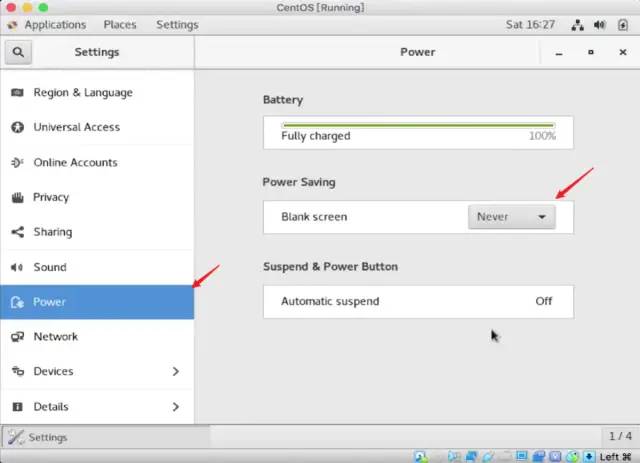
image.png
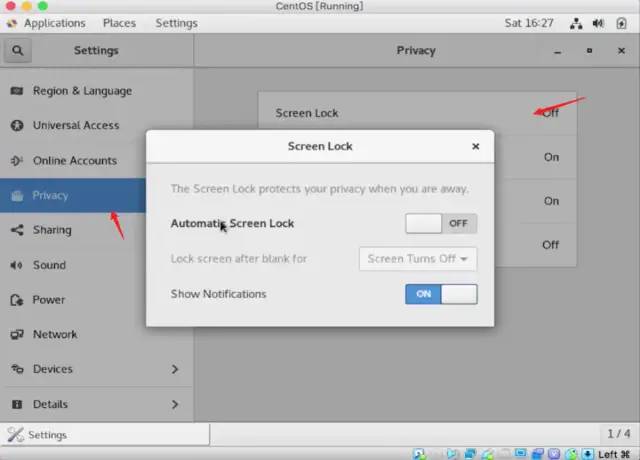
image.png
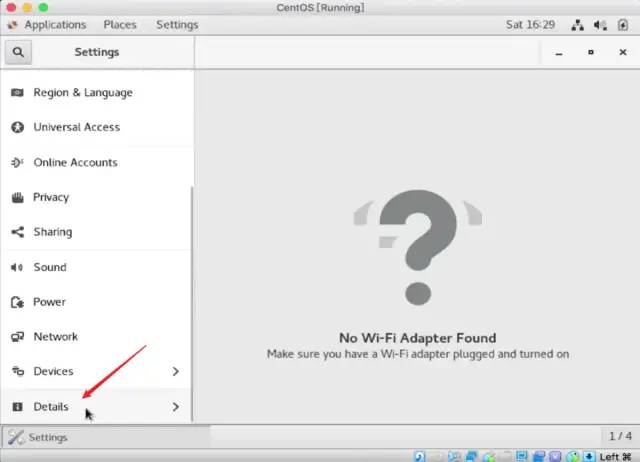
image.png
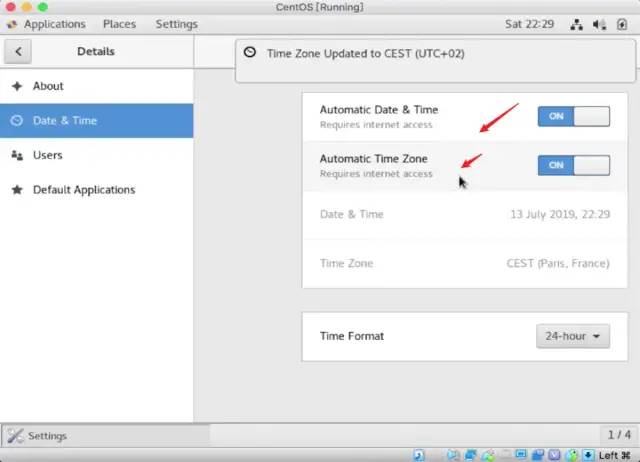
image.png
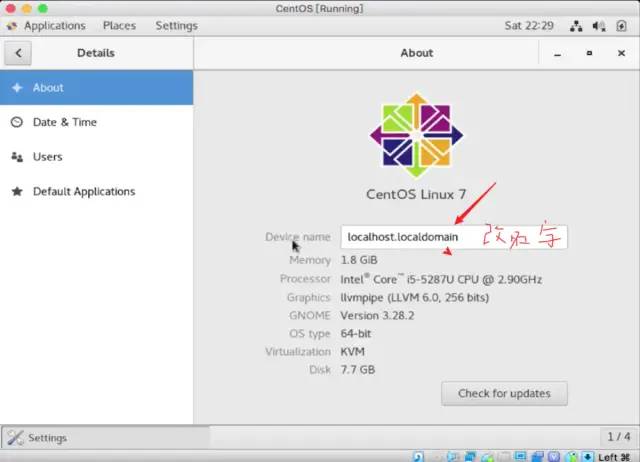
image.png
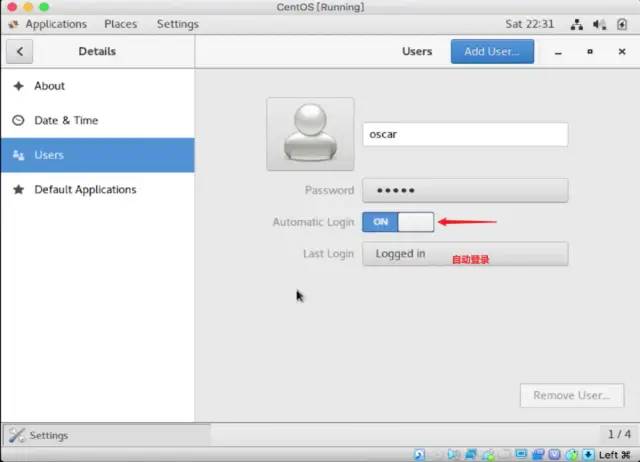
image.png
终端-edit-修改字体、背景色、
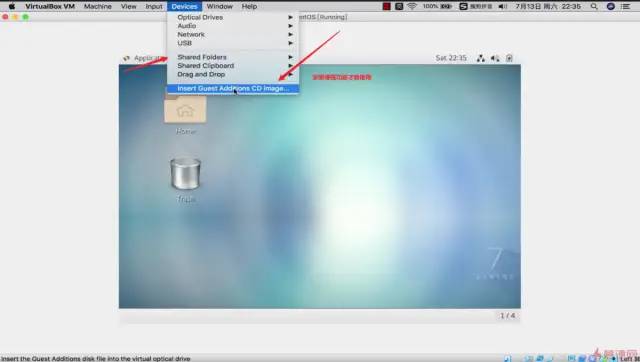
image.png
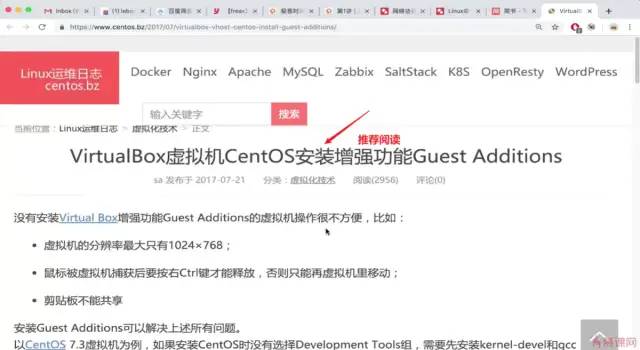
image.png
共享文件夹
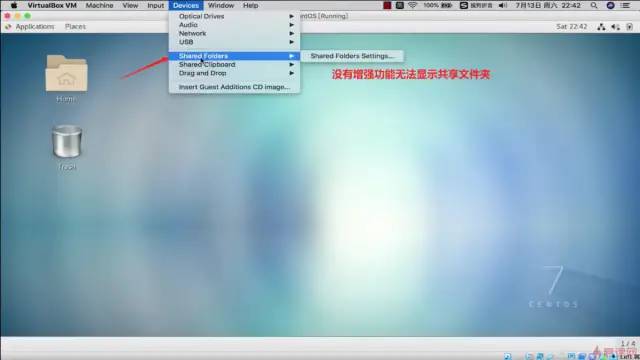
image.png
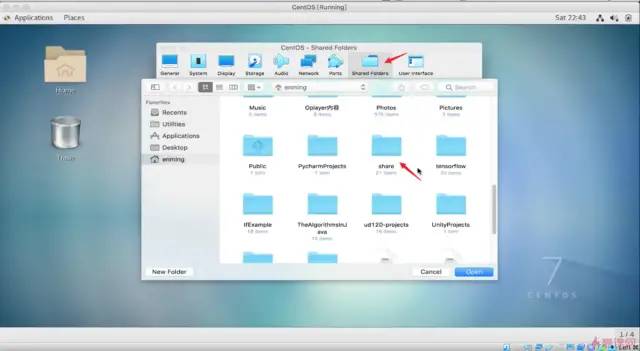
image.png
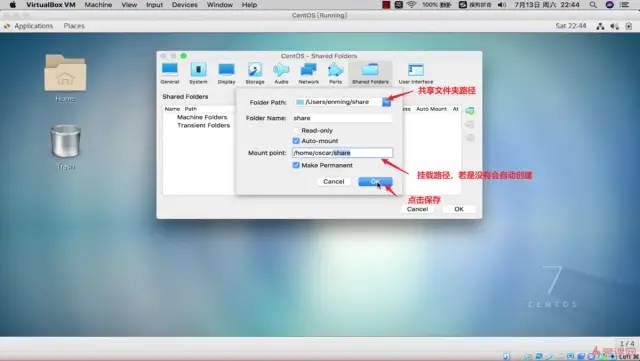
image.png
5. CentOS8更改yum源
原文链接:https://blog.csdn.net/zifengzwz/article/details/105182395
1. 备份原始的yum源
cd /etc/yum.repos.d
cp CentOS-Base.repo CentOS-Base.repo.bak
2. 下载对应版本的repo文件
wget -O CentOS-Base.repo http://mirrors.aliyun.com/repo/Centos-8.repo
3. 清除旧的yum缓存并生成新的yum缓存
yum clean all
yum makecache
4. 更新
yum update -y
6. CentOS 8 磁盘管理详解(含GPT分区)
CentOS 8 磁盘管理可以参照这篇文章,介绍的很详细,我在此不赘述了,放一张最后成功分区的图。
https://www.shangmayuan.com/a/4e1cd005e633407b82eca4b4.html
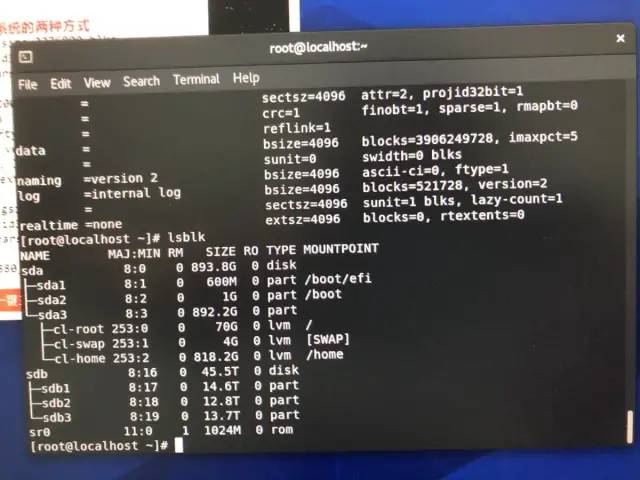
image.png
7. Centos8开启SSH服务
原文链接:https://www.pianshen.com/article/39501362935/
检测是否安装 openssh-server ,输入命令
yum list installed | grep openssh-server
image
没有任何输出,表示没有安装
输入安装命令yum install openssh-server使用 vim 打开 sshd 服务配置文件,输入命令
vim /etc/ssh/sshd_config
将第17,19,20行前的#号去掉
image
开启 sshd 服务,输入命令
sudo service sshd start
检测 sshd服务是否开启ps -e | grep sshd
image
检测 22 号端口是否开启netstat -an | grep 22
image
将 sshd 服务设置为开机自启动systemctl enable sshd.service
检测是否开启systemctl list-unit-files | grep sshd查看 Centos8 ip 命令
ifconfig
image
发现ip为:..150.129在主机中使用ping命令,测试是否可以连通Centos服务器
使用SSH工具登录服务器(XShell工具有些有后门)这里推荐大家使用Putty登录。
image
端口为第二步中的 Port 默认为22
点击 open 后会出现一个 命令框
image
密码在输入时是不显示的
8. 其他问题参照:
CentOS服务器自动待机,断网,远程ping不通,求教~?- 知乎
https://www.zhihu.com/question/21788676
在Dell R720上遇到过类似问题,应该是网卡休眠造成的,设置关闭:
修改/etc/grub.conf,在kernel行末尾追加pcie_aspm=off
centos 空闲一段时间后自动断网_小王的博客-CSDN博客
https://blog.csdn.net/wangfei8348/article/details/60886006
CentOS 8怎么进行和设置系统更新?_北海亭-最简单实用的电脑知识、IT信息技术网站
https://www.beihaiting.com/a/SJC/SBN/20200302/11536.html
CentOS关闭休眠和屏保模式 - JavaShuo
http://www.javashuo.com/article/p-gkvhhmxt-hr.html
CentOS怎么换壁纸,CentOS如何更换桌面壁纸?_北海亭-最简单实用的电脑知识、IT信息技术网站
https://www.beihaiting.com/a/SJC/SBN/20200229/11523.html
CentOS 8怎么取消锁屏,CentOS 8自动锁屏怎么关闭?_北海亭-最简单实用的电脑知识、IT信息技术网站
https://www.beihaiting.com/a/SJC/SBN/20200229/11524.html
CentOS8 中文输入法
https://www.jianshu.com/p/4fef02b70d34
https://blog.csdn.net/xinlongabc/article/details/102177117
以上是关于从磁盘阵列到Centos8.3系统安装的主要内容,如果未能解决你的问题,请参考以下文章
Swift新async/await并发中利用Task防止指定代码片段执行的数据竞争(Data Race)问题