Django路由
Posted 礁之
tags:
篇首语:本文由小常识网(cha138.com)小编为大家整理,主要介绍了Django路由相关的知识,希望对你有一定的参考价值。
文章目录
此文章参考菜鸟教程:Django 路由 | 菜鸟教程 (runoob.com)
Django版本:
>>> django.VERSION
(4, 1, 0, 'final', 0)
PS:基于前几章的进度进行修改
一、路由概述
-
路由简单的说就是根据用户请求的URL连接来判断对应的处理程序,并且返回处理结果
-
路由主要用于建立URL与Django视图之间的映射关系。路由在
urls.py文件配置,urls.py文件中每一条配置都对应了处理程序 -
不同版本的Django,
urls.py文件的配置也有点差异 -
Django1.1.X版本:
url():普通路径和正则路径都可以使用,需要自己手动添加正则首位限制符号,例如:from django.conf.urls import url # 用 url 需要引入 urlpatterns = [ url(r'^admin/$', admin.site.urls), url(r'^index/$', views.index), # 普通路径 url(r'^articles/([0-9]4)/$', views.articles), # 正则路径 ]
- Django2.2.X之后的版本:
path():代替1.1版本的url()方法,不需要手动添加正则首位限制符号,底层已经添加
re_path():用于正则路径,需要自己手动添加正则首位限制符号from django.urls import re_path # 用re_path 需要引入 urlpatterns = [ path('admin/', admin.site.urls), path('index/', views.index), # 普通路径 re_path(r'^articles/([0-9]4)/$', views.articles), # 正则路径 ]
二、正则路径中的分组
(1)正则路径中的无名分组
- 无名分组按照位置传参,根据顺序一一对应
- views中除了
request参数,其他形参的数量要与urls中的分组数量一致,否则会报错
- 修改urls.py文件
#-*- coding: utf-8 -*-
from django.urls import re_path

from . import views

urlpatterns = [
    re_path("^test/([0-9]4)/$",views.test),  #匹配以test开头,/结尾,例如/test/1234/
]


- 修改views.py文件
# -*- coding: utf-8 -*-
from django.http import HttpResponse

def test(request,year):
    print(year)
    return HttpResponse("Test")
- 访问
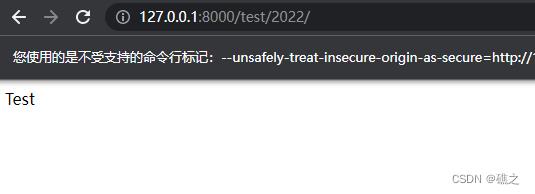
127.0.0.1:8000/test/2022,观察终端输出,最终print输出的是2022,这是因为方法的一个形参,代表路径中一个分组的内容,按顺序进行匹配,year参数匹配的是第二个分组([0-9]4),所以最终输出2022

(2)正则路径中的有名分组
- 语法:
(?P<组名>正则表达式) #大写的P
- 有名分组按照关键字传参,与位置顺序没有关系
- views中除了
request参数,其他形参的数量要与urls中的分组数量一致,并且views中的形参名称要与urls中的组名相对应
- 修改urls.py文件
#-*- coding: utf-8 -*-
from django.urls import re_path

from . import views

urlpatterns = [
    re_path("^test/(?P<year>[0-9]4)/(?P<month>[0-9]2)/$",views.test),
]
#分别指定year参数与month参数


- 修改views.py文件
# -*- coding: utf-8 -*-
from django.http import HttpResponse

def test(request,year,month):
    print(year,month)
    return HttpResponse("Test")
- 访问
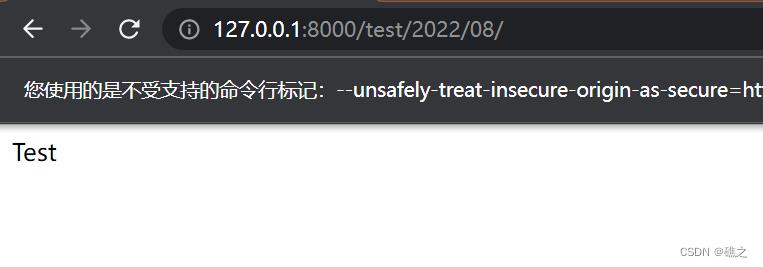
127.0.0.1:8000/test/2022/08,查看终端输出

注意:无名分组和有名分组不能混用!!
(3)路由分发
- Django项目中多个app目录共用一个urls非常容易混淆,后期维护也不方便,可以使用路由分发,让每个app目录都单独拥有自己的urls,实际步骤为:
- 在每个app目录中都创建一个
urls.py文件- 在项目名称目录下的
urls.py文件中,统一将路径分发给各app目录
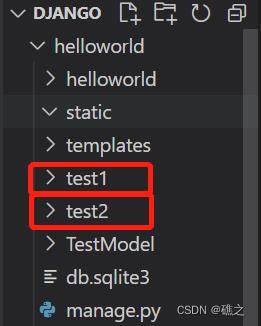
- 创建app目录,在项目目录下创建
test1和test2
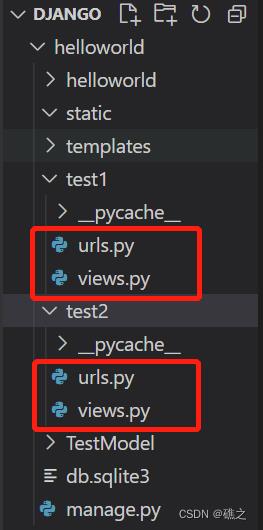
- 分别在两个目录下创建文件
urls.py和views.py文件
- 先修改
helloworld主app目录下的urls.py文件
#-*- coding: utf-8 -*-
from django.urls import re_path,path,include
from . import views

urlpatterns = [
    path('Year/',include("test1.urls")),   #分发给两个app目录下的urls.py文件
    path('Month/',include("test2.urls")),
]
- 修改两个
usrl.py文件
- test1/urls.py
#-*- coding: utf-8 -*-
from django.urls import re_path
from . import views

urlpatterns = [
    re_path('test1/(?P<year>[0-9]4)/$',views.test1),
]

- test2/urls.py
#-*- coding: utf-8 -*-
from django.urls import re_path
from . import views

urlpatterns = [
    re_path('test2/(?P<month>[0-9]2)/$',views.test2),
]
- 修改两个
views.py文件
- test1/views.py
# -*- coding: utf-8 -*-
from django.http import HttpResponse

def test1(request,year):
    print(year)
    return HttpResponse("Test1")

- test2/views.py
# -*- coding: utf-8 -*-
from django.http import HttpResponse

def test2(request,month):
    print(month)
    return HttpResponse("Test2")
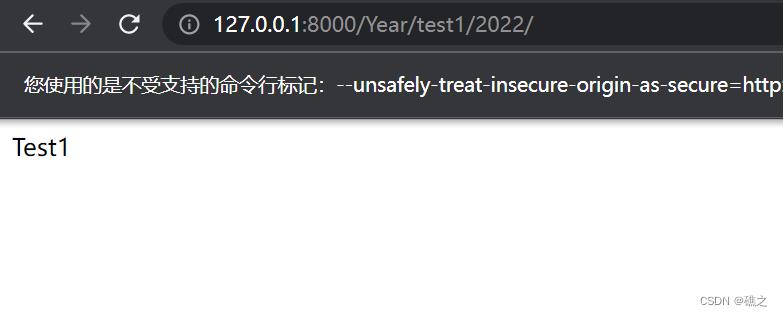
- 访问测试test1,需要访问
127.0.0.1:8000/Year/test1/2022/,观察终端输出
注意:访问的资源路径是主app的urls路径加分发的app的urls路径,所以最终是/Year/test1/2022

- 访问测试test2,同理访问
127.0.0.1:8000/Month/test2/08/,观察终端输出


三、反向解析(使用reverse)
- 随着功能的增加、路由层url的变化,通常需要去修改对应的视图层和模板层的url,每次一变化就去修改,不便于维护
- 上述情况可以使用反向解析,当路由层url发生变化时,只需
在视图层和模板层动态反向解析出更改后的url,这样就免去了修改的操作 - 反向解析一般作用于模板中的超链接以及视图中的重定向
(1)普通路径
- 在urls.py文件中给路由起
“别名”,语法为:name="别名",实例:
- 修改urls.py文件
#-*- coding: utf-8 -*-
from django.urls import path
from . import views

urlpatterns = [
    path('index/',views.index),
    path('login/',views.login,name="login"),  #别名login
]


- 在views.py文件中,从urls引入reverse,利用reverse("别名")进行反向解析
# -*- coding: utf-8 -*-
from django.urls import reverse
from django.http import HttpResponse
from django.shortcuts import redirect,render
from django.views.decorators.csrf import csrf_exempt

@csrf_exempt
def index(request):
    if request.method == "GET":
        return HttpResponse("请使用POST")
    else:
        username = request.POST.get('username')
        pwd = request.POST.get('pwd')
        if username == 'zhangsan' and pwd == '123456':
            return HttpResponse("登录成功!!")
        else:
            return redirect(reverse('login')) #反向解析

def login(request):
        return HttpResponse('请传入 username 和 pwd 参数')
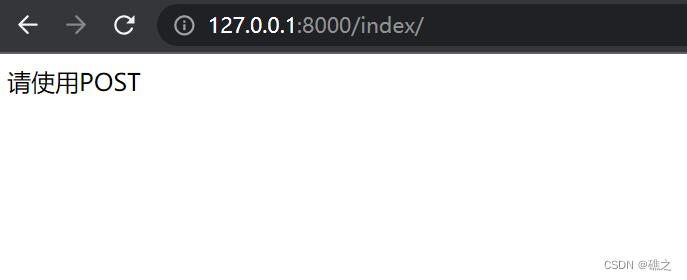
- 直接访问
127.0.0.1:8000/index/
- 使用
postman不加参数进行访问127.0.0.1:8000/index/,查看终端输出,可以看到302跳转,并且跳转是通过GET方式访问的login资源


- 使用
postman访问,添加username和pwd参数
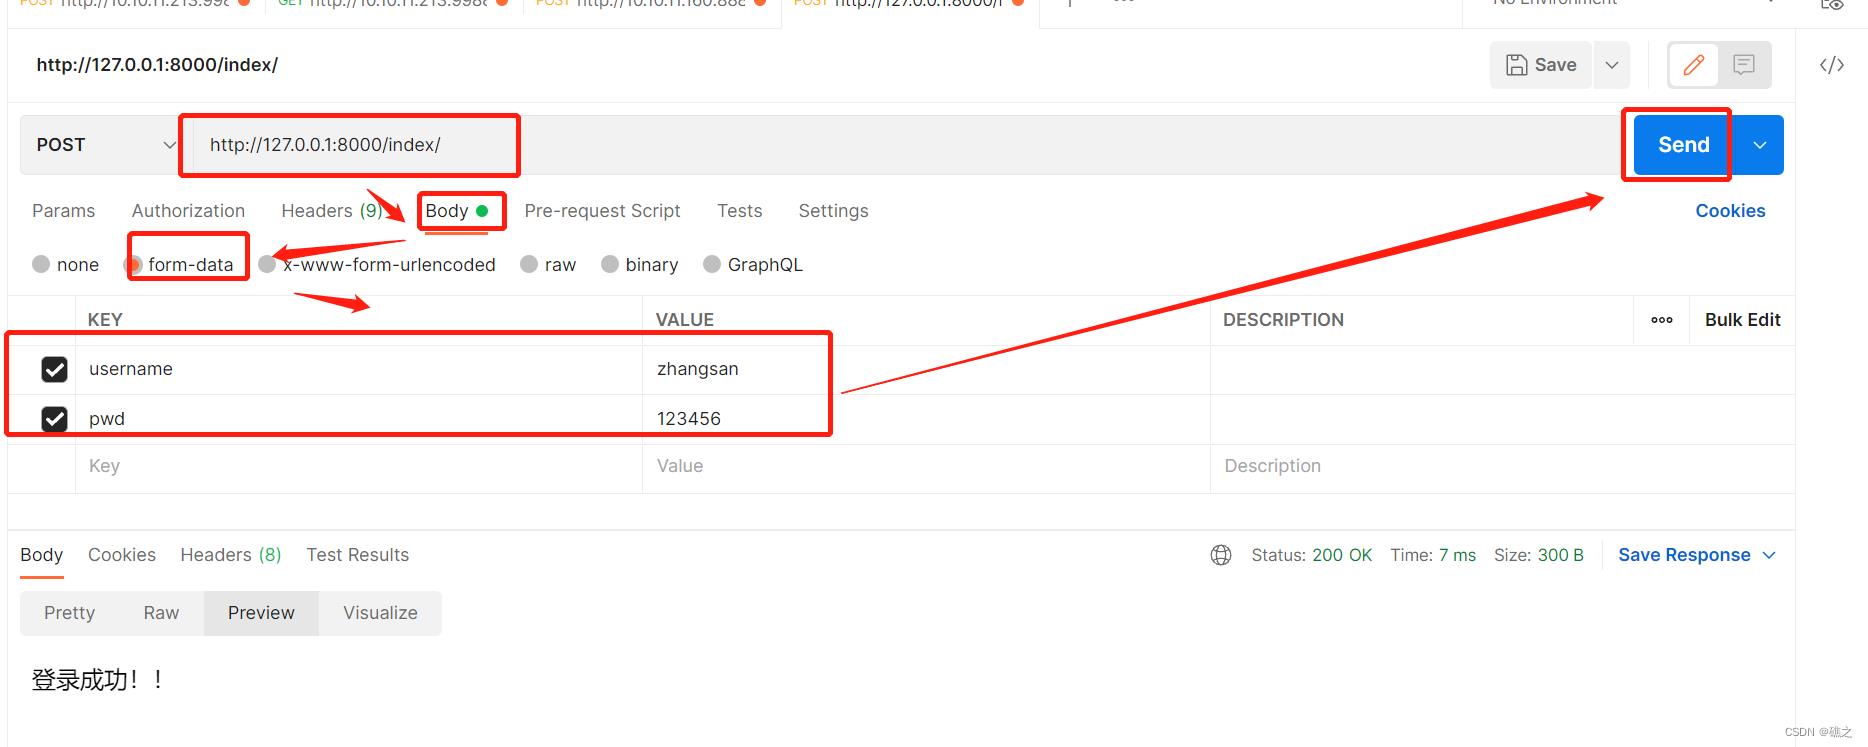
- 不使用正确参数

(2)正则路径——无名分组
- 使用正则路径,需要使用
re_path方法,同样通过name='别名'配置路径别名,实例:
- 修改urls.py文件
#-*- coding: utf-8 -*-
from django.urls import path,re_path
from . import views

urlpatterns = [
    path('index/',views.index),
    re_path('^login/([0-9]4)/$',views.login,name="login"),
]

- 修改views.py
# -*- coding: utf-8 -*-
from django.urls import reverse
from django.http import HttpResponse
from django.shortcuts import redirect,render
from django.views.decorators.csrf import csrf_exempt

@csrf_exempt
def index(request):
    if request.method == "GET":
        return HttpResponse("请使用POST")
    else:
        username = request.POST.get('username')
        pwd = request.POST.get('pwd')
        if username == 'zhangsan' and pwd == '123456':
            return HttpResponse("登录成功!!")
        else:
            return redirect(reverse('login',args=('2022',)))

@csrf_exempt
def login(request,year):  #添加一个参数
        print(year)
        return HttpResponse('Test')
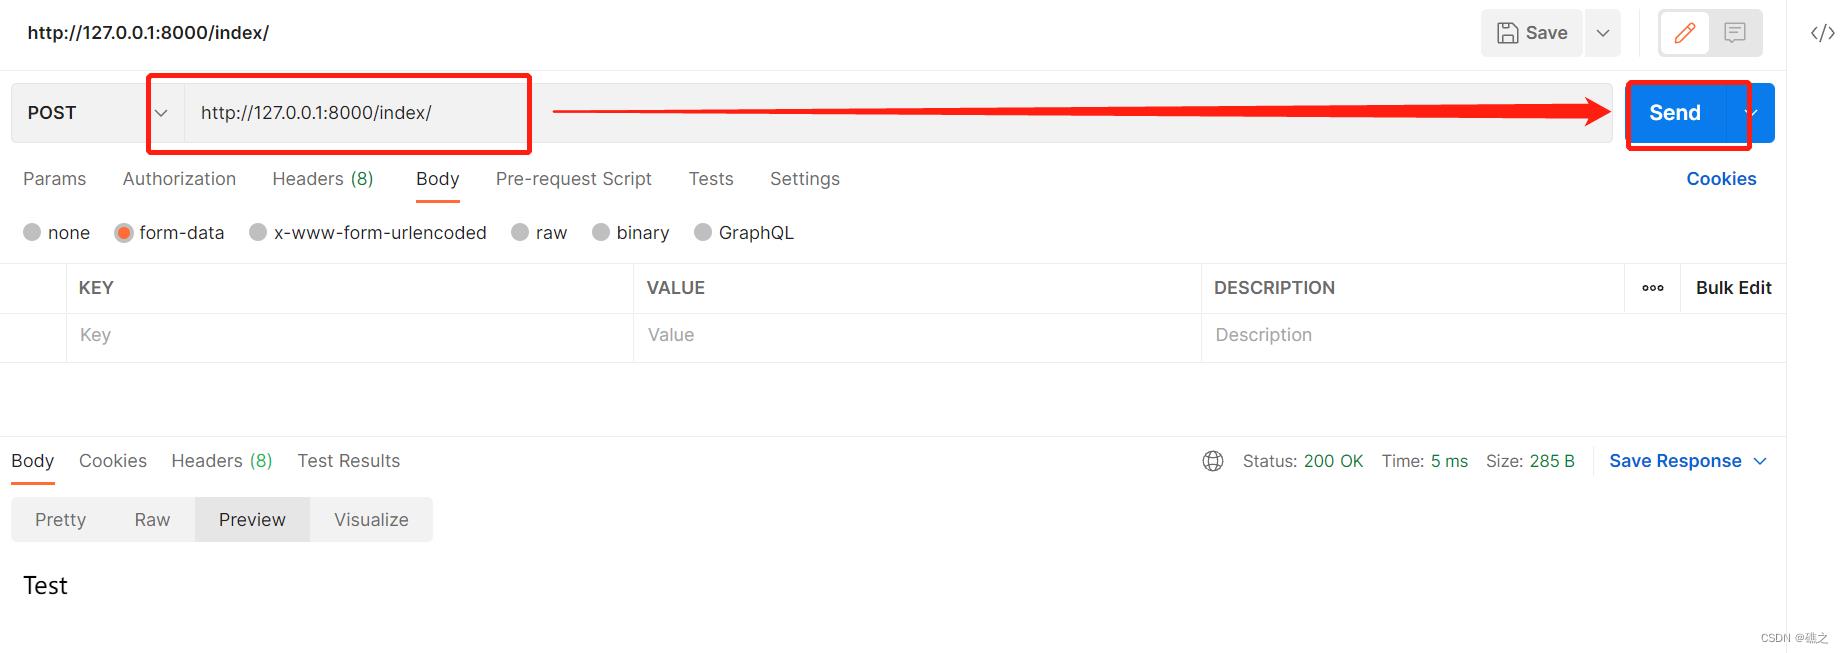
- 使用
postman访问127.0.0.1:8000/index,观察终端

(3)正则路径——无名分组
- 实例:
- 修改urls.py文件
#-*- coding: utf-8 -*-
from django.urls import path,re_path
from . import views

urlpatterns = [
    path('index/',views.index),
    re_path('^login/(?P<year>[0-9]4)/(?P<month>[0-9]2)/$',views.login,name="login"),
]

- 修改views.py文件
# -*- coding: utf-8 -*-
from django.urls import reverse
from django.http import HttpResponse
from django.shortcuts import redirect,render
from django.views.decorators.csrf import csrf_exempt

@csrf_exempt
def index(request):
    if request.method == "GET":
        return HttpResponse("请使用POST")
    else:
        username = request.POST.get('username')
        pwd = request.POST.get('pwd')
        if username == 'zhangsan' and pwd == '123456':
            return HttpResponse("登录成功!!")
        else:
            return redirect(reverse('login',kwargs="year":"2022","month":"09"))

@csrf_exempt
def login(request,year,month):
        print(year + month)
        return HttpResponse('Test')
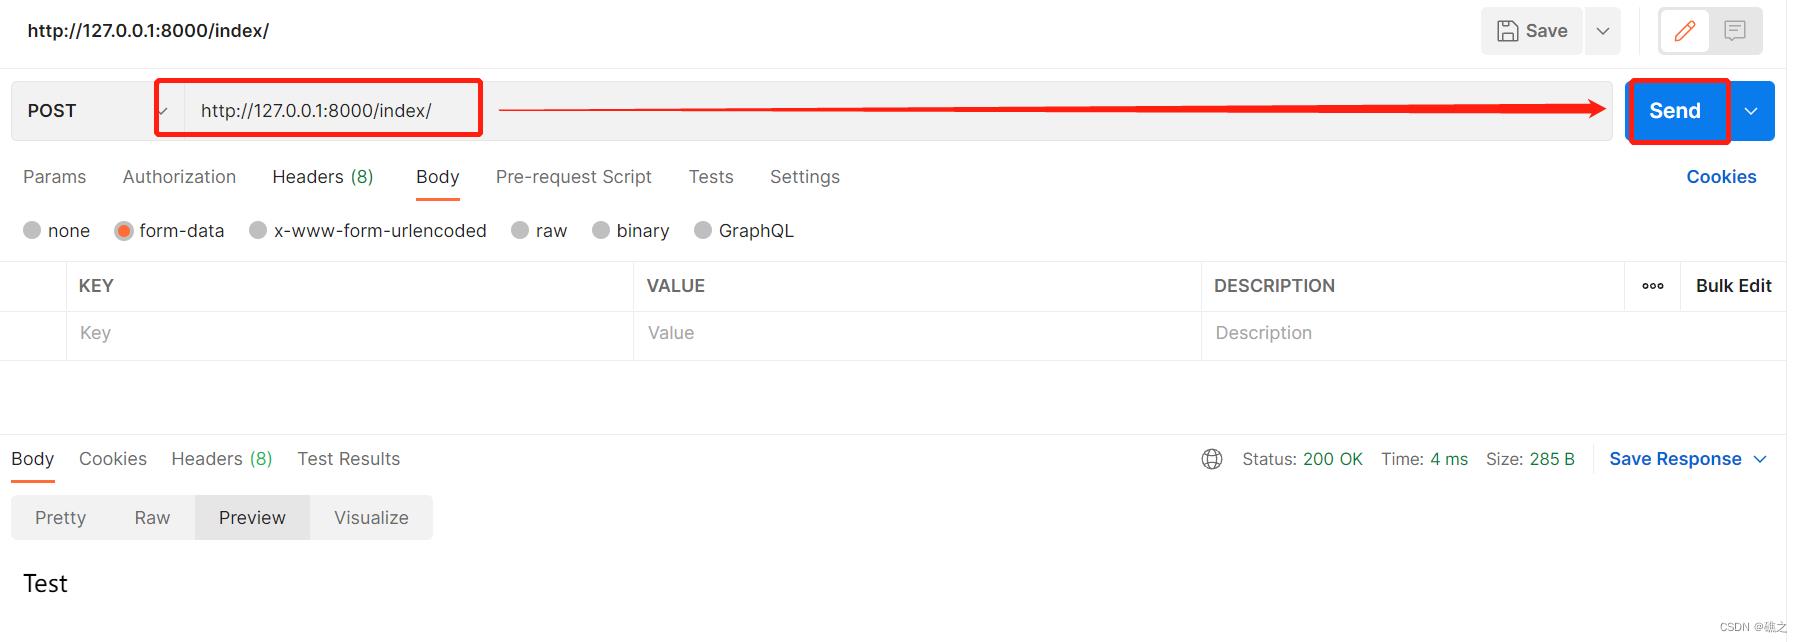
- 使用
postman访问127.0.0.1:8000/index,观察终端

四、反向解析(使用模板)
(1)普通路径
-
在模板文件(html文件)中使用反向解析,利用
% url '别名' % -
urls.py文件
#-*- coding: utf-8 -*-
from django.urls import path
from . import views

urlpatterns = [
    path('index/',views.index),
    path('login/',views.login,name="login"),  #别名login
]
- views.py文件
# -*- coding: utf-8 -*-
from django.urls import reverse
from django.http import HttpResponse
from django.shortcuts import redirect,render
from django.views.decorators.csrf import csrf_exempt


def index(request):  #index资源返回html页面,页面使用post方法反向解析到login资源
        return render(request,"test.html")

@csrf_exempt       #因为html使用post方法,所以需要使用装饰器将此函数可以接受post方式
def login(request):
        username = request.POST.get('username')
        pwd = request.POST.get('pwd')
        if username == "zhangsan" and pwd == "123456":
                return HttpResponse("登录成功")
        else:
                return HttpResponse("登录失败")
- templates/test.html文件
<!DOCTYPE html>
<html lang="en">
<head>
    <meta charset="UTF-8">
    <title>Title</title>
</head>
<body>
    <h3>用户登录</h3>
    <form action="% url 'login' %" method="post">
        % csrf_token %   #使用post方式,需要添加
        <p>用户名:<input type="text" name="username"></p>
        <p>密码:<input type="text" name="pwd"></p>
        <input type="submit">
    </form>
</body>
</html>
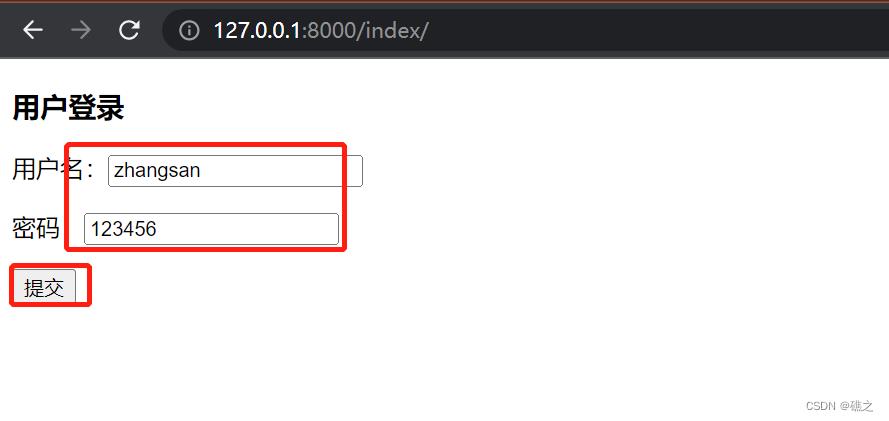
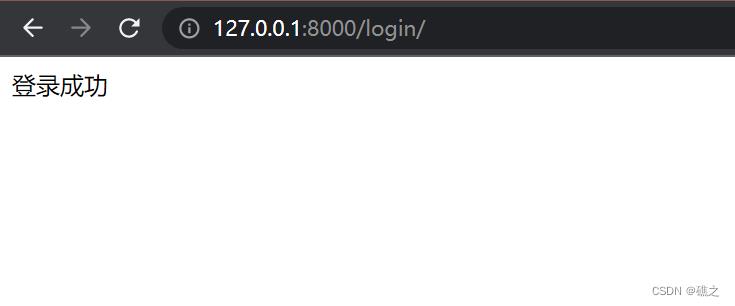
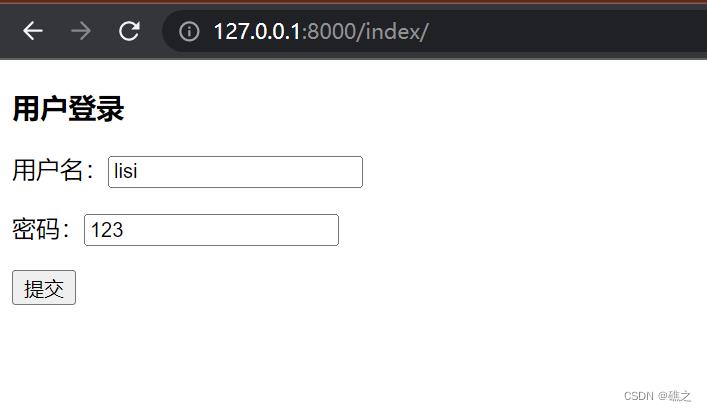
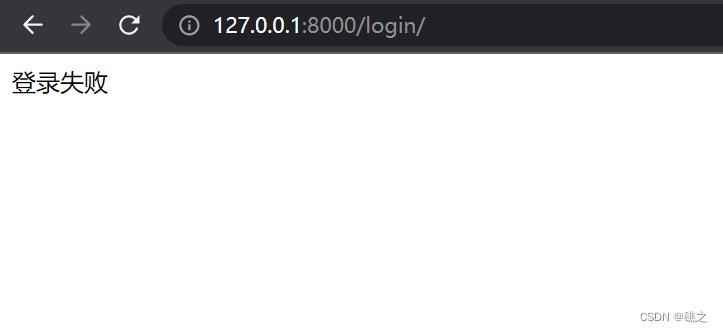
- 使用浏览器访问
127.0.0.1:8000/index/,先输出正确的username和pwd,查看终端输出,然后输出错误的参数

(2)正则路径——无名分组
-
使用正则路径时,模板中利用
% url "别名" 符合正则匹配的参数 %来实现反向解析 -
urls.py文件
#-*- coding: utf-8 -*-
from django.urls import path,re_path
from . import views

urlpatterns = [
    path('index/',views.index),
    re_path('^login/([0-9]4)/$',views.login,name="login"),  #别名login
]
- views.py文件
# -*- coding: utf-8 -*-
from django.urls import reverse
from django.http import HttpResponse
from django.shortcuts import redirect,render
from django.views.decorators.csrf import csrf_exempt


def index(request):
        return render(request,"test.html")

@csrf_exempt
def login(request,year):   #增加参数year
        username = request.POST.get('username')
        pwd = request.POST.get('pwd')
        if username == "zhangsan" and pwd == "123456":
                return HttpResponse("登录成功,当前年份:" + year)
        else:
                return HttpResponse("登录失败,当前年份:" + year)
- templates/test.html文件
<!DOCTYPE html>
<html lang="en">
<head>
    <meta charset="UTF-8">
    <title>Title</title>
</head>
<body>
    <h3>用户登录</h3>
    <form action="% url 'login' '2022' %" method="post">    #无名分组,添加参数
        % csrf_token %
        <p>用户名:<input type="text" name="username"></p>
        <p>密码:<input type="text" name="pwd"></p>
        <input type="submit">
    </form>
</body>
</html>
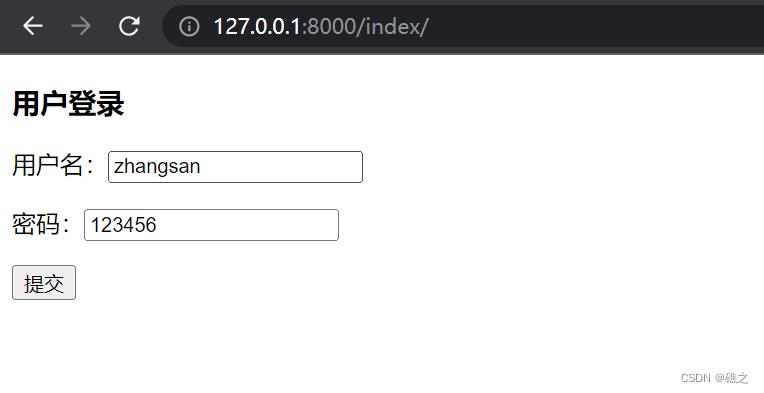
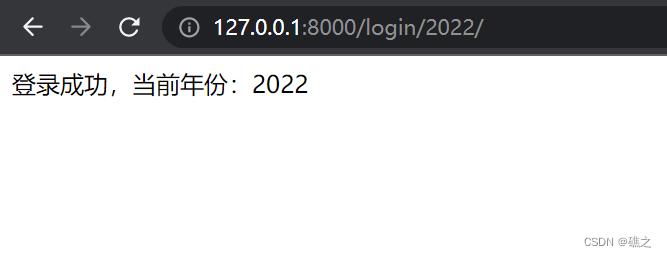
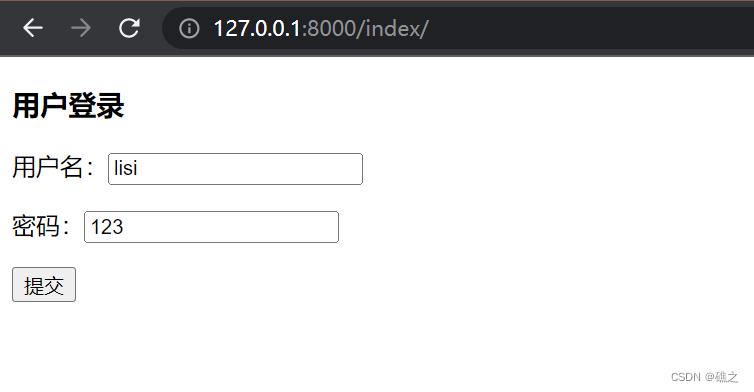
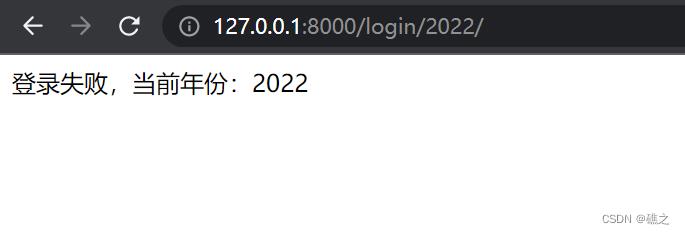
- 访问
127.0.0.1:8000/index/,使用正确的username和pwd,查看终端输出,然后使用错误的参数进行访问

(3)正则路径——有名分组
-
使用正则路径时,模板中利用
% url "别名" 分组名=符合正则匹配的参数 %来实现反向解析,多个分组,使用空格分割 -
urls.py文件
#-*- coding: utf-8 -*-
from operator import indexOf
from django.urls import path,re_path
from . import views

urlpatterns = [
    path('index/',views.index),
    re_path('^login/(?P<year>[0-9]4)/(?P<month>[0-9]2)/$',views.login,name="login"),  #别名login
]
- views.py文件
# -*- coding: utf-8 -*-
from django.urls import reverse
from django.http import HttpResponse
from django.shortcuts import redirect,render
from django.views.decorators.csrf import csrf_exempt


def index(request):
        return render(request,"test.html")

@csrf_exempt
def login(request,year,month):  #添加新参数
        username = request.POST.get('username')
        pwd = request.POST.get('pwd')
        if username == "zhangsan" and pwd == "123456":
                return HttpResponse("登录成功,当前年份:" + year + "月份" + month)
        else:
                return HttpResponse("登录失败,当前年份:" + year + "月份" + month)
- templates/test.html文件
<!DOCTYPE html>
<html lang="en">
<head>
    <meta charset="UTF-8">
    <title>Title</title>
</head>
<body>
    <h3>用户登录</h3>
    <form action="% url 'login' year='2022' month='09' %" method="post">
        % csrf_token %
        <p>用户名:<input type="text" name="username"></p>
        <p>密码:<input type="text" name="pwd"></p>
        <input type="submit">
    </form>
</body>
</html>
- 访问
127.0.0.1:8000/index/,使用正确的username以上是关于Django路由的主要内容,如果未能解决你的问题,请参考以下文章