加载模型及对测试数据进行预测p41
Posted bohu83
tags:
篇首语:本文由小常识网(cha138.com)小编为大家整理,主要介绍了加载模型及对测试数据进行预测p41相关的知识,希望对你有一定的参考价值。
基于resnet训练flower图像分类模型(p31-p37)上一篇,我改成别的笔记本跑完了。按照老师的步骤,进行加载模型及测试数据预测。
我们之前是冻住了,只训练一层,也可以全部训练,我的显卡太低跑时间太长了,这部分没跑。
1加载训练好的模型
model_ft, input_size = initialize_model(model_name, 102, feature_extract, use_pretrained=True)

# GPU模式
model_ft = model_ft.to(device)

# 保存文件的名字
filename='checkpoint.pth'

# 加载模型
checkpoint = torch.load(filename)
best_acc = checkpoint['best_acc']
model_ft.load_state_dict(checkpoint['state_dict'])
2测试数据预处理
测试数据处理方法需要跟训练时一致才可以。输入的大小是一致,标准化用跟训练数据相同的mean和std,PyTorch中颜色通道是第一个维度,跟很多工具包都不一样,需要转换。
def process_image(image_path):
    # 读取测试数据
    img = Image.open(image_path)
    # Resize,thumbnail方法只能进行缩小,所以进行了判断
    if img.size[0] > img.size[1]:
        img.thumbnail((10000, 256))
    else:
        img.thumbnail((256, 10000))
    # Crop操作
    left_margin = (img.width - 224) / 2
    bottom_margin = (img.height - 224) / 2
    right_margin = left_margin + 224
    top_margin = bottom_margin + 224
    img = img.crop((left_margin, bottom_margin, right_margin,
                    top_margin))
    # 相同的预处理方法
    img = np.array(img) / 255
    mean = np.array([0.485, 0.456, 0.406])  # provided mean
    std = np.array([0.229, 0.224, 0.225])  # provided std
    img = (img - mean) / std

    # 注意颜色通道应该放在第一个位置
    img = img.transpose((2, 0, 1))

    return img


def imshow(image, ax=None, title=None):
    """展示数据"""
    if ax is None:
        fig, ax = plt.subplots()

    # 颜色通道还原
    image = np.array(image).transpose((1, 2, 0))

    # 预处理还原
    mean = np.array([0.485, 0.456, 0.406])
    std = np.array([0.229, 0.224, 0.225])
    image = std * image + mean
    image = np.clip(image, 0, 1)

    ax.imshow(image)
    ax.set_title(title)

    return ax

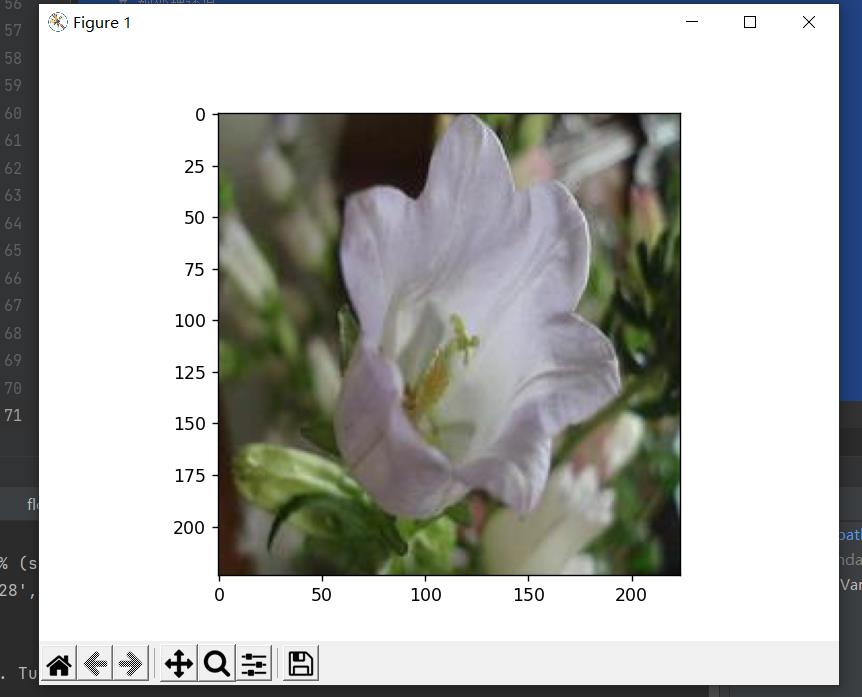
image_path = './data/flower_data/train/3/image_06620.jpg'
img = process_image(image_path)
imshow(img)
在验证集随便选一张花的图片进行测试

3对一个batch的数据进行测试
# 得到一个batch的测试数据
dataiter = iter(dataloaders['valid'])
images, labels = dataiter.next()

model_ft.eval()

if train_on_gpu:
    output = model_ft(images.cuda())  #utput表示对一个batch中每一个数据得到其属于各个类别的可能性
else:
    output = model_ft(images)
output,有8张图片,每个图片有102种分类结果
得到概率最大的那个
_, preds_tensor = torch.max(output, 1)  #得到概率最大的那个

preds = np.squeeze(preds_tensor.numpy()) if not train_on_gpu else np.squeeze(preds_tensor.cpu().numpy())
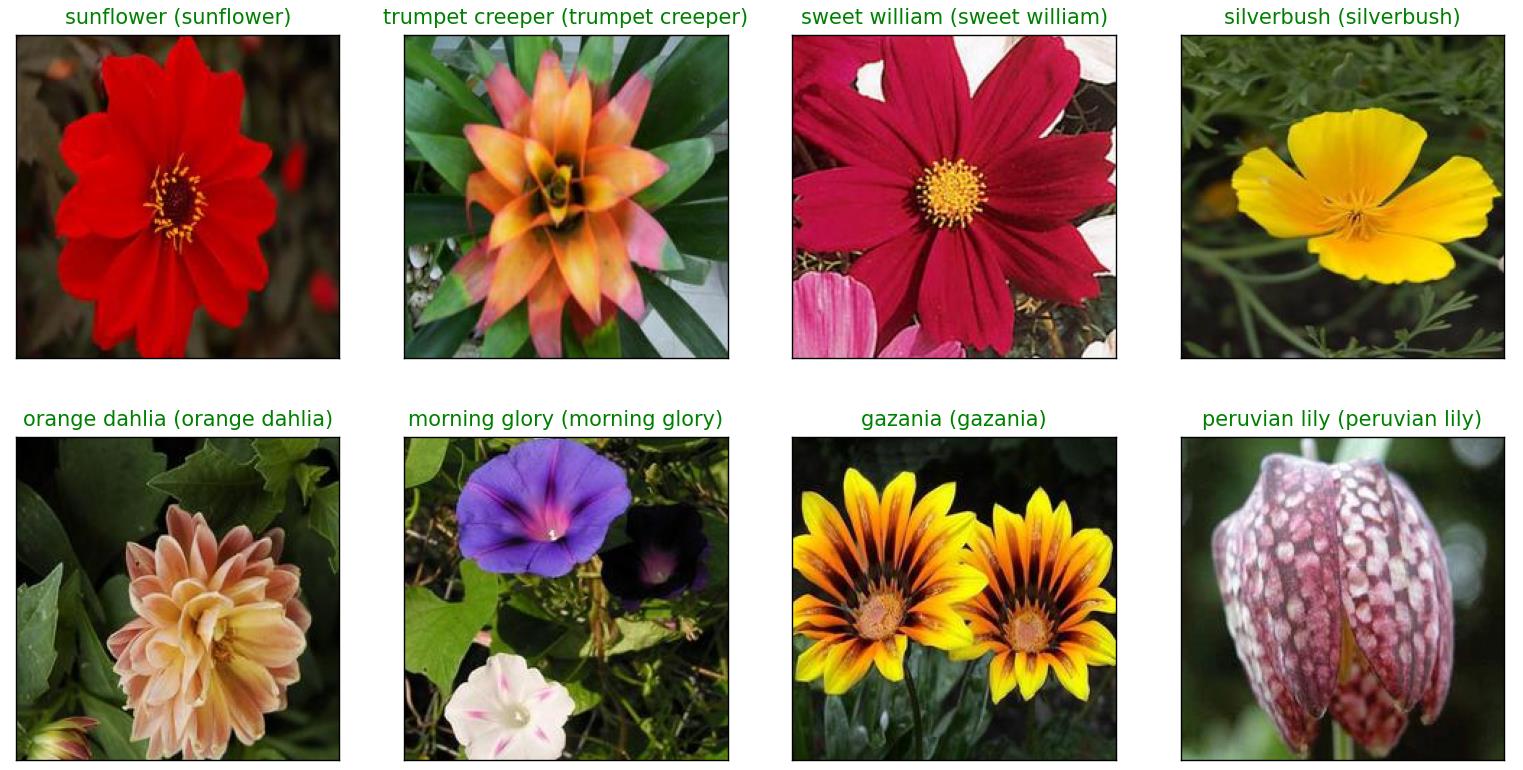
展示预测结果:
fig=plt.figure(figsize=(20, 12))
columns =4
rows = 2

for idx in range (columns*rows):
    ax = fig.add_subplot(rows, columns, idx+1, xticks=[], yticks=[])
    plt.imshow(im_convert(images[idx]))
    ax.set_title(" ()".format(cat_to_name[str(preds[idx])], cat_to_name[str(labels[idx].item())]),
                 color=("green" if cat_to_name[str(preds[idx])]==cat_to_name[str(labels[idx].item())] else "red"))
plt.show()  #绿色名字为预测正确,红色名字为预测错误

看这个图,效果还不错,跟之前模型的85%的准确率比较符合。
以上是关于加载模型及对测试数据进行预测p41的主要内容,如果未能解决你的问题,请参考以下文章