3d激光雷达开发(旋转和位移)
Posted 费晓行
tags:
篇首语:本文由小常识网(cha138.com)小编为大家整理,主要介绍了3d激光雷达开发(旋转和位移)相关的知识,希望对你有一定的参考价值。
【 声明:版权所有,欢迎转载,请勿用于商业用途。 联系信箱:feixiaoxing @163.com】
对于点云数据来说,旋转和位移的计算是十分必要的。比如数据匹配、识别、定位,如果需要查看获得的旋转矩阵对不对,那么就可以将原来的数据和旋转矩阵做一个乘积,这样就可以立刻看到对应的效果了。
1、准备transform.cpp文件
#include <iostream>

#include <pcl/io/pcd_io.h>
#include <pcl/io/ply_io.h>
#include <pcl/point_cloud.h>
#include <pcl/console/parse.h>
#include <pcl/common/transforms.h>
#include <pcl/visualization/pcl_visualizer.h>

// This function displays the help
void
showHelp(char * program_name)

  std::cout << std::endl;
  std::cout << "Usage: " << program_name << " cloud_filename.[pcd|ply]" << std::endl;
  std::cout << "-h:  Show this help." << std::endl;


// This is the main function
int
main (int argc, char** argv)


  // Show help
  if (pcl::console::find_switch (argc, argv, "-h") || pcl::console::find_switch (argc, argv, "--help"))
    showHelp (argv[0]);
    return 0;


  // Fetch point cloud filename in arguments | Works with PCD and PLY files
  std::vector<int> filenames;
  bool file_is_pcd = false;

  filenames = pcl::console::parse_file_extension_argument (argc, argv, ".ply");

  if (filenames.size () != 1)
    filenames = pcl::console::parse_file_extension_argument (argc, argv, ".pcd");

    if (filenames.size () != 1)
      showHelp (argv[0]);
      return -1;
     else
      file_is_pcd = true;


  // Load file | Works with PCD and PLY files
  pcl::PointCloud<pcl::PointXYZ>::Ptr source_cloud (new pcl::PointCloud<pcl::PointXYZ> ());

  if (file_is_pcd)
    if (pcl::io::loadPCDFile (argv[filenames[0]], *source_cloud) < 0)
      std::cout << "Error loading point cloud " << argv[filenames[0]] << std::endl << std::endl;
      showHelp (argv[0]);
      return -1;

   else
    if (pcl::io::loadPLYFile (argv[filenames[0]], *source_cloud) < 0)
      std::cout << "Error loading point cloud " << argv[filenames[0]] << std::endl << std::endl;
      showHelp (argv[0]);
      return -1;


  /* Reminder: how transformation matrices work :

           |-------> This column is the translation
    | 1 0 0 x |  \\
    | 0 1 0 y |   -> The identity 3x3 matrix (no rotation) on the left
    | 0 0 1 z |  /
    | 0 0 0 1 |    -> We do not use this line (and it has to stay 0,0,0,1)

    METHOD #1: Using a Matrix4f
    This is the "manual" method, perfect to understand but error prone !
  */
  Eigen::Matrix4f transform_1 = Eigen::Matrix4f::Identity();

  // Define a rotation matrix (see https://en.wikipedia.org/wiki/Rotation_matrix)
  float theta = M_PI/4; // The angle of rotation in radians
  transform_1 (0,0) = std::cos (theta);
  transform_1 (0,1) = -sin(theta);
  transform_1 (1,0) = sin (theta);
  transform_1 (1,1) = std::cos (theta);
  //    (row, column)

  // Define a translation of 2.5 meters on the x axis.
  transform_1 (0,3) = 2.5;

  // Print the transformation
  printf ("Method #1: using a Matrix4f\\n");
  std::cout << transform_1 << std::endl;

  /*  METHOD #2: Using a Affine3f
    This method is easier and less error prone
  */
  Eigen::Affine3f transform_2 = Eigen::Affine3f::Identity();

  // Define a translation of 2.5 meters on the x axis.
  transform_2.translation() << 2.5, 0.0, 0.0;

  // The same rotation matrix as before; theta radians around Z axis
  transform_2.rotate (Eigen::AngleAxisf (theta, Eigen::Vector3f::UnitZ()));

  // Print the transformation
  printf ("\\nMethod #2: using an Affine3f\\n");
  std::cout << transform_2.matrix() << std::endl;

  // Executing the transformation
  pcl::PointCloud<pcl::PointXYZ>::Ptr transformed_cloud (new pcl::PointCloud<pcl::PointXYZ> ());
  // You can either apply transform_1 or transform_2; they are the same
  pcl::transformPointCloud (*source_cloud, *transformed_cloud, transform_2);

  // Visualization
  printf(  "\\nPoint cloud colors :  white  = original point cloud\\n"
      "                        red  = transformed point cloud\\n");
  pcl::visualization::PCLVisualizer viewer ("Matrix transformation example");

   // Define R,G,B colors for the point cloud
  pcl::visualization::PointCloudColorHandlerCustom<pcl::PointXYZ> source_cloud_color_handler (source_cloud, 255, 255, 255);
  // We add the point cloud to the viewer and pass the color handler
  viewer.addPointCloud (source_cloud, source_cloud_color_handler, "original_cloud");

  pcl::visualization::PointCloudColorHandlerCustom<pcl::PointXYZ> transformed_cloud_color_handler (transformed_cloud, 230, 20, 20); // Red
  viewer.addPointCloud (transformed_cloud, transformed_cloud_color_handler, "transformed_cloud");

  viewer.addCoordinateSystem (1.0, "cloud", 0);
  viewer.setBackgroundColor(0.05, 0.05, 0.05, 0); // Setting background to a dark grey
  viewer.setPointCloudRenderingProperties (pcl::visualization::PCL_VISUALIZER_POINT_SIZE, 2, "original_cloud");
  viewer.setPointCloudRenderingProperties (pcl::visualization::PCL_VISUALIZER_POINT_SIZE, 2, "transformed_cloud");
  //viewer.setPosition(800, 400); // Setting visualiser window position

  while (!viewer.wasStopped ())  // Display the visualiser until 'q' key is pressed
    viewer.spinOnce ();


  return 0;
2、代码说明
代码里面主要说明了两种构建旋转矩阵的方法。不管是哪一种,本质上都是要把yaw、pitch、roll、x、y、z通过计算映射到矩阵里面。
3、准备CMakeLists.txt
cmake_minimum_required(VERSION 2.8 FATAL_ERROR)

project(transform)

find_package(PCL 1.2 REQUIRED)

include_directories($PCL_INCLUDE_DIRS)
link_directories($PCL_LIBRARY_DIRS)
add_definitions($PCL_DEFINITIONS)

add_executable (transform transform.cpp)
target_link_libraries (transform $PCL_LIBRARIES)
4、开始生成sln工程,准备编译,
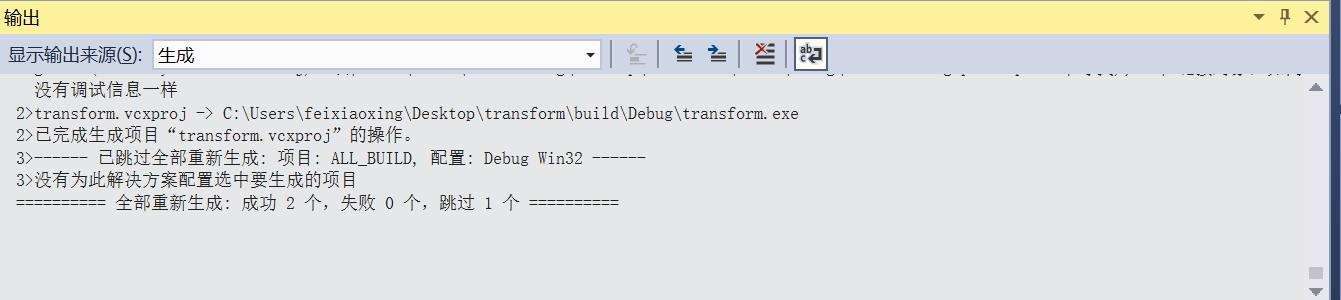
5、执行transform.exe
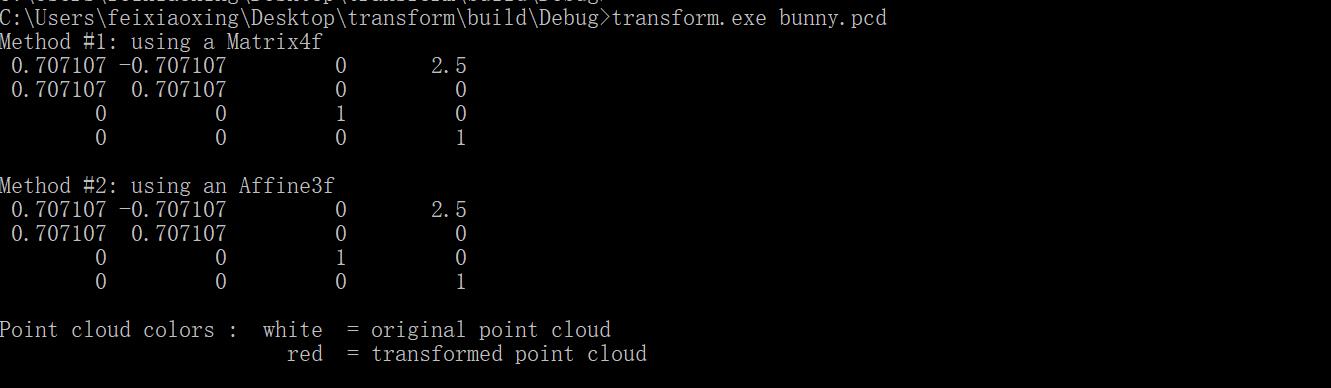
执行过程中,注意输入参数,即transform.exe bunny.pcd。
另外,代码中应该是对点云数据x轴偏移2.5米,z轴旋转theta角度,工作台的打印如下,
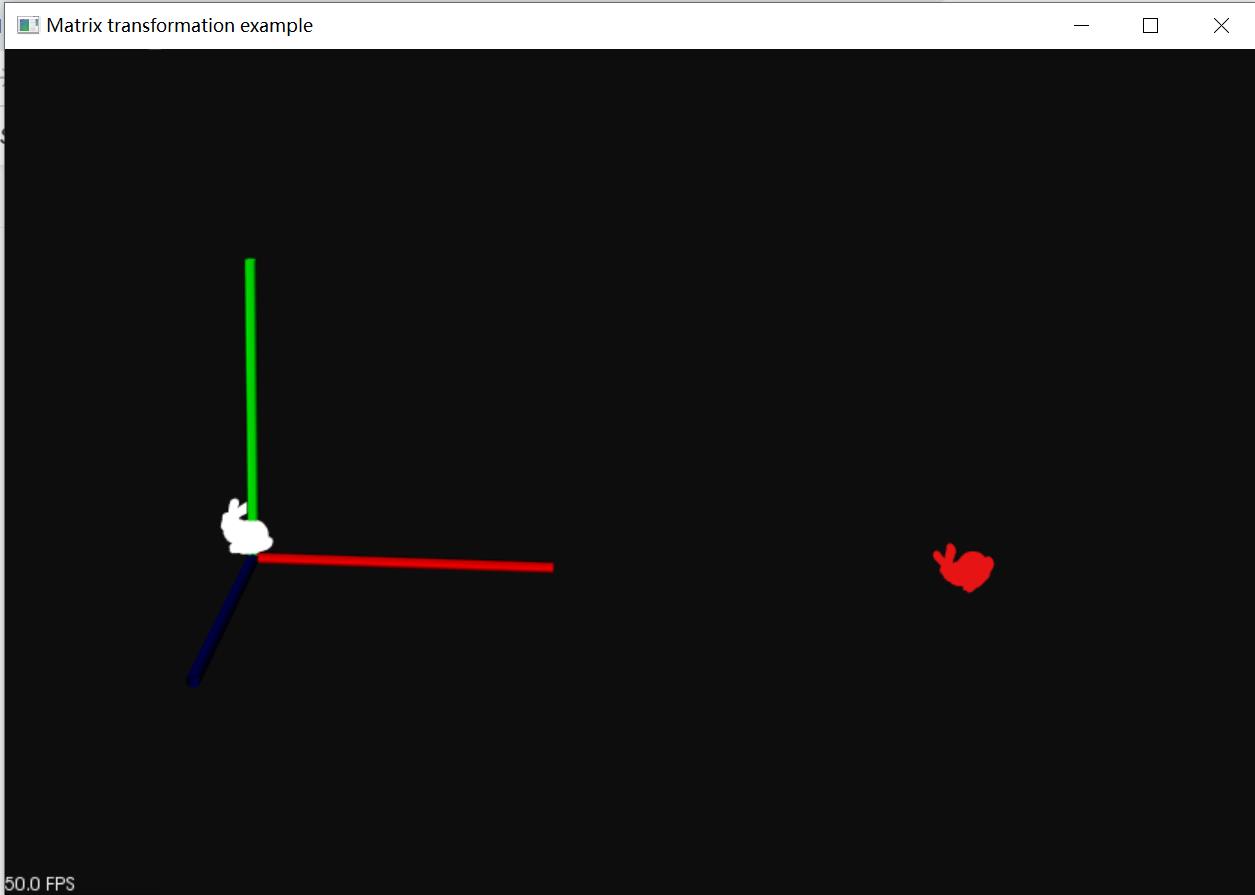
实际效果如下,
以上是关于3d激光雷达开发(旋转和位移)的主要内容,如果未能解决你的问题,请参考以下文章