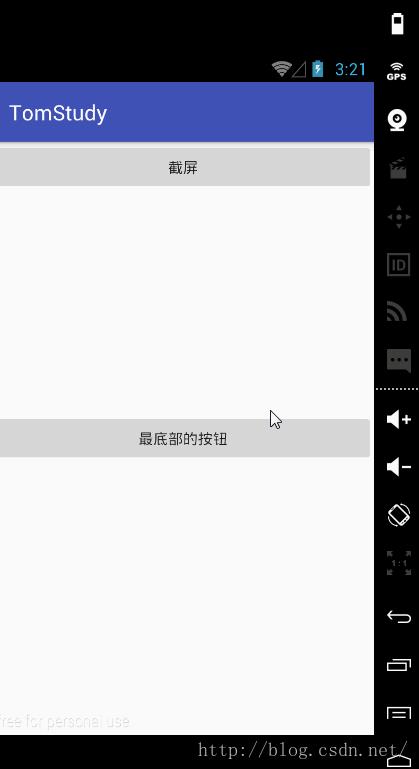
Android 截屏的三种方法
Posted
tags:
篇首语:本文由小常识网(cha138.com)小编为大家整理,主要介绍了Android 截屏的三种方法相关的知识,希望对你有一定的参考价值。
参考技术A 执行“su”命令,需要设置为系统程序,android:sharedUserId="android.uid.system",需要root权限。方法如下:
否则会报
java.io.IOException: Cannot run program : error=13, Permission denied
优缺点:命令行简单方便,对于复杂的页面或存在帧流(surfaceView等控件)也能轻松获取截屏,但是运行到手机上,由于硬件限制,系统权限基本难拿到,容易出异常而导致方法失效,因此该方法依硬件权限按需取
优缺点:原生的截图方法,依赖于界面的内容,如果界面中包含webView、surfaceView等控件,截图出来该控件区域出现一片黑,无法达到截图到帧的效果。因此该方法按界面控件按需取。
优缺点:完美地解决了方法一、方法二存在的问题,完美!无需root权限,不用考虑界面中surfaceView等控件渲染问题。但是只能获取到当前APP内部正在运行Activity的截图,如果需要多个界面截图,最好在BaseActivity使用。如果需要获取APP外部界面截图,可通过读取framebuffer内容,解析图片。
每天进步一点点。。。(2020-07-09)
android实现截屏操作
最近开发了一些Android小游戏,想在游戏结束或者完成之后把整个屏幕截取下来并分享到社交平台上。先上效果吧。

网上一搜,截屏的方法很多。这里只贴出了一种,将截取到Bitmap赋给Dialog上的ImageView并弹出对话框。对对话框加了弹出和收起的动画。看起来就有截屏的感觉了。下面是所有代码。
弹出Dialog方法:包括截屏和弹出Dialog
/**
     * 游戏切图dialog分享
     */
    private void popShotSrceenDialog()
        final AlertDialog cutDialog = new AlertDialog.Builder(this).create();
        View dialogView = View.inflate(this, R.layout.show_cut_screen_layout, null);
        ImageView showImg = (ImageView) dialogView.findViewById(R.id.show_cut_screen_img);
        dialogView.findViewById(R.id.share_cancel).setOnClickListener(new View.OnClickListener()
            @Override
            public void onClick(View v)
                cutDialog.dismiss();

        );
        dialogView.findViewById(R.id.share_img).setOnClickListener(new View.OnClickListener()
            @Override
            public void onClick(View v)
                Toast.makeText(ShotSrceenActivity.this,"点击了share按钮",Toast.LENGTH_SHORT).show();

        );
        //获取当前屏幕的大小
        int width = getWindow().getDecorView().getRootView().getWidth();
        int height = getWindow().getDecorView().getRootView().getHeight();
        //生成相同大小的图片
        Bitmap temBitmap = Bitmap.createBitmap( width, height, Bitmap.Config.ARGB_8888 );
        //找到当前页面的跟布局
        View view = getWindow().getDecorView().getRootView();
        //设置缓存
        view.setDrawingCacheEnabled(true);
        view.buildDrawingCache();
        //从缓存中获取当前屏幕的图片
        temBitmap = view.getDrawingCache();
        showImg.setImageBitmap(temBitmap);

        cutDialog.setView(dialogView);
        Window window = cutDialog.getWindow();
        window.setBackgroundDrawableResource(android.R.color.transparent);
        WindowManager m = window.getWindowManager();
        Display d = m.getDefaultDisplay(); // 获取屏幕宽、高用
        WindowManager.LayoutParams p = window.getAttributes(); // 获取对话框当前的参数值
        p.height = (int) (d.getHeight() * 0.8); // 高度设置为屏幕的0.6
        p.gravity = Gravity.CENTER;//设置弹出框位置
        window.setAttributes(p);
        window.setWindowAnimations(R.style.dialogWindowAnim);
        cutDialog.show();
Dialog布局就是图片加按钮:
<?xml version="1.0" encoding="utf-8"?>
<RelativeLayout xmlns:android="http://schemas.android.com/apk/res/android"
    android:orientation="vertical"
    android:layout_width="match_parent"
    android:layout_height="match_parent">

    <LinearLayout
        android:id="@+id/btn_layout"
        android:layout_alignParentBottom="true"
        android:layout_width="match_parent"
        android:layout_height="wrap_content"
        android:orientation="horizontal">
        <Button
            android:id="@+id/share_img"
            android:layout_width="0dp"
            android:layout_height="wrap_content"
            android:text="分享"
            android:layout_weight="1"/>

        <Button
            android:id="@+id/share_cancel"
            android:layout_width="0dp"
            android:layout_height="wrap_content"
            android:layout_weight="1"
            android:text="取消"/>
    </LinearLayout>
    <ImageView
        android:id="@+id/show_cut_screen_img"
        android:layout_above="@id/btn_layout"
        android:layout_width="match_parent"
        android:layout_height="match_parent" />

</RelativeLayout>
最后有个动画style和弹出动画以及收起动画:
<!--弹出对话框动画-->
    <style name="dialogWindowAnim" parent="android:Animation" mce_bogus="1">
        <item name="android:windowEnterAnimation">@anim/popview_in_amin</item>
        <item name="android:windowExitAnimation">@anim/popview_out_amin</item>
    </style>
弹出动画:
<?xml version="1.0" encoding="utf-8"?>
<set xmlns:android="http://schemas.android.com/apk/res/android">
    <scale
        android:interpolator="@android:anim/accelerate_interpolator"
        android:fromXScale="0.0"
        android:toXScale="1.0"
        android:fromYScale="0.0"
        android:toYScale="1.0"
        android:pivotX="50%"
        android:pivotY="50%"
        android:fillAfter="false"
        android:duration="200"/>
</set>
收起动画:
<?xml version="1.0" encoding="utf-8"?>
<set xmlns:android="http://schemas.android.com/apk/res/android">

    <scale
        android:interpolator="@android:anim/accelerate_interpolator"
        android:fromXScale="1.0"
        android:toXScale="1.0"
        android:fromYScale="1.0"
        android:toYScale="0.0"
        android:pivotX="0%"
        android:pivotY="100%"
        android:fillAfter="false"
        android:duration="200"/>
</set>
这样就完成了上图的效果,然后加入分享即可,网上说的截取屏幕用上面的方法所得到的图片状态栏位置是白色的一片。测试的时候我认为应该是透明的,解决方式是将状态栏设置为透明,然后再主布局中的最上面加上一个view来改变状态栏颜色,这样截取的Bitmap最上方状态栏就不会是白色的了。亲测是有效果的。
以上是关于Android 截屏的三种方法的主要内容,如果未能解决你的问题,请参考以下文章