用 jQuery 手写轮播图
Posted wuzz
tags:
篇首语:本文由小常识网(cha138.com)小编为大家整理,主要介绍了用 jQuery 手写轮播图相关的知识,希望对你有一定的参考价值。
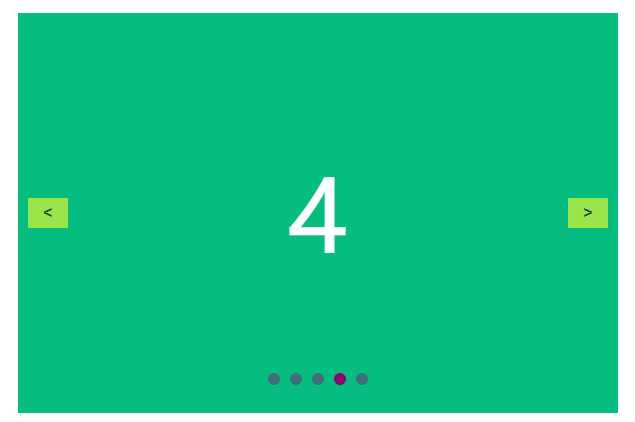
先上个效果截图:

主要包含以下功能点:
* 1、页面加载完,自动循环翻页
* 2、翻页按钮,翻页
* 3、定点翻页
* 4、翻页时同步圆点状态
* 5、鼠标进入,停止自动翻页
* 6、快速点击翻页的bug(加 isPaging 标志)
主要包含以下功能点:
* 1、页面加载完,自动循环翻页
* 2、翻页按钮,翻页
* 3、定点翻页
* 4、翻页时同步圆点状态
* 5、鼠标进入,停止自动翻页
* 6、快速点击翻页的bug(加 isPaging 标志)
上代码:
<!DOCTYPE html> <html> <head> <meta charset="utf-8"> <title>轮播图 - jQuery 版本</title> <style> *{ margin: 0; padding: 0; } ul{ list-style: none; } /** * 轮播图布局样式 */ /** * 0、轮播图容器 */ #container{ position: relative; width: 600px; height: 400px; margin: 50px auto; overflow: hidden; } /** * 1、图片(模拟) */ ul#imgs{ position: absolute; width: calc(600px * 7); left: -600px; } ul#imgs li{ float: left; width: 600px; height: 400px; background-color: #42B983; color: white; text-align: center; line-height: 400px; font-size: 100px; } #imgs li:nth-child(odd){ /* 模拟图片 */ /*background-color: #9ACD32;*/ } /** * 2、前后翻页按钮 */ #prev,#next{ position: absolute; top: calc(50% - 15px);; width: 40px; height: 30px; background-color: yellow; border: none; font-weight: bold; font-size: 16px; cursor: pointer; opacity: .6; -webkit-user-select: none; -moz-user-select: none; -ms-user-select: none; user-select: none; } #prev,#next:focus{ outline: none; } #prev{ left: 10px; } #next{ right: 10px; } /** * 3、小圆点定点翻页 */ ul#index{ position: absolute; top: 360px; left: calc(50% - 55px); height: 12px; } ul#index li{ float: left; height: 12px; width: 12px; margin: 0 5px; border-radius:50%; background-color: #800080; opacity: .4; cursor: pointer; } ul#index li.active{ opacity: 1; } </style> <script src="jquery-1.12.4.js" type="text/javascript" charset="utf-8"></script> </head> <body> <!-- 1、进行页面布局 2、js 代码 --> <div id="container"> <!--图片区--> <ul id="imgs"> <li> <div class="img">5</div> </li> <li> <div class="img">1</div> </li> <li> <div class="img">2</div> </li> <li> <div class="img">3</div> </li> <li> <div class="img">4</div> </li> <li> <div class="img">5</div> </li> <li> <div class="img">1</div> </li> </ul> <button id="prev"><</button> <button id="next">></button> <ul id="index"> <li class="active"></li> <li></li> <li></li> <li></li> <li></li> </ul> </div> <script type="text/javascript"> /** * 事件绑定 * 1、页面加载完,自动循环翻页 * 2、翻页按钮,翻页 * 3、定点翻页 * 4、翻页时同步圆点状态 * 5、鼠标进入,停止自动翻页 * 6、快速点击翻页的bug(加 isPaging 标志) */ /** * 0、自动轮播 */ /** * 一些可以设置的参数 */ var PAGE_WIDTH = 600, PAGE_SLIDE_TIME = 600, //单页滑动时间 PAGE_INTERVAL = 1200 + PAGE_SLIDE_TIME, //换页间隔时间 curIndex = 1, //合法取值 1 ~ 5(0 表示左边假的,6表示右边假的) isPaging = false //是否正在翻页(用来处理连续点击翻页产生的bug) var intervalId; $(function(){ intervalId = setInterval(next,PAGE_INTERVAL) }) /** * 1、页面按钮 */ $("#next").click(function(){ next() }) $("#prev").click(function(){ next(false) }) $("#index li").click(function(){ next($(this).index() + 1) }) /** * 2、鼠标出入 */ $("#container").hover(function(){ clearInterval(intervalId) },function(){ intervalId = setInterval(next,PAGE_INTERVAL) }) /** * 翻页核心功能 * next(boolean|number]) * * boolean: 表示前后翻页 * number: 表示定点翻页 */ function next(flag=true){ if(isPaging){ return } isPaging = true; var tempIndex = curIndex; //1 确定要翻过去的页码,计算 left 值 typeof flag === "boolean" && (curIndex += flag ? 1 : -1) typeof flag === "number" && (curIndex = flag) left = - curIndex * PAGE_WIDTH //2 执行翻页动画 $("#imgs").animate({"left":left},PAGE_SLIDE_TIME,function(){ if(curIndex == 0 || curIndex == 6){ //页码校正 curIndex = (curIndex + 5) % 5 left = - curIndex * PAGE_WIDTH $("#imgs").css("left",left) } //清除正在翻页标志 isPaging = false }) //3 同步点的状态 $("#index li").eq(tempIndex -1).removeClass("active") $("#index li").eq(curIndex -1).addClass("active") } </script> </body> </html>
以上是关于用 jQuery 手写轮播图的主要内容,如果未能解决你的问题,请参考以下文章