若依Linux环境部署
Posted boy快快长大
tags:
篇首语:本文由小常识网(cha138.com)小编为大家整理,主要介绍了若依Linux环境部署相关的知识,希望对你有一定的参考价值。
若依Linux环境部署
1.若依项目
2.后端
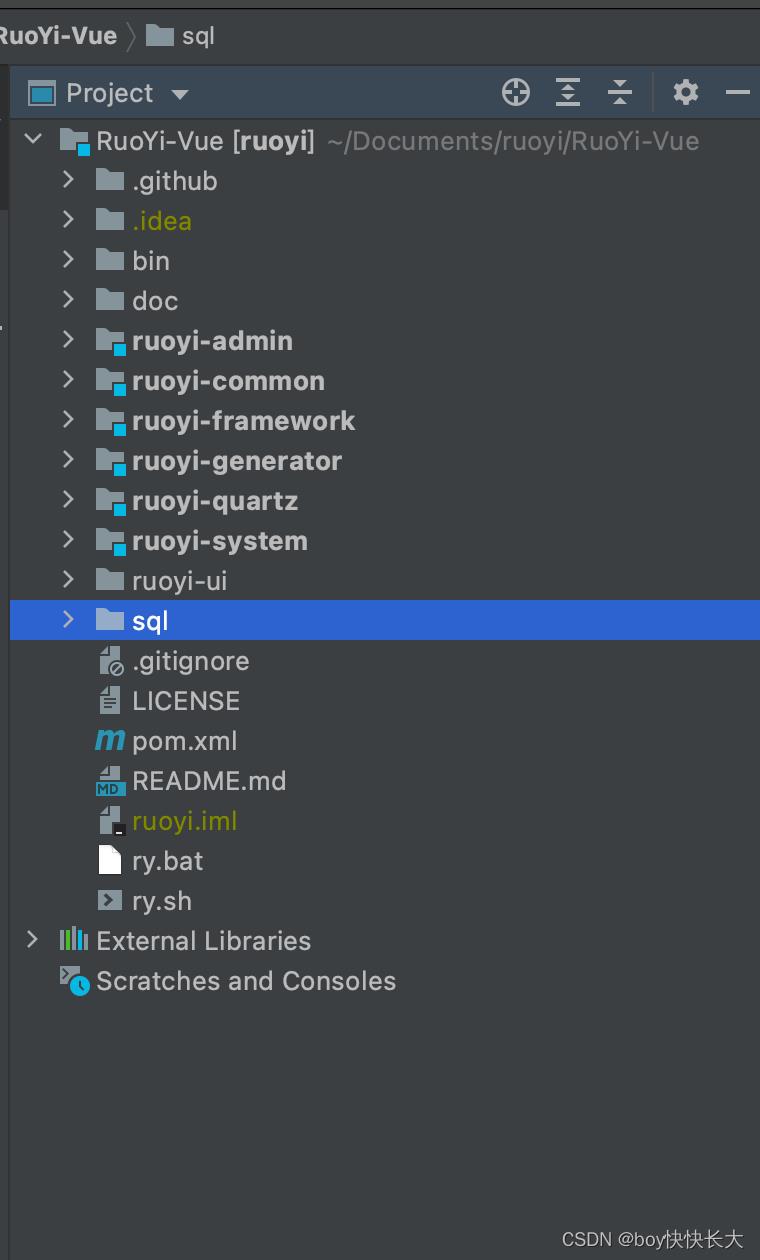
整体项目结构
自己创建好数据库,并在如下地方修改代码
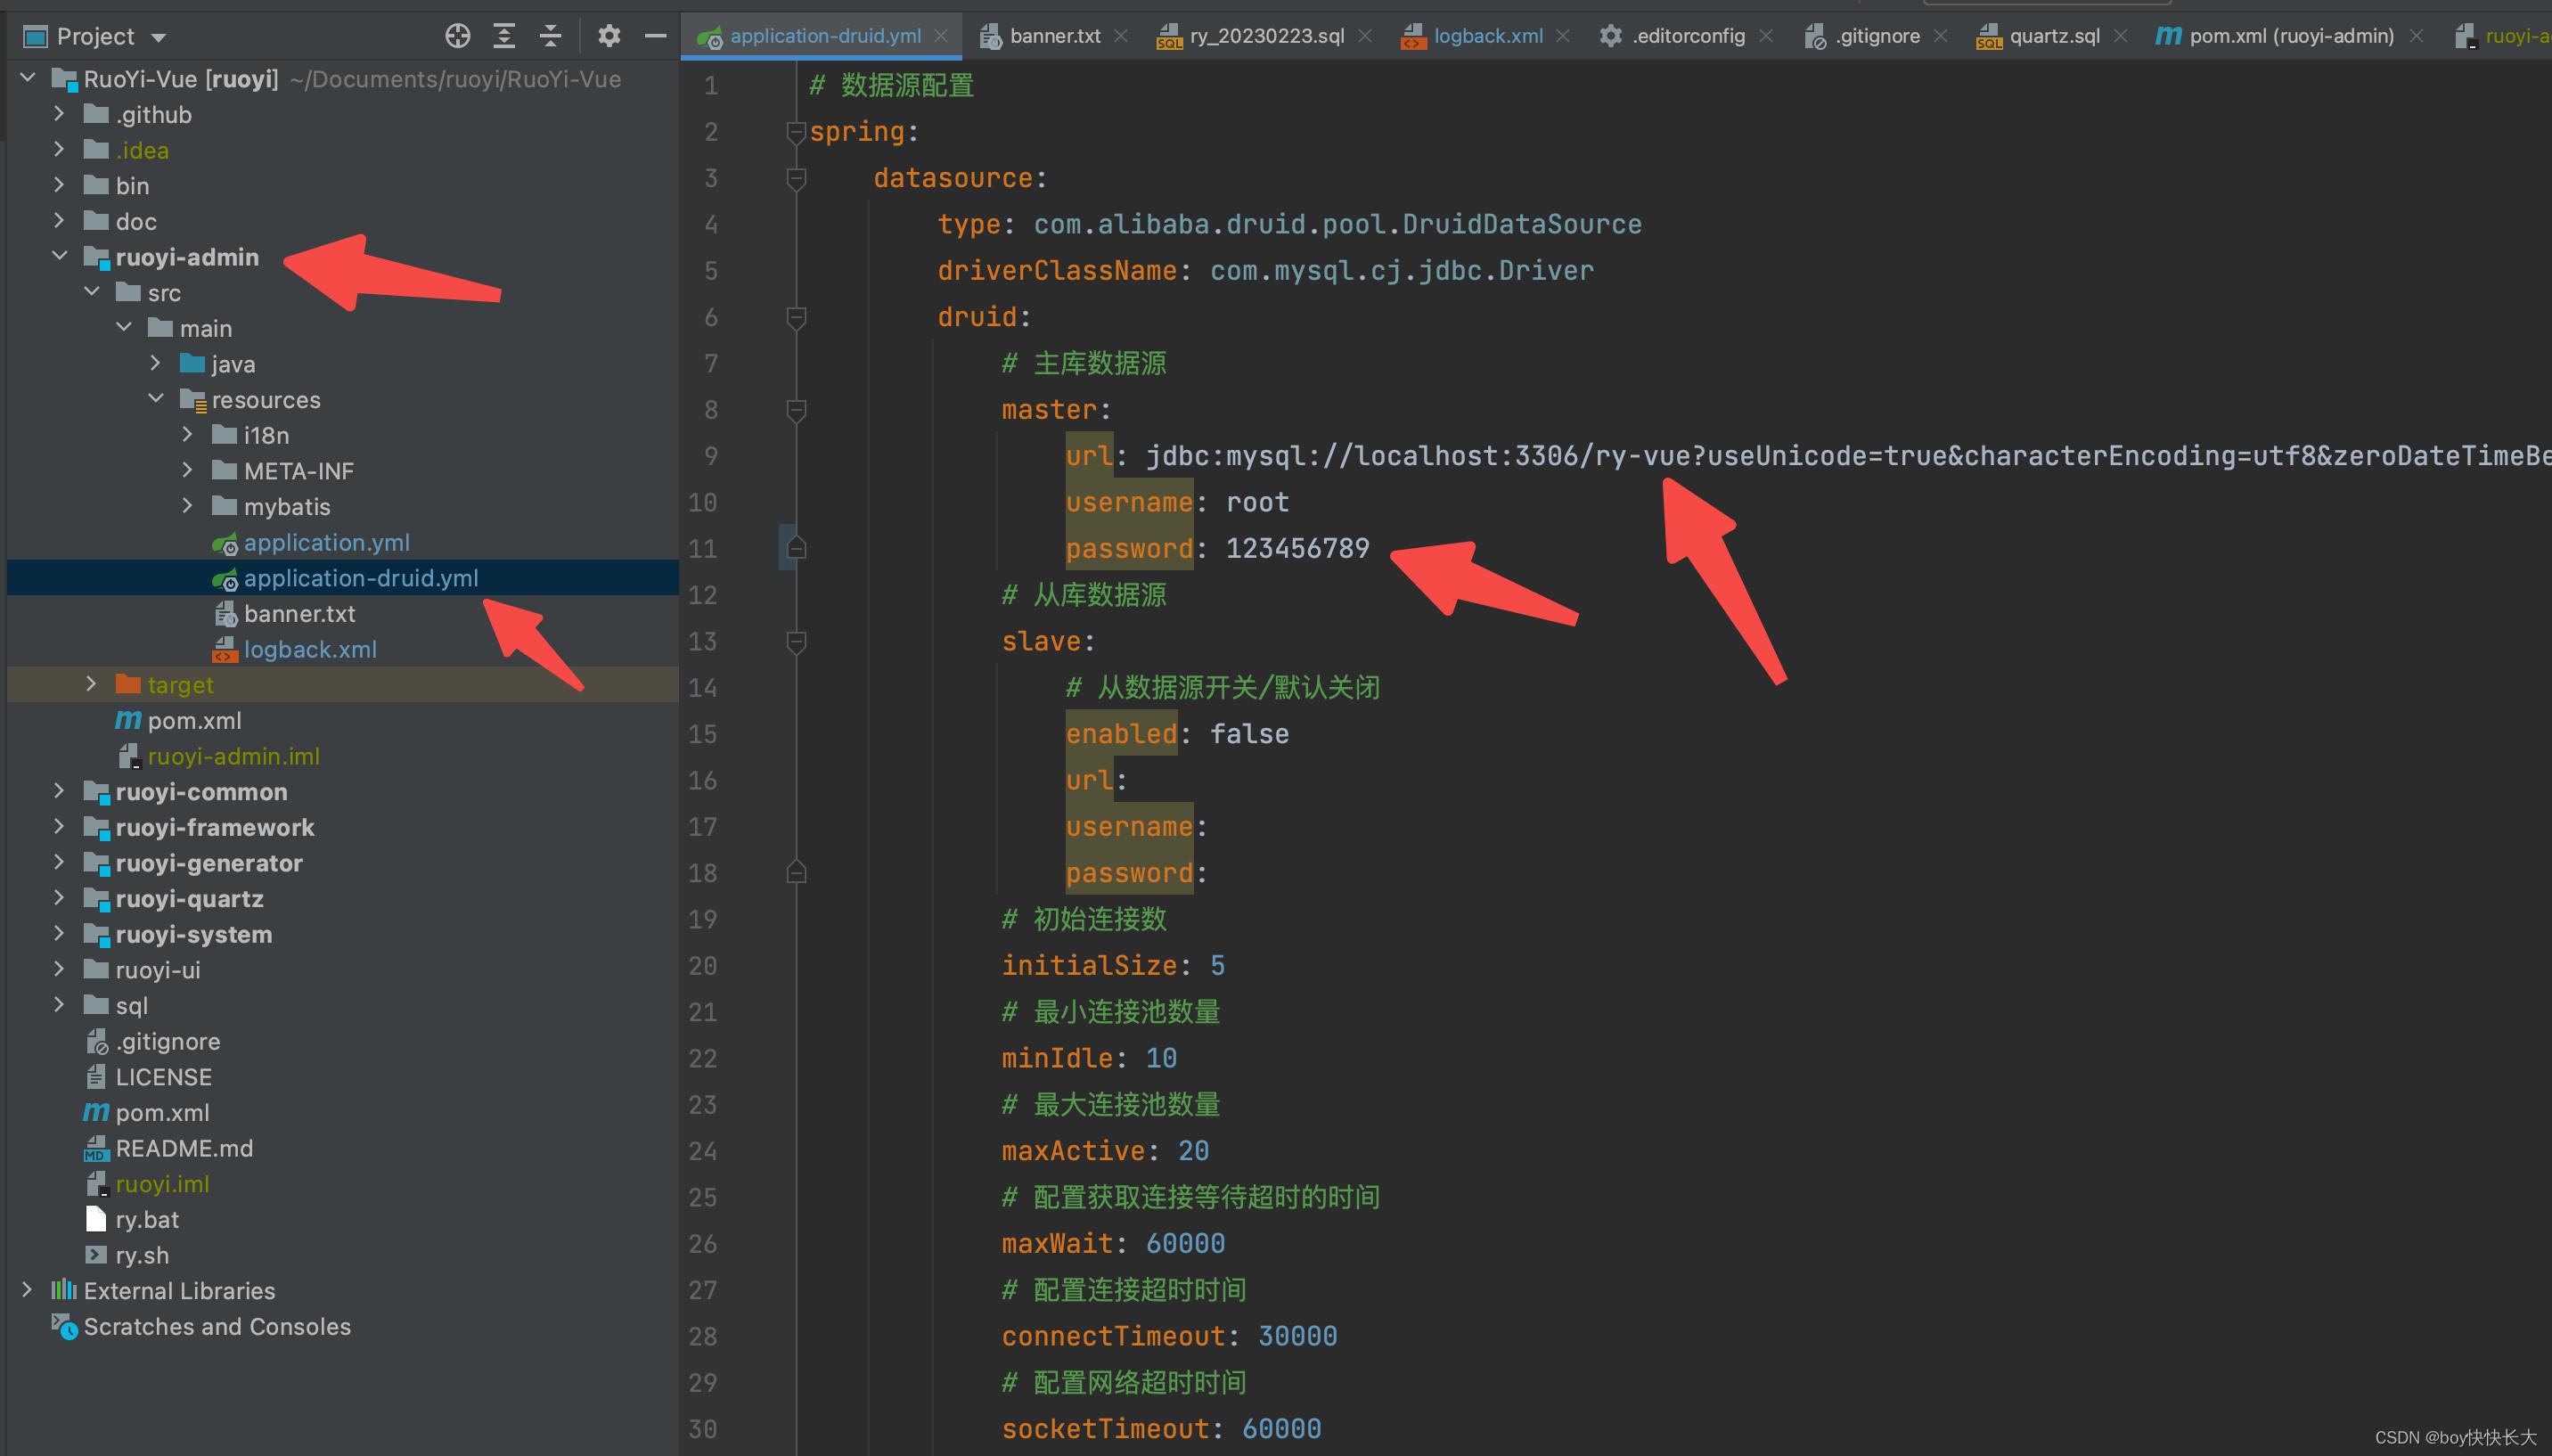
日志路径也需要修改

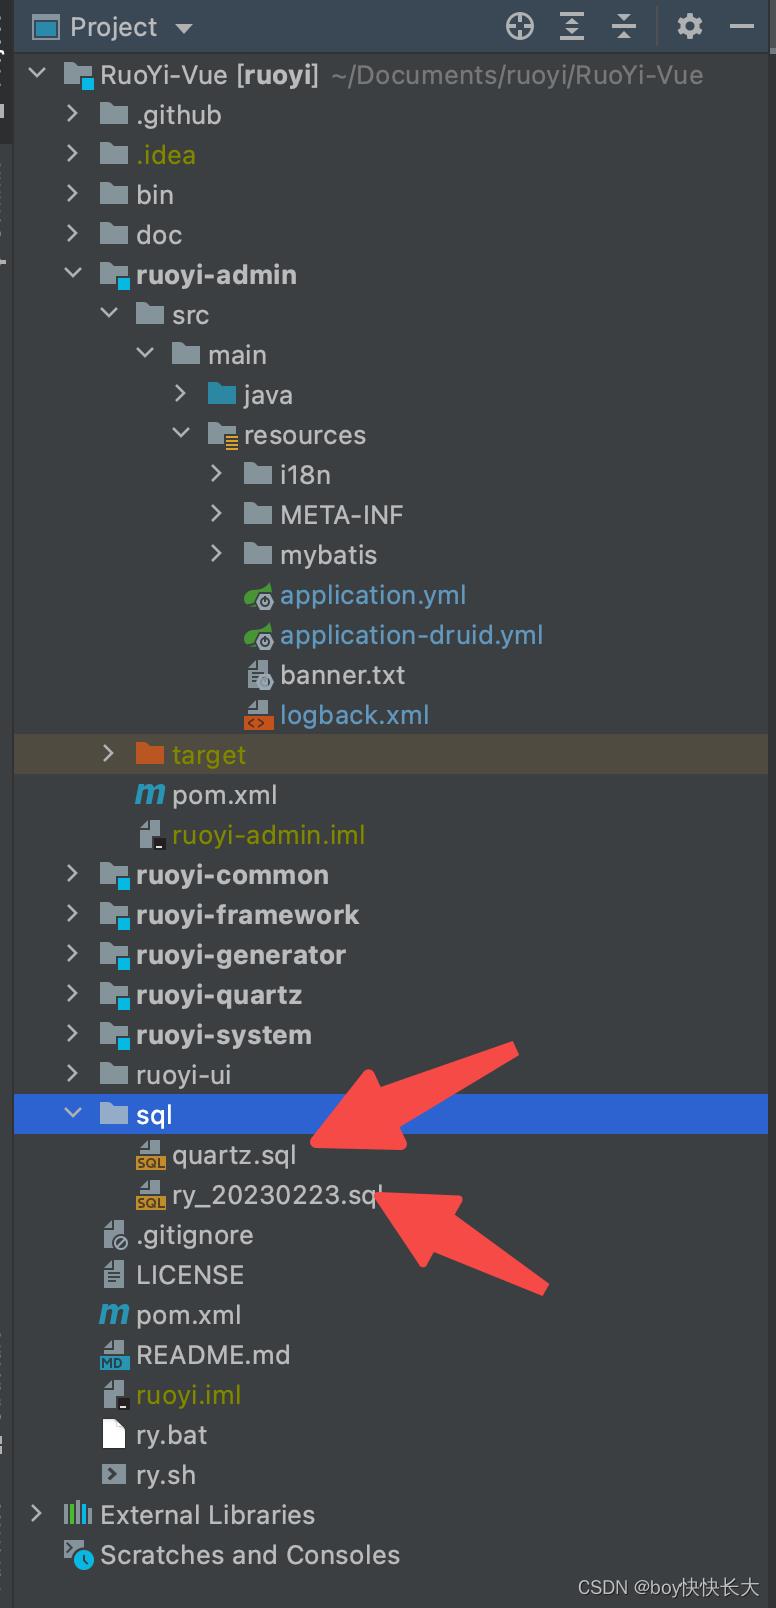
数据库建表语句
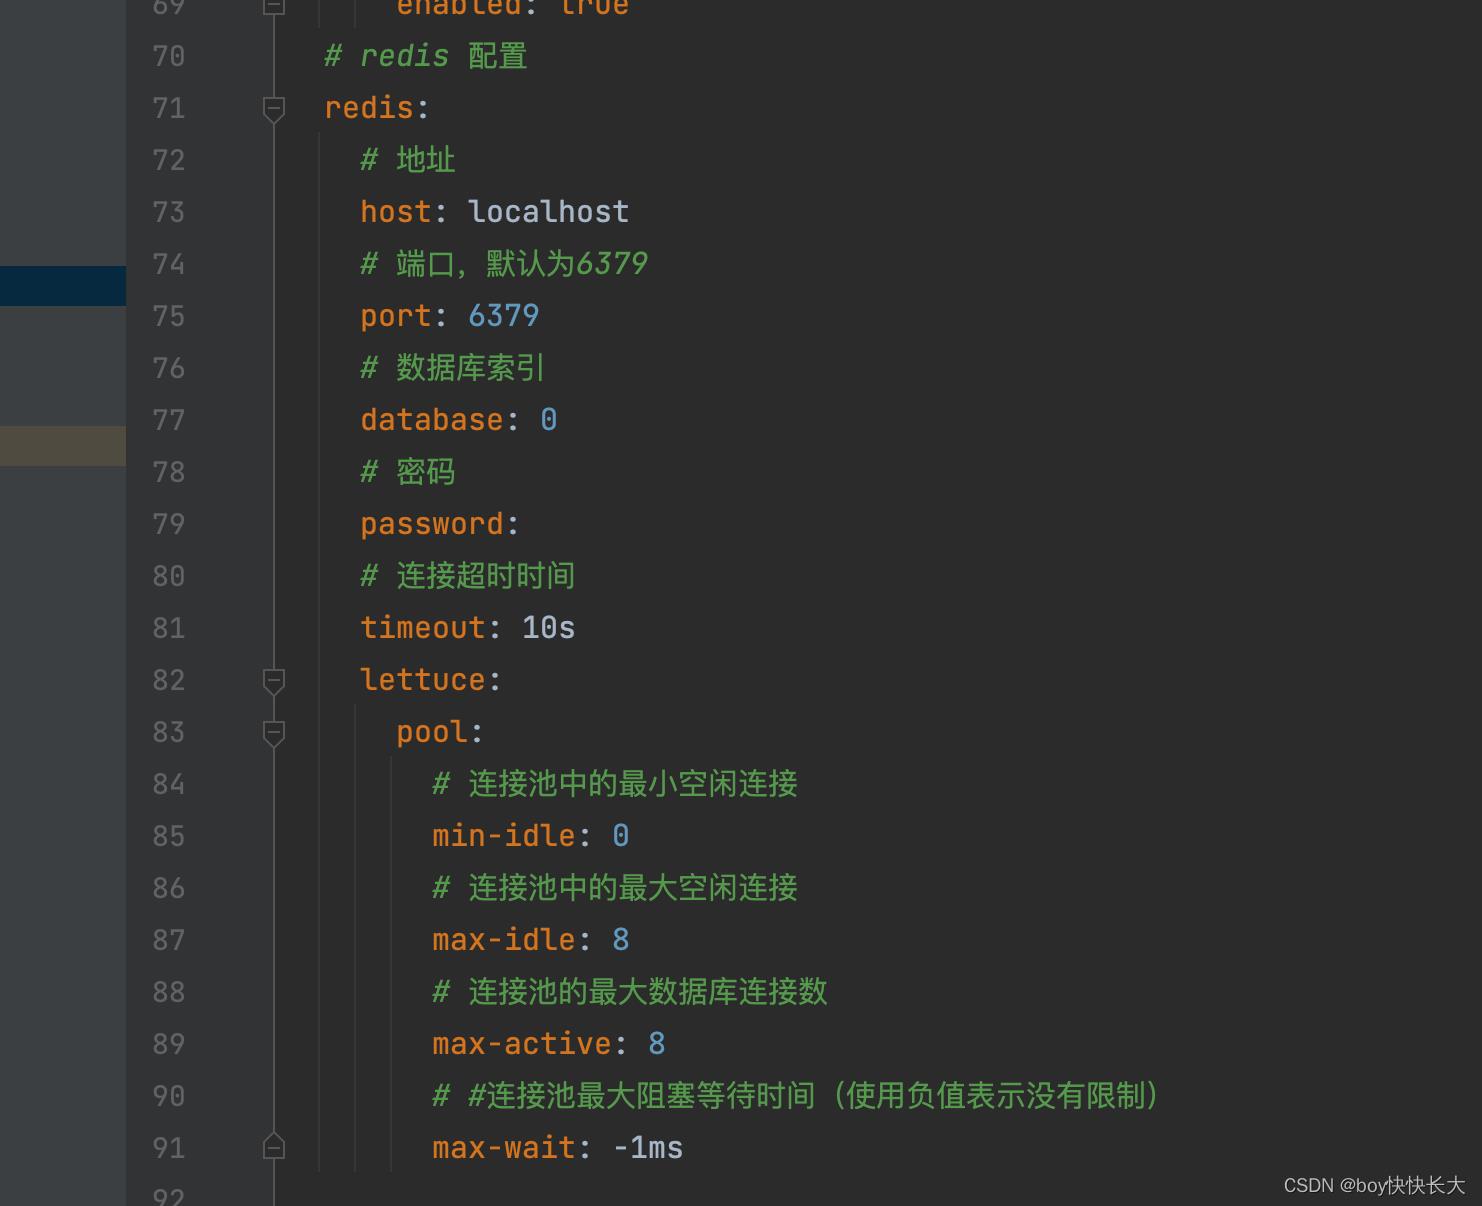
同时redis也要启动并配置好
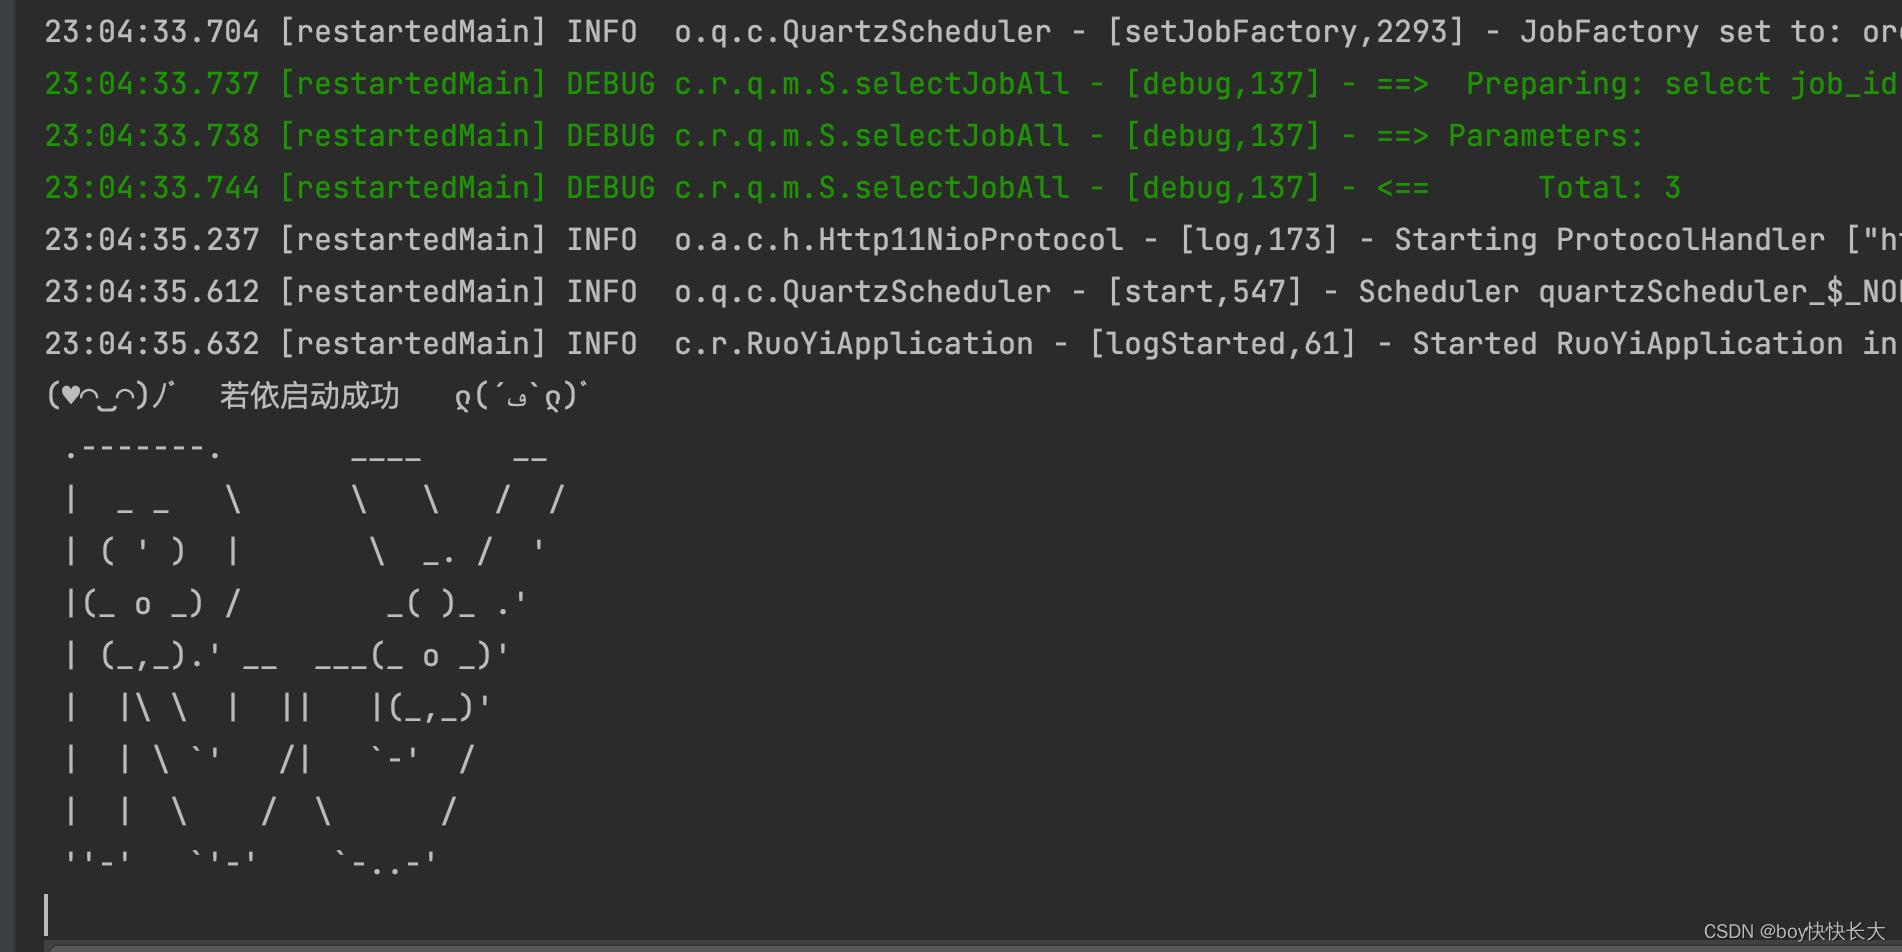
后端启动
3.Linux环境配置
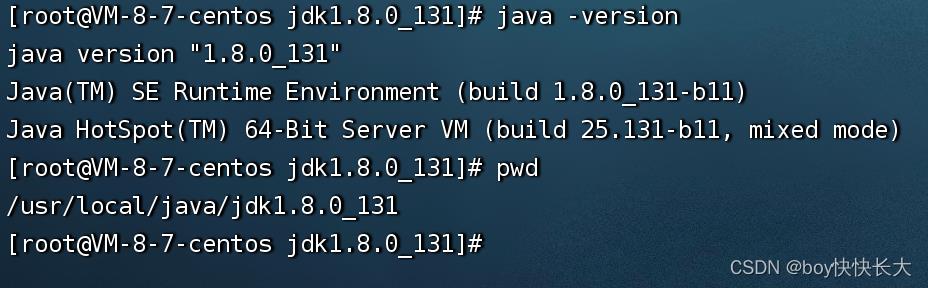
1. 系统需求
- JDK >= 1.8
- mysql >= 5.7
- Maven >= 3.0
2.环境搭建
- 在
usr/local创建java文件夹 - 通过
wget下载jdk1.8
wget \\
--no-check-certificate \\
--no-cookies \\
--header \\
"Cookie: oraclelicense=accept-securebackup-cookie" \\
http://download.oracle.com/otn-pub/java/jdk/8u131-b11/d54c1d3a095b4ff2b6607d096fa80163/jdk-8u131-linux-x64.tar.gz
先通过命令检查是否安装过jdk java --version rpm -qa | grep java 有的话通过命令(如下)删除

解压文件

3. 配置jdk的环境变量
vim /etc/profile

在文件最后一行
export JAVA_HOME=/usr/local/java/jdk1.8.0_131
export CLASSPATH=$:CLASSPATH:$JAVA_HOME/lib/
export PATH=$PATH:$JAVA_HOME/bin
最后输入wq!
输入source /etc/profile使其生效
-
其他需要的安装
链接: https://pan.baidu.com/s/1hk7dwI8P2qZb_eVPrQZljQ?pwd=6i4e 提取码: 6i4e -
代码打包
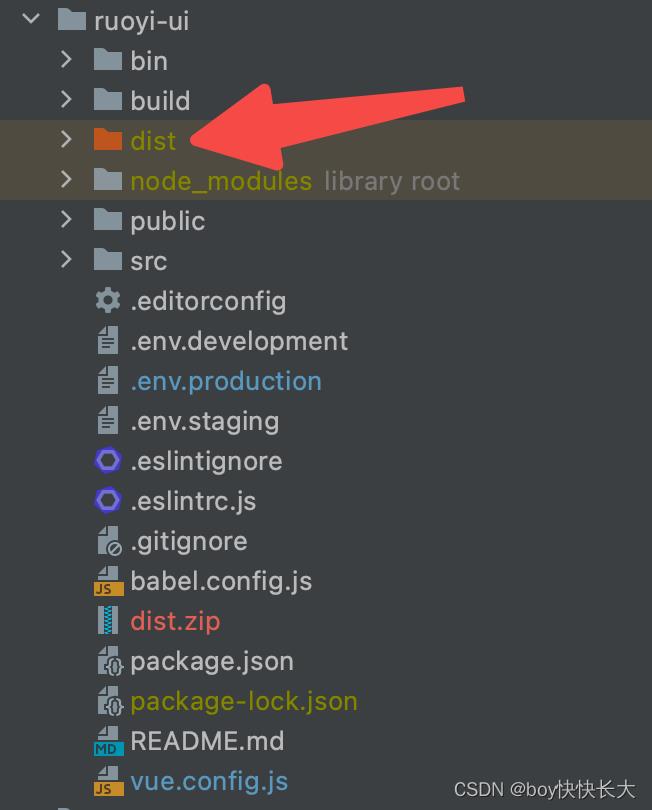
前端项目需要npm install=>npm install --registry=https://registry.npm.taobao.org
前段buildnpm run build:prod
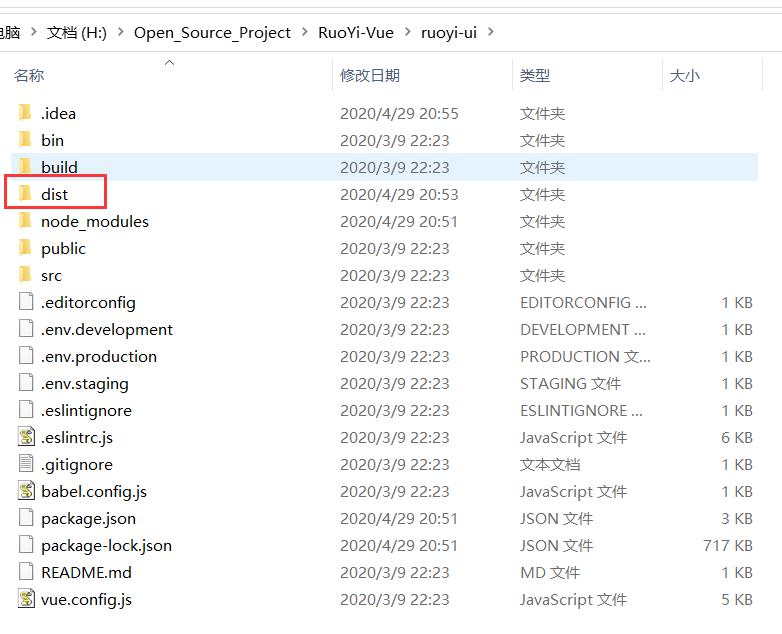
会得到dist,然后将其打包,上传服务器到/workspace(自己新建的文件夹),然后再解压。

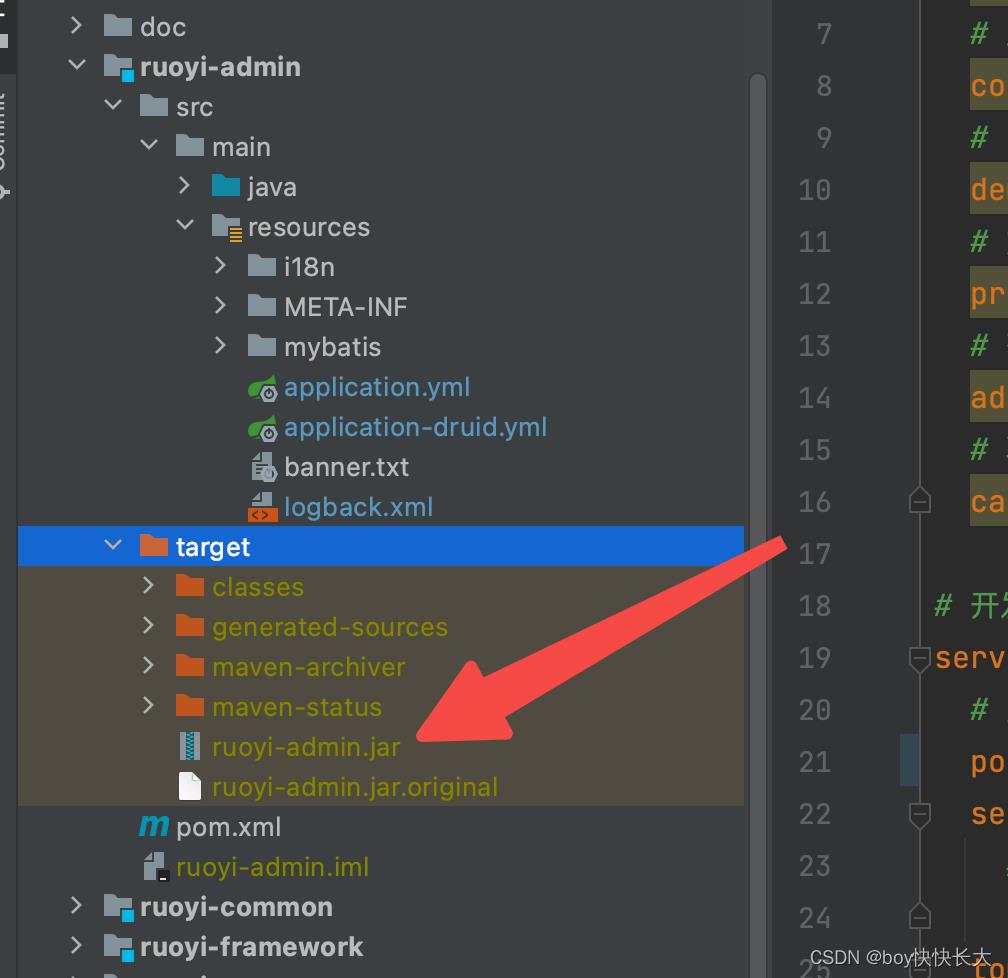
后端这里我打的是jar包,先clean后package
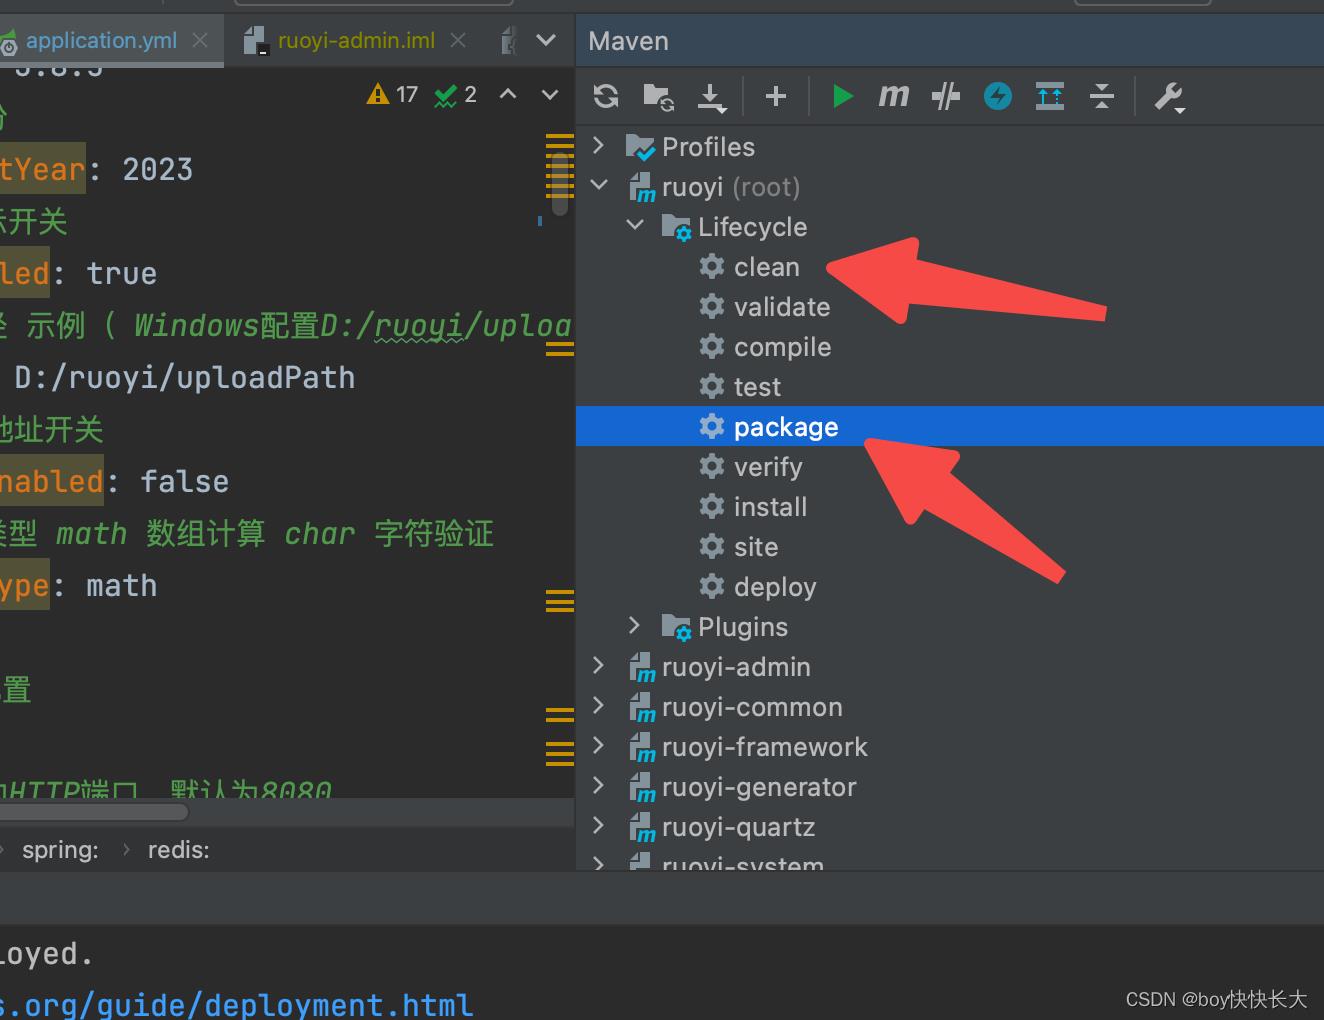
最后会生成一个jar包在target
4.环境部署
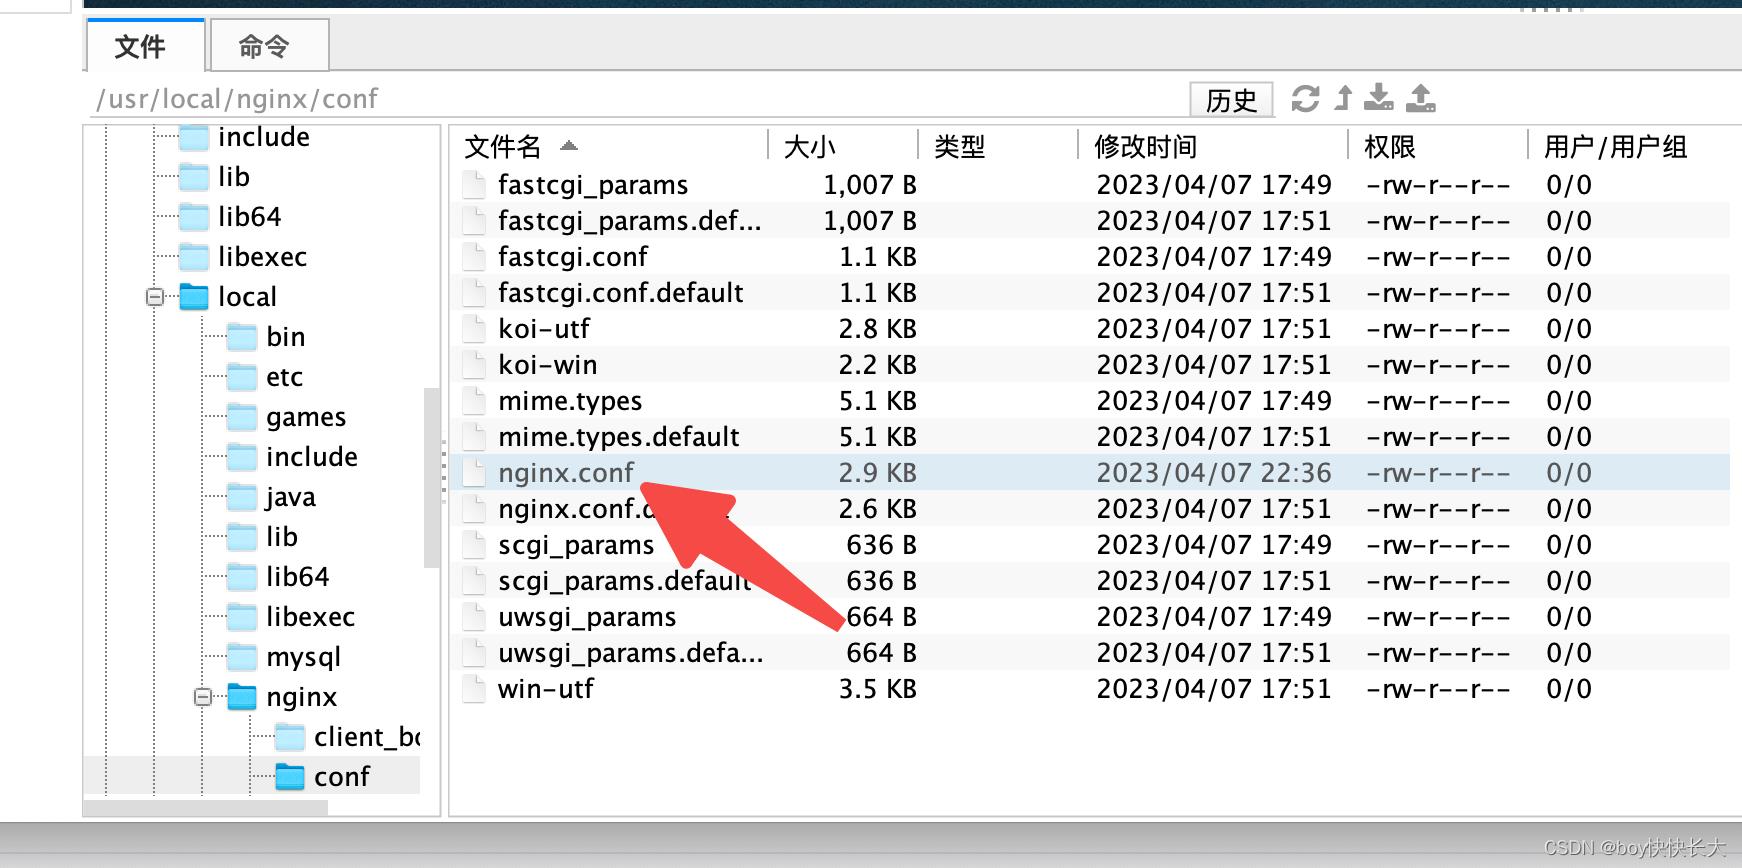
在Linux的workspace中,上传dist与jar包,然后将nginx进行配置

    server
        listen       80;
        server_name  localhost;

        #charset koi8-r;

        #access_log  logs/host.access.log  main;

        location /
            root   /workspace/dist;
            index  index.html index.htm;


       location /prod-api/
                proxy_set_header Host $http_host;
                proxy_set_header X-Real-IP $remote_addr;
                proxy_set_header REMOTE-HOST $remote_addr;
                proxy_set_header X-Forwarded-For $proxy_add_x_forwarded_for;
                proxy_pass http://localhost:8089/;

        #error_page  404              /404.html;

        # redirect server error pages to the static page /50x.html
        #
        error_page   500 502 503 504  /50x.html;
        location = /50x.html
            root   html;


        # proxy the php scripts to Apache listening on 127.0.0.1:80
        #
        #location ~ \\.php$
        #    proxy_pass   http://127.0.0.1;
        #

        # pass the PHP scripts to FastCGI server listening on 127.0.0.1:9000
        #
        #location ~ \\.php$
        #    root           html;
        #    fastcgi_pass   127.0.0.1:9000;
        #    fastcgi_index  index.php;
        #    fastcgi_param  SCRIPT_FILENAME  /scripts$fastcgi_script_name;
        #    include        fastcgi_params;
        #

        # deny access to .htaccess files, if Apache's document root
        # concurs with nginx's one
        #
        #location ~ /\\.ht
        #    deny  all;
        #
最后后端通过java -jar xxx.jar启动还有redis也需要启动。这样项目就好了。
附录
1.不足之处可参考 https://blog.csdn.net/qq_43284469/article/details/115800331
2. 教程 https://space.bilibili.com/384068749/video
把若依管理系统部署到Linux
一、前言
1、非常感谢若依作者为大家提供的非常优质的开源web项目,非常感谢!!!
2、若依官方文档:http://doc.ruoyi.vip/ruoyi/
3、若依官方链接:
1)若依管理系统官方体验地址:http://vue.ruoyi.vip/login?redirect=%2Findex
2)若依官网:http://www.ruoyi.vip/
3)RuoYi源码地址:https://gitee.com/y_project/RuoYi
4)RuoYi-Vue(前后端分离版本)地址:https://gitee.com/y_project/RuoYi
二、部署前工作
1、系统:阿里云 centOs8
2、安装并配置好以下应用软件
1)jdk1.8 +

2)maven

3)MySQL

4)nginx

5)Redis

三、前端工程
1、执行:npm install

1)报错:
ReferenceError: primordials is not defined
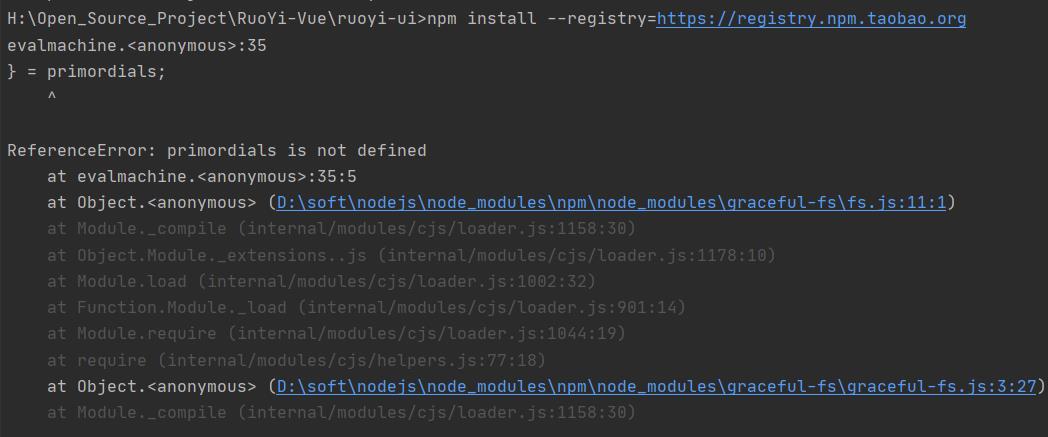
2)解决办法:
A:打开cmd: node -v 查看nodejs的版本
这个必须要nodejs10+的版本,我是12.16版本就不行

B:去官网下载nodejs10+的版本来安装:https://nodejs.org/dist/latest-v10.x/

3)报错:
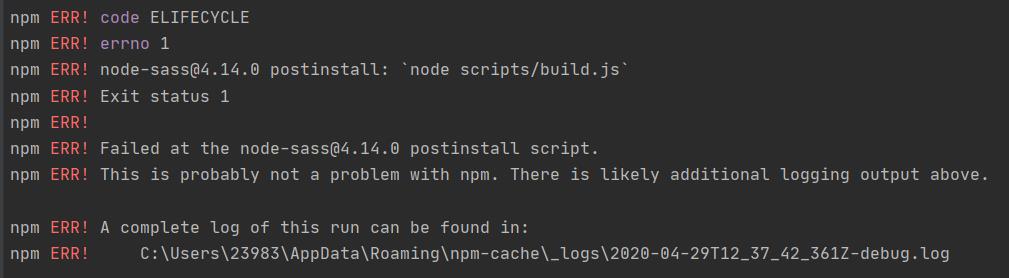
4)解决:node-sass 的数据源没设置 --> npm config set sass_binary_site=https://npm.taobao.org/mirrors/node-sass
再重新 npm install --> OK
2、执行:npm install --registry=https://registry.npm.taobao.org

3、修改配置文件中的两个端口号
1)nginx端口

2)后端地址及端口(这个端口就是连接后端的,所以,这个端口要和后端工程application.yaml中的端口配置相同)

4、执行:npm run build:prod

四、后端工程
1、修改数据库地址、用户名、密码,配置文件的“文件位置”。
2、修改端口号(这个端口号要和前端工程的端口号相一致)
3、去后端工程的bin目录下

4、在Linux下新建一个目录(我自己新建的 /usrl/local/web),专门用来装前后端工程。把前后端工程上传到Linux

5、配置nginx的配置文件
1)把里面的 server_name 改成自己的阿里云IP地址
2)再配置指向后端工程的反向代理
#user  nobody;
worker_processes  1;

#error_log  logs/error.log;
#error_log  logs/error.log  notice;
#error_log  logs/error.log  info;

#pid        logs/nginx.pid;


events {
    worker_connections  1024;
}


http {
    include       mime.types;
    default_type  application/octet-stream;

    #log_format  main  \'$remote_addr - $remote_user [$time_local] "$request" \'
    #                  \'$status $body_bytes_sent "$http_referer" \'
    #                  \'"$http_user_agent" "$http_x_forwarded_for"\';

    #access_log  logs/access.log  main;

    sendfile        on;
    #tcp_nopush     on;

    #keepalive_timeout  0;
    keepalive_timeout  65;

    #gzip  on;

    server {
        listen       80;
        server_name  IP地址;  # 别写localhost

        #charset koi8-r;

        #access_log  logs/host.access.log  main;

        location / {
            root   /usr/local/web/dist;  # 前端工程的目录
            index  index.html;  # 前端页面
            try_files $uri $uri/ /index.html;
        }
        location /prod-api/ {  # 反向代理到后端工程
            proxy_set_header Host $http_host;
            proxy_set_header X-Real-IP $remote_addr;
            proxy_set_header REMOTE-HOST $remote_addr;
            proxy_set_header X-Forwarded-For $proxy_add_x_forwarded_for;
            proxy_pass http://localhost:8080/;
        }
        #error_page  404              /404.html;

        # redirect server error pages to the static page /50x.html
        #
        error_page   500 502 503 504  /50x.html;
        location = /50x.html {
            root   html;
        }

        # proxy the PHP scripts to Apache listening on 127.0.0.1:80
        #
        #location ~ \\.php$ {
        #    proxy_pass   http://127.0.0.1;
        #}

        # pass the PHP scripts to FastCGI server listening on 127.0.0.1:9000
        #
        #location ~ \\.php$ {
        #    root           html;
        #    fastcgi_pass   127.0.0.1:9000;
        #    fastcgi_index  index.php;
        #    fastcgi_param  SCRIPT_FILENAME  /scripts$fastcgi_script_name;
        #    include        fastcgi_params;
        #}

        # deny access to .htaccess files, if Apache\'s document root
        # concurs with nginx\'s one
        #
        #location ~ /\\.ht {
        #    deny  all;
        #}
    }


    # another virtual host using mix of IP-, name-, and port-based configuration
    #
    #server {
    #    listen       8000;
    #    listen       somename:8080;
    #    server_name  somename  alias  another.alias;

    #    location / {
    #        root   html;
    #        index  index.html index.htm;
    #    }
    #}


    # HTTPS server
    #
    #server {
    #    listen       443 ssl;
    #    server_name  localhost;

    #    ssl_certificate      cert.pem;
    #    ssl_certificate_key  cert.key;

    #    ssl_session_cache    shared:SSL:1m;
    #    ssl_session_timeout  5m;

    #    ssl_ciphers  HIGH:!aNULL:!MD5;
    #    ssl_prefer_server_ciphers  on;

    #    location / {
    #        root   html;
    #        index  index.html index.htm;
    #    }
    #}

}
6、用后台的方式启动 后端工程:nohup java -jar ruoyi.jar > ruoyi_log.out &

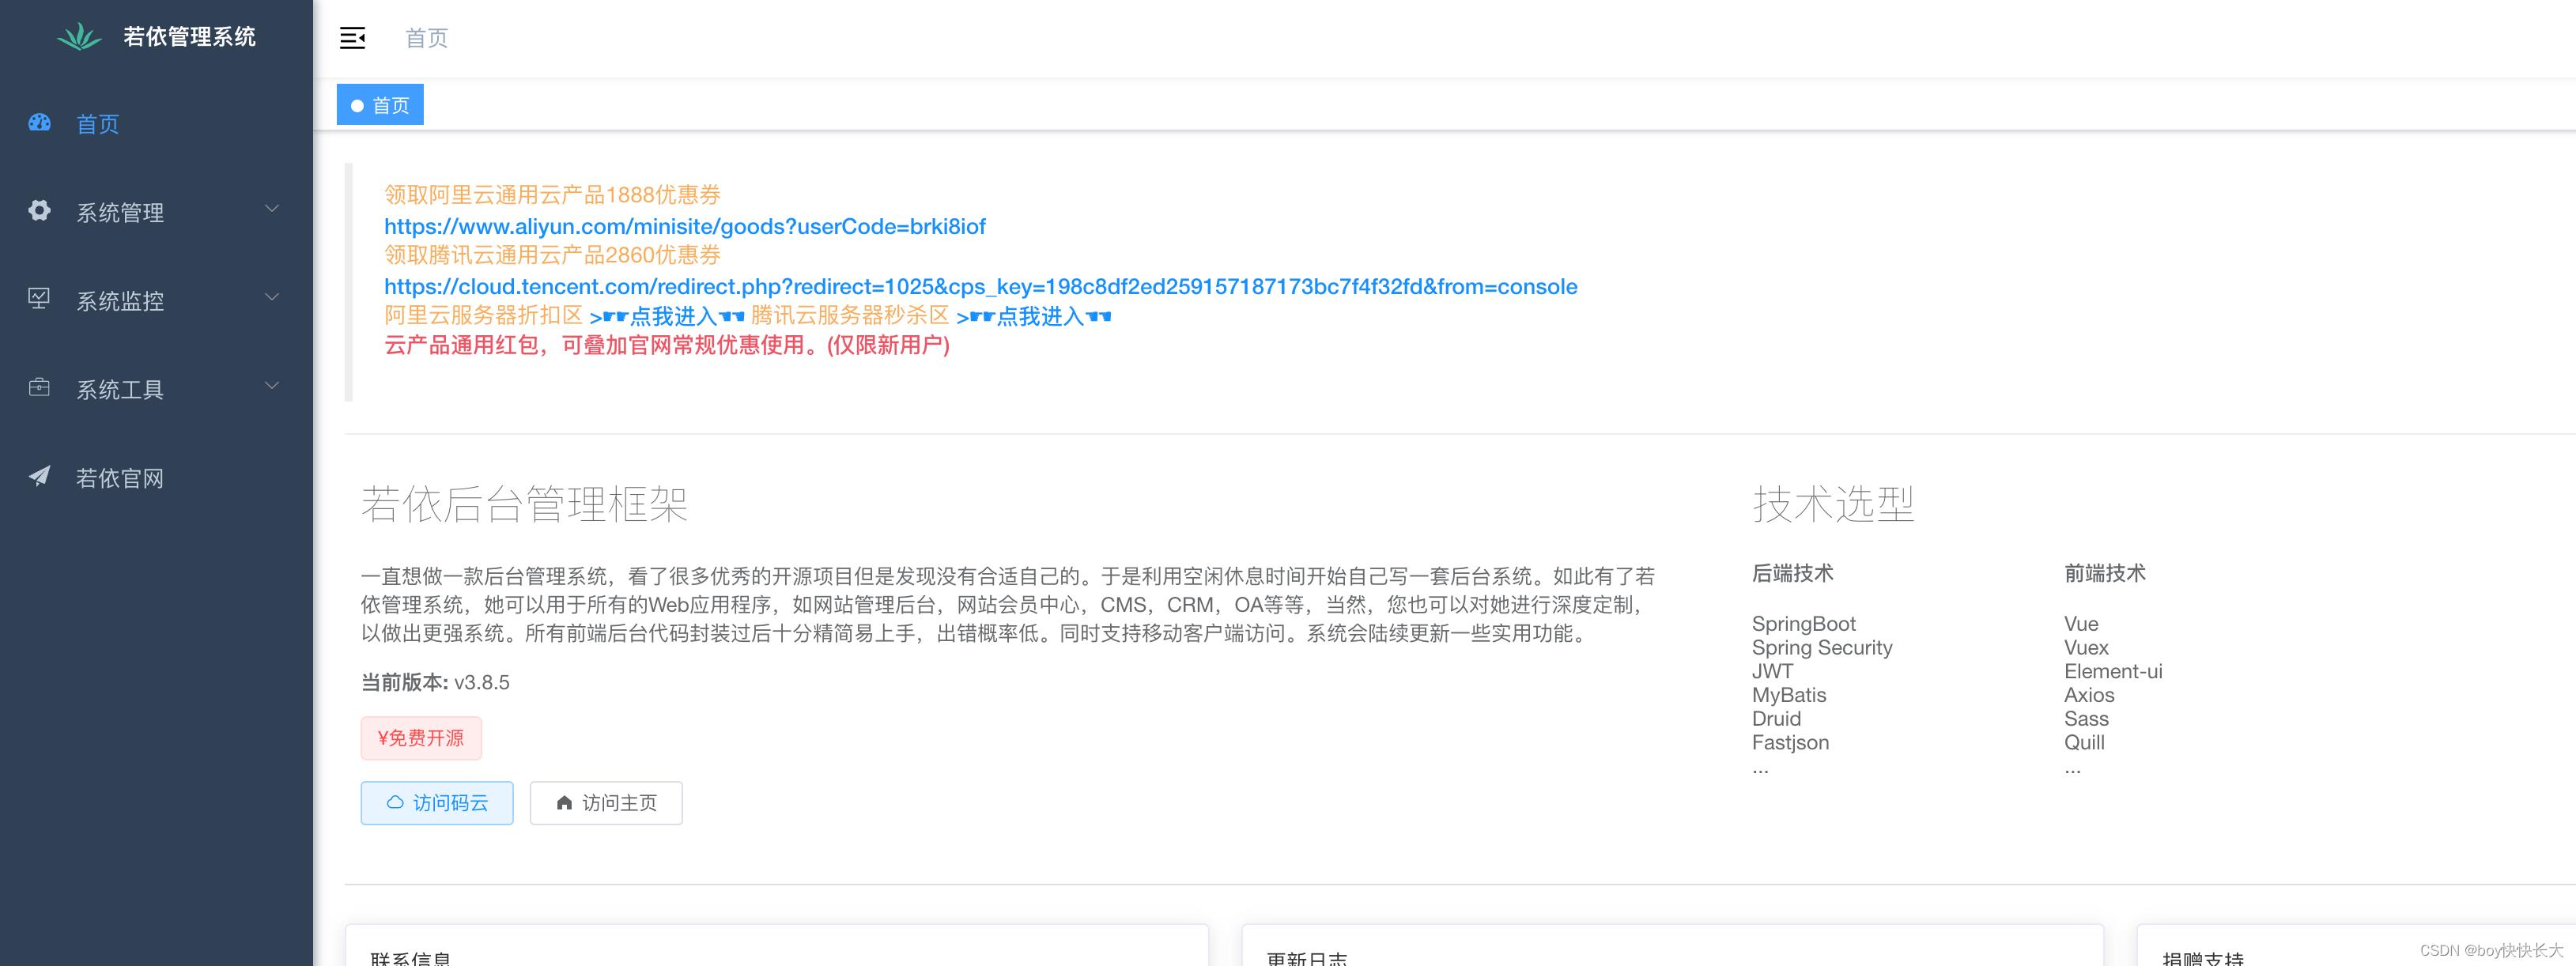
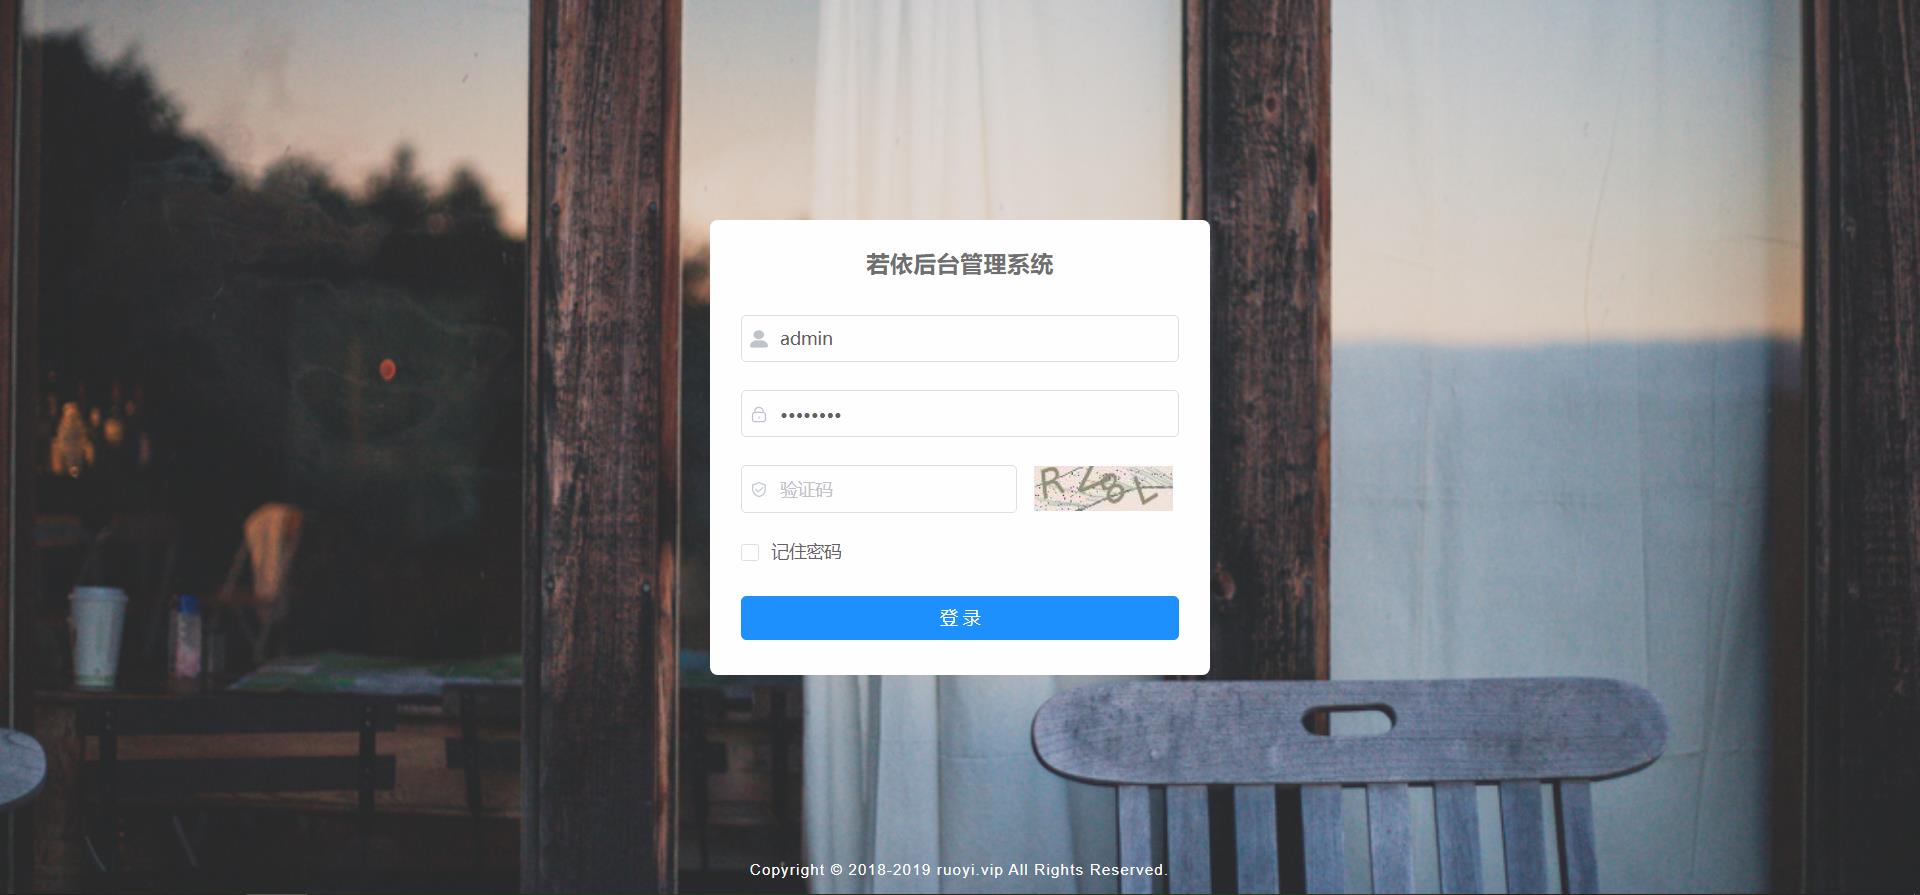
启动完成,用浏览器打开网址就可以了。
以上是关于若依Linux环境部署的主要内容,如果未能解决你的问题,请参考以下文章