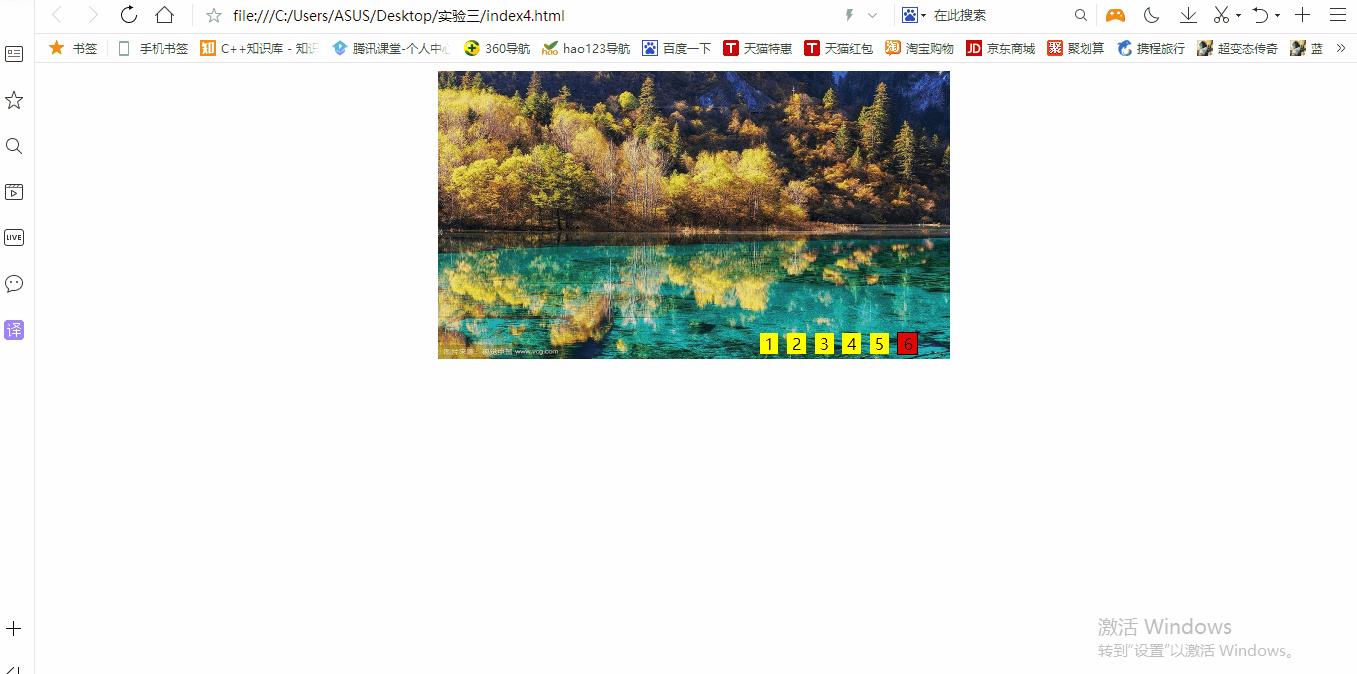
原生Js_实现图片轮播功能功能
Posted Cynical丶Gary
tags:
篇首语:本文由小常识网(cha138.com)小编为大家整理,主要介绍了原生Js_实现图片轮播功能功能相关的知识,希望对你有一定的参考价值。
用javascript图片轮播功能
<!DOCTYPE html> <html> <head> <meta charset="utf-8" /> <title>图片轮播</title> <style> #swaper{ width: 520px; margin: 0 auto; } #number{ position: relative; top: -30px; right: -320px; } label{ width: 10px; height: 10px; background-color: yellow; margin: 2px; } .active{ width: 10px; height: 10px; border: 1px solid black; background-color: red; } </style> <script> //此处编写代码,实现图片轮播功能 </script> </head> <body> <div id="swaper"> <img src="img/pic01.jpg" width="512px" id="img"> <div id="number"> <label id="l1" class="active"> 1 </label> <label id="l2"> 2 </label> <label id="l3"> 3 </label> <label id="l4"> 4 </label> <label id="l5"> 5 </label> <label id="l6"> 6 </label> </div> </div> </body> </html>

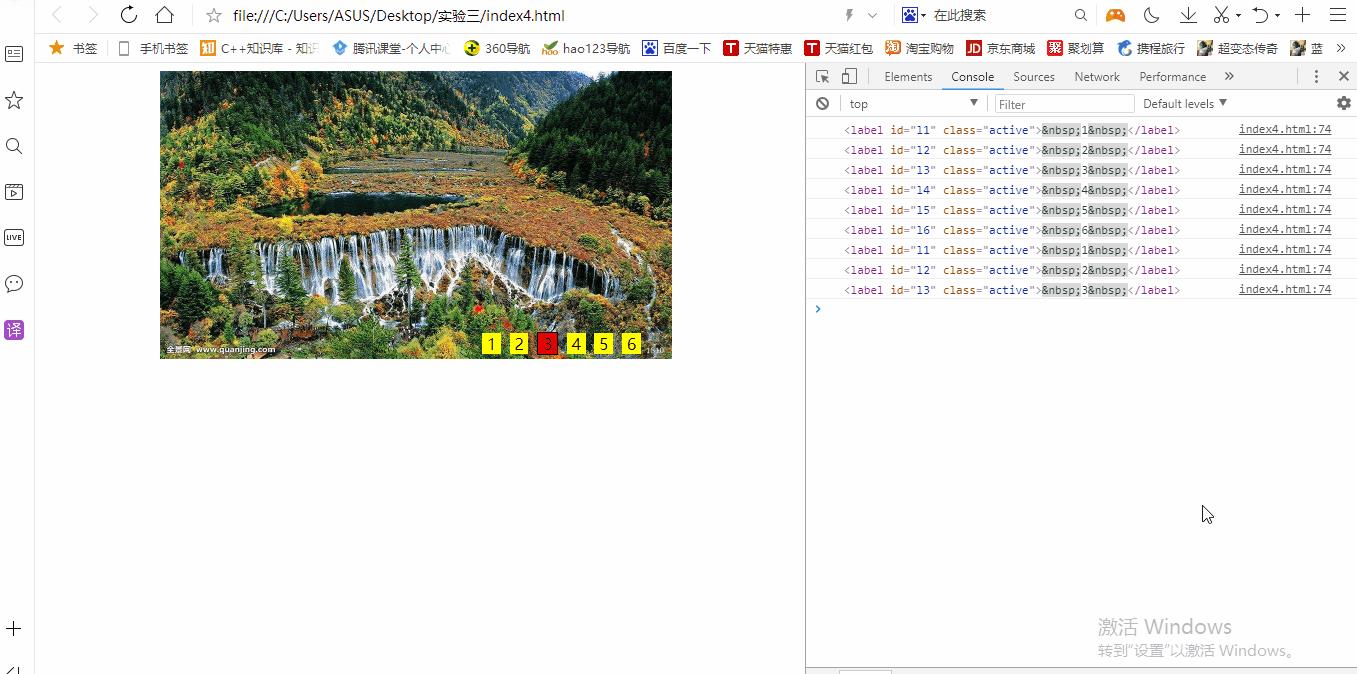
(第4和第5张图片是一样的,最下方有看鼠标点击时控制台输出的信息)

        <script>
            //此处编写代码,实现图片轮播功能
            var n =0;
            var t =0;
            var oDiv = document.getElementById(\'number\');
            var labels = document.getElementsByTagName(\'label\');
            window.onload = function(){
                //加载页面时开始触发图片轮播
                t=setTimeout(GaryShowPic,1000);
                for(var i = 0;i<labels.length;i++){
                    //鼠标放置到下标上时
                    labels[i].onmouseover = function(){
                        //停止计时器
                        clearTimeout(t);
                        var b = this.innerText*1;
                        img.src = \'img/pic0\'+b+\'.jpg\';
                        //制空所有图片的style
                        for(var i=0;i<labels.length;i++){
                        labels[i].className=\'\';
                        }
                        this.className = \'active\'
                    }
                    //鼠标离开时
                    labels[i].onmouseout=function(){
                        //得到计数器文本下标,返回值是string类型
                        n=this.innerText*1;
                        //重新开始计时器
                        t=setTimeout(GaryShowPic,1000);
                    }
                }

                function GaryShowPic(){
                    n++;
                    if(n>6){n=1;}
                    //制空所有图片的style
                    for(var i=0;i<labels.length;i++){
                    labels[i].className=\'\';
                    }
                    labels[n-1].className=\'active\';
                    document.getElementById(\'img\').src=\'img/pic0\'+n+\'.jpg\';
                    t=setTimeout(GaryShowPic,1000);
                    }
                }
        </script>
实现过程
Window setInterval() 方法 传送门
setInterval() 方法可按照指定的周期(以毫秒计)来调用函数或计算表达式
setInterval() 方法会不停地调用函数,直到 clearInterval() 被调用或窗口被关闭。由 setInterval() 返回的 ID 值可用作 clearInterval() 方法的参数
(如果只想执行一次可以使用 setTimeout() 方法)
clearTimeout() 方法可取消由 setTimeout() 方法设置的定时操作。
clearTimeout() 方法的参数必须是由 setTimeout() 返回的 ID 值。
(要使用 clearTimeout() 方法, 在创建执行定时操作时要使用全局变量)
t作为setInterval() 返回的 ID 值并且要使用clearTimeout(),开全局变量
    //作为轮播图片下标签
    var n =0;
    //由 setInterval() 返回的 ID 值
    var t =0;
播放图片方法
                function GaryShowPic(){
                    n++;
                    if(n>6){n=1;}
                    //制空所有图片的style
                    for(var i=0;i<labels.length;i++){
                    labels[i].className=\'\';
                    }
                    labels[n-1].className=\'active\';
                    document.getElementById(\'img\').src=\'img/pic0\'+n+\'.jpg\';
                    t=setTimeout(GaryShowPic,1000);
                    }
鼠标放置到下标上时
  labels[i].onmouseover = function(){
                        //停止计时器
                        clearTimeout(t);
                        //显示当前标签表示的图片
                        var b = this.innerText*1;
                        img.src = \'img/pic0\'+b+\'.jpg\';
                        //制空所有图片的style
                        for(var i=0;i<labels.length;i++){
                        labels[i].className=\'\';
                        }
                        //将当前标签显示为红色
                        this.className = \'active\'
                    }
鼠标离开下标时,重新开始计时器
labels[i].onmouseout=function(){
                        //得到计数器文本下标,返回值是string类型
                        n=this.innerText*1;
                        //重新开始计时器
                        t=setTimeout(GaryShowPic,1000);
                    }
JavaScript中innerText和innerHTML的区别 传送门
innerText返回或者设置DOM元素的文本
innerHTML 返回或者设置DOM元素的子元素
返回元素上: 忽略和不忽略Html标签的区别
innerHTML:
从对象的起始位置到终止位置的全部内容,包括Html标签
innerText:
从起始位置到终止位置的内容, 但它去除Html标签
=================================分割线
使用console.log()在控制台中查看输出信息
在鼠标触碰事件中添加 console.log("鼠标触碰到的下标值为"+b) 查看鼠标触碰到的数值
//鼠标触碰到标签上时
                    labels[i].onmouseover = function(){
                        //停止计时器
                        clearTimeout(t);
                        //显示当前标签表示的图片
                        var b = this.innerText*1;

                        console.log("鼠标触碰到的下标值为"+b);

                        img.src = \'img/pic0\'+b+\'.jpg\';
                        //制空所有图片的style
                        for(var i=0;i<labels.length;i++){
                        labels[i].className=\'\';
                        }
                        //将当前标签显示为红色
                        this.className = \'active\'
                    }
在GaryShowPic()中添加 console.log(labels[n-1]) 查看所显示标签的信息
function GaryShowPic(){
                    n++;
                    if(n>6){n=1;}
                    //制空所有图片的style
                    for(var i=0;i<labels.length;i++){
                    labels[i].className=\'\';
                    }
                    labels[n-1].className=\'active\';
                    console.log(labels[n-1]);
                    document.getElementById(\'img\').src=\'img/pic0\'+n+\'.jpg\';
                    t=setTimeout(GaryShowPic,1000);
                    }

console.log("鼠标触碰到的下标值为"+b)调试台输出的值是我们想要的
console.log(labels[n-1])输出来的值就是下面body中的值
<div id="number"> <label id="l1" class="active"> 1 </label> <label id="l2"> 2 </label> <label id="l3"> 3 </label> <label id="l4"> 4 </label> <label id="l5"> 5 </label> <label id="l6"> 6 </label> </div>
可以看到,实现的轮播图改变的只是所指向的label id 标签值的class="active"
以上是关于原生Js_实现图片轮播功能功能的主要内容,如果未能解决你的问题,请参考以下文章
