以太坊编程-Geth
Posted 百事可AI呢
tags:
篇首语:本文由小常识网(cha138.com)小编为大家整理,主要介绍了以太坊编程-Geth相关的知识,希望对你有一定的参考价值。
前提:开发环境为Windows版本
一、下载安装
geth安装官网地址:https://geth.ethereum.org/downloads/
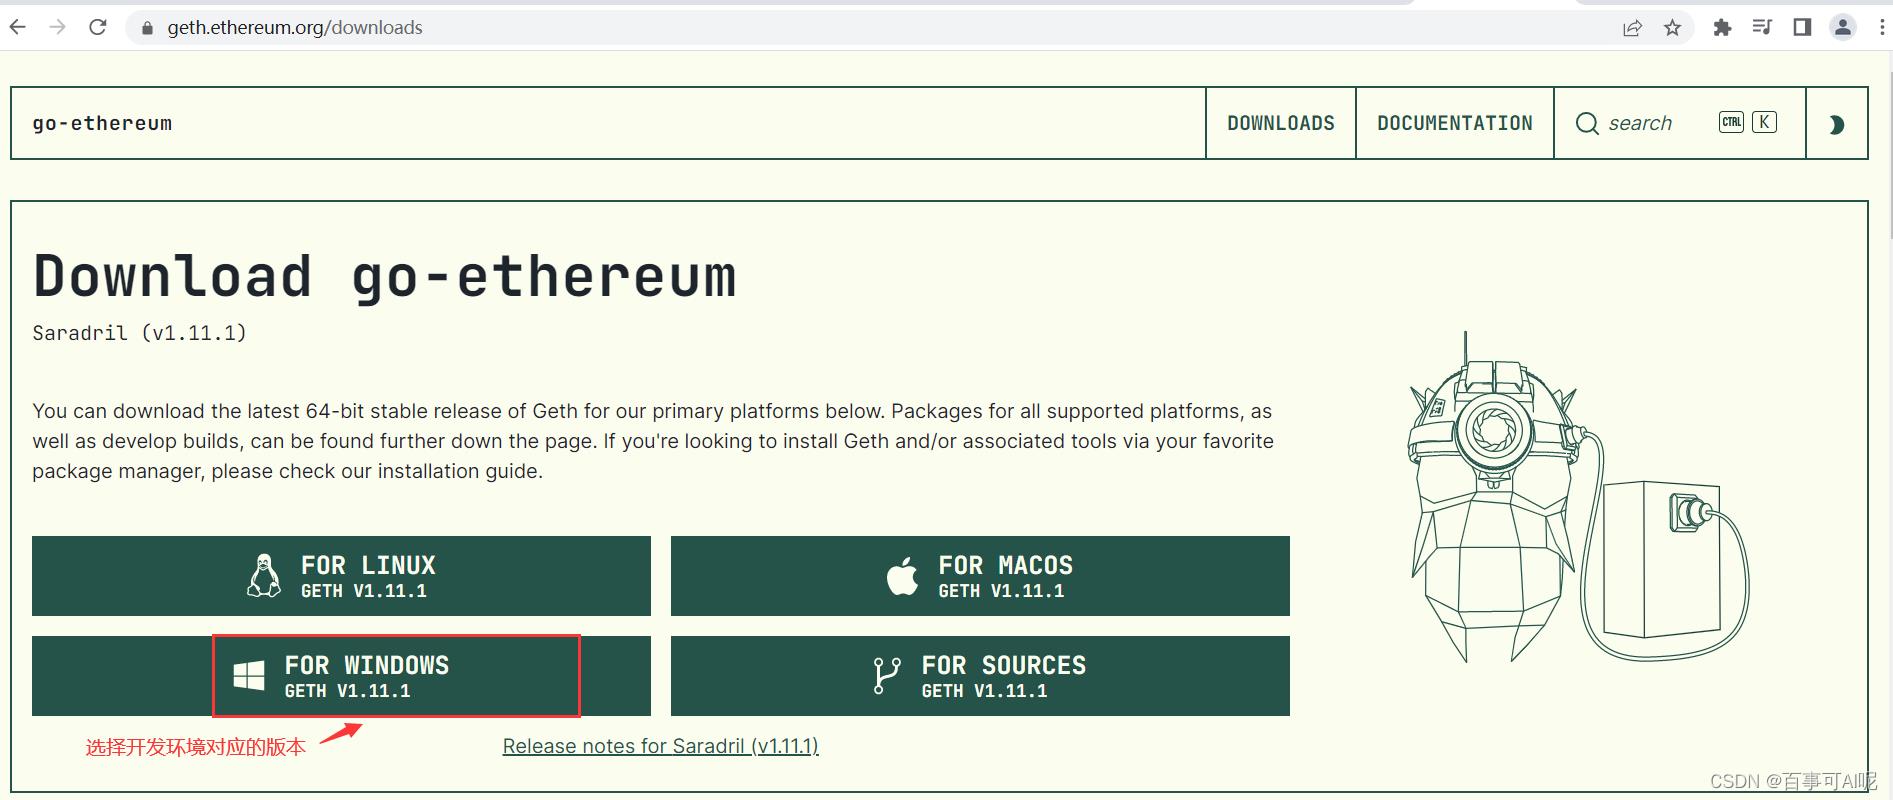
安装时,根据提示一步一步安装即可
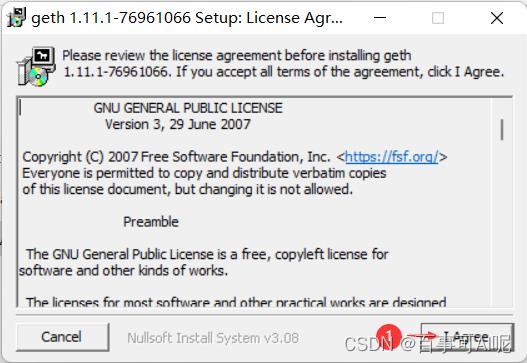
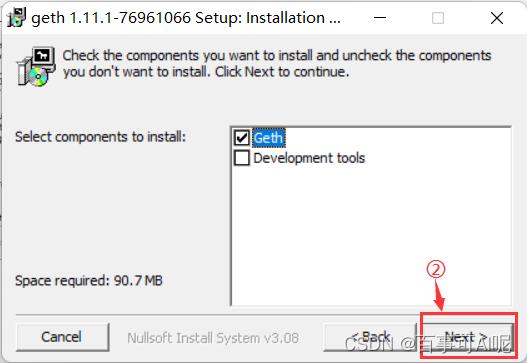
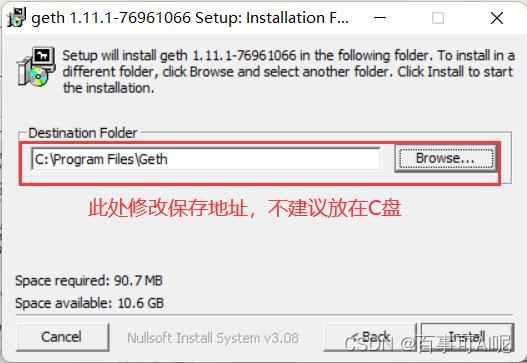
安装完成之后,需要进行配置环境变量
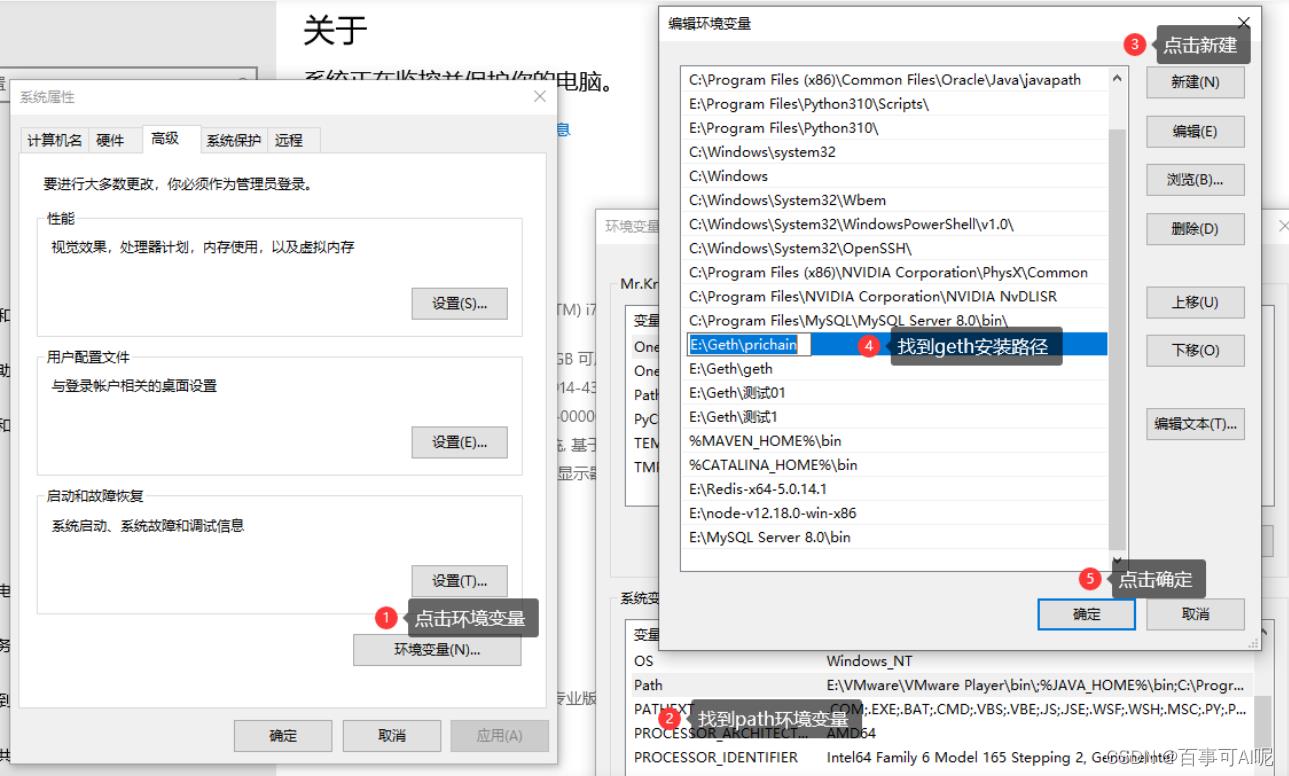
二、创世区块部署
新建.json文件:新建记事本,复制粘贴以下内容,再重命名为:genesis.json
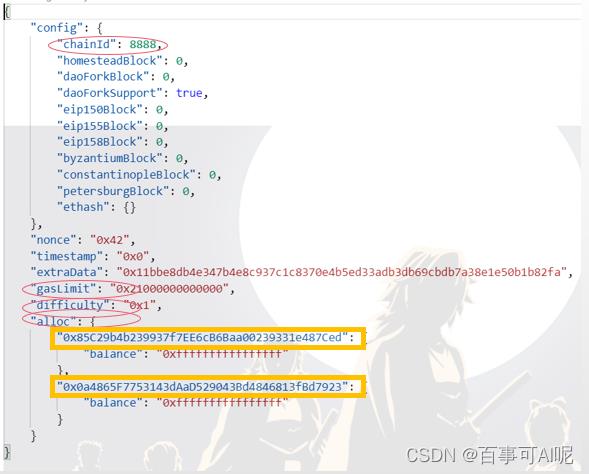
其中,第一步创建的账户必须粘贴到橙色框内,不然只能靠挖矿挣钱;
红色框内容必不可少;
gasLimit 最好不动;
difficulty最好不要太大,我设置的1,后果就是挖矿飞快!
三、创建账户
1、下载完geth先创建账户:先选好创世区块文件位置
geth --datadir 创世区块文件夹 account new
每创建个账户会输入两次密码,然后给出账户(注意把账户copy到json文件中的橙色框内,并记住密码)
例如,我的写法就是:
geth --datadir test account new
2、进入geth的console环境:
geth --maxpeers 0 --datadir xxx --http.corsdomain "*" --networkid xxxx console
其中:xxx写的是创建在console里面的账户的文件夹;
xxxx写的是json文件中的chainId
例如,我的写法就是:
geth --maxpeers 0 --datadir test --http.corsdomain "*" --networkid 8888 console
3、进入geth之后,可以查看账户:eth.accounts
若存在账户,则如下图展示:

若不存在账户,则返回结果为空( [] )
此时,就可以新建账户,使用命令:personal.newAccount("password")
其中,password是自己设置的账户密码;
也可以不写(即:personal.newAccount()),这样的话就需要enter之后输入两次密码。
补充:本人在执行这一条命令的时候会报错:personal is not defined

这时候就需要采用新的创建账户的命令。
3.1 命令行使用
geth account new
3.2 geth console里使用(上面提到)
personal.newAccount()
但是,3.1的这个方法是有默认目录的,这个账户在geth console里面就找不到,所以需要将账户从默认目录移动至console对应的keystore文件夹。
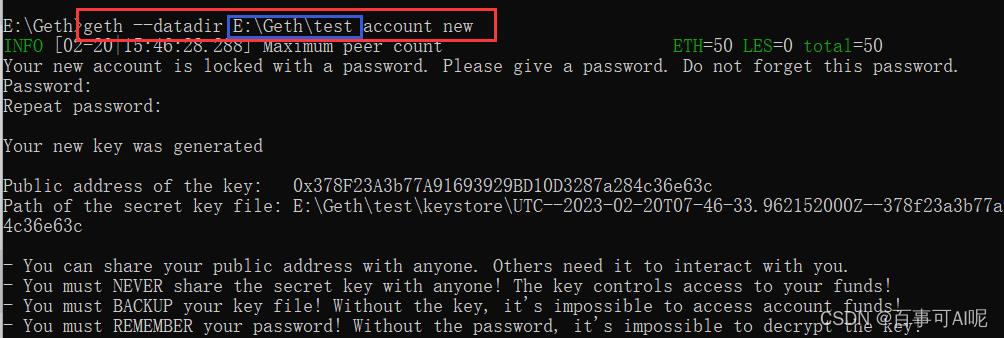
直接在创建账户的时候采用如下命令即可:
geth --datadir "**path to your data dir**" account new
例如,我的写法就是:
四、Geth的简单操作指令
1、账户操作
查询账户:eth.accounts;
标记账户:eth.accounts[ x ];
确认coinbase账户:eth.coinbase;
变更coinbase账户:miner.setEtherbase(eth.accounts[ ]);
查询账户余额:eth.getBalance(eth.accounts[ ]);
默认以ether显示,数值比较大,可通过web3.fromWei( ,"ether")进行单位转化;

普通转账:eth.sendTransaction(from:eth.accounts[],to:eth.accounts[],value:web3.toWei(n,"ether"))
n为转账数量。返回交易哈希。
2、区块操作
开始挖矿:miner.start(1);括号内的数字代表挖矿操作的线程数
确认挖矿状态:eth.mining
停止挖矿:miner.stop()
查询区块:eth.getBlock()
查询交易:eth.getTransaction()
查询交易回执Transaction Receipt:eth.getTransactionReceipt()
以太坊geth:内存不足
使用以太坊节点(Geth)时,我经常遇到内存泄漏的问题。我无法理解原因,问题是在一个无限期的时间点产生的。服务器可以工作一周,有时需要一天时间才能破解。我们正在本地网络中发展:“chainId”:15
我的genesis.json
{
"config": {
    "chainId": 15,
    "homesteadBlock": 0,
    "eip155Block": 0,
    "eip158Block": 0
},
"difficulty": "0x400",
"gasLimit": "0x2100000",
"alloc": {
    "7a69b359e86893efa3d9732e4c65ced51567edd0":
     { "balance": "0x1337000000000000000000" }
}}
服务器端:4x cpu / 8GB内存/ Ubuntu 18.04 x64
要运行的命令:
geth --rpcapi personal,web3,eth --mine --minerthreads 4 --rpccorsdomain '0.0.0.0:5000' --rpc --networkid 1999 --datadir ./ --rpcvhosts 127.0.0.1 --port 30304 --rpcport 8546 --rpcaddr 0.0.0.0
转到版本1.11.1
Geth版本1.8.17-stable-8bbe7207
我查了一下建议:https://github.com/ethereum/go-ethereum/issues/16377#issuecomment-430642197
我可以说它奏效了。我们的服务器已稳定3周。
我的行动:
1.仅允许特定的ip地址到安装节点的服务器上的开放RPC端口:
$ iptables -A INPUT -p tcp --dport [rpc port] -s [ip who is using your node] -j ACCEPT
2.Сhange启动选项:
$ geth --rpcapi personal,web3,eth --mine --minerthreads 2 --rpccorsdomain ['ip who is using your node:port'] --rpc --networkid 1999 --datadir ./ --rpcvhosts 127.0.0.1 --port 30304 --rpcport [rpc port] --rpcaddr [ip server where your node is installed]
3.对于挖掘,我不建议使用所有处理器核心,让服务器轻松呼吸:
--mine --minerthreads 2
4.具有大内存的服务器更昂贵,对于内部网络,你应该足够2GB。使用SWAP文件:
如何开启:https://www.digitalocean.com/community/tutorials/how-to-add-swap-space-on-ubuntu-18-04
以上是关于以太坊编程-Geth的主要内容,如果未能解决你的问题,请参考以下文章
