ThreeJS-经纬线映射贴图(十六)
Posted 不穿铠甲的穿山甲
tags:
篇首语:本文由小常识网(cha138.com)小编为大家整理,主要介绍了ThreeJS-经纬线映射贴图(十六)相关的知识,希望对你有一定的参考价值。
hdr资源:
链接: https://pan.baidu.com/s/1mCdjpV7jKWHTXmExMa0T8A
提取码: 7ydx
复制这段内容后打开百度网盘手机App,操作更方便哦
增加新引入:
import RGBELoader from "three/examples/jsm/loaders/RGBELoader"
关键代码:
rgbeLoader.loadAsync('three/marble13-flat.hdr').then( texture =>
//添加球形反射映射
texture.mapping = THREE.EquirectangularReflectionMapping;
//设置场景背景
scene.background = texture;
)
完整的代码:
<template>
<div id="three_div"></div>
</template>
<script>
import * as THREE from "three";
import OrbitControls from "three/examples/jsm/controls/OrbitControls";
import RGBELoader from "three/examples/jsm/loaders/RGBELoader"
export default
name: "HOME",
components:
// vueQr,
// glHome,
,
data()
return ;
,
mounted()
//使用控制器控制3D拖动旋转OrbitControls
//控制3D物体移动
//1.创建场景
const scene = new THREE.Scene();
console.log(scene);
//2.创建相机
const camera = new THREE.PerspectiveCamera(
75,
window.innerWidth / window.innerHeight,
0.1,
1000
);
//设置相机位置
camera.position.set(0, 0, 10);
//将相机添加到场景
scene.add(camera);
//添加物体
//创建一个半径为1,经纬度分段数位20的球
const cubeGeometry = new THREE.SphereBufferGeometry(2,100,100);
//纹理加载器
let cubeTextureLoader = new THREE.CubeTextureLoader();
cubeTextureLoader = cubeTextureLoader.setPath('three/').load([
'sphere.webp',
'sphere.webp',
'sphere.webp',
'sphere.webp',
'sphere.webp',
'sphere.webp'
]);
let rgbeLoader = new RGBELoader();
rgbeLoader.loadAsync('three/marble13-flat.hdr').then( texture =>
//添加球形反射映射
texture.mapping = THREE.EquirectangularReflectionMapping;
//设置场景背景
scene.background = texture;
)
//纹理加载器加载图片
const cubeMaterial = new THREE.MeshStandardMaterial(
metalness: 1,
roughness: 0.1,
// envMap: cubeTextureLoader//添加环境贴图
);
//根据几何体和材质创建物体
const mesh = new THREE.Mesh(cubeGeometry, cubeMaterial);
//将物体加入到场景
scene.add(mesh);
//给场景添加贴图纹理
//scene.background = cubeTextureLoader;
//给场景所有的物体添加默认的环境贴图
scene.environment = cubeTextureLoader;
//添加坐标轴辅助器
const axesHepler = new THREE.AxesHelper(5);
scene.add(axesHepler);
//标准材质需要借助灯光
//添加周围环境灯光(由物体发出的灯光)参数(灯色,强度0-1)
const light = new THREE.AmbientLight(0xFFFFFF, 1);
scene.add(light);
//直线光(由光源发出的灯光)
// const directionalLight = new THREE.DirectionalLight(0xffff00, 1);
// //设置灯光位置
// directionalLight.position.set(10, 10, 10);
// scene.add(directionalLight);
//添加平面
// const planeGeometry = new THREE.PlaneBufferGeometry(1, 1);
// const mesh2 = new THREE.Mesh(planeGeometry, cubeMaterial);
// mesh2.position.set(0, 0, 3);
// scene.add(mesh2);
//初始化渲染器
const render = new THREE.WebGLRenderer();
//设置渲染器的尺寸
render.setSize(window.innerWidth, window.innerHeight);
//使用渲染器,通过相机将场景渲染进来
//创建轨道控制器,可以拖动,控制的是摄像头
const controls = new OrbitControls(camera, render.domElement);
//设置控制阻尼,让控制器有更真实的效果
controls.enableDamping = true;
//将webgl渲染的canvas内容添加到body上
document.getElementById("three_div").appendChild(render.domElement);
//渲染下一帧的时候就会调用回调函数
let renderFun = () =>
//更新阻尼数据
controls.update();
//需要重新绘制canvas画布
render.render(scene, camera);
//监听屏幕刷新(60HZ,120HZ),每次刷新触发一次requestAnimationFrame回调函数
//但是requestAnimationFrame的回调函数注册生命只有一次,因此需要循环注册,才能达到一直调用的效果
window.requestAnimationFrame(renderFun);
;
// window.requestAnimationFrame(renderFun);
renderFun();
//画布全屏
window.addEventListener("dblclick", () =>
if (document.fullscreenElement)
document.exitFullscreen();
else
//document.documentElement.requestFullscreen();
render.domElement.requestFullscreen();
);
//监听画面变化,更新渲染画面,(自适应的大小)
window.addEventListener("resize", () =>
//更新摄像机的宽高比
camera.aspect = window.innerWidth / window.innerHeight;
//更新摄像机的投影矩阵
camera.updateProjectionMatrix();
//更新渲染器宽度和高度
render.setSize(window.innerWidth, window.innerHeight);
//设置渲染器的像素比
render.setPixelRatio(window.devicePixelRatio);
console.log("画面变化了");
);
,
methods:
paush(animate)
animate.pause();
,
,
;
</script>
<style scoped lang="scss">
</style>
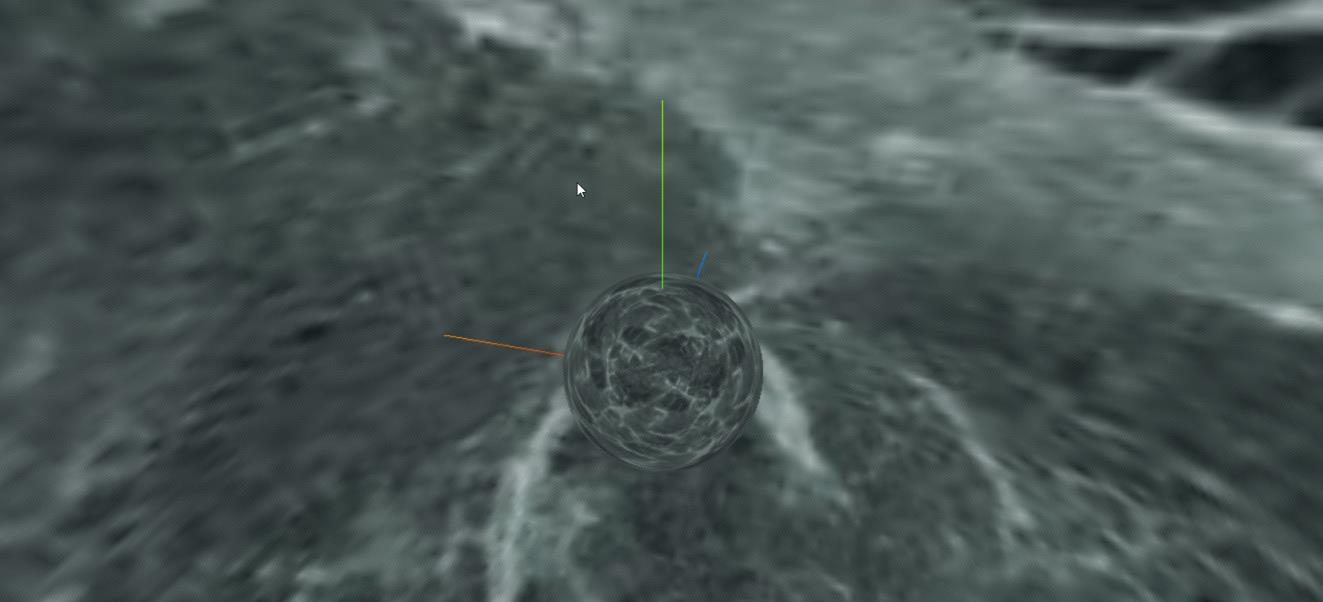
效果图:

THREE JS 贴图之UV纹理映射
介绍
Threejs贴图即将图片或canvas作为贴图贴到物体表面,让模型图片表现物体的纹理。通过贴图来使不同的模型展示不同的样式,不仅仅可以实现‘换装’,也可以做一些炫酷的效果。本文主要通过设置geometry的uv坐标来实现道路流光效果。
#简单实现
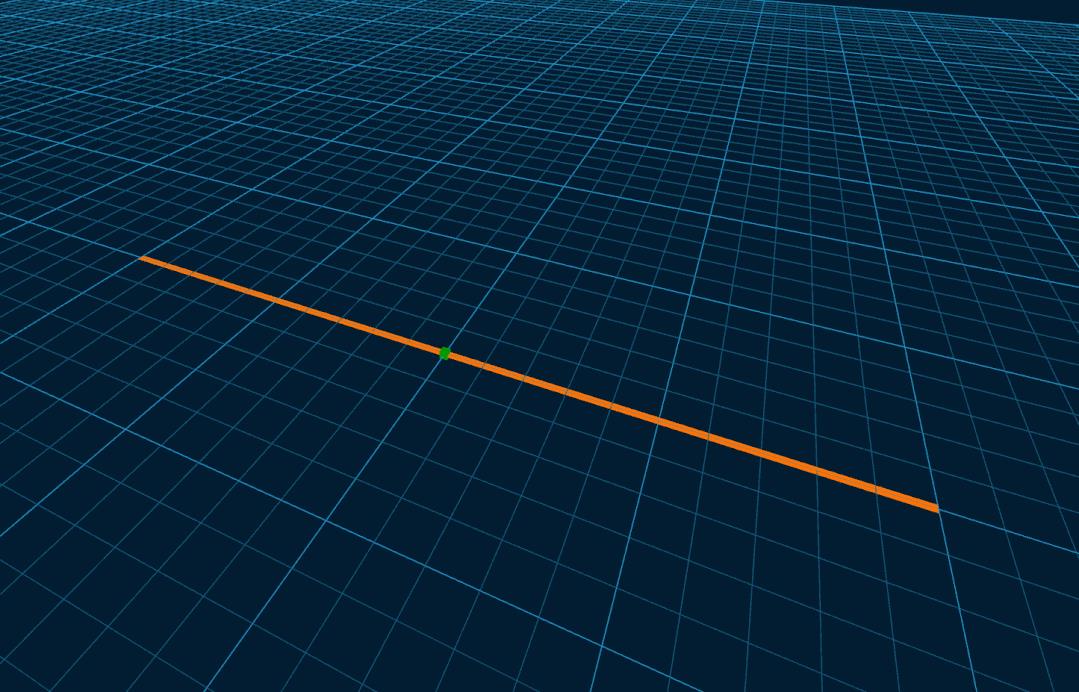
思路:抛开真实道路情况的弯曲、倾斜的效果,首先创建个长方形的mesh,给mesh添加纹理,再通过animation方法每帧设置纹理的offset属性移动 -0.036。想法很好,说干就干。效果如图所示:
#查看mesh
实现直线道路的过程很轻松,以为很快就结束了,只要在场景中选取几个点位,通过Catmull-Rom算法将点解析成平滑的曲线,再生成面,其余的步骤就轻车熟路了。万万没想到出现的不是流光效果,而是闪烁效果!!!

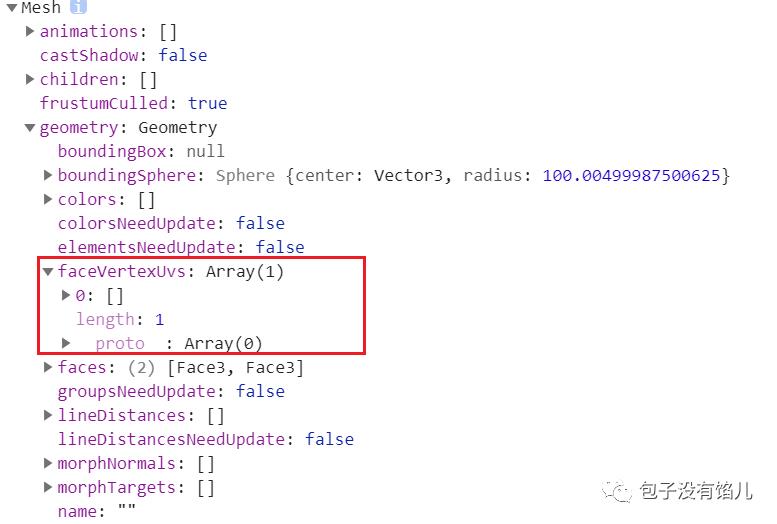
苦思冥想N天后发现是贴图的问题,泪奔了,原因是通过顶点创建的面在geometry的faceVertexUvs属性中为空的,如图。(具体发生的原因还没有仔细研究,既然知道走到这了,手动映射一下UV就可以了吧)。

UV映射
材质贴图又称纹理贴图,是将图片包裹到物体的表面,可以理解为给书包书皮,这样可以减少计算机的计算量。UV映射是将2D图形投影到3D模型表面,U、V表示纹理贴图的坐标,范围在0~1之间(即图1的坐标范围为(0,0)~(1,1))。如下图所示图1中0~7表示我们要添加的坐标点,根据这7个点来生成平面,THREE JS中进行UV映射时应按照逆时针构建三角网,正确的顺序应为(0,1,3)、(0,3,2)……一共要构建6个三角网,当然如果要按照顺时针构建的话显示图像就会在背面,也可以设置显示方式为THREE.DOUBLE,可以正反面都显示。假设图二表示我们要映射的图片,图片的左下角对应0坐标,右下角对应1坐标,2坐标对应图片的1/3位置。以此类推即可。
UV映射理解通了很简单,如果做复杂模型的话多一些工作量,大体思路是这样的。
模拟弯曲道路流光效果-完结撒花
有了以上的知识基础,再实现流光道路就轻车熟路了。
/*** 弯曲道路 流光效果*/function initBlendRoad() {//texturevar textureLoader = new THREE.TextureLoader();texture = textureLoader.load("../../static/img/road/newRoad.png");texture.wrapS = texture.wrapT = THREE.RepeatWrapping;texture.magFilter = THREE.LinearFilter;texture.offset.z = 0.5;texture.repeat.x = 2;texture.repeat.y = 3;//verticesvar points1 = [new THREE.Vector3(50,-100,0),new THREE.Vector3(43,0,3),new THREE.Vector3(-20,50,0),];var vertices1 = new THREE.CatmullRomCurve3(points1);var points2 = [new THREE.Vector3(60,-100,0),new THREE.Vector3(50,0,5),new THREE.Vector3(-19.5,59.4,0),];var vertices2 = new THREE.CatmullRomCurve3(points2);//meshvar initgeometry = new THREE.INITGEOMETRY(vertices1.getPoints(99), vertices2.getPoints(99));this.initFaceVertexUvs(initgeometry);var initMaterial = new THREE.INITMATERIAL({texture:texture});var mesh = new THREE.Mesh(initgeometry, initMaterial);// console.log('curve road',mesh);scene.add(mesh);}/*** 传入geometry,根据 faces属性生成 faceVertexUvs* 默认逆时针加载,从(0,0)点开始*/function initFaceVertexUvs(geometry){let len = geometry.faces.length+2;let part = Math.floor((1/(len/2 -1)) * 100) /100;for (let i = 2; i < len; i++) {if (i % 2 == 0){// 偶数geometry.faceVertexUvs[0].push([new THREE.Vector2(0,((i/2)-1) * part),new THREE.Vector2(1,((i/2)-1) * part),new THREE.Vector2(0,(i/2)* part),]);}else if (i%2 == 1){// 奇数geometry.faceVertexUvs[0].push([new THREE.Vector2(1,(((i-1)/2)-1) * part),new THREE.Vector2(1,((i-1)/2) * part),new THREE.Vector2(0,((i-1)/2) * part),]);}}}
想要什么类型的效果可以自己用PS制作个图片或从网上下载一个即可,下面附上最终效果图:
以上是关于ThreeJS-经纬线映射贴图(十六)的主要内容,如果未能解决你的问题,请参考以下文章