解决vue3+vite+TS 中使用element-plus按需引入 ElLoadingElMessage 样式失效
Posted 程序猿_“大神”
tags:
篇首语:本文由小常识网(cha138.com)小编为大家整理,主要介绍了解决vue3+vite+TS 中使用element-plus按需引入 ElLoadingElMessage 样式失效相关的知识,希望对你有一定的参考价值。
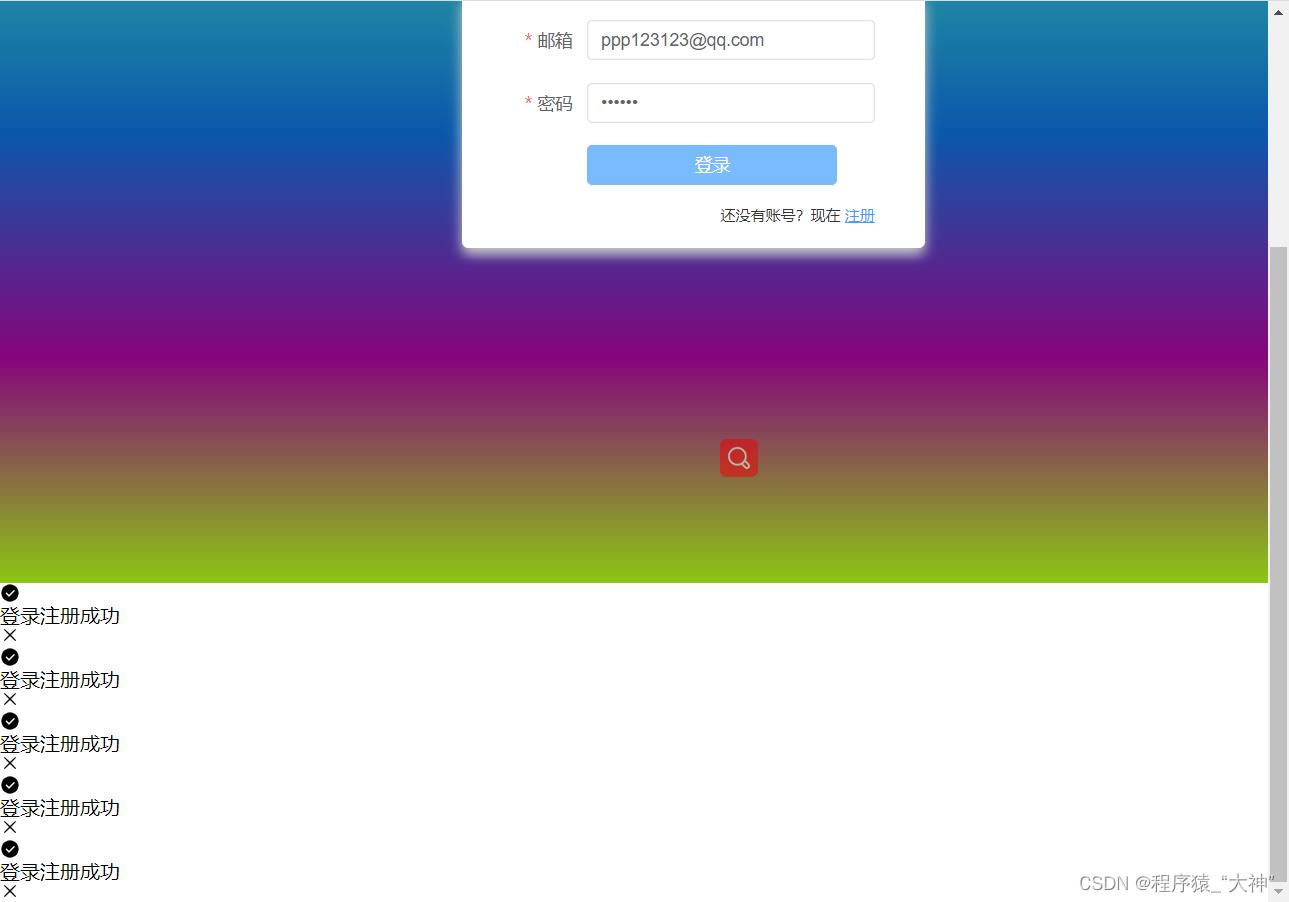
ElMessage 样式失效
其实他不是失效了,只是加载到我们的
可以看到下面使用的方式和效果图,vue3的element-plus遇到的问题,因为要测试一下,所以点的频率比较大,但可以明显的看到ElMessage样式显示在你浏览器的下面
import  ElMessage  from "element-plus";

//点击登录提示信息
const handleSubmit = () =>
      ElMessage(
        showClose: true,
        message: "登录注册成功",
        type: "success",
      );
解决方案
我在网上查了很多种,我分别列出来两种
1、在
main.ts再引入一遍,像这样,引入之后重启一下项目就好了
import "element-plus/theme-chalk/el-message.css";
import "element-plus/theme-chalk/el-message-box.css";
2,因为我们使用的是按需引入,所以就不用要在引入element-plus,把下面的这刚代码删掉
import ElMessage from "element-plus";然后拦截一下ts的检测就可以了 拦截的方式://@ts-ignore
就是在你用element-plus提示信息的上面用//@ts-ignore,他的//不是用来注释的,我也看是看网上是这样用的,具体原理我也不知道
//点击登录提示信息
const handleSubmit = () =>
      //@ts-ignore
      ElMessage(
        showClose: true,
        message: "登录注册成功",
        type: "success",
      );
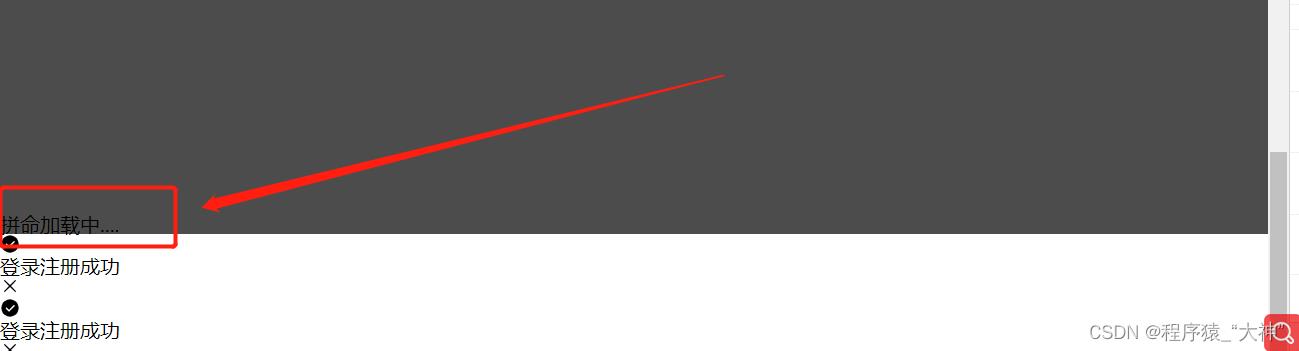
ElLoading 样式失效
它也不是失效了,也藏在浏览器的最下面

解决方案
ElLoading的问题跟ElMessage的问题一样,解决方法也是一样的,在你用它的方法上面加上ts拦截就可以了//@ts-ignore,
总结
以上的问题最方便的就是用ts拦截,但在项目中并不是每一次代码报下滑红色波浪线就要用它,因为我们用element-plus是按需引入,我们的node依赖包里面有这个样式,但是ts它有bus,ts找不到这个方法,所以就会给你一条下滑红色波浪线,其实这个影响,就是看着很烦,所以这个时候就可以用ts拦截一下,不让他有下滑红色波浪线。
详细vite创建vue3项目(vue3+vue-router+ts+vite+element-plus+pinia)
vite创建vue3+ts项目
为何选择vite:
vite 是一个基于 Vue3 单文件组件的非打包开发服务器,它做到了本地快速开发启动:
快速的冷启动,不需要等待打包操作;
即时的热模块更新,替换性能和模块数量的解耦让更新飞起;
真正的按需编译,不再等待整个应用编译完成,这是一个巨大的改变。(平均一秒run)
本文技术栈是vue3+vue-router+ts+vite+element-plus+pinia。
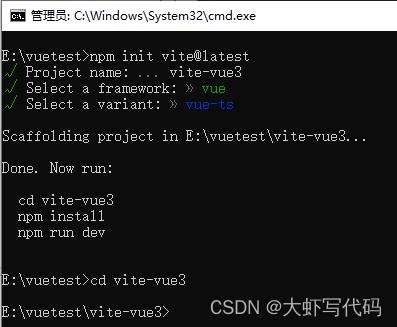
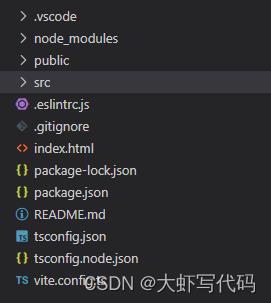
- 初始化项目
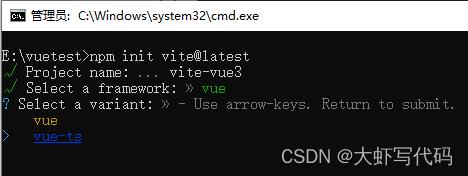
(1)在需要创建位置cmd目录下执行
npm init vite@latest
(2)输入项目名称

(3)选择vue((有时出现上下键不能选择,手动输入选项回车就行))

(4)选择vue-ts(或者是选择语言,选TypeScript)
(5)此时已经创建完毕
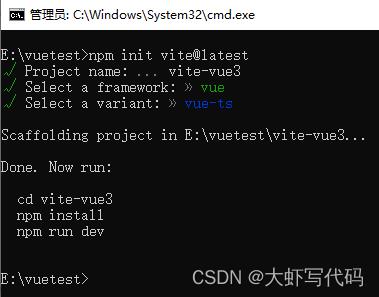
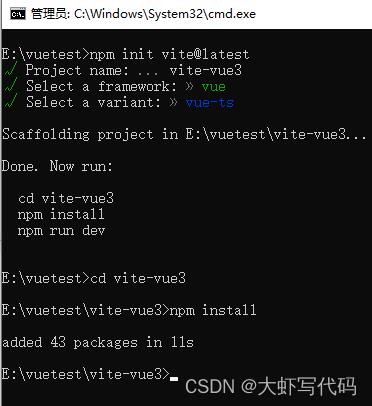
2. 安装默认依赖
可直接根据上图提示执行操作
(1)进入刚刚创建的文件目录
cd vite-vue3
(2)安装默认依赖
此处切换npm源,安装更快
#查看当前源
npm config get registry

#更换为国内镜像
npm config set registry=http://registry.npm.taobao.org/
然后开始安装
npm install
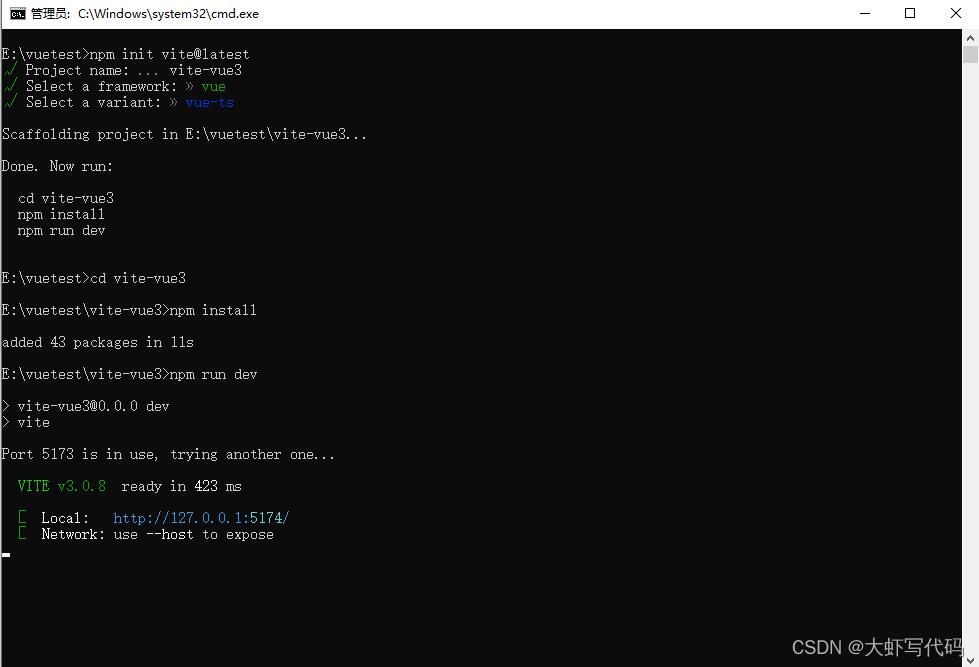
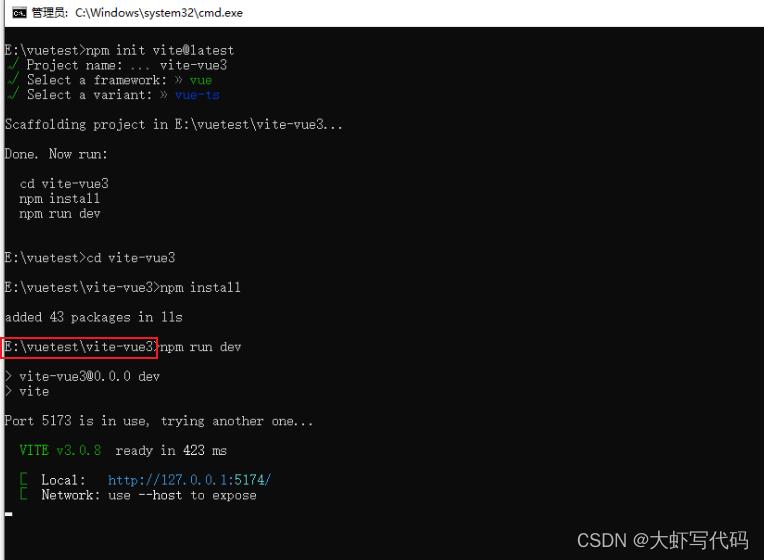
(3)最后运行查看是否正常打开,在文件根目录下 npm run dev
如下图最终返回一个本地地址,输入浏览器访问,能打开就没问题了(此处有提示Network:use–host to expose,该问题可在后面配置中解决,解决后再运行会多出几个局域网访问网址,这样只要和你在一个局域网的人都能通过地址访问你的页面了)

- 初始配置
此处选用vscode进行编写代码,值得注意的是vue3中使用vscode的插件时需要禁用以前vue2常使用的插件Vetur,而安装Vue Language Features (Volar)插件。不然代码会提示报错。
项目创建成功后需要进行一些常规简单配置。(配置很多,需要研究可自己再研究一下)下面进行简单基础配置:
(注意:下面安装的所有项目依赖包(都在根目录下安装),我的是这一层,可在vs打开的项目里新建控制台面板进行安装(注意路径即可),也可在cmd面板操作)
配置所需依赖:
npm install @types/node --save-dev
修改vite.config.ts配置文件代码
import  defineConfig  from 'vite'
import vue from '@vitejs/plugin-vue'
import  resolve  from 'path'

export default defineConfig(
  plugins: [vue()],
  //解决“vite use `--host` to expose”
  base: './',	//不加打包后白屏
  server:
    host: '0.0.0.0',
    // port: 8080,
    open: true
  ,
  resolve:
    //别名配置,引用src路径下的东西可以通过@如:import Layout from '@/layout/index.vue'
    alias:[

        find:'@',
        replacement:resolve(__dirname,'src')

    ]

)
- 安装路由
npm install vue-router@4
(1)在src目录下新建router文件夹,在router里创建index.ts文件

(2)index.ts中配置路由
下面@引入方式会报错,原因是还没配置,后面第7步会配置,此处错误可以先不管。
import  createRouter, createWebHistory, RouteRecordRaw  from 'vue-router'
import Layout from '../components/HelloWorld.vue'

const routes: Array<RouteRecordRaw> = [

  //路由初始指向
    path: '/',
    name: 'HelloWorld',
    component:()=>import('../components/HelloWorld.vue'),

]

const router = createRouter(
  history: createWebHistory(),
  routes
)

export default router
(3)main.ts中导入挂载路由
import  createApp  from 'vue'
import './style.css'
import App from './App.vue'
import router from './router'

const app = createApp(App);
app.use(router).mount('#app')
(4)修改App.vue管理路由
<script setup lang="ts">
</script>
<template>
  <router-view></router-view>
</template>

<style>

</style>
(5)可以保存后,运行看是否报错。如图打开了路由指向的HelloWorld.vue页面的内容就对了
- 配置ts文件采用@方式导入
在tsconfig.json文件中添加配置(下图打注释的都是添加的,也可自己丰富)
配置完成后建议重新run一下
  "compilerOptions":
    "target": "esnext",
    "useDefineForClassFields": true,
    "module": "esnext",
    "moduleResolution": "node",
    "strict": true,
    "jsx": "preserve",
    "sourceMap": true,
    "resolveJsonModule": true,
    "isolatedModules": true,
    "esModuleInterop": true,
    "lib": ["esnext", "dom"],
    "skipLibCheck": true,

    //添加---
    "suppressImplicitAnyIndexErrors": true,		//允许字符串用作下标
     "baseUrl": ".",
     "paths":
      "@/*":[
        "src/*"
      ]

     //---------
  ,
  "include": ["src/**/*.ts", "src/**/*.d.ts", "src/**/*.tsx", "src/**/*.vue"],
  "references": [ "path": "./tsconfig.node.json" ],

  //添加
  "exclude":["node_modules"]		// // ts排除的文件
7.安装代码检测工具(建议)
为了保证代码质量,添加代码检测
npm install --save-dev eslint eslint-plugin-vue
(1)在根目录创建.eslintrc.js文件
(2)复制代码
在rules可以添加自己的验证规则
module.exports =
	root: true,
	parserOptions:
		sourceType: 'module'
	,
	parser: 'vue-eslint-parser',
	extends: ['plugin:vue/vue3-essential', 'plugin:vue/vue3-strongly-recommended', 'plugin:vue/vue3-recommended'],
	env:
		browser: true,
		node: true,
		es6: true
	,
	rules:
		'no-console': 'off',
		'comma-dangle': [2, 'never'] //禁止使用拖尾逗号
- css 预处理器 sass(看习惯)
npm install -D sass sass-loader
css时使用就行,也可不要,看习惯
<style scoped lang="scss">
.read-the-docs
  color: #888;

</style>
- 引入element-plus
element-plus是vue3目前大流行组件库,用法基本和element ui一样
npm install element-plus --save
(1)main.ts中引入
import  createApp  from 'vue'
import './style.css'
import App from './App.vue'
import router from './router'
import ElementPlus from 'element-plus'
import 'element-plus/dist/index.css'
import * as ElementPlusIconsVue from '@element-plus/icons-vue'
import zhCn from "element-plus/lib/locale/lang/zh-cn";//国际化

const app = createApp(App);

app.use(ElementPlus,  locale: zhCn ).use(router).mount('#app')

//全局注册图标组件
for (const [key, component] of Object.entries(ElementPlusIconsVue))
    app.component(key, component)
(2)使用element plus组件
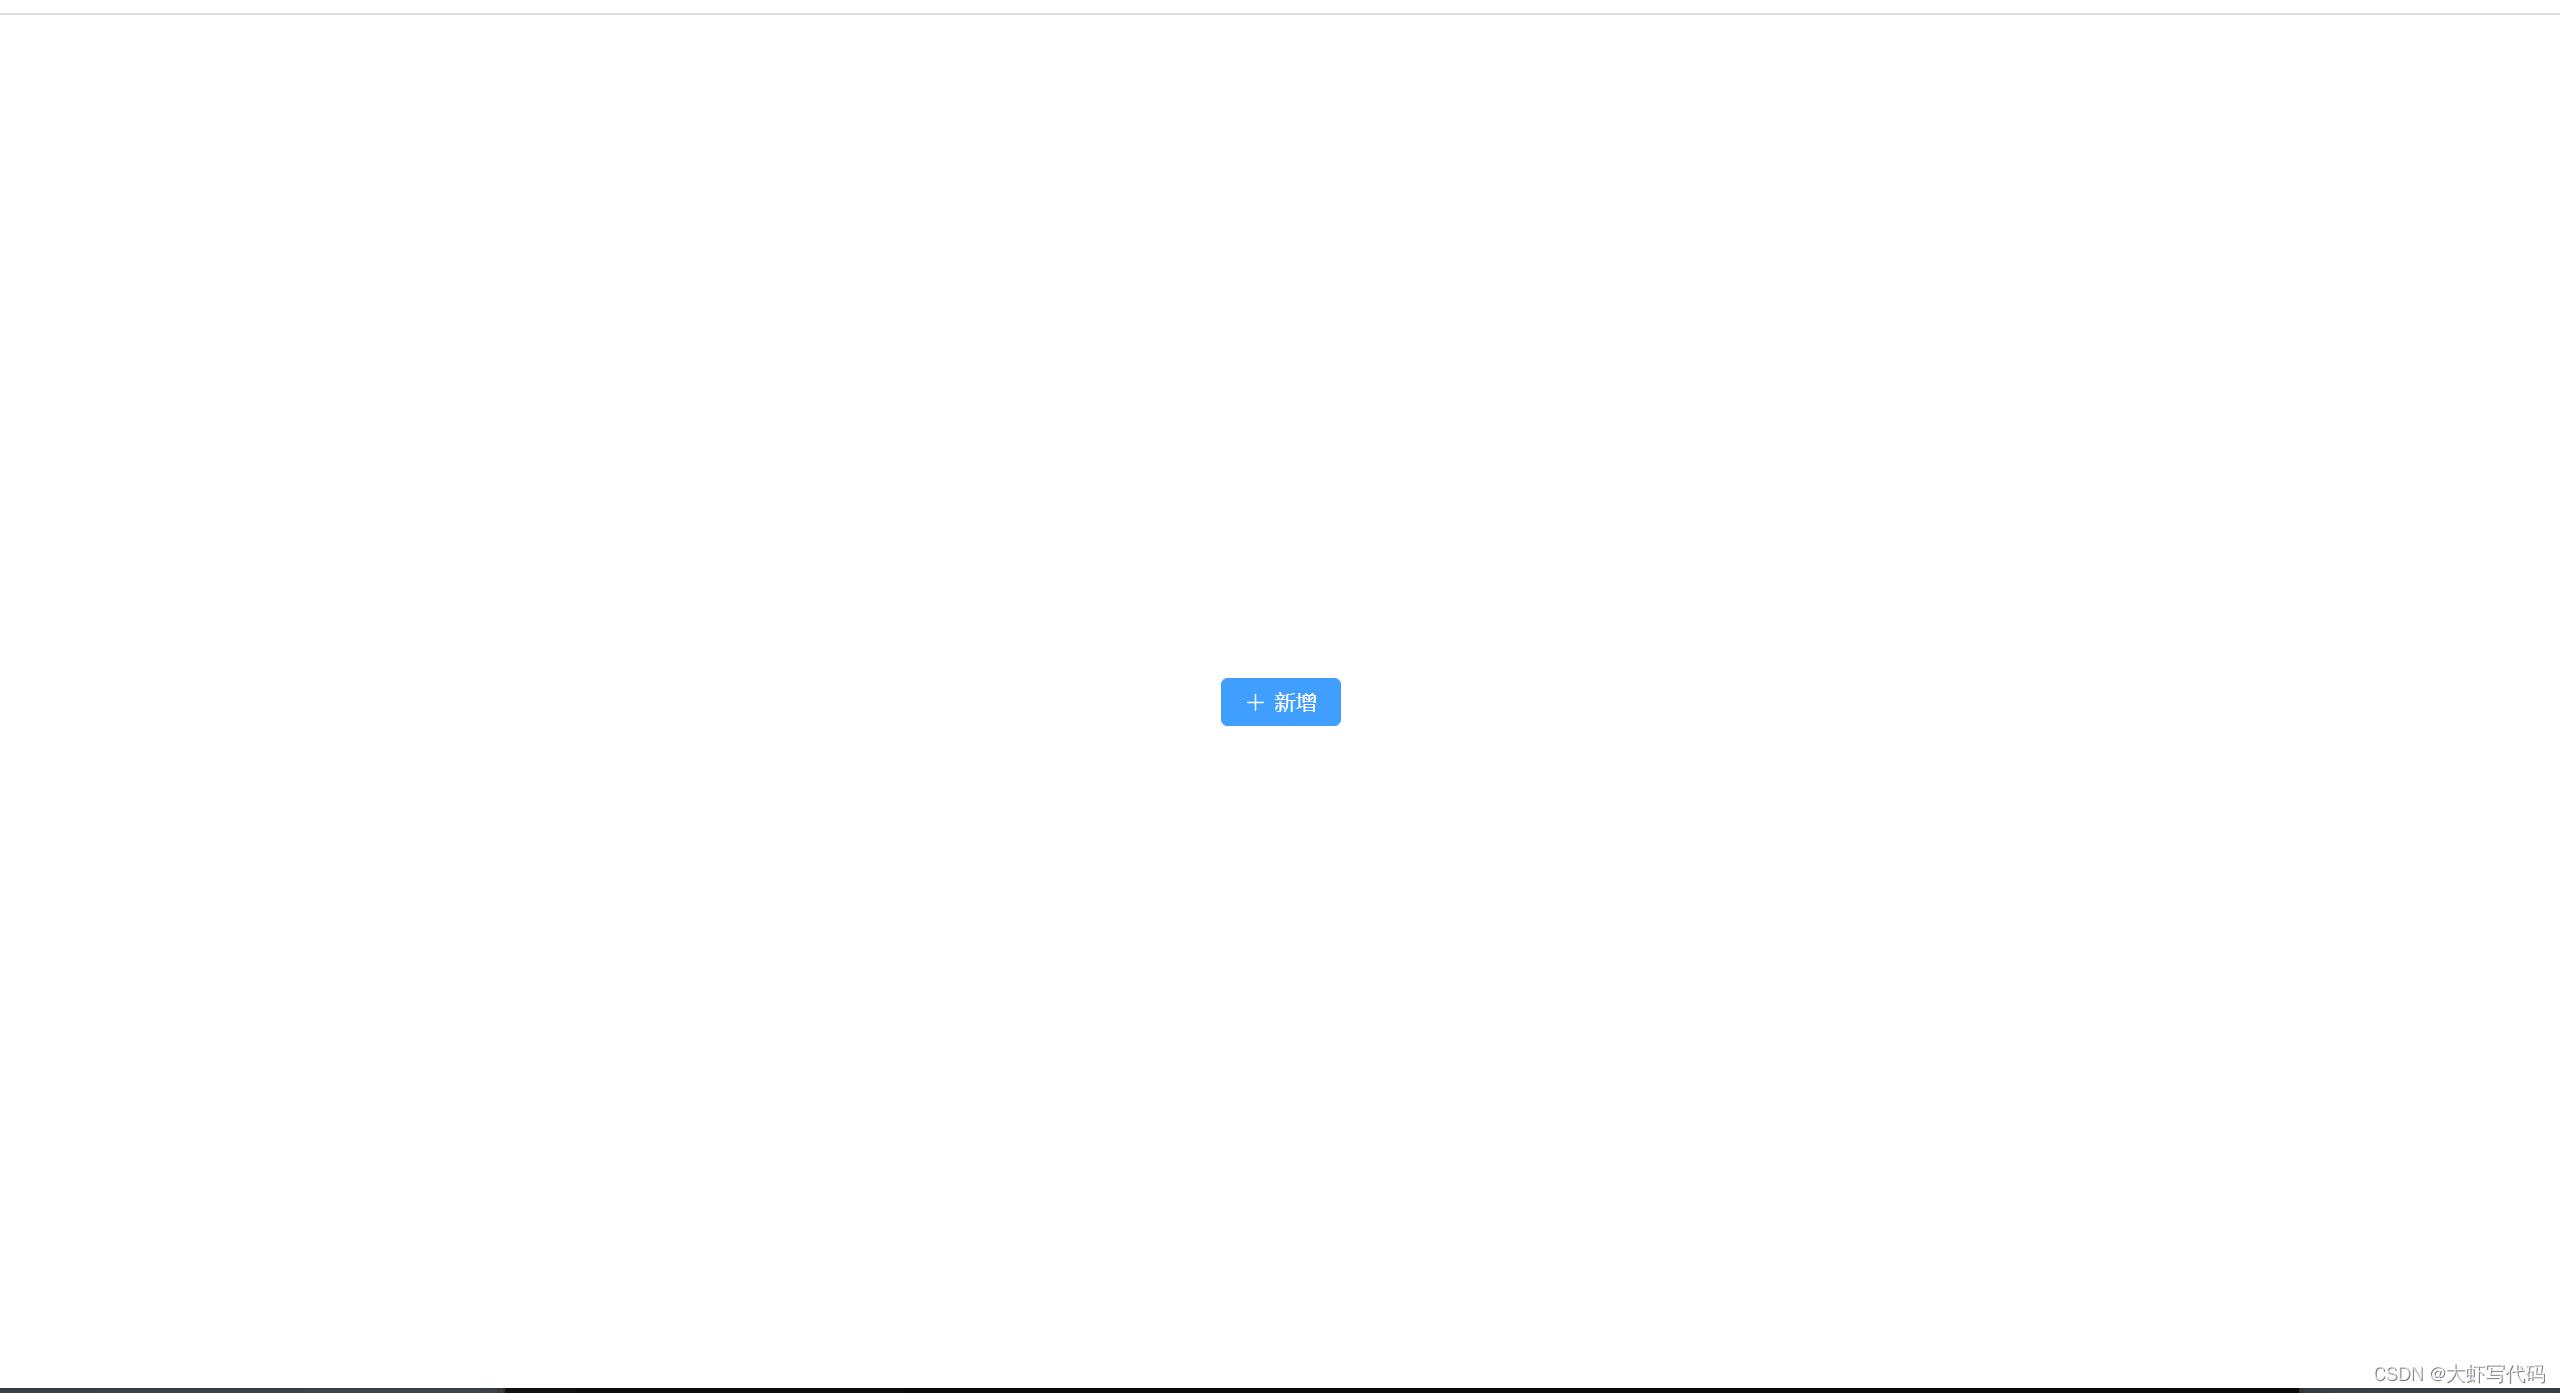
清除原有Helloworld.vue内容,添加element-plus按钮
<template>
  <el-button type="primary" size="default" :icon='Plus'>新增</el-button>
</template>
<script setup lang="ts">
import Plus from '@element-plus/icons-vue';

</script>
<style scoped lang="scss">

</style>
运行如下图 ,命令行输入
npm run dev
- 安装pinia(状态管理,类似vue2中的vuex)
npm install pinia
Pinia 是 Vue 的存储库,它允许您跨组件/页面共享状态,组件通信。vue3推荐。文末有入门链接,很详细步奏使用pinia
全局引入pinia
import  createApp  from 'vue'
import './style.css'
import App from './App.vue'
import router from './router'
import ElementPlus from 'element-plus'
import 'element-plus/dist/index.css'
import * as ElementPlusIconsVue from '@element-plus/icons-vue'
import zhCn from 'element-plus/dist/locale/zh-cn.mjs'   //国际化
import  createPinia  from 'pinia'

const app = createApp(App);
// 实例化 Pinia
const pinia = createPinia()

app.use(ElementPlus,locale: zhCn).use(router).use(pinia).mount('#app')

//全局注册图标组件
for (const [key, component] of Object.entries(ElementPlusIconsVue))
    app.component(key, component)
开发提示:
- 上面代码引用了默认的style.css文件(引用位置main.ts中),可能里面样式对我们开发有干扰,可自行处理修改style.css默认样式。建议:全删除,自己设置html,body,#app样式。以下参考可自行发挥:
*
  margin: 0;
  padding: 0;

html,body,#app
  width: 100%;
  height: 100%;
- 路径在src下的可以用@符号引用
import SysDialog from '@/components/SysDialog.vue';
到此一个基本的vue3项目框架就搭好了。欢迎指正
需要入门pinia的,传送门:pinia 0基础入门
以上是关于解决vue3+vite+TS 中使用element-plus按需引入 ElLoadingElMessage 样式失效的主要内容,如果未能解决你的问题,请参考以下文章