Arduino-ESP32开发环境搭建
Posted somebot
tags:
篇首语:本文由小常识网(cha138.com)小编为大家整理,主要介绍了Arduino-ESP32开发环境搭建相关的知识,希望对你有一定的参考价值。
目录
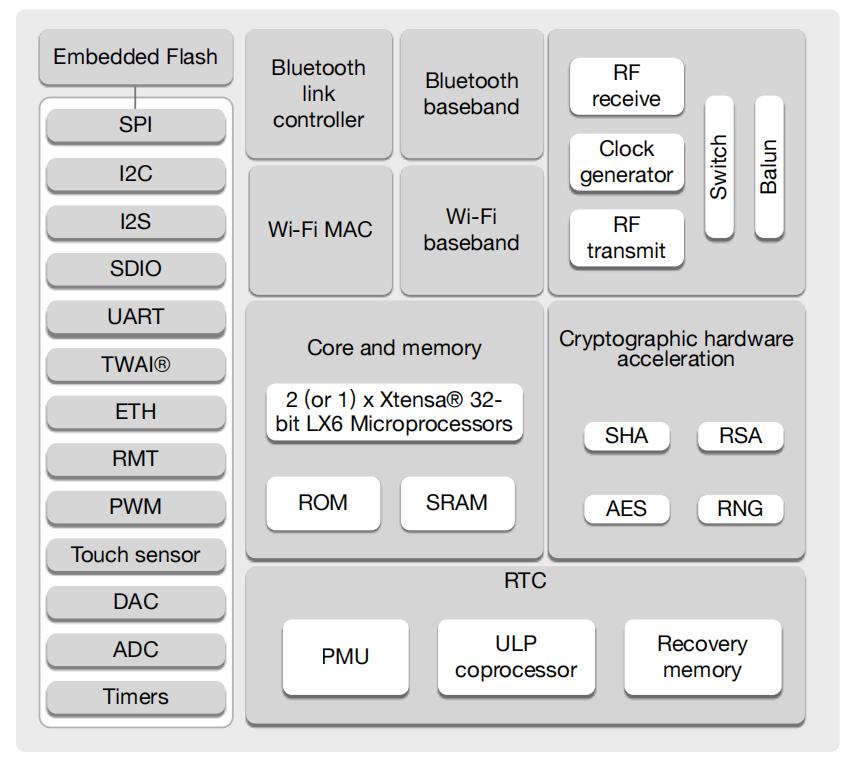
ESP32
STM32价格一路上涨,是时候来一起支持国产了!
而且ESP32它真的很香,硬件配置及其感人啊。
ESP8266做物联网的同学应该都听过、用过,来对比下:
| 概况 | 系列 | ESP32 | ESP8266 |
| CPU | Xtensa® dual-core 32-bit LX6 | Xtensa® single-core 32-bit L106 | |
| 单/双核 | 2 | 1 | |
| 时钟频率 (MHz) | 240 | 160 | |
| 封装 (mm) | QFN48 (5*5) | QFN32 (5*5) | |
| 工作电压 (V) | 2.3 ~ 3.6 | 2.5 ~ 3.6 | |
| ECO | ECO V3 | 标准件 | |
| 通信 | Wi-Fi | IEEE 802.11 b/g/n; 2.4 GHz; HT20/40; up to 150 Mbps | IEEE 802.11 b/g/n; 2.4 GHz; HT20; up to 75 Mbps |
| 蓝牙 | BR/EDR + Bluetooth LE v4.2 | N/A | |
| 存储 | SRAM (KB) | 520 | 160 |
| ROM (KB) | 448 | 0 | |
| RTC SRAM (KB) | 16 | 1 | |
| 外设 | ADC | 2*12-bit ADC, 18 channels | 1*10-bit ADC, 1 channel |
| DAC | 2*8-bit DAC | 0 | |
| Touch | 10 | 0 | |
| Temp Sensor | 1 | 0 | |
| GPIO | 34 | 17 | |
| UART | 3 | 2 | |
| SPI | 4 | 2 | |
| SDIO HOST | 1 | 0 | |
| I2C | 2 | 1 | |
| I2S | 2 | 1 | |
| RMT | 1*8 channels | 0 | |
| LED PWM | 2*8 channels | 0 | |
| MCPWM | 2 | 0 | |
| Hall | 1 | 0 | |
| Ethernet | 1 | 0 | |
| TWAI | 1 | 0 | |
| JTAG | YES | NO | |
| Camera | 1*DVP 8/16-bit | N/A | |
| 认证 | 蓝牙认证 | BT SIG |
|
| Wi-Fi 认证 |
| Wi-Fi Alliance | |
| 生态认证 |
| Props 65/Alibaba IOT |
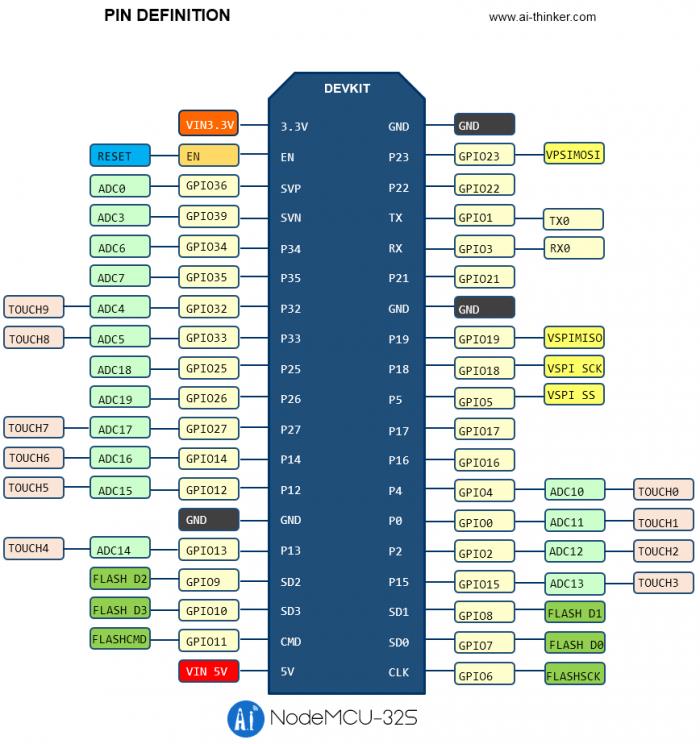
NodeMCU-32S
我们来看安信可做的ESP32开发板——NodeMCU-32S
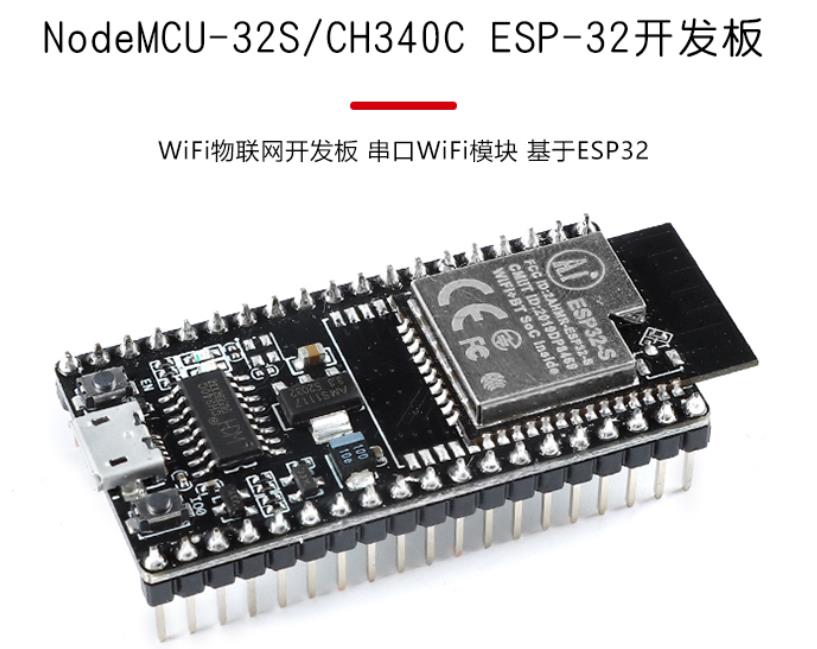
直接搞起来!
这是安信可资料链接:
https://docs.ai-thinker.com/esp32/boards/nodemcu_32s
进去之后会发现其实最主要还是要看乐鑫官方github仓库:
GitHub - espressif/arduino-esp32: Arduino core for the ESP32
接着GitHub又会提示你,到乐鑫官网看文档:
Welcome to ESP32 Arduino Core’s documentation — Arduino-ESP32 2.0.0 documentation

你要的东西,就全部在这个地方了。
一定要收藏!
一定要收藏!
一定要收藏!
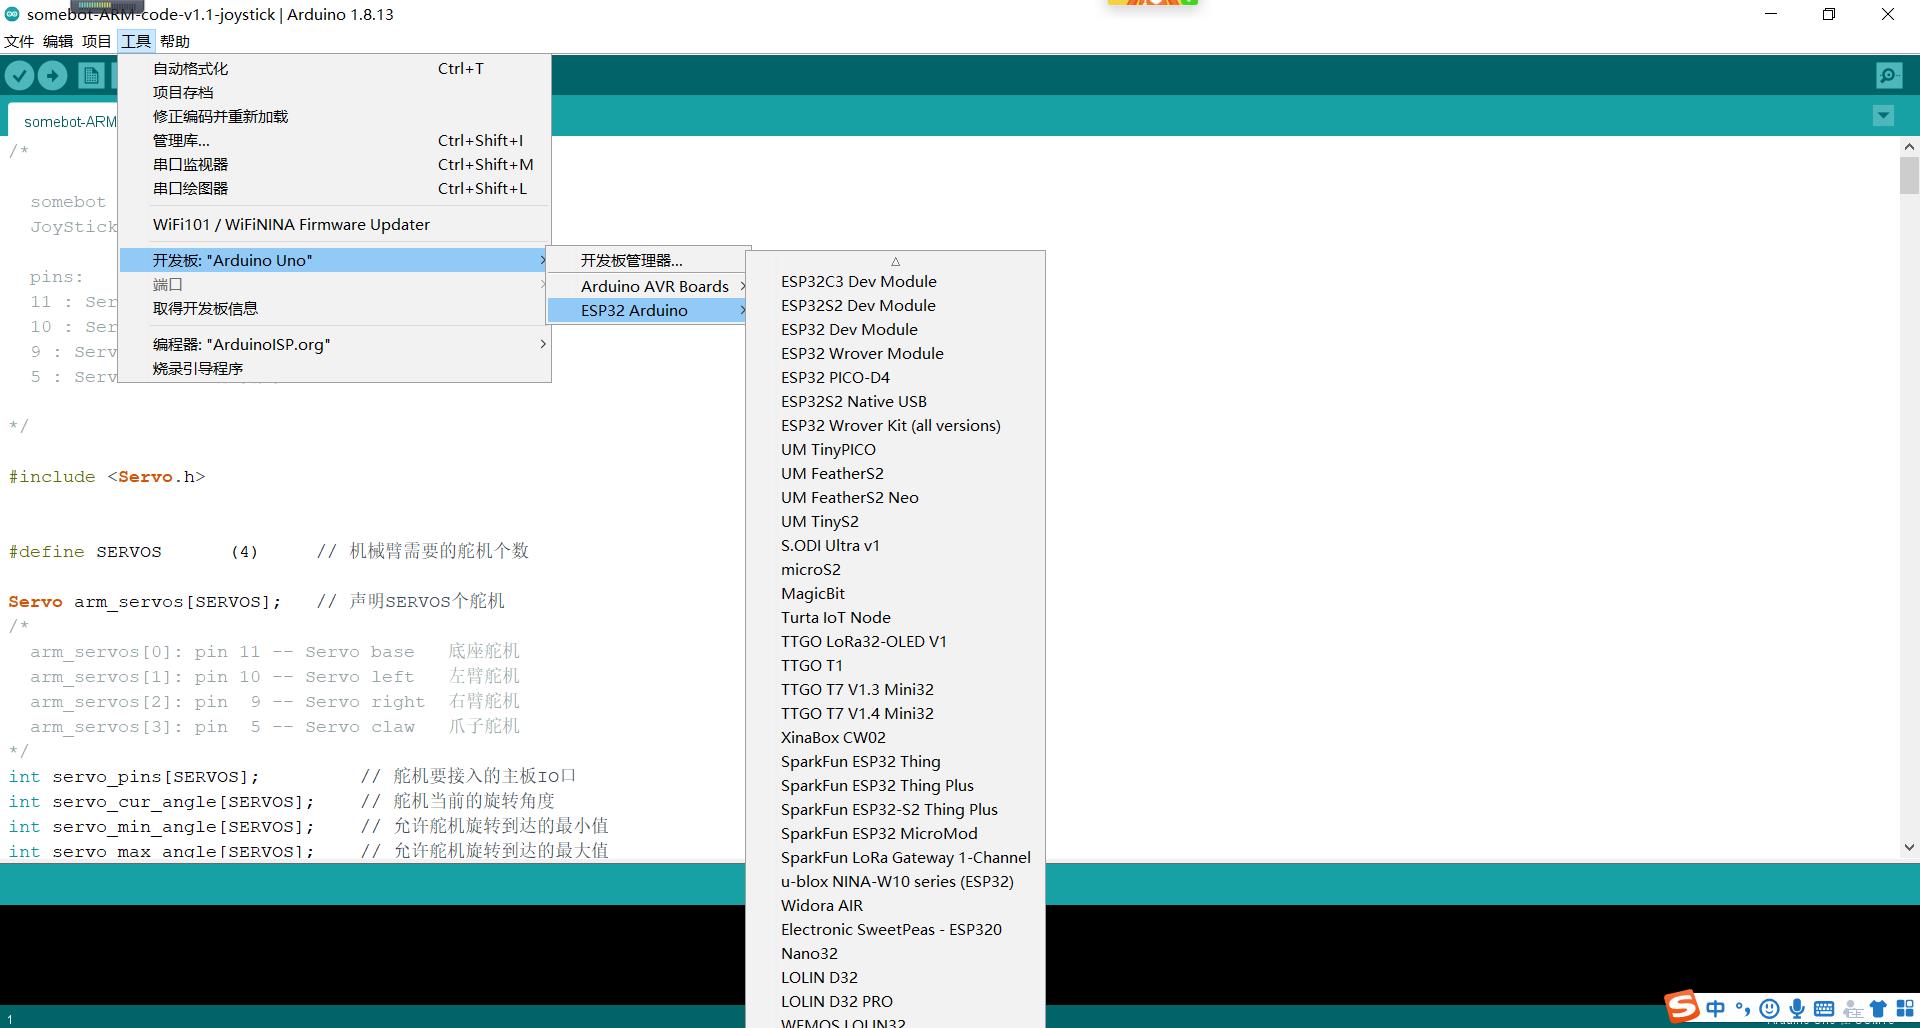
安装
Installing — Arduino-ESP32 2.0.0 documentation
最简单的安装方式,就是在arduino软件里面,用开发板管理器进行安装。
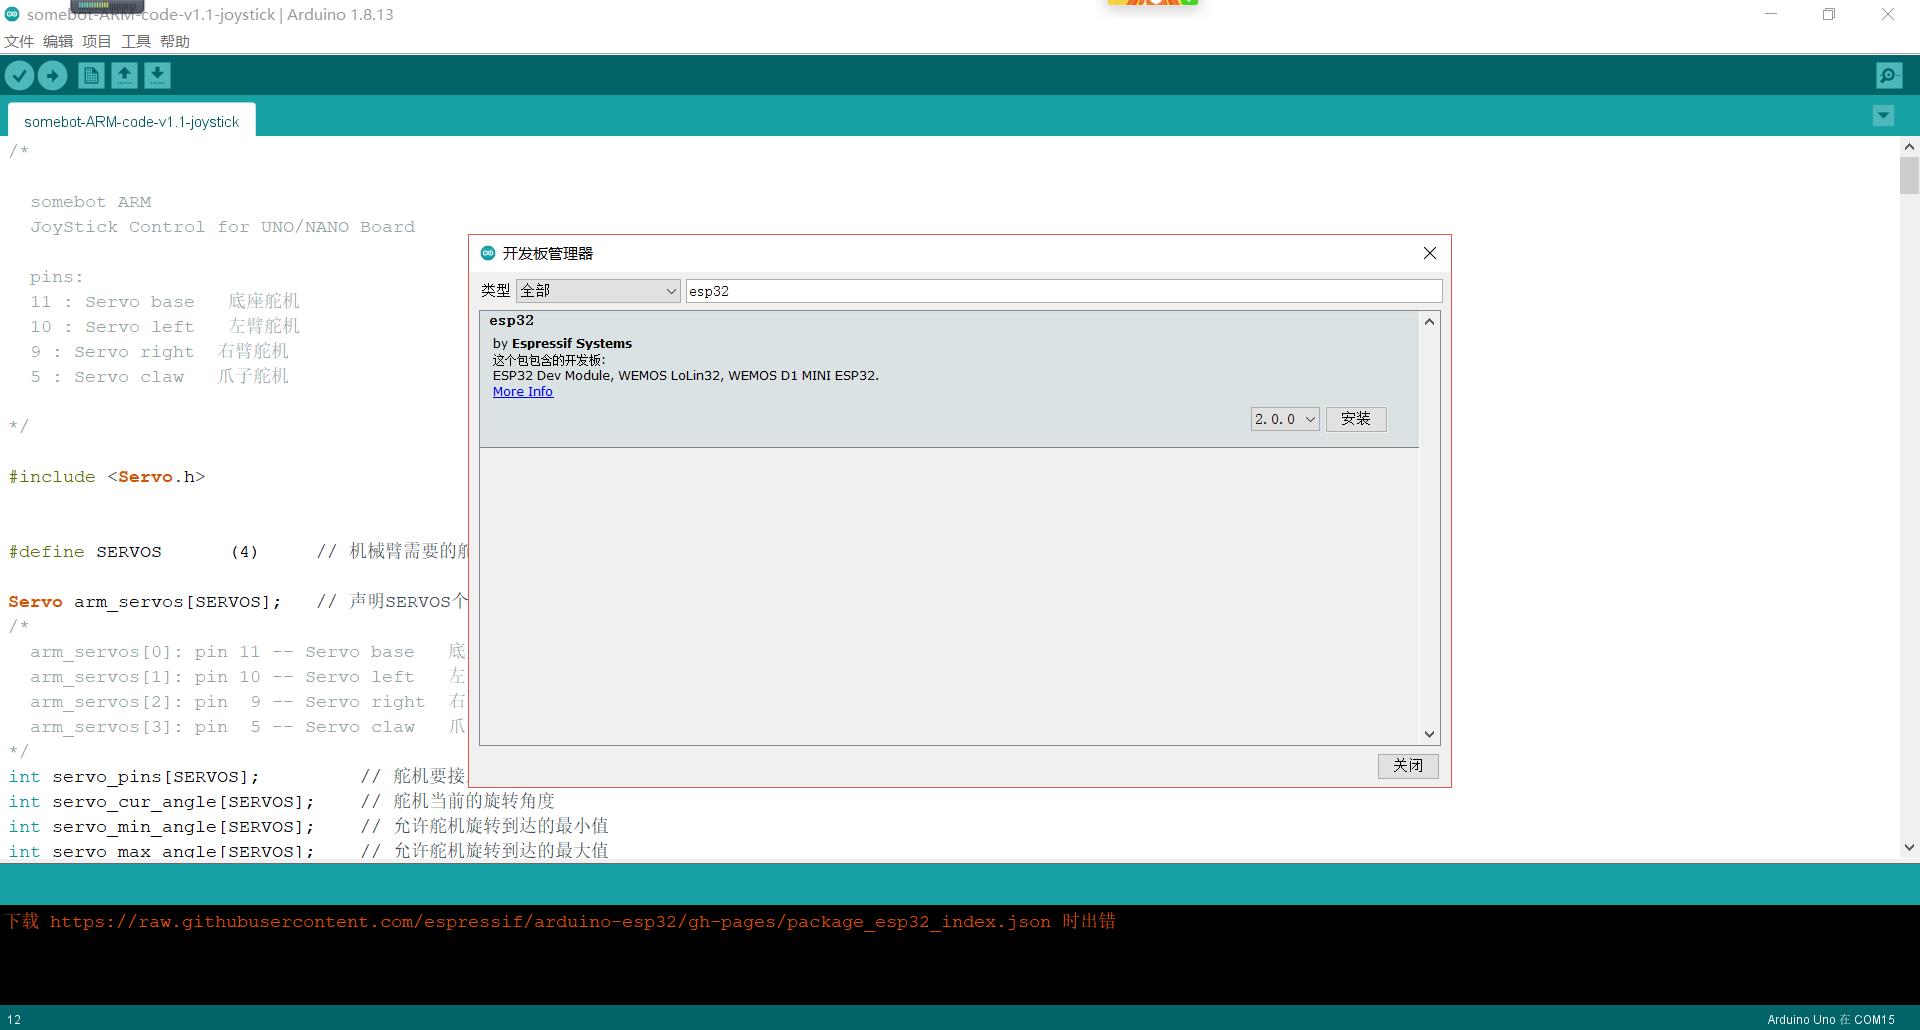
如果出现“下载xxxx时出错”,那就还是要翻墙,因为github没有翻墙是很难访问的。
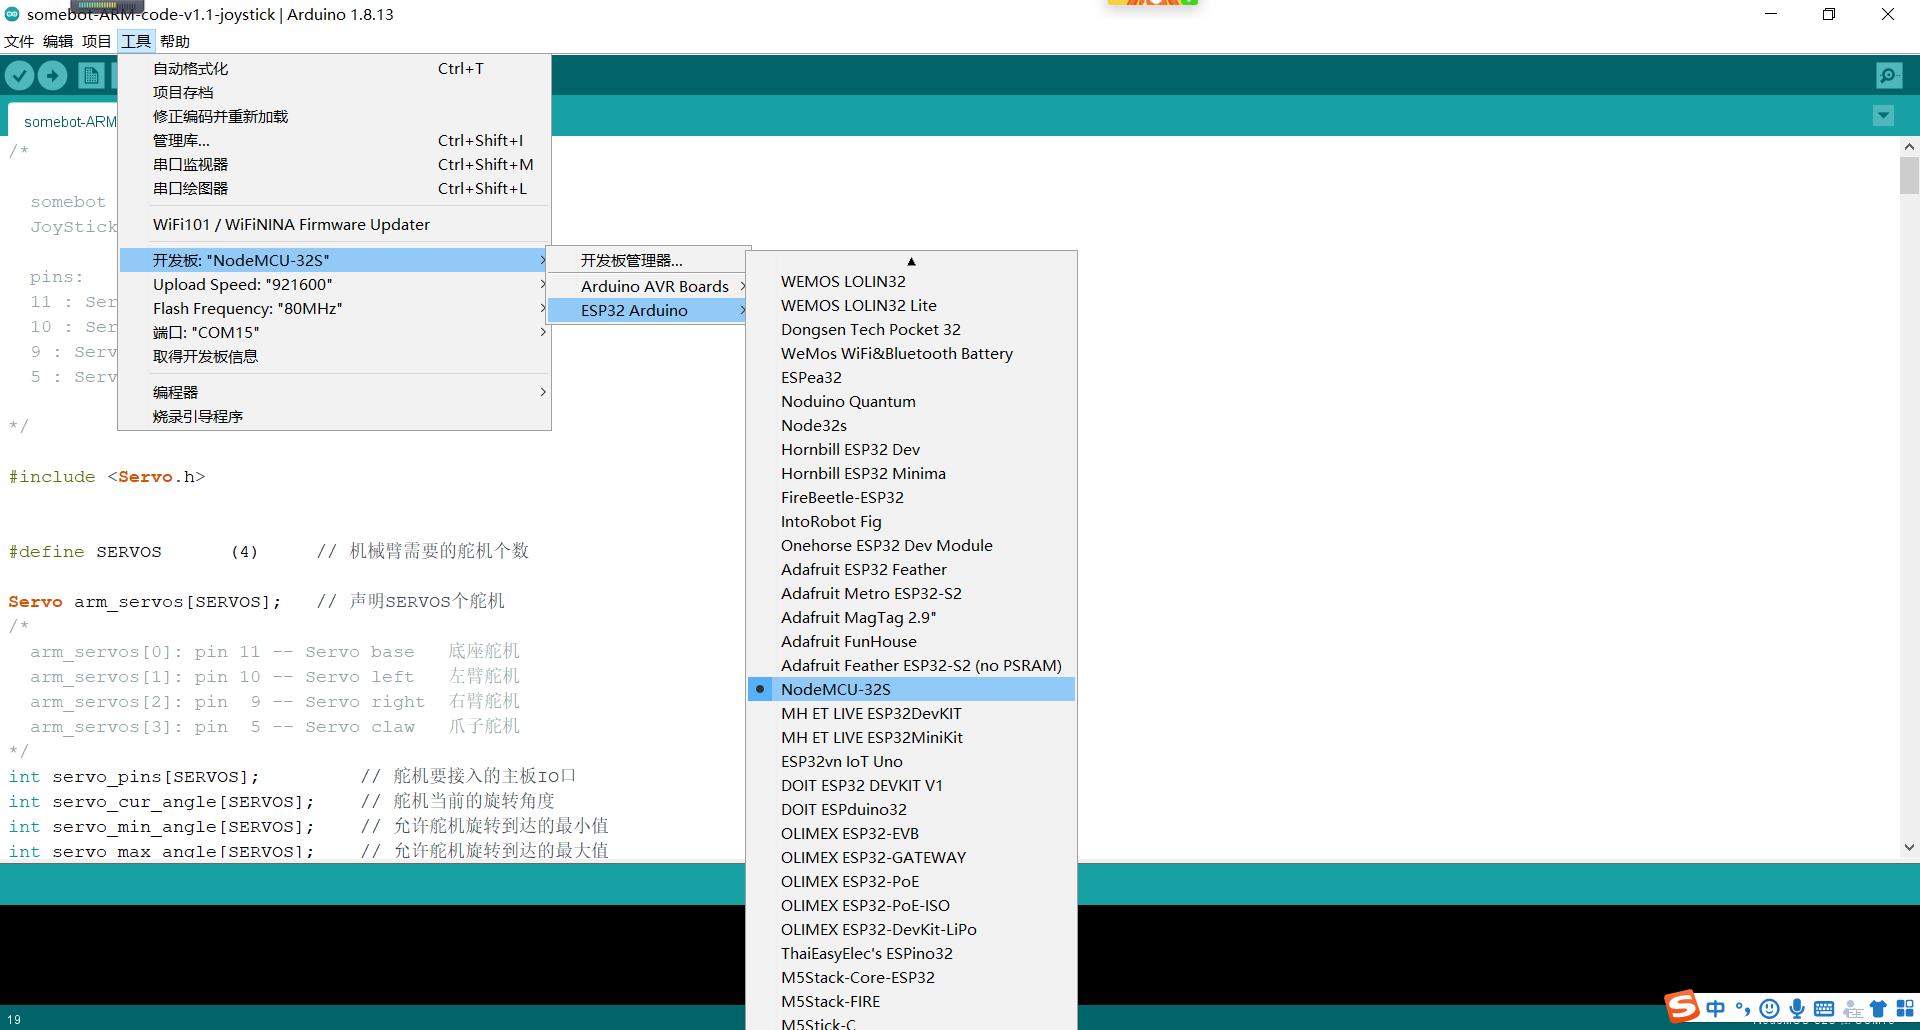
上传程序
安装完成之后,关闭再打开arduino软件,就可以看到上图这些个ESP32开发板,我们找到NodeMCU-32S,并且选中端口号——COM15。
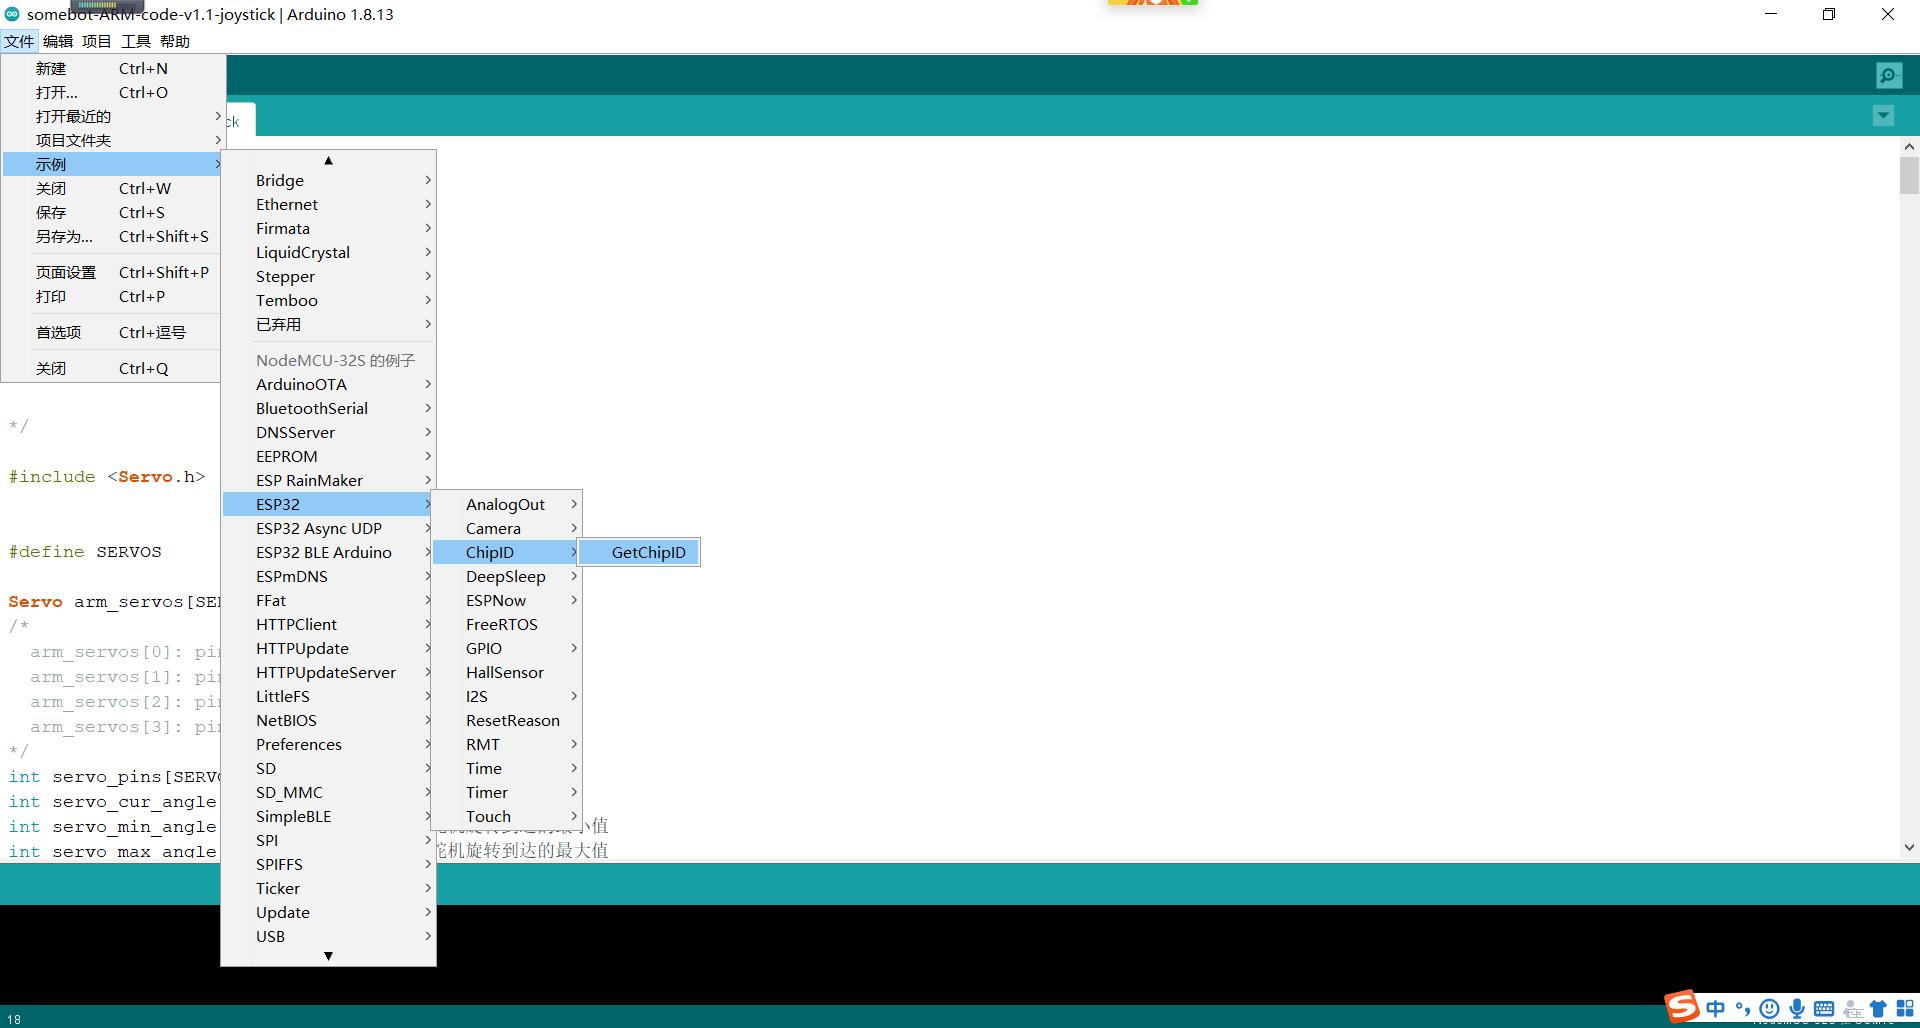
然后打开例程——GetChipID
点击“上传”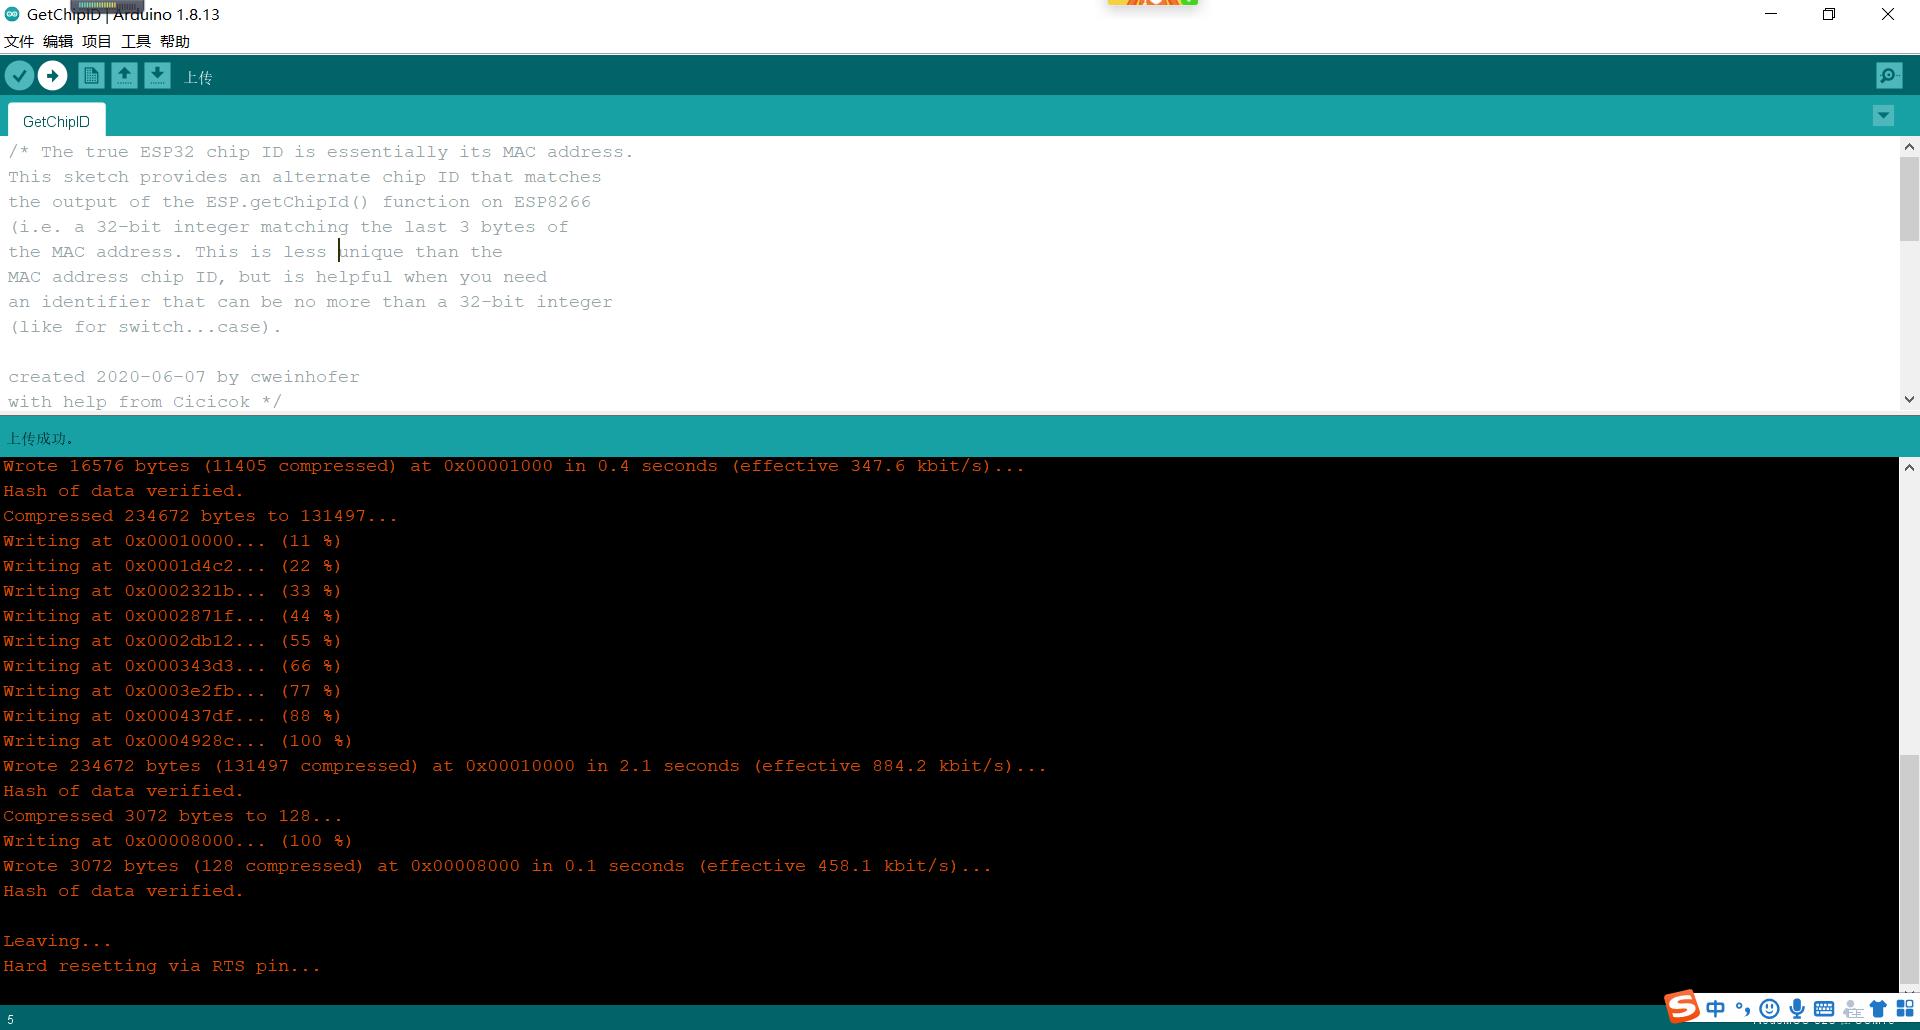
经过下面这番思想斗争之后,它就上传成功了!
esptool.py v3.1
Serial port COM15
Connecting.....
Chip is ESP32-D0WD (revision 1)
Features: WiFi, BT, Dual Core, 240MHz, VRef calibration in efuse, Coding Scheme None
Crystal is 40MHz
MAC: a8:03:2a:c0:41:18
Uploading stub...
Running stub...
Stub running...
Changing baud rate to 921600
Changed.
Configuring flash size...
Auto-detected Flash size: 4MB
Flash will be erased from 0x0000e000 to 0x0000ffff...
Flash will be erased from 0x00001000 to 0x00005fff...
Flash will be erased from 0x00010000 to 0x00049fff...
Flash will be erased from 0x00008000 to 0x00008fff...
Compressed 8192 bytes to 47...
Writing at 0x0000e000... (100 %)
Wrote 8192 bytes (47 compressed) at 0x0000e000 in 0.1 seconds (effective 648.8 kbit/s)...
Hash of data verified.
Compressed 16576 bytes to 11405...
Writing at 0x00001000... (100 %)
Wrote 16576 bytes (11405 compressed) at 0x00001000 in 0.4 seconds (effective 347.6 kbit/s)...
Hash of data verified.
Compressed 234672 bytes to 131497...
Writing at 0x00010000... (11 %)
Writing at 0x0001d4c2... (22 %)
Writing at 0x0002321b... (33 %)
Writing at 0x0002871f... (44 %)
Writing at 0x0002db12... (55 %)
Writing at 0x000343d3... (66 %)
Writing at 0x0003e2fb... (77 %)
Writing at 0x000437df... (88 %)
Writing at 0x0004928c... (100 %)
Wrote 234672 bytes (131497 compressed) at 0x00010000 in 2.1 seconds (effective 884.2 kbit/s)...
Hash of data verified.
Compressed 3072 bytes to 128...
Writing at 0x00008000... (100 %)
Wrote 3072 bytes (128 compressed) at 0x00008000 in 0.1 seconds (effective 458.1 kbit/s)...
Hash of data verified.

Leaving...
Hard resetting via RTS pin...
打开串口监视器,就可以看到Chip ID是12599576

主要代码是这样的:
void loop()
	for(int i=0; i<17; i=i+8)
	  chipId |= ((ESP.getEfuseMac() >> (40 - i)) & 0xff) << i;


	Serial.printf("ESP32 Chip model = %s Rev %d\\n", ESP.getChipModel(), ESP.getChipRevision());
	Serial.printf("This chip has %d cores\\n", ESP.getChipCores());
  Serial.print("Chip ID: "); Serial.println(chipId);

	delay(3000);
就这么简单的,跑起来了。
以上是关于Arduino-ESP32开发环境搭建的主要内容,如果未能解决你的问题,请参考以下文章