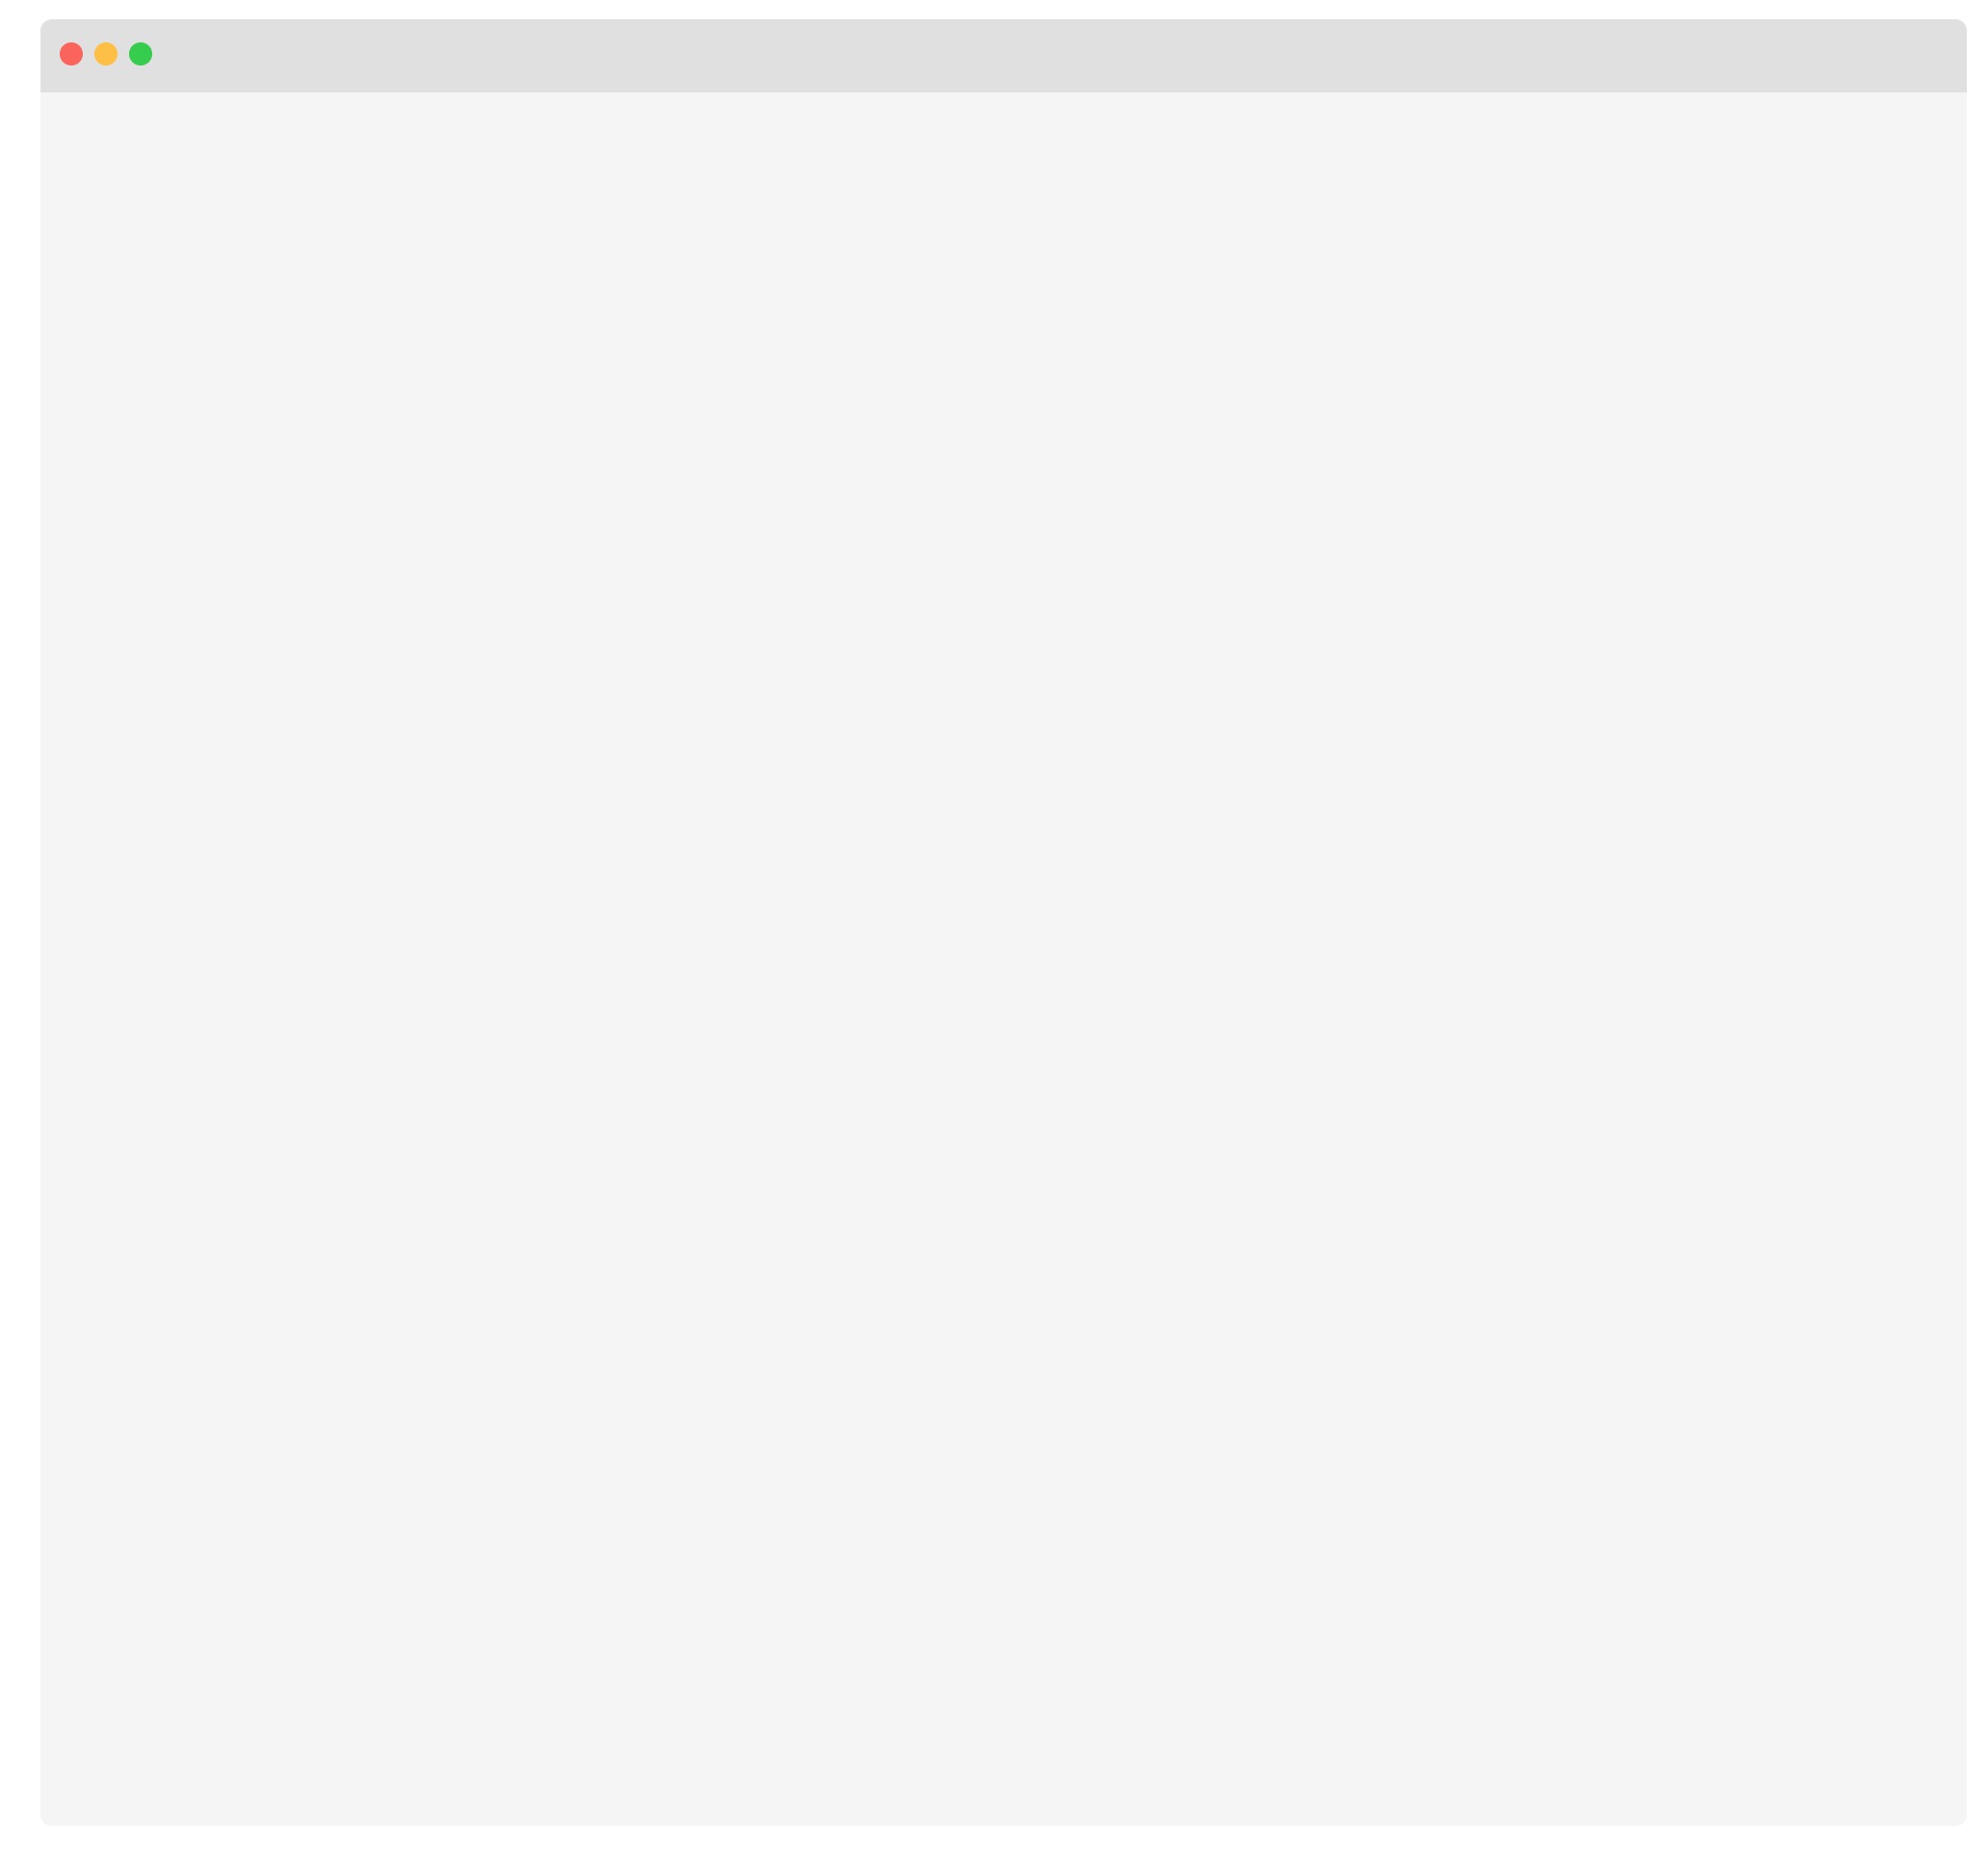
使用CSS+HTML实现macOS红绿灯应用标题栏
Posted Zip Zou
tags:
篇首语:本文由小常识网(cha138.com)小编为大家整理,主要介绍了使用CSS+HTML实现macOS红绿灯应用标题栏相关的知识,希望对你有一定的参考价值。
在html设计中,通常需要模拟Mac下红绿灯窗口风格用来表示一个窗口或页面,常用的方法,如:通过定位+子元素实现,该方式扩展性强,可以在子元素上创建事件。
另一种方法,则为纯CSS解决方案,但是无法产生事件监听,但是产生的效果也更加简单。
解决方案1: 使用子元素实现
使用三个<a>即可实现,但是需要将display: inline-block;用于设置宽度和高度生效,同时通过边框弧度产生圆形效果:
.light
  display: inline-block;
  width: 12px;
  height: 12px;
  border-radius: 50%;
最后再通过设置颜色即可实现。完整HTML代码如下:
<!DOCTYPE html>
<html lang="en">
<head>
  <meta charset="UTF-8">
  <meta http-equiv="X-UA-Compatible" content="IE=edge">
  <meta name="viewport" content="width=device-width, initial-scale=1.0">
  <style>
    *
      margin: 0;
      padding: 0;

    .window
      width: 1000px;
      height: 900px;
      margin: 0 auto;
      margin-top: 12px;

    .header
      background-color: #E0E0E0;
      border-top-left-radius: 6px;
      border-top-right-radius: 6px;
      padding: 10px;


    .header .light
      display: inline-block;
      width: 12px;
      height: 12px;
      border-radius: 50%;
      margin-right: 2px;
      cursor: pointer;
      font-size: 10px;
      text-align: center;
      color: #fff;


    .header .light:hover
      opacity: 0.8;


    .light.yellow
      background-color: #ffbf2b;


    .light.red
      background-color: #fd6458;


    .light.green
      background-color: #24cc3d;


    /* .header::before
      content: ' ';
      display: inline-block;
      width: 12px;
      height: 12px;
      border-radius: 50%;
      background-color: #fd6458;
      box-shadow: 20px 0 0 #ffbf2b, 40px 0 0 #24cc3d;
     */

    .window .content
      width: 100%;
      height: 100%;
      margin: 0;
      padding: 0;
      background-color: #F5F5F5;
      border-bottom-left-radius: 6px;
      border-bottom-right-radius: 6px;

  </style>
  <title>Document</title>
</head>
<body>
  <div
    class="window"
  >
  <div class="header">
    <a class="light red"></a>
    <a class="light yellow"></a>
    <a class="light green"></a>
  </div>
  <div class="content">

  </div>
</body>
</html>
解决方案2: 使用纯CSS实现
该方案无需子元素,而是通过伪类::before实现,基于该方案实现的,无法产生事件响应。其核心思想是在于使用边框和边框颜色、阴影来实现。
产生红绿灯圆形气泡的CSS代码如下:
.item::before
    content: "";
    display: inline-block;
    width: 12px;
    height: 12px;
    border-radius: 50%;
    background-color: #fd6458;
    box-shadow: 20px 0 0 #ffbf2b, 40px 0 0 #24cc3d;
完整的HTML代码为:
<!DOCTYPE html>
<html lang="en">
<head>
  <meta charset="UTF-8">
  <meta http-equiv="X-UA-Compatible" content="IE=edge">
  <meta name="viewport" content="width=device-width, initial-scale=1.0">
  <style>
    *
      margin: 0;
      padding: 0;

    .window
      width: 1000px;
      height: 900px;
      margin: 0 auto;
      margin-top: 12px;


    .header
      background-color: #E0E0E0;
      border-top-left-radius: 6px;
      border-top-right-radius: 6px;
      padding: 10px;


    .header::before
      content: ' ';
      display: inline-block;
      width: 12px;
      height: 12px;
      border-radius: 50%;
      background-color: #fd6458;
      box-shadow: 20px 0 0 #ffbf2b, 40px 0 0 #24cc3d;


    .window .content
      width: 100%;
      height: 100%;
      margin: 0;
      padding: 0;
      background-color: #F5F5F5;
      border-bottom-left-radius: 6px;
      border-bottom-right-radius: 6px;

  </style>
  <title>Document</title>
</head>
<body>
  <div
    class="window"
  >
  <div class="header">

  </div>
  <div class="content">

  </div>
</div>
</body>
</html>
效果预览
最终效果如下:

以上是关于使用CSS+HTML实现macOS红绿灯应用标题栏的主要内容,如果未能解决你的问题,请参考以下文章
如何使用 SwiftUI 向 macOS 应用程序添加工具栏?
macOS必备应用Bartender,让你的 Mac 菜单栏井然有序