spring boo的简单搭建(eclipse+springboot + redis + mysql + thymeleaf)
Posted yzbx12138
tags:
篇首语:本文由小常识网(cha138.com)小编为大家整理,主要介绍了spring boo的简单搭建(eclipse+springboot + redis + mysql + thymeleaf)相关的知识,希望对你有一定的参考价值。
之前都是自己配xml,很麻烦,就是把那些固有的配置粘来粘去,boot就是为了简化这些配置而生的
关于boot的安装有很多种办法,我选择直接下载带有boot的eclipse(下载网站 https://spring.io/tools )
( 我当时看的是这篇博客,写的很好 https://blog.csdn.net/weixin_41381863/article/details/87826430 )
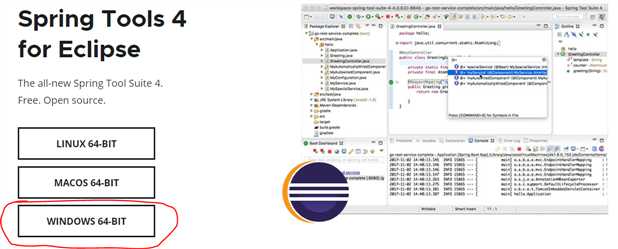
选择圈中的下载,下载后是一个压缩包,双击即可解压
解压后是这个样子
![]()
点进去是这个样子
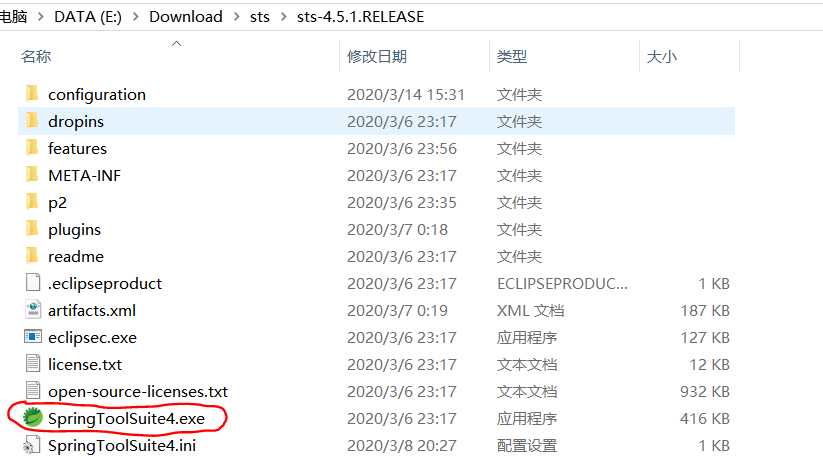
双击红圈内的就可以打开带boot的eclipse了
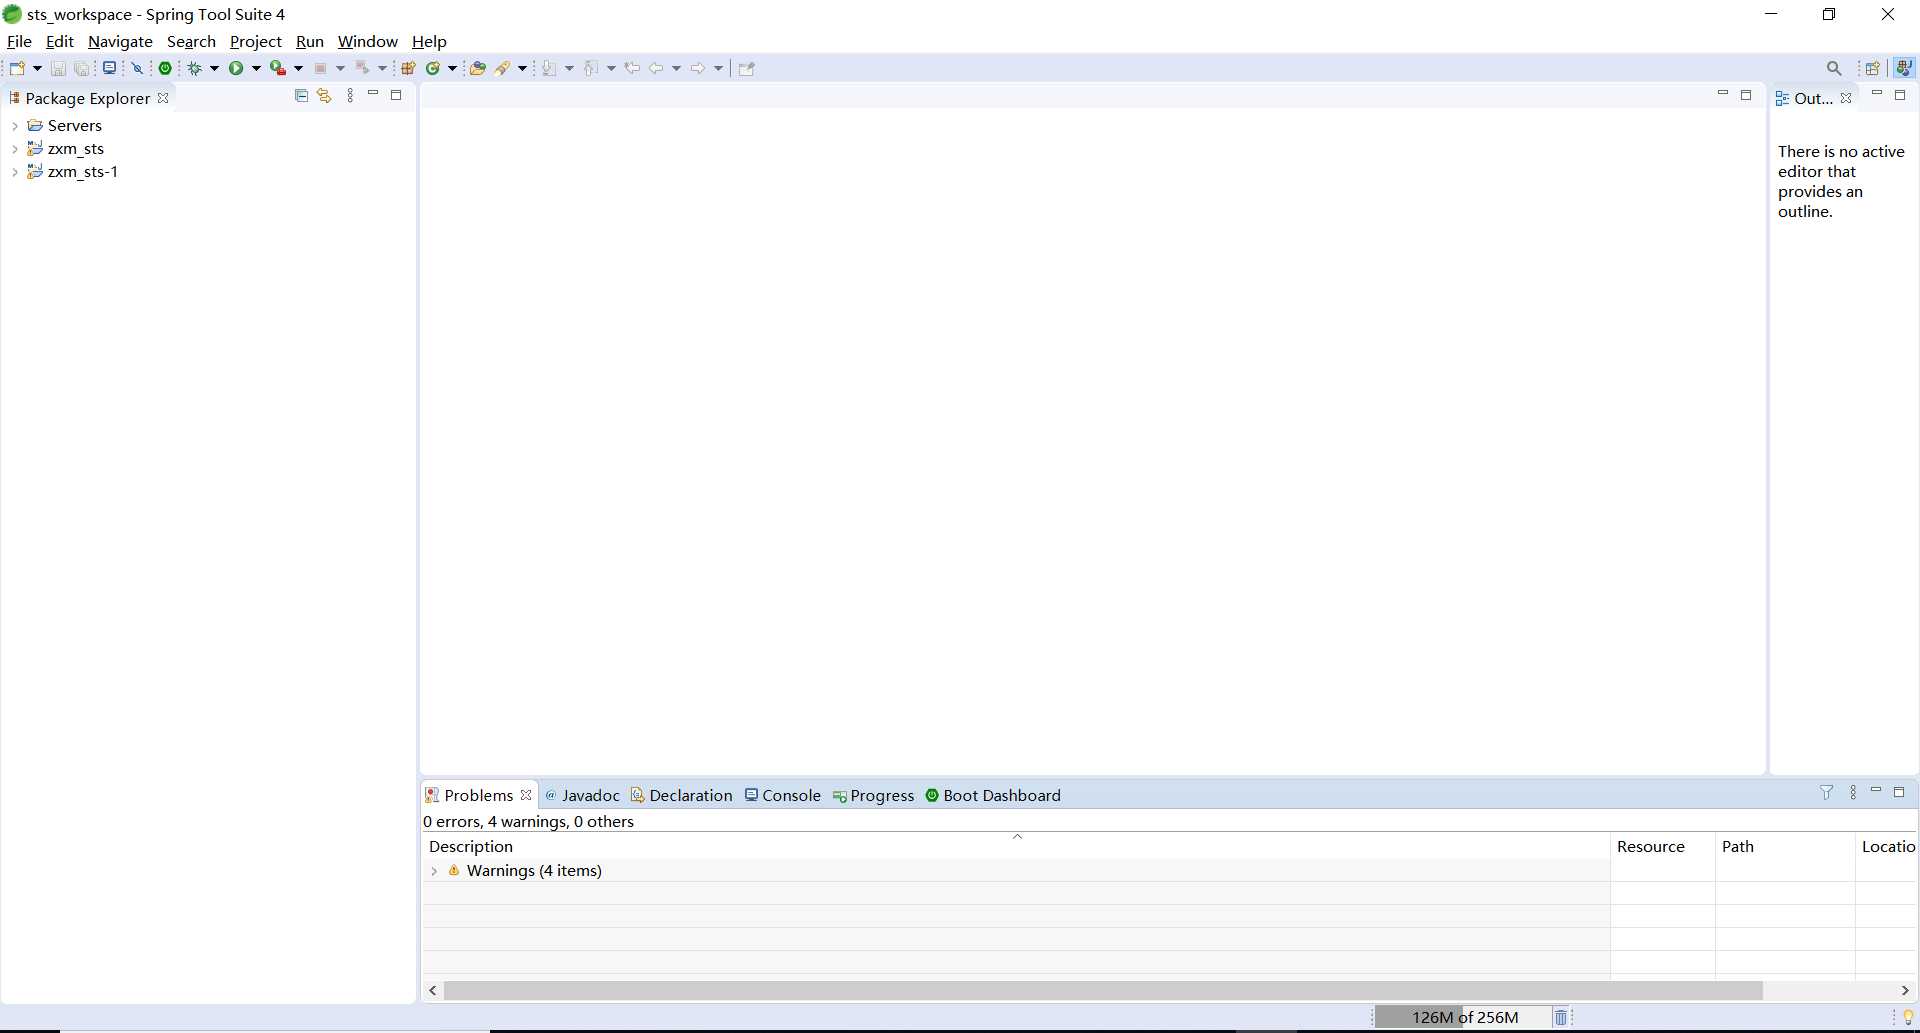
和普通的eclipse一样
然后,我们建一个有mybtis ,mysql 的web工程(redis要后配)
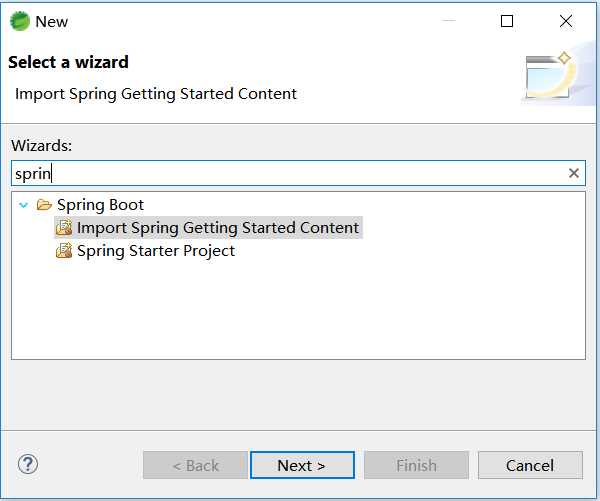
点spring starter project,然后点 next
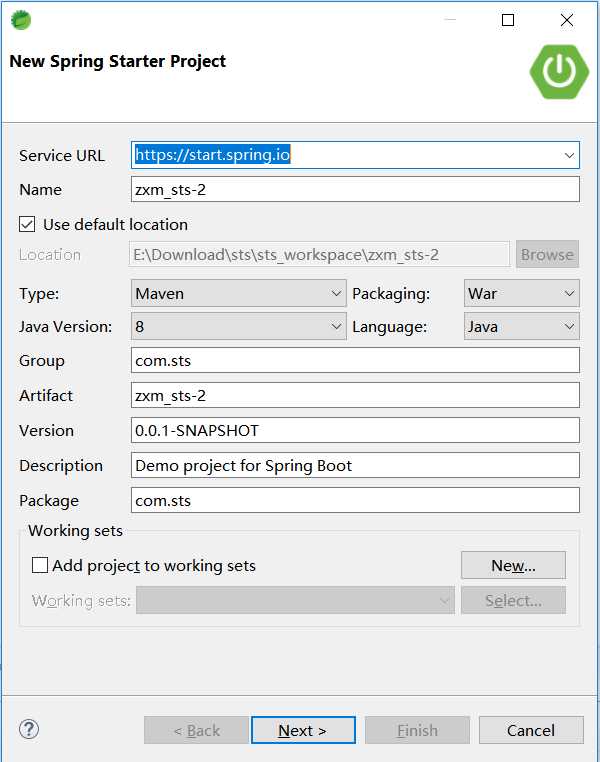
出来这个界面后,起起名字(这步可能会卡,刷不出来,我断网重连然后重启eclipse后好使了,玄学)
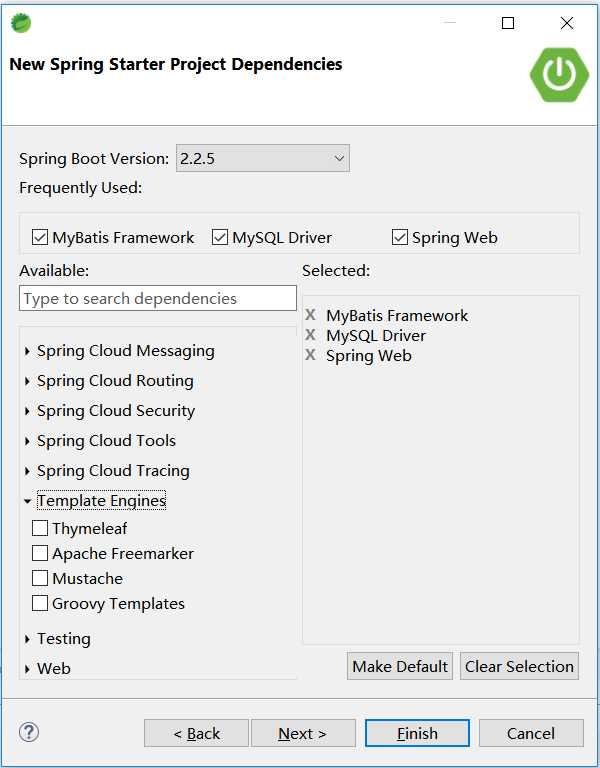
选中这三个,spring web是基本,必须选的,如果需要thymeleaf也可以选上
然后点击finiish,等待下载完成

刚进来就报70个错,都是jar包问题
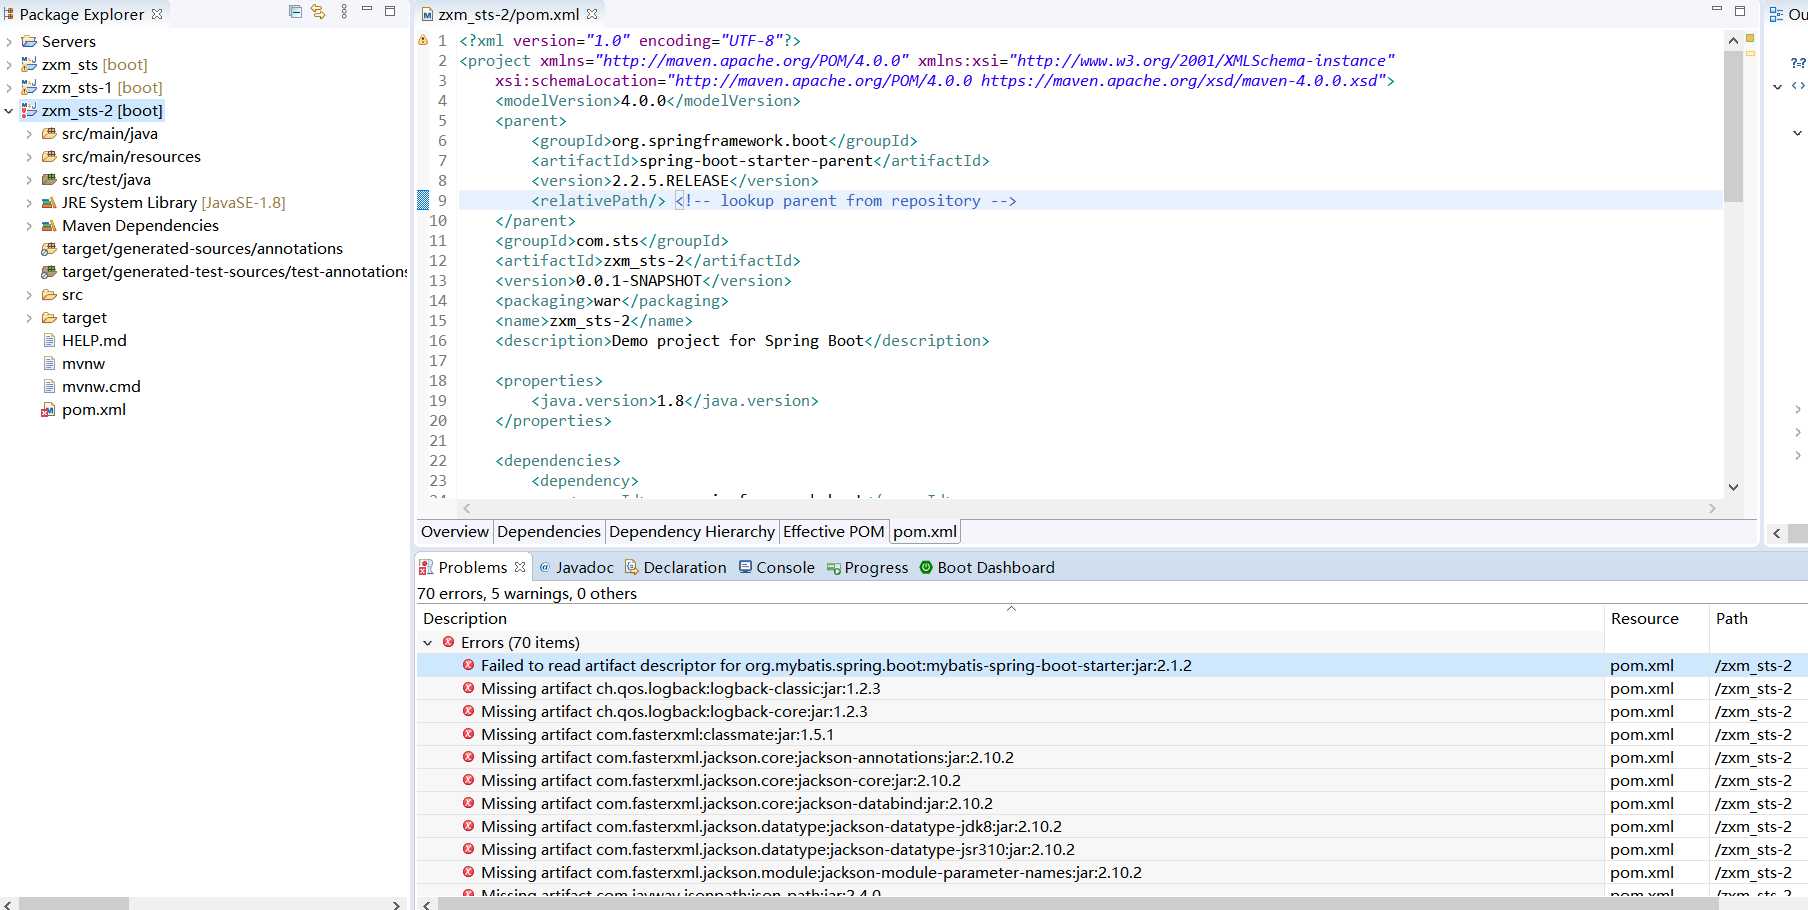
反复检查了几处后 把2.1.2改成2.1.1就成功了(版本可能是问题,但不是唯一的问题,还有遇到问题是难免的,不要急躁,慢慢来)
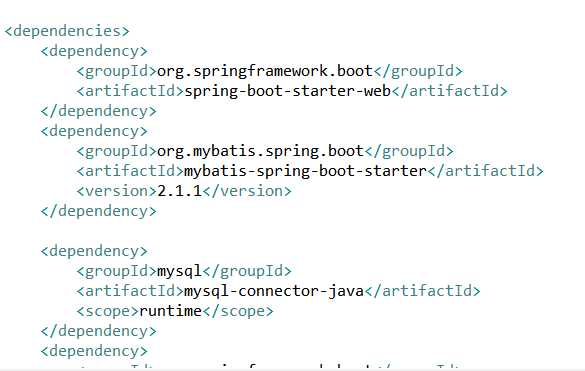
然后,我们加入一些插件(jedis和fastjson ,jedis是连接redis用的,fastjson应该是一个做json格式与java格式转换的)
 <dependency>
          <groupId>redis.clients</groupId>
          <artifactId>jedis</artifactId>
</dependency>
<dependency>
          <groupId>com.alibaba</groupId>
          <artifactId>fastjson</artifactId>
            <version>1.2.66</version>
</dependency>
我的完整版pom.xml如下,不过不能全粘,项目名就不一样
<?xml version="1.0" encoding="UTF-8"?>
<project xmlns="http://maven.apache.org/POM/4.0.0" xmlns:xsi="http://www.w3.org/2001/XMLSchema-instance"
    xsi:schemaLocation="http://maven.apache.org/POM/4.0.0 https://maven.apache.org/xsd/maven-4.0.0.xsd">
    <modelVersion>4.0.0</modelVersion>
    <parent>
        <groupId>org.springframework.boot</groupId>
        <artifactId>spring-boot-starter-parent</artifactId>
        <version>2.2.5.RELEASE</version>
        <relativePath/> <!-- lookup parent from repository -->
    </parent>
    <groupId>com.sts</groupId>
    <artifactId>zxm_sts-2</artifactId>
    <version>0.0.1-SNAPSHOT</version>
    <packaging>war</packaging>
    <name>zxm_sts-2</name>
    <description>Demo project for Spring Boot</description>

    <properties>
        <java.version>1.8</java.version>
    </properties>

    <dependencies>
        <dependency>
            <groupId>org.springframework.boot</groupId>
            <artifactId>spring-boot-starter-web</artifactId>
        </dependency>
        <dependency>
            <groupId>org.mybatis.spring.boot</groupId>
            <artifactId>mybatis-spring-boot-starter</artifactId>
            <version>2.1.1</version>
        </dependency>

        <dependency>
            <groupId>mysql</groupId>
            <artifactId>mysql-connector-java</artifactId>
            <scope>runtime</scope>
        </dependency>
        <dependency>
            <groupId>redis.clients</groupId>
            <artifactId>jedis</artifactId>
        </dependency>
        <dependency>
            <groupId>com.alibaba</groupId>
            <artifactId>fastjson</artifactId>
            <version>1.2.66</version>
        </dependency>
        <dependency>
            <groupId>org.springframework.boot</groupId>
            <artifactId>spring-boot-starter-tomcat</artifactId>
            <scope>provided</scope>
        </dependency>
        <dependency>
            <groupId>org.springframework.boot</groupId>
            <artifactId>spring-boot-starter-test</artifactId>
            <scope>test</scope>
            <exclusions>
                <exclusion>
                    <groupId>org.junit.vintage</groupId>
                    <artifactId>junit-vintage-engine</artifactId>
                </exclusion>
            </exclusions>
        </dependency>
    </dependencies>

    <build>
        <plugins>
            <plugin>
                <groupId>org.springframework.boot</groupId>
                <artifactId>spring-boot-maven-plugin</artifactId>
            </plugin>
        </plugins>
    </build>

</project>
然后配置application.properties
我的是
#mysql
spring.datasource.driver-class-name=com.mysql.cj.jdbc.Driver
spring.datasource.url=jdbc:mysql://localhost:3306/base02?serverTimezone=UTC
spring.datasource.username=root
spring.datasource.password=root
#redis
spring.redis.host=localhost
spring.redis.port=6379
只是很简单的配置
(如果需要 thymeleaf就把下面的也写进去)
spring.thymeleaf.cache=false
spring.thymeleaf.encoding=utf-8
spring.thymeleaf.mode=html5
spring.thymeleaf.prefix=classpath:/templates/
spring.thymeleaf.suffix=.html
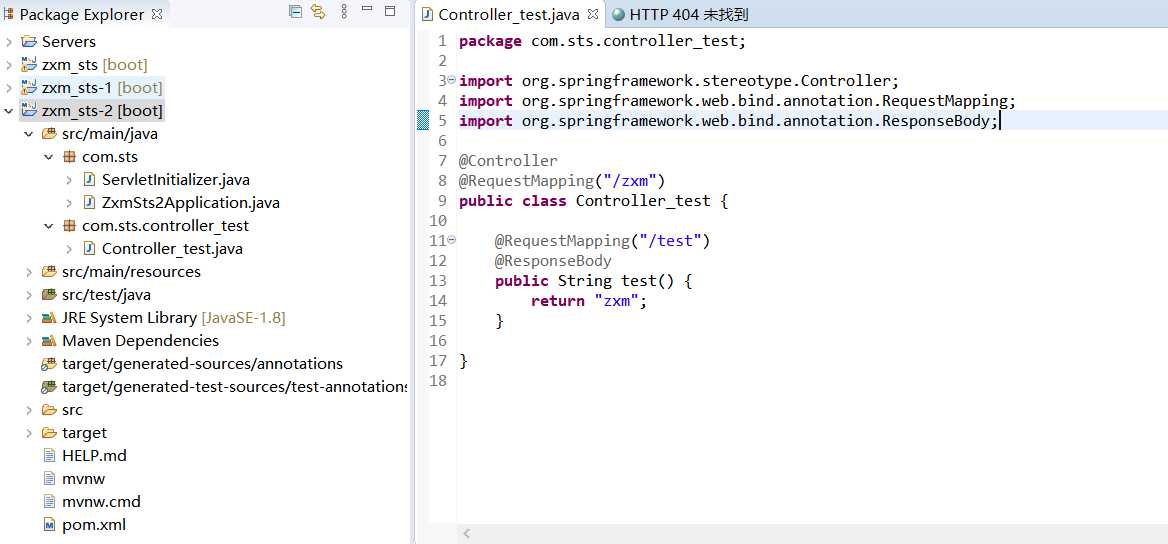
简单写一个controller

成功了,连数据库和redis也是好使的,我就不展示了
我个人认为,搭建boot是需要提前明白ssm项目搭建,maven配置,mysql配置,redis配置这些的,弄好之后搭建boot就很容易了
[原创作品zxm]欢迎提问和意见(但我不常上博客园0.0)
以上是关于spring boo的简单搭建(eclipse+springboot + redis + mysql + thymeleaf)的主要内容,如果未能解决你的问题,请参考以下文章