iOS开发之机器学习框架MediaPipe
Posted hbblzjy
tags:
篇首语:本文由小常识网(cha138.com)小编为大家整理,主要介绍了iOS开发之机器学习框架MediaPipe相关的知识,希望对你有一定的参考价值。
书接上回:iOS开发之机器学习框架MediaPipe(3)_hbblzjy的博客-CSDN博客
兜兜转转大结局终于来了,是时候运行Demo,实践和检验成果了。
上次已经将项目用Xcode打开,然后连接真机,因为我需要用SelfieSegmentationGpuApp这个demo,所以我选择了此Targets,然后运行,发现报错。错误如下:
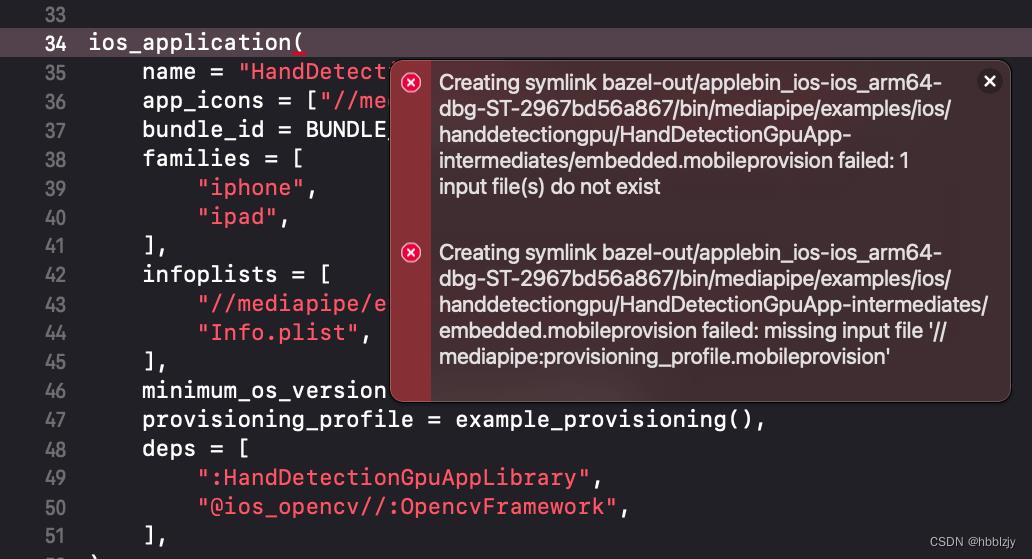
然后我看了官方文档:(MediaPipe on iOS - mediapipe)
Set up provisioning
To install applications on an ios device, you need a provisioning profile. There are two options:

Automatic provisioning. This allows you to build and install an app to your personal device. The provisining profile is managed by Xcode, and has to be updated often (it is valid for about a week).

Custom provisioning. This uses a provisioning profile associated with an Apple developer account. These profiles have a longer validity period and can target multiple devices, but you need a paid developer account with Apple to obtain one.

AUTOMATIC PROVISIONING
Create an Xcode project for MediaPipe, as discussed earlier.

In the project navigator in the left sidebar, select the “Mediapipe” project.

Select one of the application targets, e.g. HandTrackingGpuApp.

Select the “Signing & Capabilities” tab.

Check “Automatically manage signing”, and confirm the dialog box.

Select “Your Name (Personal Team)” in the Team pop-up menu.

This set-up needs to be done once for each application you want to install. Repeat steps 3-6 as needed.

This generates provisioning profiles for each app you have selected. Now we need to tell Bazel to use them. We have provided a script to make this easier.

In the terminal, to the mediapipe directory where you cloned the repository.

Run this command:

python3 mediapipe/examples/ios/link_local_profiles.py
This will find and link the provisioning profile for all applications for which you have enabled automatic provisioning in Xcode.

Note: once a profile expires, Xcode will generate a new one; you must then run this script again to link the updated profiles.

CUSTOM PROVISIONING
Obtain a provisioning profile from Apple.
Tip: You can use this command to see the provisioning profiles you have previously downloaded using Xcode: open ~/Library/MobileDevice/"Provisioning Profiles". If there are none, generate and download a profile on Apple’s developer site.

Symlink or copy your provisioning profile to mediapipe/mediapipe/provisioning_profile.mobileprovision.

cd mediapipe
ln -s ~/Downloads/MyProvisioningProfile.mobileprovision mediapipe/provisioning_profile.mobileprovision
Note: if you had previously set up automatic provisioning, you should remove the provisioning_profile.mobileprovision symlink in each example’s directory, since it will take precedence over the common one. You can also overwrite it with you own profile if you need a different profile for different apps.

Open mediapipe/examples/ios/bundle_id.bzl, and change the BUNDLE_ID_PREFIX to a prefix associated with your provisioning profile.
意思是说,运行工程前,需要添加配置文件,有两种方式:一种是自动配置文件,一种是自定义添加配置文件(这种方式按照原文档,我没操作出来,但我猜应该需要在开发者网站配置一个通用证书,然后导入使用)。接下来我要说的是第一种方式。
自动配置文件,相信iOS开发者应该都很熟悉,只要你下载过别人的Demo,那你就会配置,
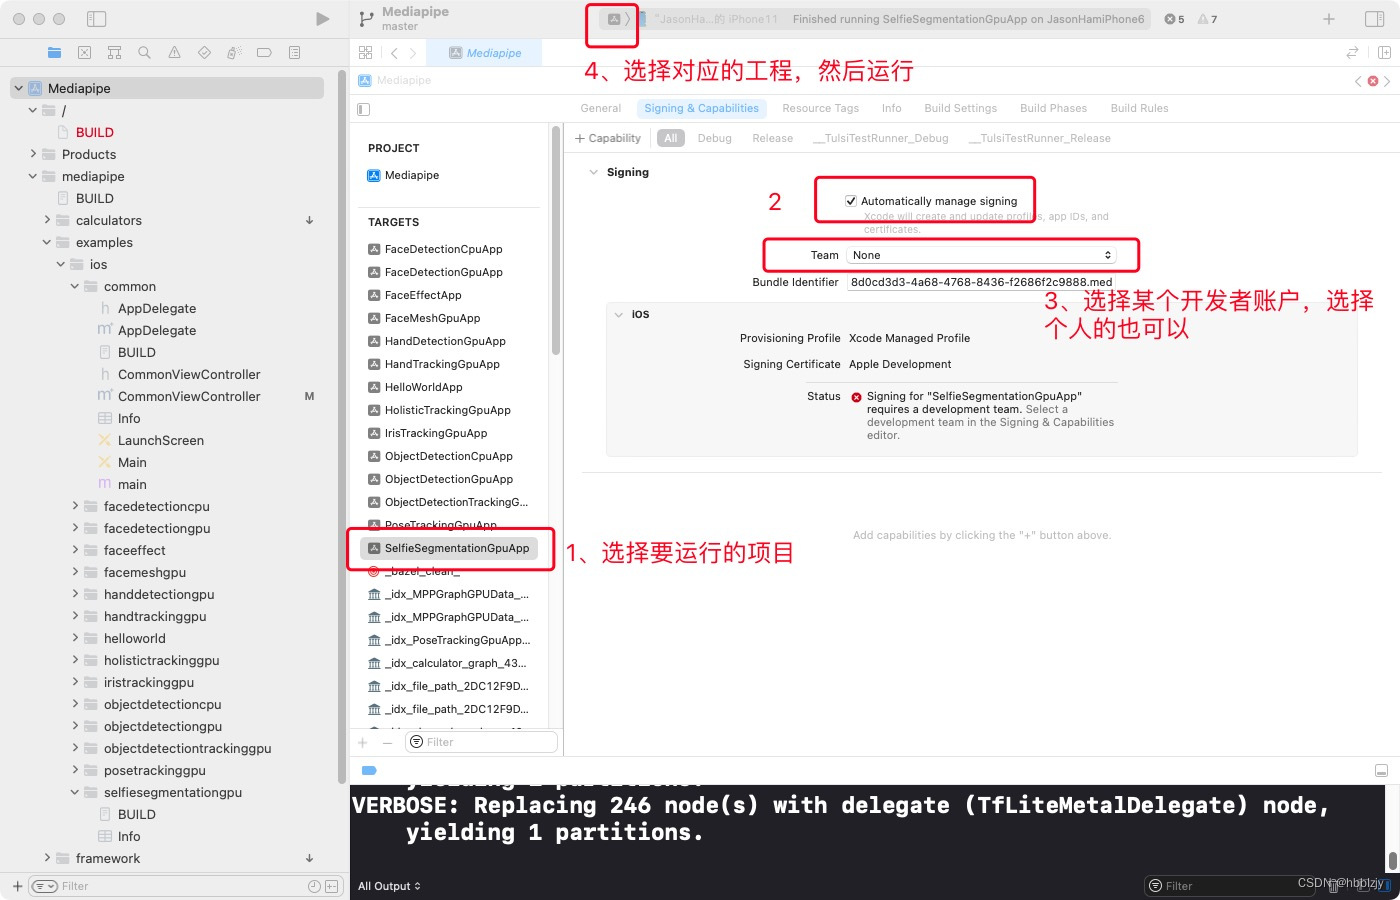
结果你会发现,依然会报上述错误,这是因为自动配置好的profile文件还没有关联上对应的项目,此时,你需要 cd 到 mediapipe文件夹下,然后执行:
python3 mediapipe/examples/ios/link_local_profiles.py效果如下:

然后你就会在对应的项目文件夹下生成对应的快捷配置文件provisioning_profile.mobileprovision:
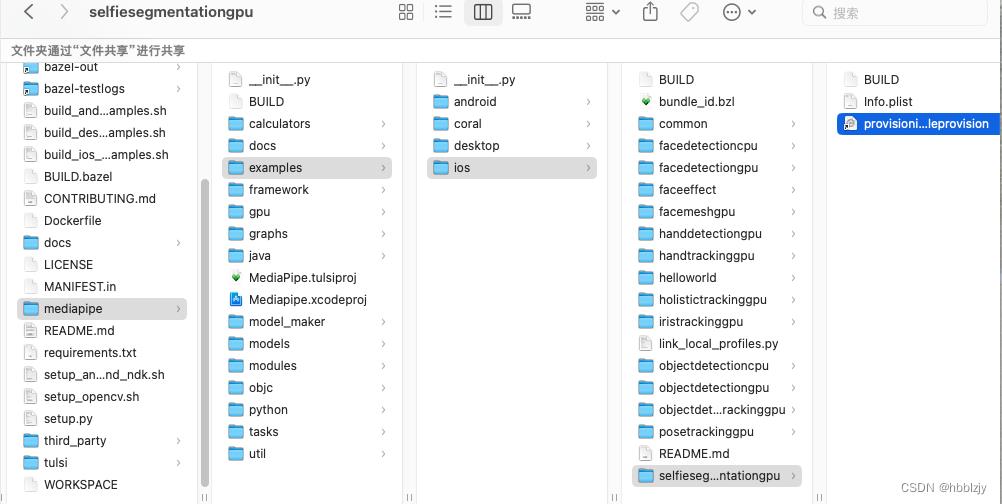
此时,再次运行对应的demo,successful !!!欢欣鼓舞,鼓舞人心~内心充满骄傲。
下面是两个demo的效果:
一种是SelfieSegmentationGpuApp,一种是FaceMeshGpuApp
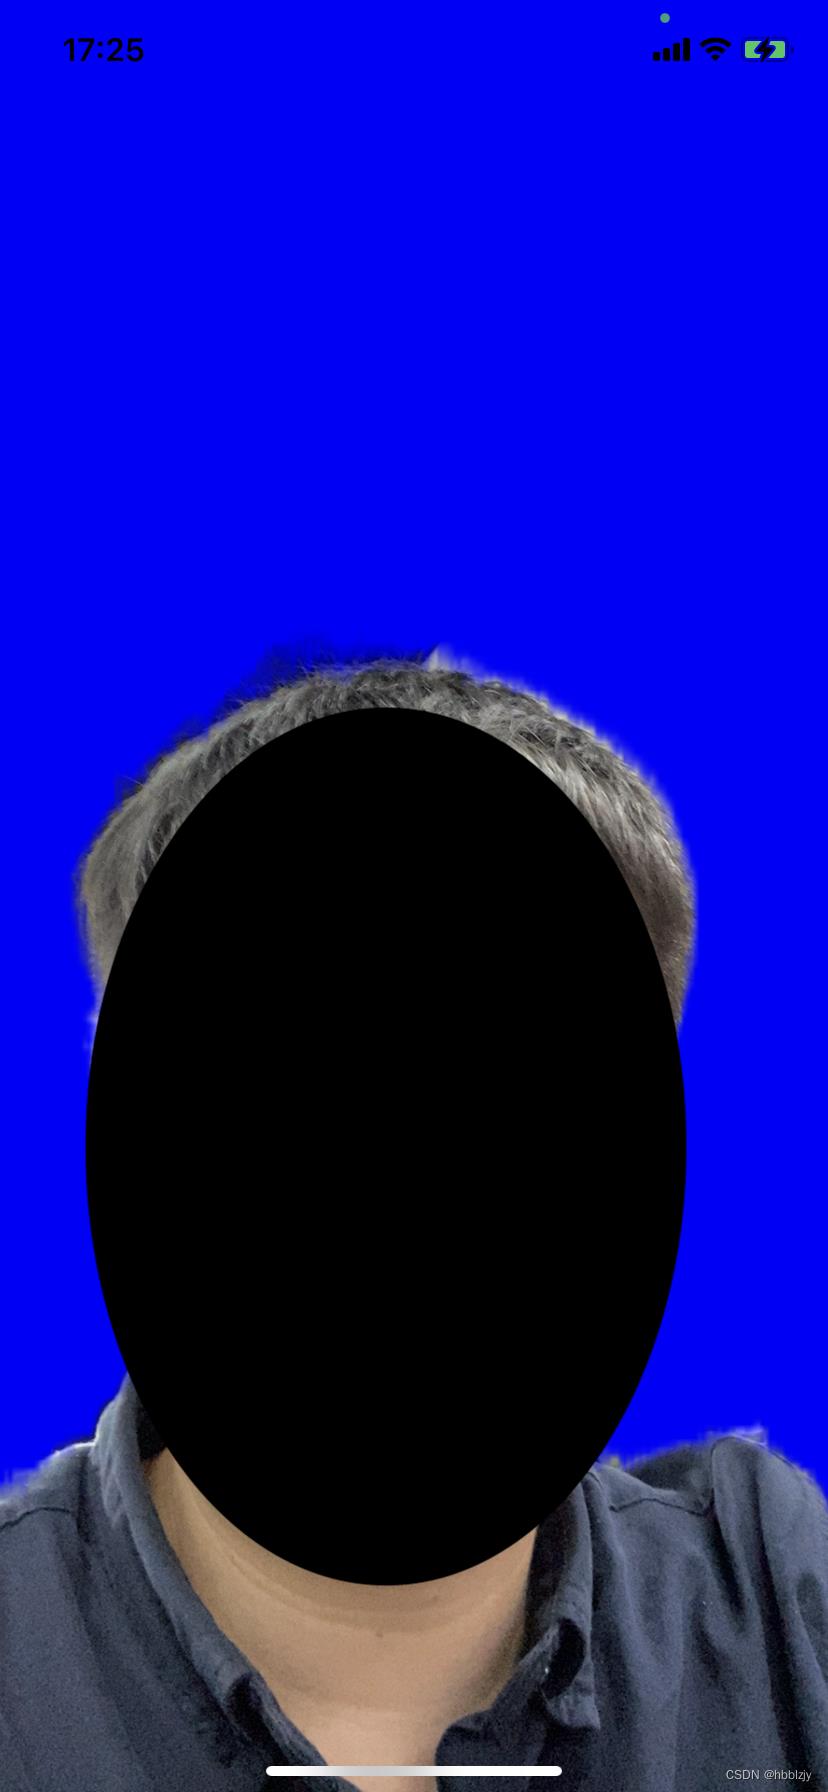
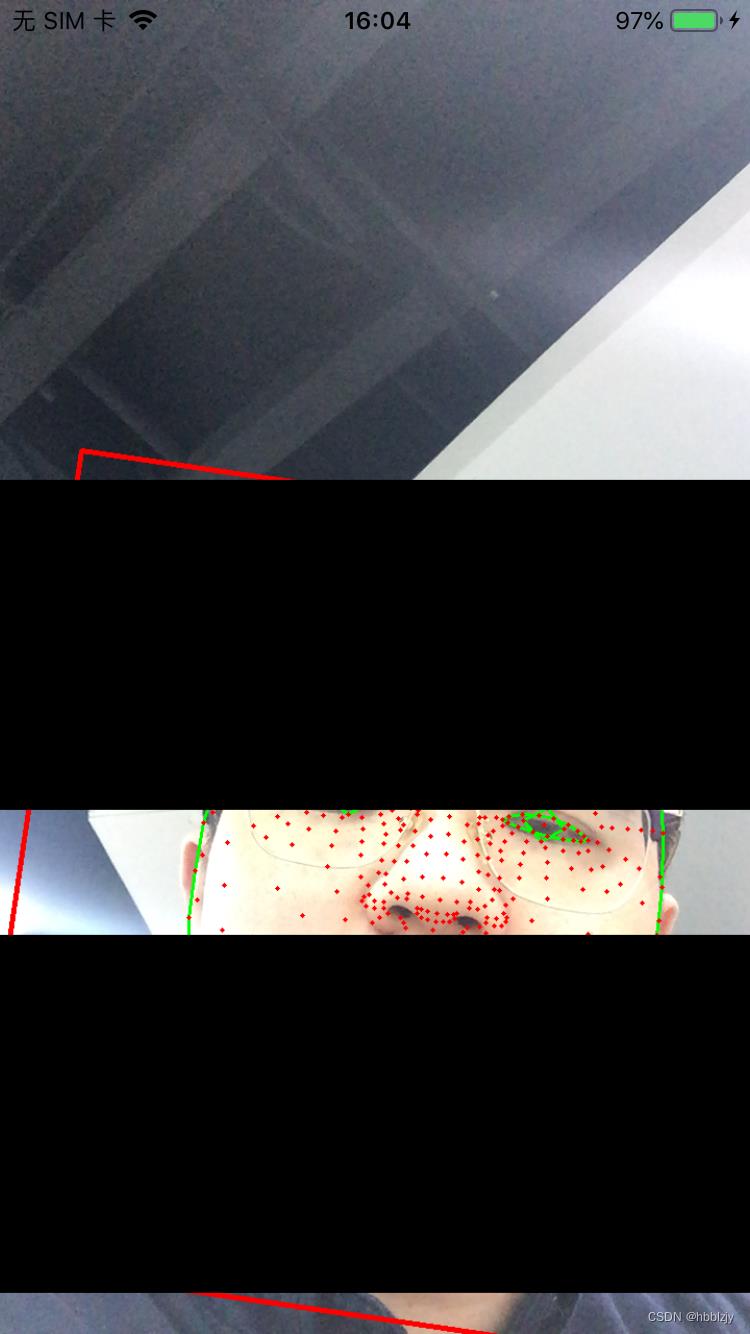
看到这样的结果,还是很兴奋和开心的,接下来就是研究源码和如何添加到项目,实现想要的效果了,加油!!!
整理不易,转载请注明,谢谢关注
以上是关于iOS开发之机器学习框架MediaPipe的主要内容,如果未能解决你的问题,请参考以下文章