发布Dubbo服务
Posted kika
tags:
篇首语:本文由小常识网(cha138.com)小编为大家整理,主要介绍了发布Dubbo服务相关的知识,希望对你有一定的参考价值。
我们现在来学习下发布Dubbo服务,主要参考dubbo开发包里的demo源码;由浅入深的讲解下这个小demo;
github地址:https://github.com/apache/incubator-dubbo/tree/dubbo-2.6.3
首先创建一个maven项目dubbo-demo-provider
pom.xml加入依赖:
 1 <dependencies>
 2     <dependency>
 3         <groupId>com.alibaba</groupId>
 4         <artifactId>dubbo</artifactId>
 5         <version>2.6.0</version>
 6     </dependency>
 7     <dependency>
 8         <groupId>com.101tec</groupId>
 9         <artifactId>zkclient</artifactId>
10         <version>0.10</version>
11     </dependency>
12     <dependency>
13         <groupId>org.apache.curator</groupId>
14         <artifactId>curator-framework</artifactId>
15         <version>4.0.1</version>
16     </dependency>
17     <dependency>
18         <groupId>com.alibaba</groupId>
19         <artifactId>fastjson</artifactId>
20         <version>1.2.46</version>
21     </dependency>
22     <dependency>
23         <groupId>log4j</groupId>
24         <artifactId>log4j</artifactId>
25         <version>1.2.17</version>
26     </dependency>
27     <dependency>
28         <groupId>org.slf4j</groupId>
29         <artifactId>slf4j-api</artifactId>
30         <version>1.7.25</version>
31     </dependency>
32     <dependency>
33         <groupId>org.apache.commons</groupId>
34         <artifactId>commons-lang3</artifactId>
35         <version>3.4</version>
36     </dependency>
37     <dependency>
38         <groupId>io.netty</groupId>
39         <artifactId>netty-all</artifactId>
40         <version>4.0.35.Final</version>
41     </dependency>
42 </dependencies>
然后定义一个服务接口:
 1 package com.wishwzp.service;
 2
 3 /**
 4  * 服务提供者接口
 5  * @author Administrator
 6  *
 7  */
 8 public interface DemoProviderService {
 9     public String sayHello(String name);
10 }
再定义接口实现类:
 1 package com.wishwzp.service.impl;
 2
 3 import com.wishwzp.service.DemoProviderService;
 4
 5 /**
 6  * 服务提供者接口实现类
 7  * @author Administrator
 8  *
 9  */
10 public class DemoProviderServiceImpl implements DemoProviderService{
11     public String sayHello(String name) {
12         return "服务员001";
13     }
14 }
然后再搞个dubbo配置文件dubbo-demo-provider.xml:
 1 <?xml version="1.0" encoding="UTF-8"?>
 2 <beans xmlns:xsi="http://www.w3.org/2001/XMLSchema-instance"
 3        xmlns:dubbo="http://code.alibabatech.com/schema/dubbo"
 4        xmlns="http://www.springframework.org/schema/beans"
 5        xsi:schemaLocation="http://www.springframework.org/schema/beans http://www.springframework.org/schema/beans/spring-beans-2.5.xsd
 6        http://code.alibabatech.com/schema/dubbo http://code.alibabatech.com/schema/dubbo/dubbo.xsd">
 7
 8     <!-- 提供方应用名称, 用于计算依赖关系 -->
 9     <dubbo:application name="demo-provider"/>
10
11     <!-- 使用zookeeper注册中心暴露服务地址 -->
12     <dubbo:registry address="zookeeper://127.0.0.1:2181"/>
13
14     <!-- 使用dubbo协议在20880端口暴露服务 -->
15     <dubbo:protocol name="dubbo" port="20880"/>
16
17     <!-- service实现类作为本地的一个bean -->
18     <bean id="demoProviderService" class="com.wishwzp.service.impl.DemoProviderServiceImpl"/>
19
20     <!-- 声明需要暴露的服务接口 -->
21     <dubbo:service interface="com.wishwzp.service.DemoProviderService" ref="demoProviderService"/>
22
23 </beans>
测试类:
 1 import org.springframework.context.support.ClassPathXmlApplicationContext;
 2
 3 import java.io.IOException;
 4
 5 public class ProviderTest {
 6     public static void main(String[] args) {
 7         ClassPathXmlApplicationContext context = new ClassPathXmlApplicationContext(new String[]{"dubbo-demo-provider.xml"});
 8         context.start();
 9         System.out.println("服务提供者注册成功(端口:20880)");
10         try {
11             System.in.read();
12         } catch (IOException e) {
13             e.printStackTrace();
14         }
15     }
16 }
然后我们测试发布dubbo服务,
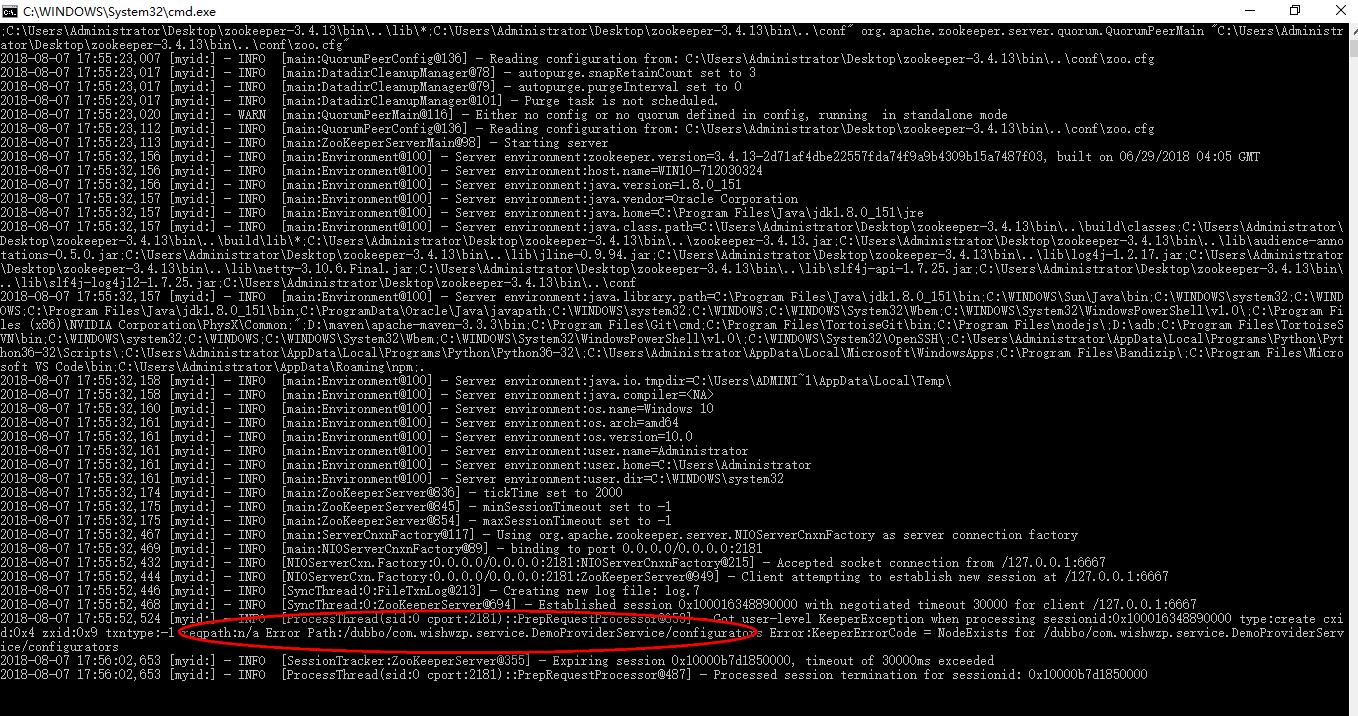
首先我们要先启动zookeeper服务,
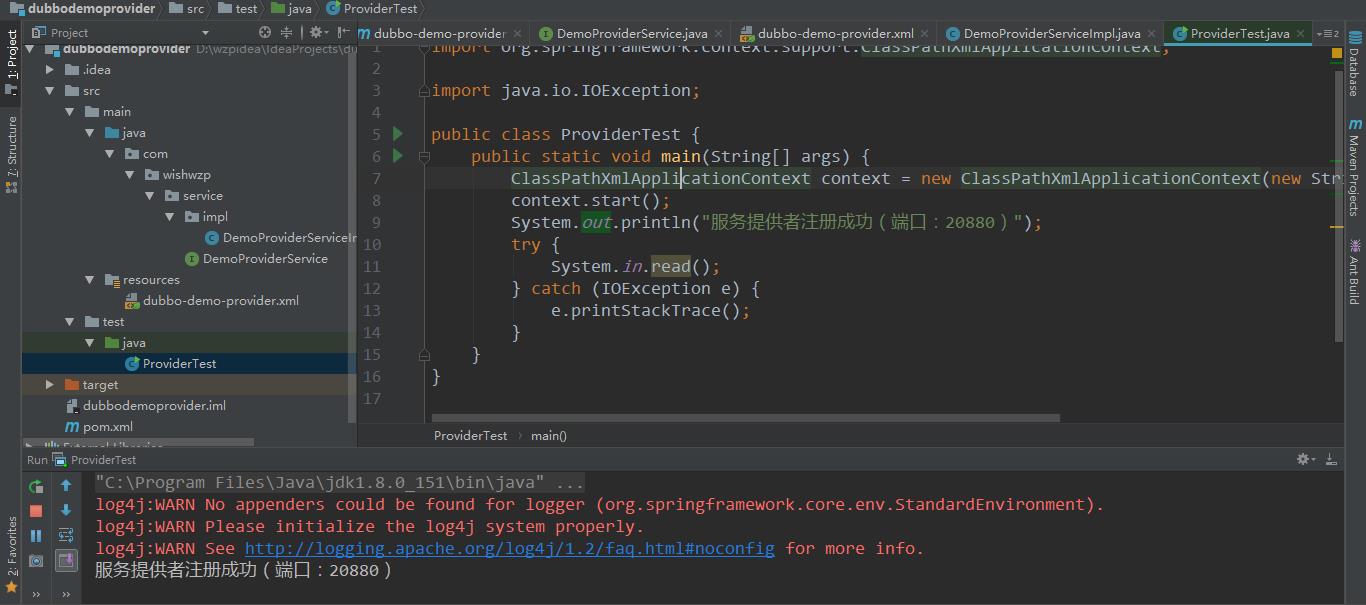
然后我们运行测试类,发布服务注册到zookeeper注册中心去;


说明发布服务OK;
以上是关于发布Dubbo服务的主要内容,如果未能解决你的问题,请参考以下文章