Linux Maven私服(Nexus)搭建
Posted Alan Lau
tags:
篇首语:本文由小常识网(cha138.com)小编为大家整理,主要介绍了Linux Maven私服(Nexus)搭建相关的知识,希望对你有一定的参考价值。
下载
https://www.sonatype.com/download-oss-sonatype

TIPS:
推荐使用迅雷下载,用浏览器下载可能会失败。
安装
安装JDK
安装JDK的过程就不在这里缀述了。
解压下载的 Nexus Repository OSS
tar -zxvf latest-unix.tar.gz
解压会得到如下两个文件夹:
nexus-3.23.0-03/
sonatype-work/
进入 nexus-**/bin/ 编辑nexus.vmoptions 配置,我这里因为内存不够,我将运行内存改成了1G

启动 nexus
./nexus start

TIPS:
这里启动很慢,我从启动到能够访问web页面,差不多花了3~5分钟
配置私服,添加阿里镜像到仓库组
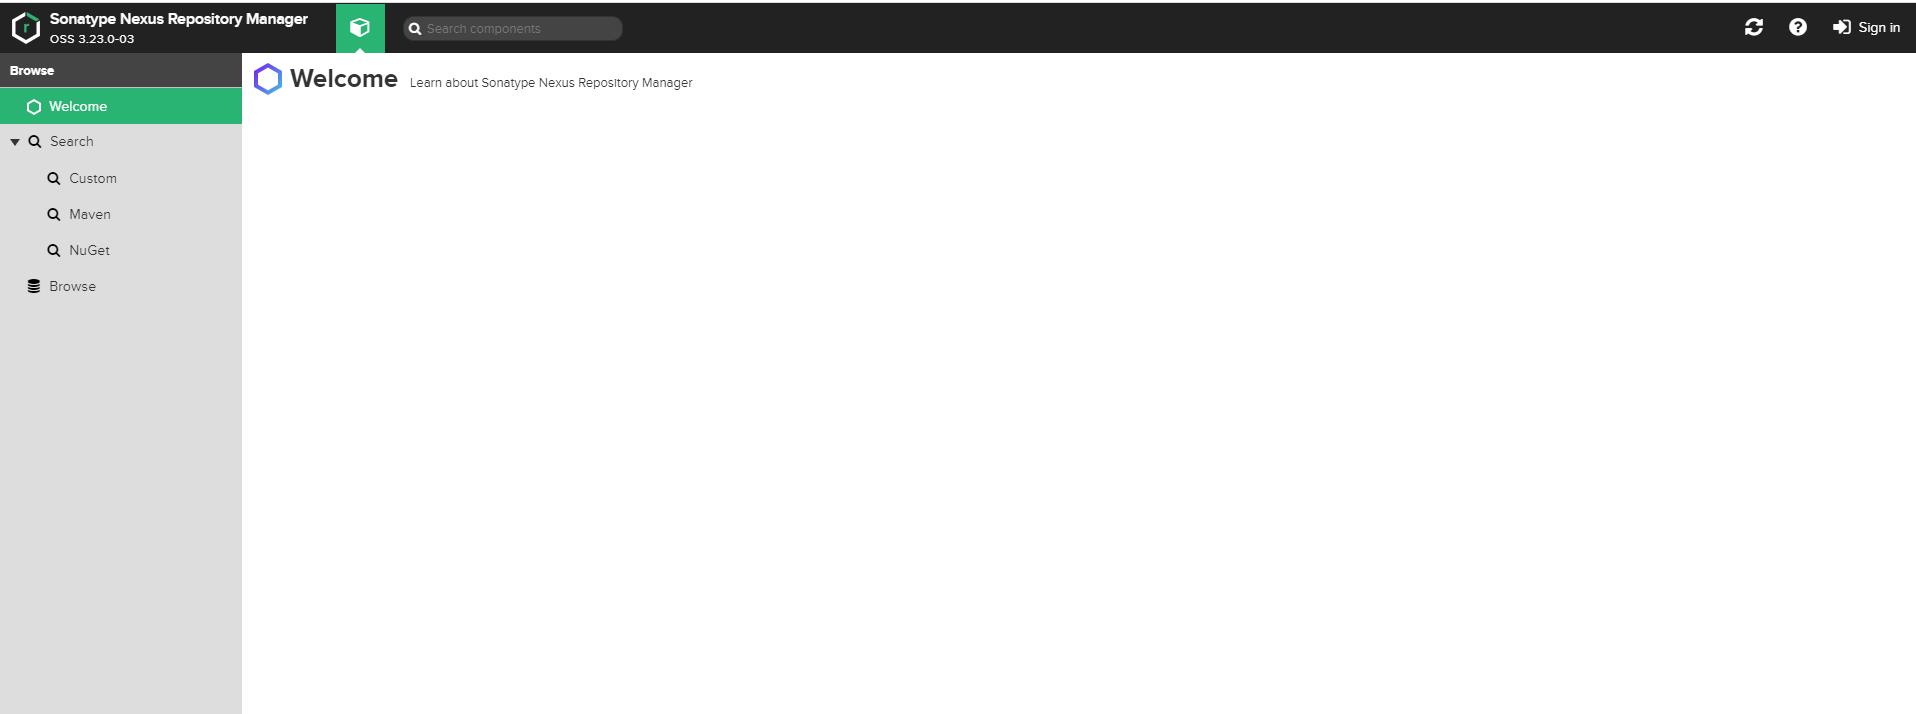
在浏览器访问 http://{IP}:8081(启动成功才能看到如下页面)

根据提示,登录admin (密码有提示放在/opt/sonatype-work/nexus3/admin.password)
进入设置向导,然后修改 admin 的密码,然后根据需要完成剩余向导
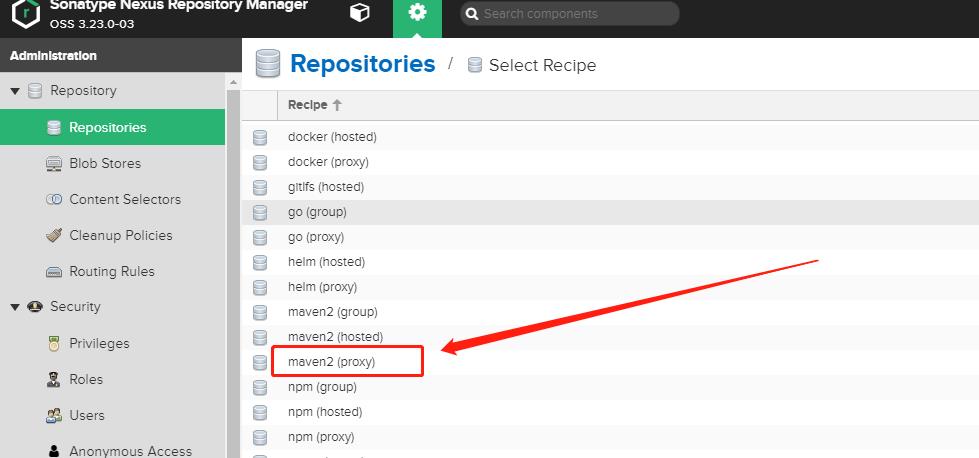
添加阿里镜像代理


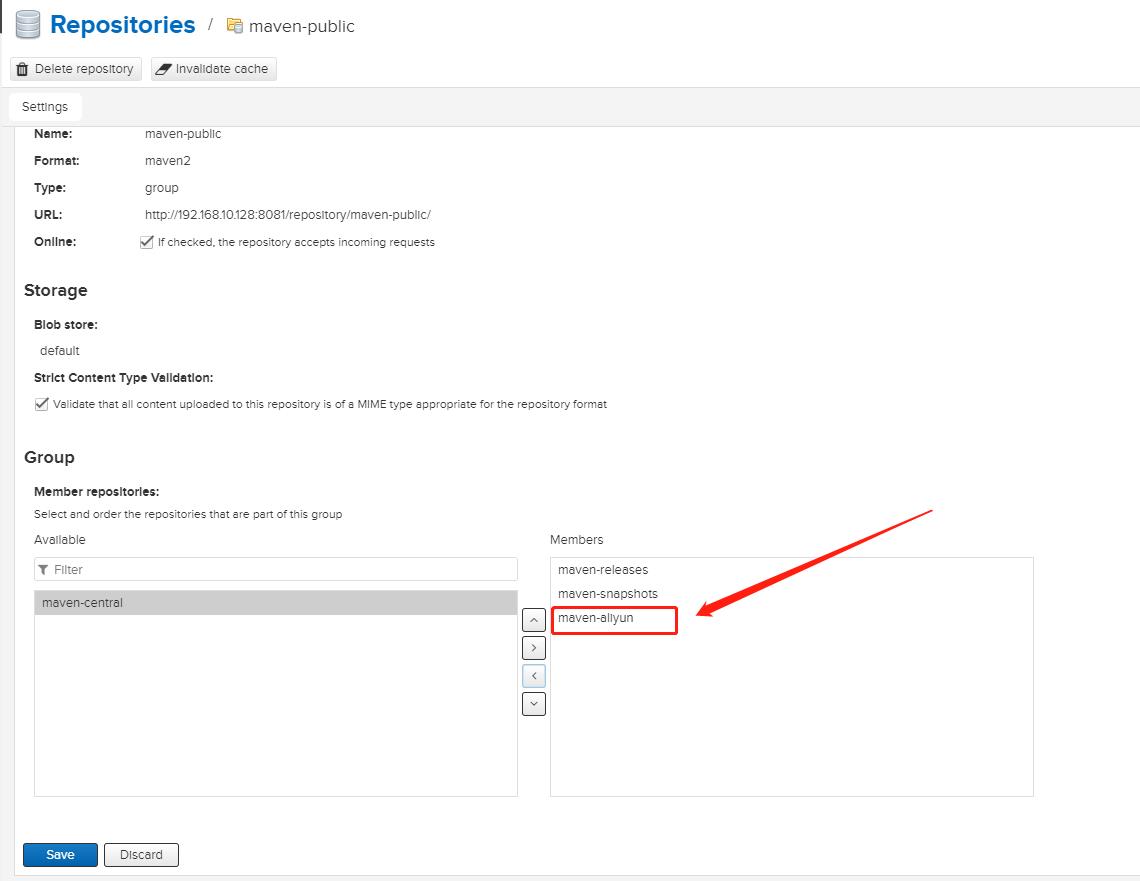
将新增的maven 代理添加到 maven-public 组


配置maven setting.xml 下载私服jar包
<?xml version="1.0" encoding="UTF-8"?>
<settings xmlns="http://maven.apache.org/SETTINGS/1.0.0"
  xmlns:xsi="http://www.w3.org/2001/XMLSchema-instance" xsi:schemaLocation="http://maven.apache.org/SETTINGS/1.0.0 http://maven.apache.org/xsd/settings-1.0.0.xsd">
  <!-- 本地仓地址 -->
  <localRepository>D:\\nexus\\repository</localRepository>

  <!-- 配置用于鉴权的账号(由下面的“id”属性引用)-->
  <servers>
    <server>
      <id>nexus</id>
      <username>admin</username>
      <password>admin123</password>
    </server>
  </servers>

  <mirrors>
    <mirror>
      <!-- mirror的id要选定一个server的id,当拉取包时,会用server的id进行鉴权 -->
      <id>nexus</id>
      <mirrorOf>*</mirrorOf>
      <name>nexus maven</name>
      <!-- 私服地址,一般用maven-public分组仓库地址 -->
      <url>http://192.168.10.128:8081/repository/maven-public/</url>
    </mirror>
  </mirrors>

    <!-- 配置 允许下载snapshot版本包(默认无法下载snapshot版本包),
        如果不配置profile无法从私服下载 SNAPSHOT 版本的包 -->
  <profiles>
    <profile>
      <id>profile-1</id>
      <repositories>
        <repository>
          <id>nexus</id>
          <name>local private nexus</name>
          <!-- 仓库的路径,我们只是使用public这个分组仓库 -->
          <url>http://192.168.10.128:8081/repository/maven-public/</url>
          <releases>
            <enabled>true</enabled>
          </releases>
          <snapshots>
            <enabled>true</enabled>
          </snapshots>
        </repository>
      </repositories>
      <pluginRepositories>
        <pluginRepository>
          <id>nexus</id>
          <name>local private nexus</name>
          <url>http://192.168.10.128:8081/repository/maven-public/</url>
          <releases>
            <enabled>true</enabled>
          </releases>
          <snapshots>
            <enabled>true</enabled>
          </snapshots>
        </pluginRepository>
      </pluginRepositories>
    </profile>
  </profiles>

  <activeProfiles>
    <!-- 输入要激活的profile的ID -->
    <activeProfile>profile-1</activeProfile>
  </activeProfiles>
</settings>
配置 pom.xml 发布包到私服
<project>
    <!-- ....省略部分内容 -->
  <distributionManagement>
    <repository>
      <!-- 这里的id必须和 setting.xml中配置的server的id相同(用于鉴权) -->
      <id>nexus</id>
      <name>nexus-release</name>
      <url>http://192.168.10.128:8081/repository/maven-releases/</url>
    </repository>
    <!-- pom中版本如果以SNAPSHOT 结尾,则会被发布到 snapshot 仓库 -->
    <snapshotRepository>
      <id>nexus</id>
      <name>nexus-snapshot</name>
      <url>http://192.168.10.128:8081/repository/maven-snapshots/</url>
    </snapshotRepository>
  </distributionManagement>
</project>
以上是关于Linux Maven私服(Nexus)搭建的主要内容,如果未能解决你的问题,请参考以下文章