ELK实战之NginxTomcatJava日志收集以及TCP收集日志使用
Posted Linux系统运维之路
tags:
篇首语:本文由小常识网(cha138.com)小编为大家整理,主要介绍了ELK实战之NginxTomcatJava日志收集以及TCP收集日志使用相关的知识,希望对你有一定的参考价值。
1、收集nginx的json格式日志
1.1、Nginx安装

[root@linux-node1 ~]# yum install nginx -y
[root@linux-node1 ~]# vim /etc/nginx/nginx.conf
#修改日志格式为json格式,并创建一个nginxweb的网站目录
log_format access_json \'{"@timestamp":"$time_iso8601",\'
                           \'"host":"$server_addr",\'
                           \'"clientip":"$remote_addr",\'
                           \'"size":$body_bytes_sent,\'
                           \'"responsetime":$request_time,\'
                           \'"upstreamtime":"$upstream_response_time",\'
                           \'"upstreamhost":"$upstream_addr",\'
                           \'"http_host":"$host",\'
                           \'"url":"$uri",\'
                           \'"domain":"$host",\'
                           \'"xff":"$http_x_forwarded_for",\'
                           \'"referer":"$http_referer",\'
                           \'"status":"$status"}\';
    access_log  /var/log/nginx/access.log  access_json;

        location /nginxweb {
                root html;
                index index.html index.htm;
        }
[root@linux-node1 ~]# mkdir /usr/share/nginx/html/nginxweb
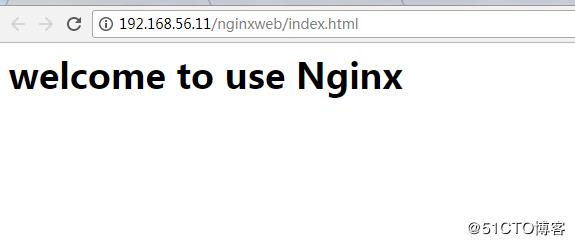
[root@linux-node1 ~]# echo "<h1> welcome to use Nginx" > /usr/share/nginx/html/nginxweb/index.html
[root@linux-node1 ~]# nginx -t
nginx: the configuration file /etc/nginx/nginx.conf syntax is ok
nginx: configuration file /etc/nginx/nginx.conf test is successful
[root@linux-node1 ~]# systemctl start nginx

1.2、配置logstash

[root@linux-node1 ~]# vim /etc/logstash/conf.d/nginx-accesslog.conf
input{
    file {
        path => "/var/log/nginx/access.log"
        type => "nginx-access-log"
        start_position => "beginning"
        stat_interval => "2"
    }

}

output{
   elasticsearch {
        hosts => ["192.168.56.11:9200"]
        index => "logstash-nginx-access-log-%{+YYYY.MM.dd}"
   }
   file {
        path => "/tmp/logstash-nginx-access-log-%{+YYYY.MM.dd}"
   }
}
[root@linux-node1 ~]# /usr/share/logstash/bin/logstash -f /etc/logstash/conf.d/nginx_access.conf -t
[root@linux-node1 ~]# systemctl restart logstash
1.3、配置Kibana展示

[root@linux-node1 ~]# ab -n1000 -c 100 http://192.168.56.11/nginxweb/index.html    #对页面压测
[root@linux-node1 ~]# tailf /var/log/nginx/access.log    #nginx的访问日志变成了json格式
{"@timestamp":"2017-12-27T16:38:17+08:00","host":"192.168.56.11","clientip":"192.168.56.11","size":26,"responsetime":0.000,"upstreamtime":"-","upstreamhost":"-","http_host":"192.168.56.11","url":"/nginxweb/index.html","domain":"192.168.56.11","xff":"-","referer":"-","status":"200"}
{"@timestamp":"2017-12-27T16:38:17+08:00","host":"192.168.56.11","clientip":"192.168.56.11","size":26,"responsetime":0.000,"upstreamtime":"-","upstreamhost":"-","http_host":"192.168.56.11","url":"/nginxweb/index.html","domain":"192.168.56.11","xff":"-","referer":"-","status":"200"}
{"@timestamp":"2017-12-27T16:38:17+08:00","host":"192.168.56.11","clientip":"192.168.56.11","size":26,"responsetime":0.000,"upstreamtime":"-","upstreamhost":"-","http_host":"192.168.56.11","url":"/nginxweb/index.html","domain":"192.168.56.11","xff":"-","referer":"-","status":"200"}
{"@timestamp":"2017-12-27T16:38:17+08:00","host":"192.168.56.11","clientip":"192.168.56.11","size":26,"responsetime":0.000,"upstreamtime":"-","upstreamhost":"-","http_host":"192.168.56.11","url":"/nginxweb/index.html","domain":"192.168.56.11","xff":"-","referer":"-","status":"200"}
{"@timestamp":"2017-12-27T16:38:17+08:00","host":"192.168.56.11","clientip":"192.168.56.11","size":26,"responsetime":0.000,"upstreamtime":"-","upstreamhost":"-","http_host":"192.168.56.11","url":"/nginxweb/index.html","domain":"192.168.56.11","xff":"-","referer":"-","status":"200"}
{"@timestamp":"2017-12-27T16:38:17+08:00","host":"192.168.56.11","clientip":"192.168.56.11","size":26,"responsetime":0.000,"upstreamtime":"-","upstreamhost":"-","http_host":"192.168.56.11","url":"/nginxweb/index.html","domain":"192.168.56.11","xff":"-","referer":"-","status":"200"}
{"@timestamp":"2017-12-27T16:38:17+08:00","host":"192.168.56.11","clientip":"192.168.56.11","size":26,"responsetime":0.000,"upstreamtime":"-","upstreamhost":"-","http_host":"192.168.56.11","url":"/nginxweb/index.html","domain":"192.168.56.11","xff":"-","referer":"-","status":"200"}
{"@timestamp":"2017-12-27T16:38:17+08:00","host":"192.168.56.11","clientip":"192.168.56.11","size":26,"responsetime":0.000,"upstreamtime":"-","upstreamhost":"-","http_host":"192.168.56.11","url":"/nginxweb/index.html","domain":"192.168.56.11","xff":"-","referer":"-","status":"200"}
{"@timestamp":"2017-12-27T16:38:17+08:00","host":"192.168.56.11","clientip":"192.168.56.11","size":26,"responsetime":0.000,"upstreamtime":"-","upstreamhost":"-","http_host":"192.168.56.11","url":"/nginxweb/index.html","domain":"192.168.56.11","xff":"-","referer":"-","status":"200"}
{"@timestamp":"2017-12-27T16:38:17+08:00","host":"192.168.56.11","clientip":"192.168.56.11","size":26,"responsetime":0.000,"upstreamtime":"-","upstreamhost":"-","http_host":"192.168.56.11","url":"/nginxweb/index.html","domain":"192.168.56.11","xff":"-","referer":"-","status":"200"}
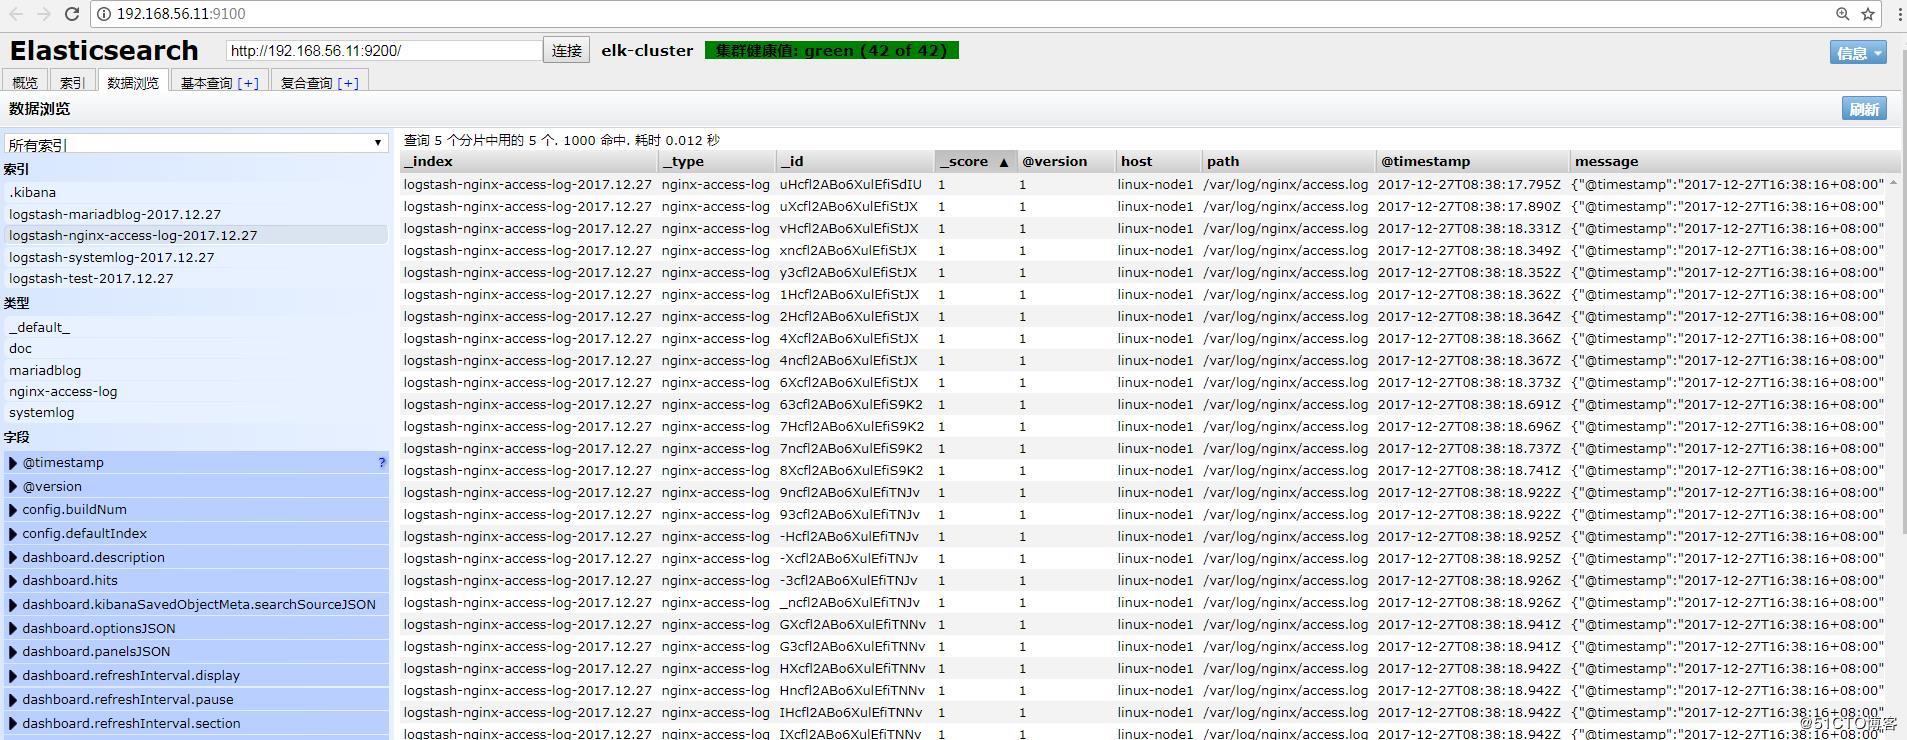
Head插件查看:


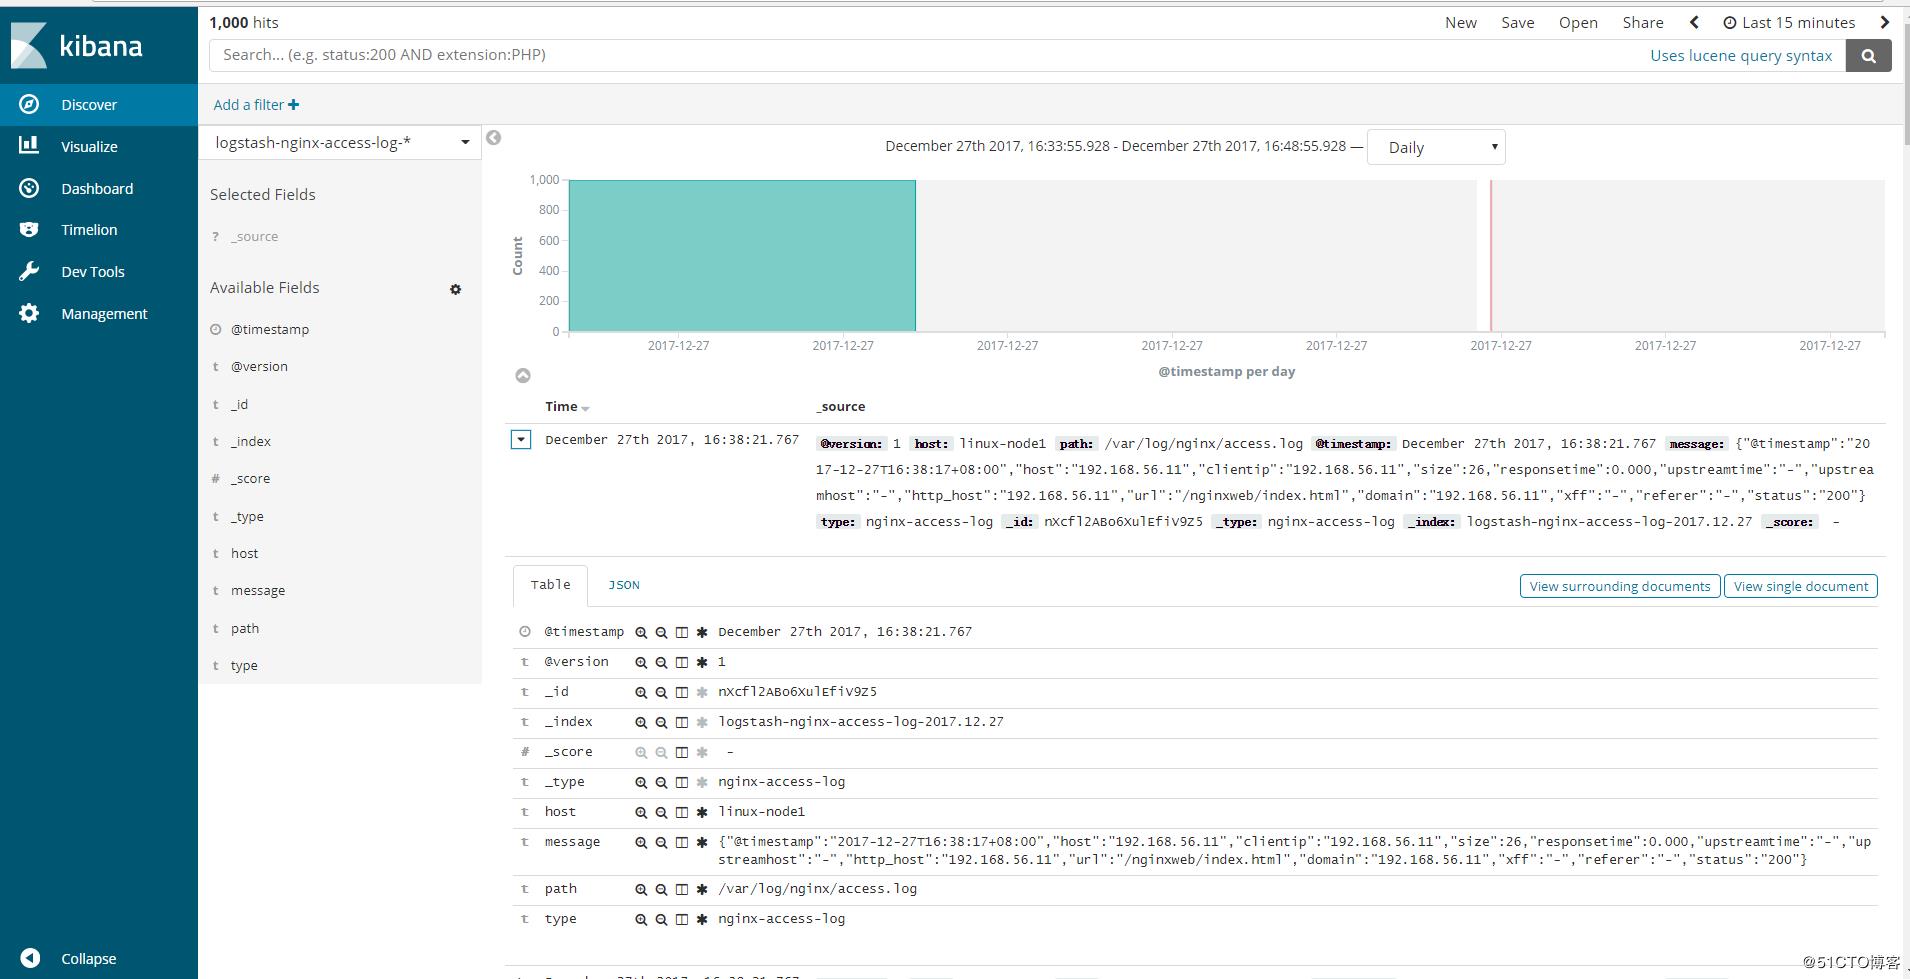
Kibana查看:

2、Tomcat的json日志收集
2.1、下载tomcat

[root@linux-node2 ~]# wget http://apache.fayea.com/tomcat/tomcat-8/v8.5.20/bin/apache-tomcat-8.5.20.tar.gz
[root@linux-node2 ~]# tar -zxf apache-tomcat-8.5.24.tar.gz
[root@linux-node2 ~]# mv apache-tomcat-8.5.24 /usr/local/tomcat
2.2、修改tomcat日志格式

[root@linux-node2 ~]# cd /usr/local/tomcat/conf
[root@linux-node2 conf ]# cp server.xml{,.bak}
[root@linux-node2 conf ]# vim server.xml
<Valve className="org.apache.catalina.valves.AccessLogValve" directory="logs"
               prefix="tomcat_access_log" suffix=".log"
               pattern="{"clientip":"%h","ClientUser":"%l","authenticated":"%u","AccessTime":"%t","method":"%r","status":"%s","SendBytes":"%b","Query?string":"%q","partner":"%{Referer}i","AgentVersion":"%{User-Agent}i"}"/>
2.3、增加tomcat网页

[root@linux-node2 conf ]# cd ../webapps/
[root@linux-node2 webapps ]# mkdir webdir && cd webdir
[root@linux-node2 webdir ]# echo "<h1>welcome to use tomcat</h1>" > index.html
[root@linux-node2 conf ]# ../bin/catalina.sh start
[root@linux-node2 conf ]# netstat -tulnp |grep 8080
tcp6       0      0 :::8080                 :::*                    LISTEN      2362/java
2.4、压测页面,生成tomcat的访问日志

[root@linux-node2 conf ]# ab -n1000 -c100 http://192.168.56.12:8080/webdir/index.html
[root@linux-node2 ~]# tailf /usr/local/tomcat/logs/tomcat_access_log.2017-12-28.log
{"clientip":"192.168.56.12","ClientUser":"-","authenticated":"-","AccessTime":"[28/Dec/2017:09:52:57 +0800]","method":"GET /webdir2/index.html HTTP/1.0","status":"200","SendBytes":"32","Query?string":"","partner":"-","AgentVersion":"ApacheBench/2.3"}
{"clientip":"192.168.56.12","ClientUser":"-","authenticated":"-","AccessTime":"[28/Dec/2017:09:52:57 +0800]","method":"GET /webdir2/index.html HTTP/1.0","status":"200","SendBytes":"32","Query?string":"","partner":"-","AgentVersion":"ApacheBench/2.3"}
{"clientip":"192.168.56.12","ClientUser":"-","authenticated":"-","AccessTime":"[28/Dec/2017:09:52:57 +0800]","method":"GET /webdir2/index.html HTTP/1.0","status":"200","SendBytes":"32","Query?string":"","partner":"-","AgentVersion":"ApacheBench/2.3"<以上是关于ELK实战之NginxTomcatJava日志收集以及TCP收集日志使用的主要内容,如果未能解决你的问题,请参考以下文章
