Spring Boot web容器启动
Posted work hard work smart
tags:
篇首语:本文由小常识网(cha138.com)小编为大家整理,主要介绍了Spring Boot web容器启动相关的知识,希望对你有一定的参考价值。
一、启动前的准备:
1、SpringApplication构造方法,赋值webApplicationType
Debug启动项目后,进入SpringApplication构造函数,里面有个webApplicationType

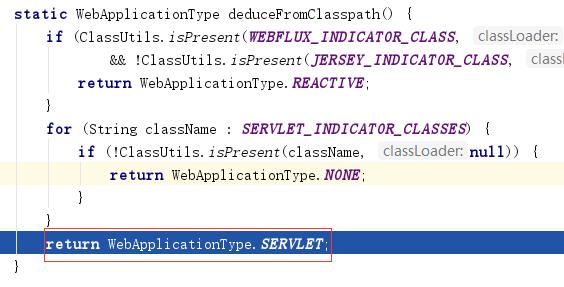
2、根据classpath下是否存在特定类来决定哪种类型,分别为SERVLET, REACTIVE, NONE
deduceFromClasspath方法返回webApplicationType为Servlet
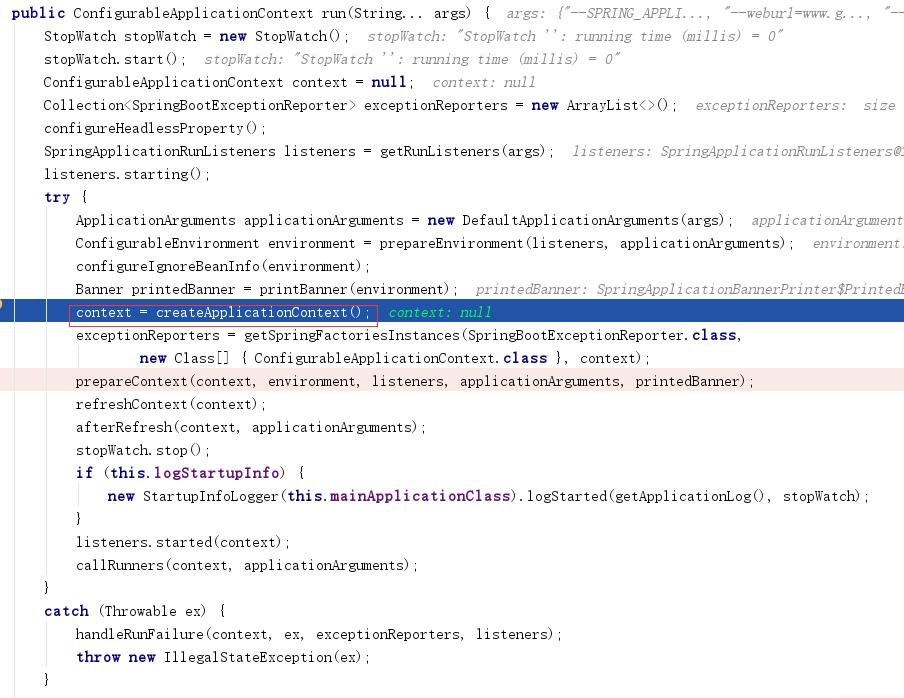
3、然后进入run方法,进入创建应用程序上下文方法createApplicationContext
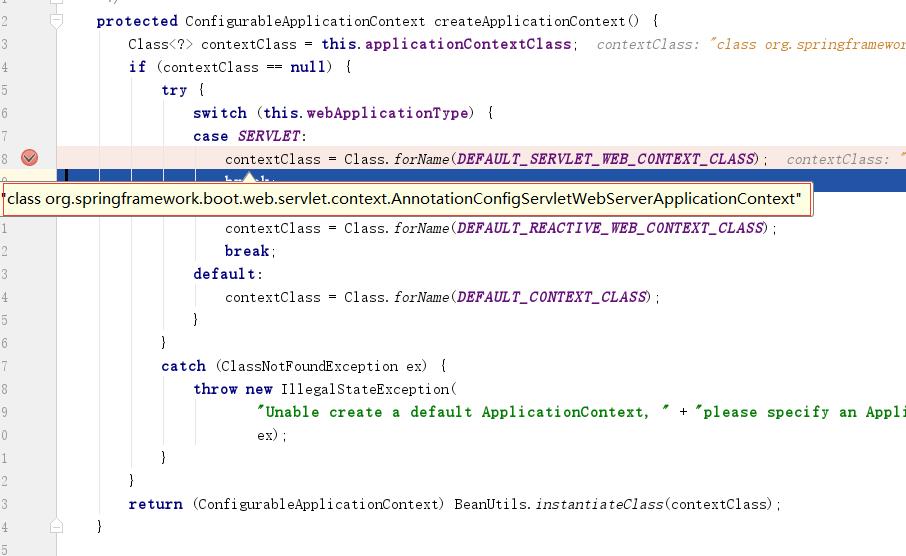
根据webApplicationType,是SERVLET. 创建应用程序上下文返回AnnotationConfigServletWebServerApplicationContext实例。
二、webServer创建入口
1、进入run方法
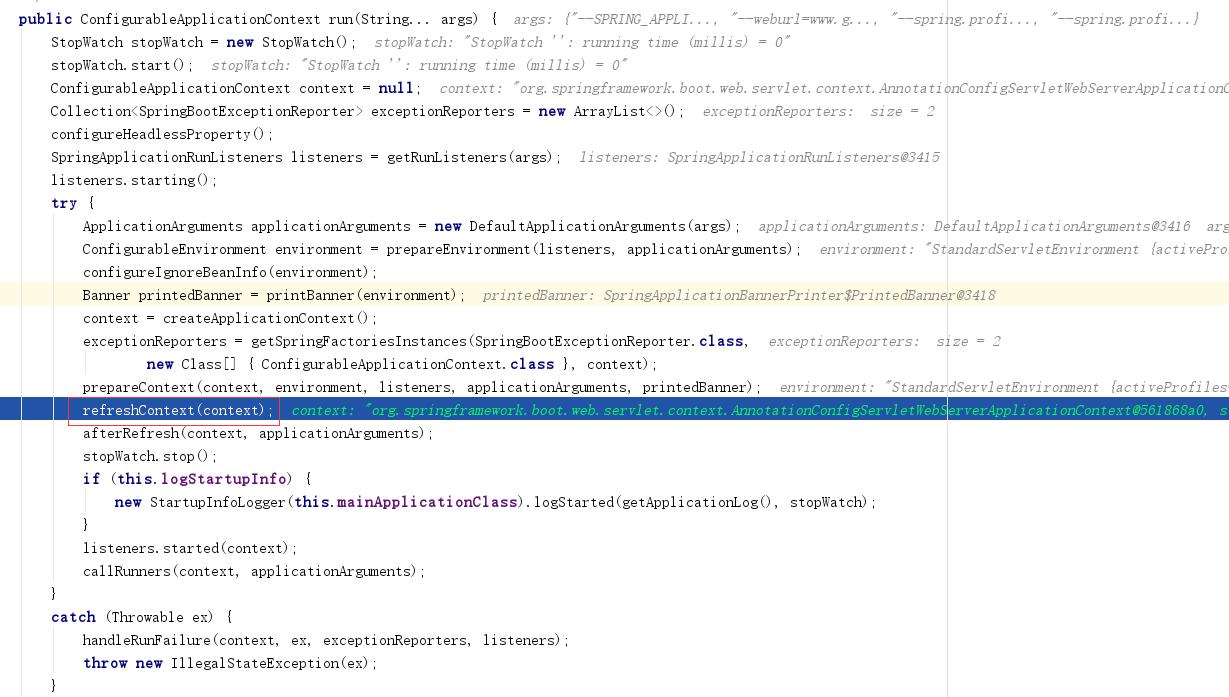
2、 然后进入refreshContext方法
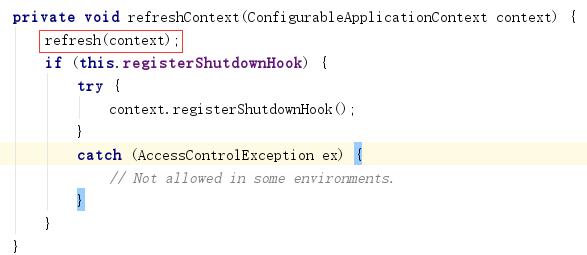
3、 进入refresh方法

4、进入((AbstractApplicationContext) applicationContext).refresh();
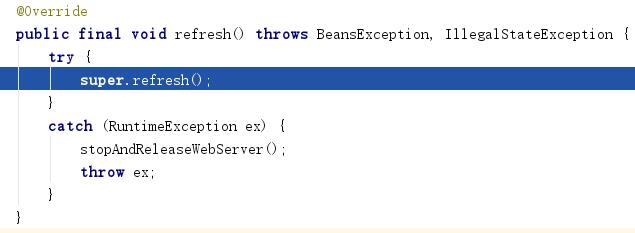
5、 进入super.refresh()
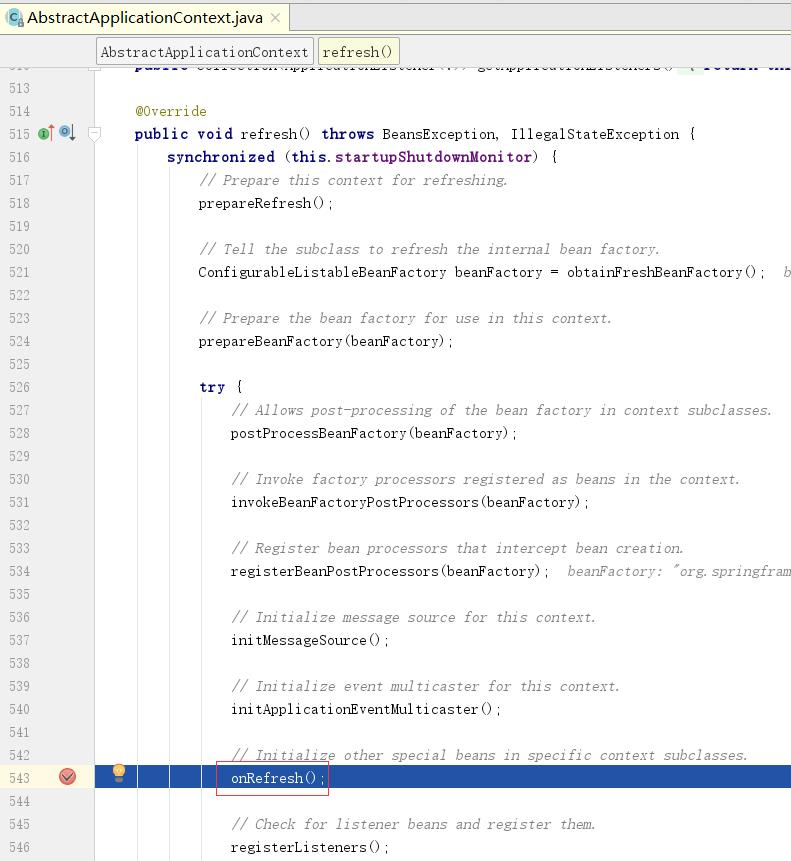
6、 进入onRefresh方法。里面有一个创建webServer方法。
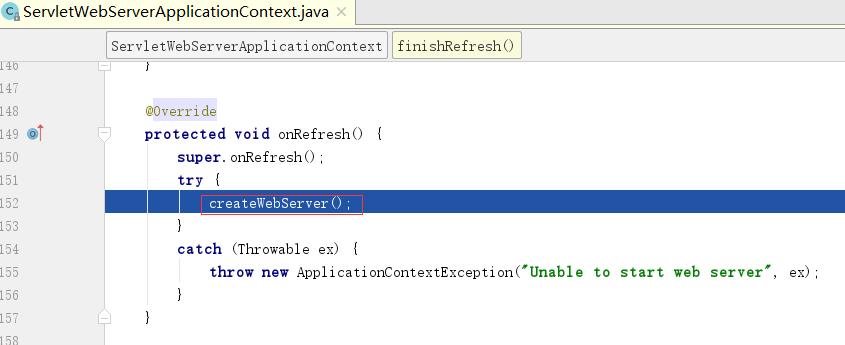
三、webServer创建
1、 进入createWebServer方法
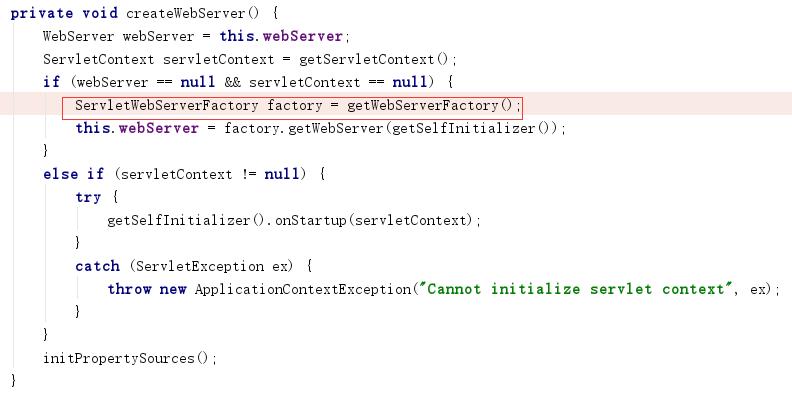
1)、 进入getWebServerFactory方法

2)、 进入getBean方法

3)、进入doGetBean方法。beanName为tomcatServletWebServerFactory
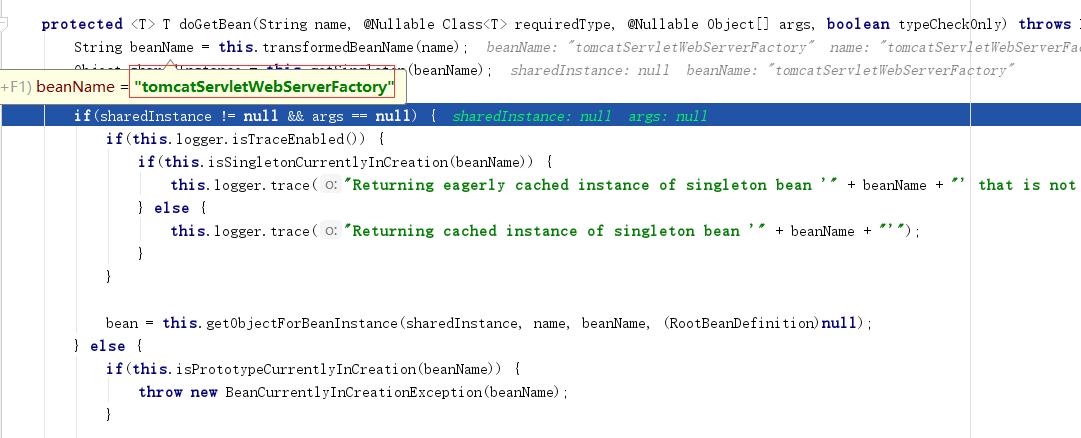
然后进入doGetBean的如下代码 createBean来创建tomcatServletWebServerFactory

2、然后进入this.webServer = factory.getWebServer(getSelfInitializer());
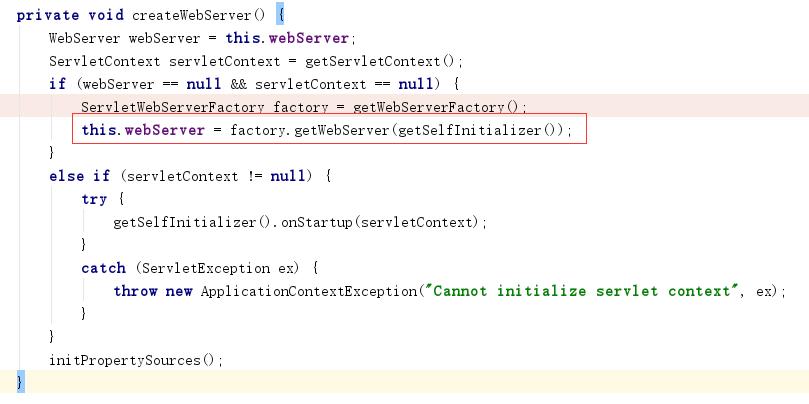
a) 进入getWebServer方法
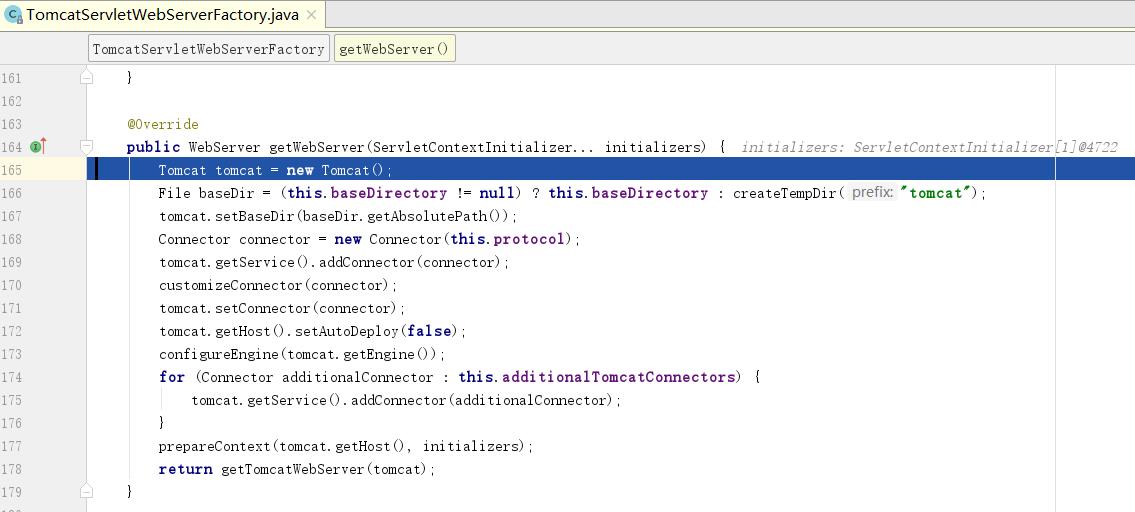
首先实例化一个tomcat。然后设置一些tomcat相关的属性。相关属性介绍可以参考Tomcat介绍
然后进入返回getTomcatWebServer(tomcat)
	protected TomcatWebServer getTomcatWebServer(Tomcat tomcat) {
		return new TomcatWebServer(tomcat, getPort() >= 0);
	}
b)进入实例化TomcatWebServer方法
	public TomcatWebServer(Tomcat tomcat, boolean autoStart) {
		Assert.notNull(tomcat, "Tomcat Server must not be null");
		this.tomcat = tomcat;
		this.autoStart = autoStart;
		initialize();
	}
通过initializer初始化tomcat的一些属性值
3、进入createWebServer里的initPropertiesSources方法
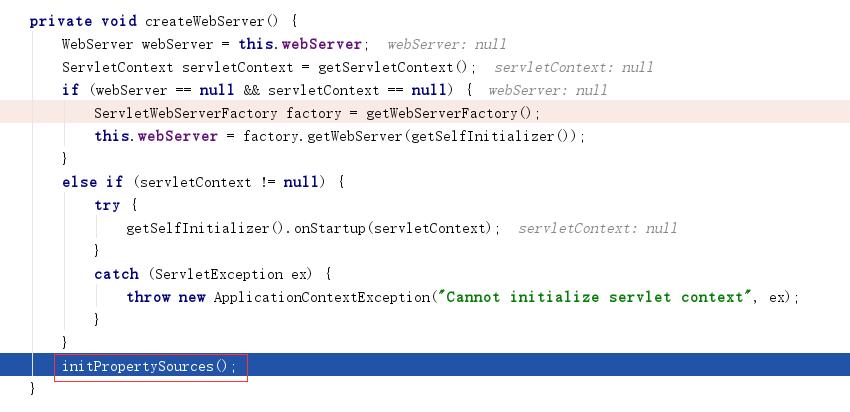
进入initPropertiesSources方法

如果sources已经存在servletContextInitParams,则对其进行替换。

这样就完成了tomcat服务的创建
四、servlet启动
1、 onRefresh执行完成后,然后进入refresh里面的finishRefresh方法
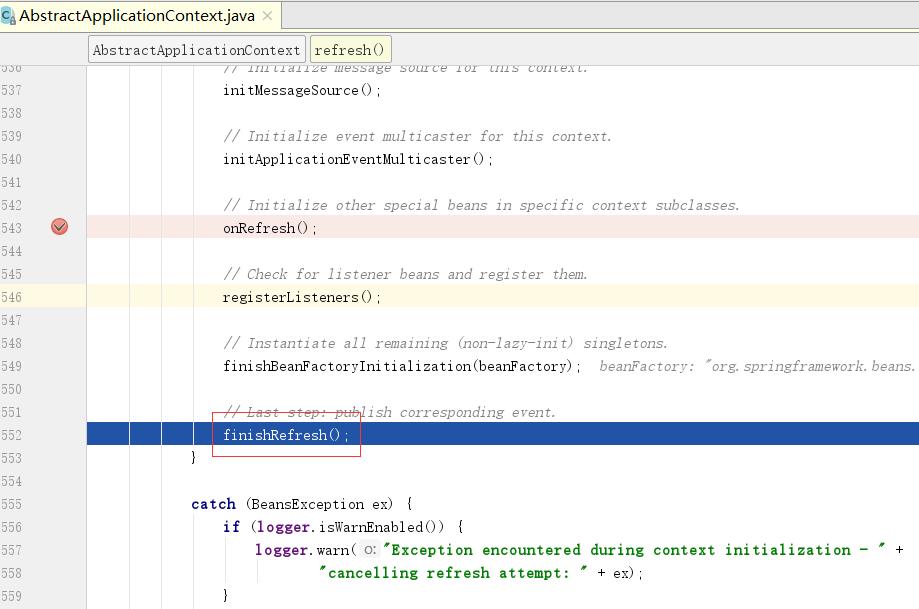
a)进入finishRefresh方法
	protected void finishRefresh() {
		super.finishRefresh();
		WebServer webServer = startWebServer();
		if (webServer != null) {
			publishEvent(new ServletWebServerInitializedEvent(webServer, this));
		}
	}
启动webServer后,发布ServletWebServerInitializedEvent事件。
b)进入startWebServer
	private WebServer startWebServer() {
		WebServer webServer = this.webServer;
		if (webServer != null) {
			webServer.start();
		}
		return webServer;
	}
c)进入webServer.start()
	public void start() throws WebServerException {
		synchronized (this.monitor) {
			if (this.started) {
				return;
			}
			try {
				addPreviouslyRemovedConnectors();
				Connector connector = this.tomcat.getConnector();
				if (connector != null && this.autoStart) {
					performDeferredLoadOnStartup();
				}
				checkThatConnectorsHaveStarted();
				this.started = true;
				logger.info("Tomcat started on port(s): " + getPortsDescription(true) + " with context path \'"
						+ getContextPath() + "\'");
			}
			catch (ConnectorStartFailedException ex) {
				stopSilently();
				throw ex;
			}
			catch (Exception ex) {
				throw new WebServerException("Unable to start embedded Tomcat server", ex);
			}
			finally {
				Context context = findContext();
				ContextBindings.unbindClassLoader(context, context.getNamingToken(), getClass().getClassLoader());
			}
		}
	}
启动后控制台输出
Tomcat started on port(s): 8080 (http) with context path
以上是关于Spring Boot web容器启动的主要内容,如果未能解决你的问题,请参考以下文章
maven工程使用spring-boot-devtools进行热部署,更改代码避免重启web容器
解决spring-boot启动中碰到的问题:Cannot determine embedded database driver class for database type NONE(转)(代码片段