0002SpringBoot整合Junit
Posted 1572662
tags:
篇首语:本文由小常识网(cha138.com)小编为大家整理,主要介绍了0002SpringBoot整合Junit相关的知识,希望对你有一定的参考价值。
前提条件:SpringBoot已经整合了Mybatis,至于SpringBoot如何整合Mybatis可参考我的上一篇文章
SpringBoot为什么要整合Juni?
SpringBoot整合了Junit后,在写了Mapper接口后,可直接通过Junit进行测试,不用再写Controller层,不用启动引导类之后通过页面的形式一层一层的调用。
在SpringBoot整合Mybatis基础上,添加如下3步即可整合Junit并进行测试:
1、配置Junit的起步配置(pom.xml)
2、编写测试类
3、启动测试
具体内容如下:
pom.xml中配置Junit的起步配置
<!--SpringBoot集成Junit-->
<dependency>
    <groupId>org.springframework.boot</groupId>
    <artifactId>spring-boot-starter-test</artifactId>
    <scope>test</scope>
</dependency>

编写测试类
package com.itheima;
import ch.qos.logback.core.net.SyslogOutputStream;
import com.itheima.domain.User;
import com.itheima.mapper.UserMapper;
import org.junit.Test;
import org.junit.runner.RunWith;
import org.springframework.beans.factory.annotation.Autowired;
import org.springframework.boot.test.context.SpringBootTest;
import org.springframework.test.context.junit4.SpringRunner;
import java.util.List;
//用哪个类来运行
@RunWith(SpringRunner.class)
//classes配置的是SpringBoot的引导类
@SpringBootTest(classes = SpringbootMybatisApplication.class)
public class MybatisTest {
//注入自定义的要测试的Mapper接口
@Autowired
private UserMapper userMapper;
//用于声明这是一个测试方法
@Test
public void test(){
List<User> users = userMapper.queryUserList();
System.out.println(users);
}
}
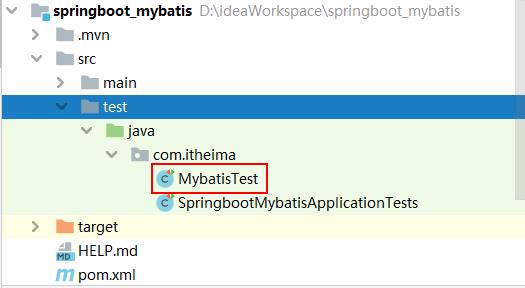
注意该测试类是要写在src/test路径的某个文件夹中的,如下图:
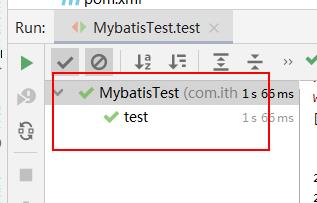
在测试类的测试方法左侧点击启动按钮启动测试:

出现下图,代表执行成功,具体内容可在控制台查看:
以上内容为实验所的结果,若有理解不到位的地方,望指正及指点。
以上是关于0002SpringBoot整合Junit的主要内容,如果未能解决你的问题,请参考以下文章