markdown-it基本使用
Posted ps酷教程
tags:
篇首语:本文由小常识网(cha138.com)小编为大家整理,主要介绍了markdown-it基本使用相关的知识,希望对你有一定的参考价值。
markdown-it能够将markdown语法的内容转换为html内容,这样我们使用markdown语法写的笔记,就可以转换作为网页使用了
Markdown语法
基础使用
安装markdown-it
npm install markdown-it --save
使用markdown-it
可以看到,使用markdown-it,我们把markdown语法的内容转为了html内容。我们发现,md内容中标记的java语言代码会包裹再pre code标签中,并且再highlight函数中回调。。
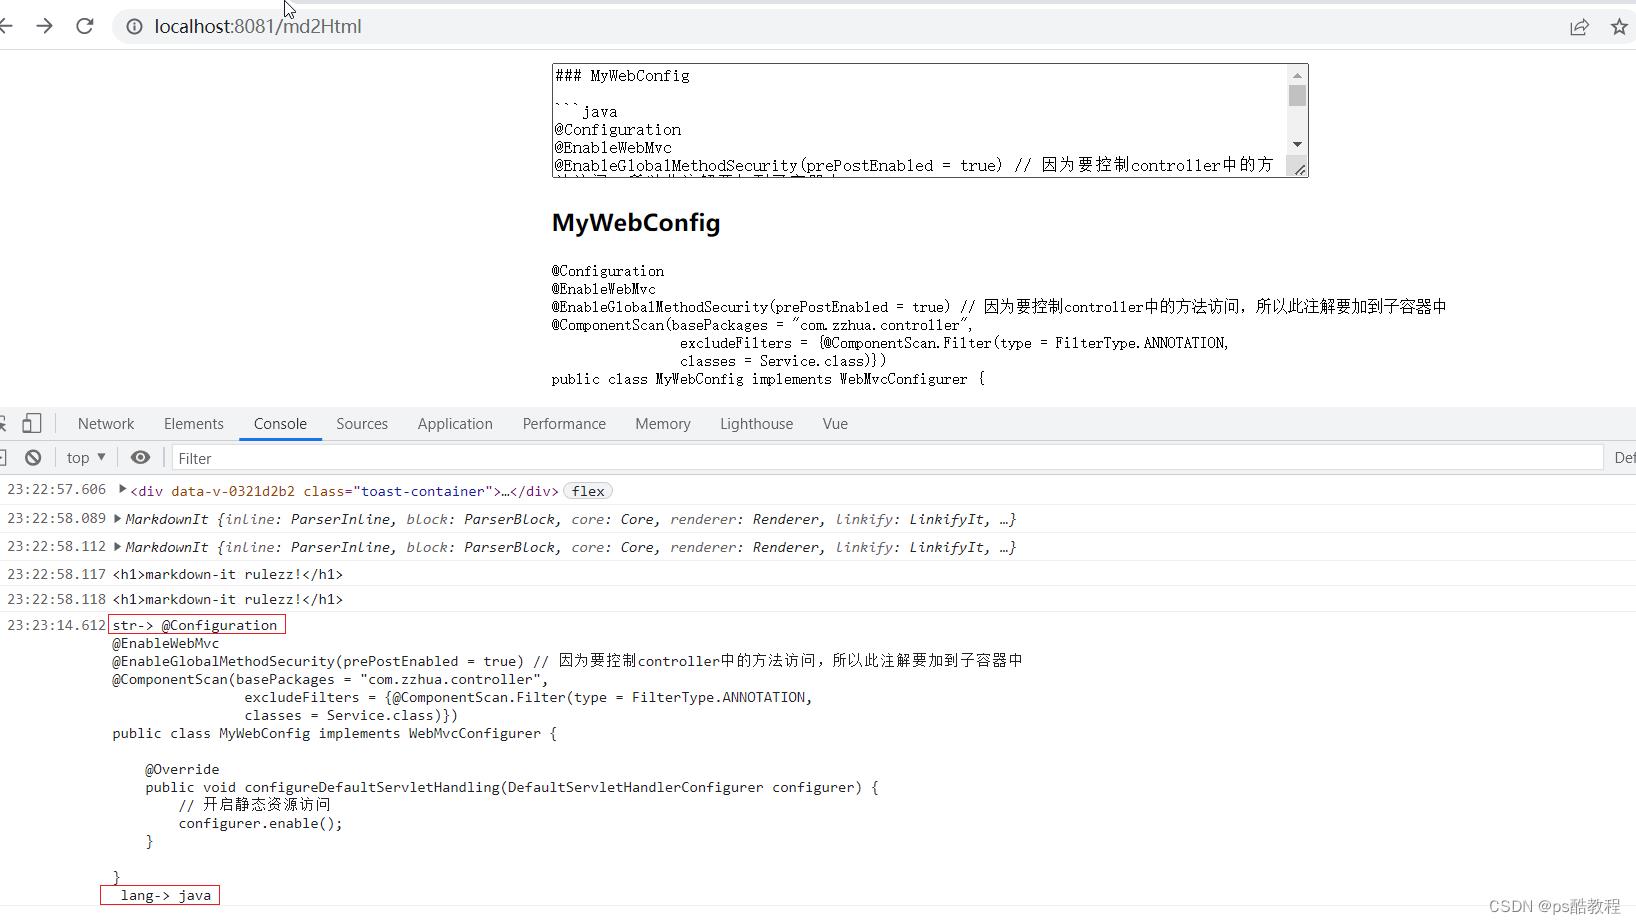
转化的html文档
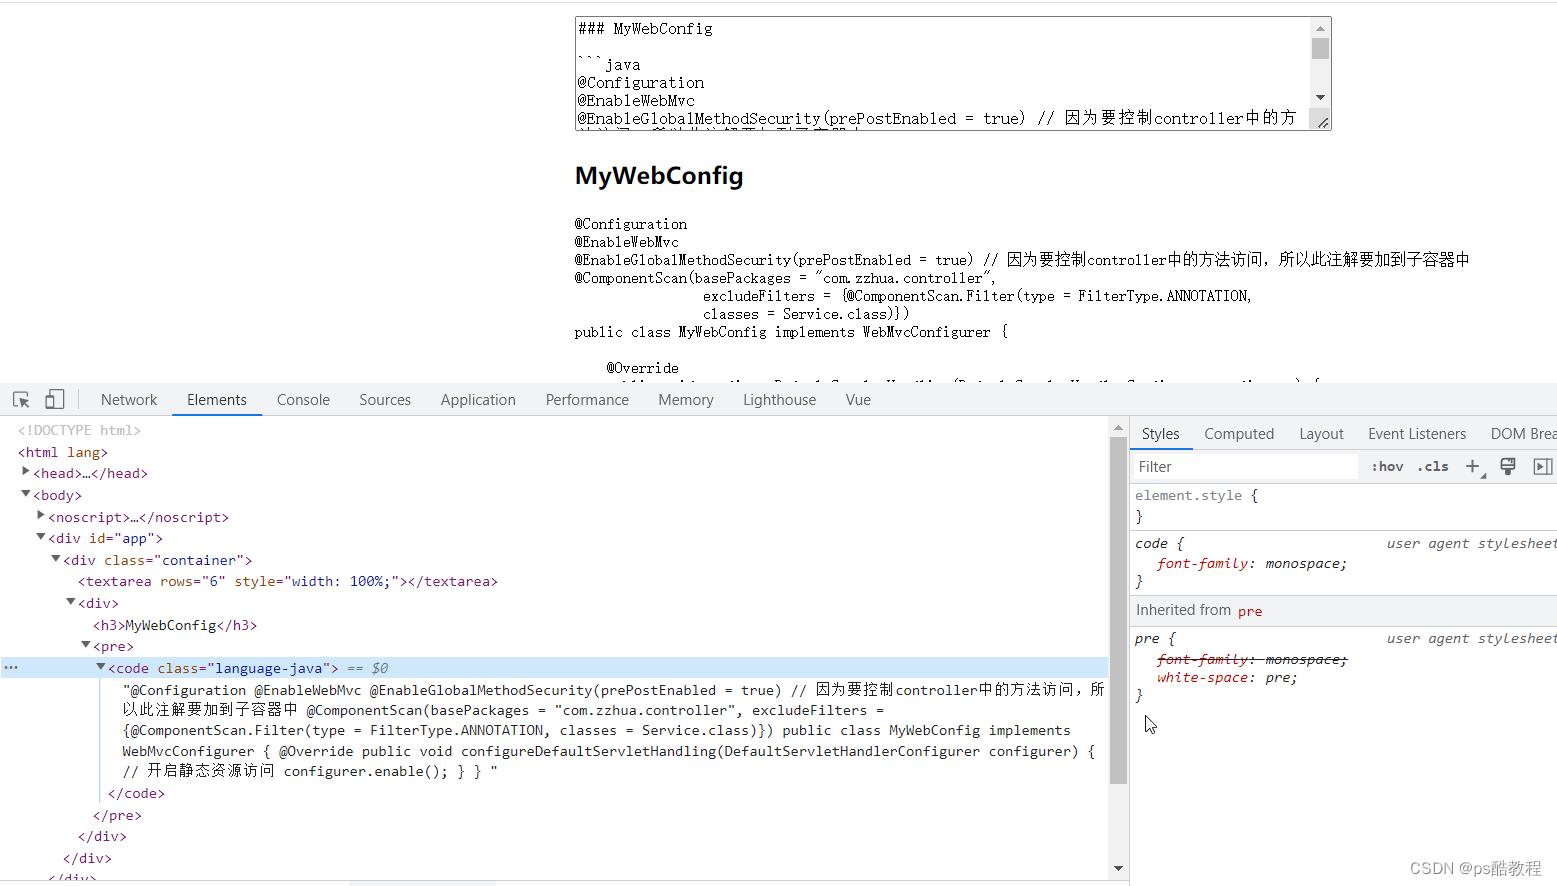
<style lang="scss">
    .container
        width: 600px;
        margin: 10px auto;

        textarea
            outline: none;


</style>

<template>
    <div class="container">
        <textarea v-model="mdContent" rows="6" style="width: 100%;"></textarea>
        <div v-html="htmlContent"></div>
    </div>
</template>

<script>
import MarkdownIt from 'markdown-it'
const MarkdownIt2 = require('markdown-it')

let md1 = new MarkdownIt()
let md2 = new MarkdownIt2()
console.log(md1);
console.log(md2);

console.log(md1.render('# markdown-it rulezz!'));/* h1>markdown-it rulezz!</h1> */
console.log(md2.render('# markdown-it rulezz!'));/* h1>markdown-it rulezz!</h1> */

const md = new MarkdownIt(
    html: true,
    linkify: true,
    typographer: true,
    breaks: true,
    highlight: function(str, lang)
        console.log('str->',str,'lang->',lang);

)

export default
    name: 'md2Html',
    data()
        return
            mdContent:'',
            htmlContent:'',

    ,
    watch:
        mdContent(newVal,oldVal)
            this.htmlContent = md.render(newVal)


</script>
代码简单高亮1
根据我们前面学到的highlight.js的用法,我们可以这么做,在编辑的时候实时高亮,就是在md转完html,并且渲染完成后,在$nextTick中,高亮对应的html就可以了。

<style lang="scss">
    .container
        width: 600px;
        margin: 10px auto;

        textarea
            outline: none;


</style>

<template>
    <div class="container">
        <textarea v-model="mdContent" rows="6" style="width: 100%;"></textarea>
        <div v-html="htmlContent"></div>
    </div>
</template>

<script>
import MarkdownIt from 'markdown-it'
const MarkdownIt2 = require('markdown-it')

import hljs from 'highlight.js'
import 'highlight.js/styles/atom-one-dark.css'

let md1 = new MarkdownIt()
let md2 = new MarkdownIt2()
console.log(md1);
console.log(md2);

console.log(md1.render('# markdown-it rulezz!'));/* h1>markdown-it rulezz!</h1> */
console.log(md2.render('# markdown-it rulezz!'));/* h1>markdown-it rulezz!</h1> */

const md = new MarkdownIt(
    html: true,
    linkify: true,
    typographer: true,
    breaks: true,
    highlight: function(str, lang)
        console.log('str->',str,'lang->',lang);

)

export default
    name: 'md2Html',
    data()
        return
            mdContent:'',
            htmlContent:'',

    ,
    watch:
        mdContent(newVal,oldVal)
            this.htmlContent = md.render(newVal)
            this.$nextTick(()=>
                console.log(333);
                document.querySelectorAll('pre code').forEach((el) =>
                    hljs.highlightElement(el);
                );
            )


</script>
代码高亮2(学习风宇blog)
添加功能:
- 代码高亮
- 行号
- 一键复制
<style lang="scss">
@import url('https://fonts.font.im/css?family=Roboto');
*
font-family: 'Roboto';
.container
width: 600px;
margin: 10px auto;
textarea
outline: none;
/* 行号样式 */
.line-numbers-rows
position: absolute;
pointer-events: none;
top: 18px;
font-size: 100%;
left: 0.5em;
width: 2.1em;
letter-spacing: -1px;
border-right: 1px solid #0e0f12;
-webkit-user-select: none;
-moz-user-select: none;
user-select: none;
background-color: #282c34;
pre
position: relative;
padding-left: 2.6em;
line-height: 1.3em;
.line-numbers-rows>span
display: block;
counter-increment: linenumber;
pre
background-color: #282c34;
border-radius: 8px;
pre code
border-radius: 8px;
.line-numbers-rows>span:before
content: counter(linenumber);
color: #999;
display: block;
padding-right: 0.8em;
text-align: right;
.language-name
position: absolute;
top: 9px;
color: #999999;
right: 43px;
font-size: 0.8em;
-webkit-user-select: none;
-moz-user-select: none;
user-select: none;
.copy-btn
position: absolute;
right: 8px;
top: 8px;
background-color: #525252;
border: none;
padding: 3px 6px;
border-radius: 3px;
color: #cccccc;
cursor: pointer;
display: none;
pre:hover .copy-btn
display: block;
.copy-textarea
position: absolute;
left: -9999px;
top: -9999px;
</style>
<template>
<div class="container">
<textarea v-model="mdContent" rows="6" style="width: 100%;"></textarea>
<div v-html="htmlContent"></div>
</div>
</template>
<script>
import getArticle from '@/api/articleApi'
import ClipboardJS from 'clipboard'
console.log(ClipboardJS);
import MarkdownIt from 'markdown-it'
const MarkdownIt2 = require('markdown-it')
import hljs from 'highlight.js'
import 'highlight.js/styles/atom-one-dark.css'
let md1 = new MarkdownIt()
let md2 = new MarkdownIt2()
console.log(md1);
console.log(md2);
console.log(md1.render('# markdown-it rulezz!'));/* h1>markdown-it rulezz!</h1> */
console.log(md2.render('# markdown-it rulezz!'));/* h1>markdown-it rulezz!</h1> */
const md = new MarkdownIt(
html: true,
linkify: true,
typographer: true,
breaks: true,
highlight: function (str, lang)
/*
str-> @Configuration
@EnableWebMvc
@EnableGlobalMethodSecurity(prePostEnabled = true) // 因为要控制controller中的方法访问,所以此注解要加到子容器中
@ComponentScan(basePackages = "com.zzhua.controller",
excludeFilters = @ComponentScan.Filter(type = FilterType.ANNOTATION,
classes = Service.class))
public class MyWebConfig implements WebMvcConfigurer
@Override
public void configureDefaultServletHandling(DefaultServletHandlerConfigurer configurer)
// 开启静态资源访问
configurer.enable();
lang-> java name: 'Java', aliases: Array(1), keywords: …, illegal: /<\\/|#/, contains: Array(23), …
*/
console.log('str->', str, 'lang->', lang, hljs.getLanguage('java'));
/*
<span class="hljs-meta">@Configuration</span>
<span class="hljs-meta">@EnableWebMvc</span>
<span class="hljs-meta">@EnableGlobalMethodSecurity(prePostEnabled = true)</span> <span class="hljs-comment">// 因为要控制controller中的方法访问,所以此注解要加到子容器中</span>
<span class="hljs-meta">@ComponentScan(basePackages = "com.zzhua.controller",
excludeFilters = @ComponentScan.Filter(type = FilterType.ANNOTATION,
classes = Service.class))</span>
<span class="hljs-keyword">public</span> <span class="hljs-keyword">class</span> <span class="hljs-title class_">MyWebConfig</span> <span class="hljs-keyword">implements</span> <span class="hljs-title class_">WebMvcConfigurer</span>
<span class="hljs-meta">@Override</span>
<span class="hljs-keyword">public</span> <span class="hljs-keyword">void</span> <span class="hljs-title function_">configureDefaultServletHandling</span><span class="hljs-params">(DefaultServletHandlerConfigurer configurer)</span>
<span class="hljs-comment">// 开启静态资源访问</span>
configurer.enable();
*/
console.log(hljs.highlight(str, language: lang ).value);
if (lang && hljs.getLanguage(lang))
try
let highlightedHtml = hljs.highlight(str, language: lang ).value
// 生成行号
let lineNum = highlightedHtml.split('\\n').length - 1
let lineNumbersRowsStart = `<span aria-hidden="true" class="line-numbers-rows">`
let lineNumbersRowsEnd = `</span>`
for (let i = 0; i < lineNum; i++)
lineNumbersRowsStart += `<span></span>`
const lineNumbersRows = lineNumbersRowsStart + lineNumbersRowsEnd
let languageName = `<b class="language-name">$lang</b>`
// 当前时间加随机数生成唯一的id标识
var d = new Date().getTime();
if (window.performance && typeof window.performance.now === "function")
d += performance.now();
const codeIndex = "xxxxxxxx-xxxx-4xxx-yxxx-xxxxxxxxxxxx".replace(
/[xy]/g,
function (c)
var r = (d + Math.random() * 16) % 16 | 0;
d = Math.floor(d / 16);
return (c == "x" ? r : (r & 0x3) | 0x8).toString(16);
);
// 复制功能需要一个textarea(这个id需要前面加个字母啥的,不能以数字开头)
let textAreaHtml = `<textarea class="copy-textarea" id="copy$codeIndex">$str</textarea>`
let copyButton = `<button class="copy-btn iconfont icon-fuzhi" data-clipboard-action="copy" data-clipboard-target="#copy$codeIndex" type="button"></button>`
/* 如果返回的不含pre code标签,它会自己加上;如果返回的含有pre code标签,它就不加了 */
return `<pre><code class="language-$lang hljs">$highlightedHtml</code>$lineNumbersRows$languageName$copyButton$textAreaHtml</pre>`;
catch (__)
return ""
)
export default
name: 'md2Html',
data()
return
mdContent: '',
htmlContent: '',
,
mounted()
getArticle(29).then(data =>
this.mdContent = data.mdContent
)
,
watch:
mdContent(newVal, oldVal)
let _this = this
this.htmlContent = md.render(newVal)
this.$nextTick(() =>
var clipboard = new ClipboardJS('.copy-btn');
clipboard.on('success', function (e)
console.info('Action:', e.action);
console.info('Text:', e.text);
console.info('Trigger:', e.trigger);
_this.$toast('success','复制成功了哦');
e.clearSelection();
);
clipboard.on('error',
🖐本节学习目标:
✅学会使用常用的组件
文章目录
1.常用的容器类组件的使用
1.view组件的基本使用
🌏view类似于HTML中的div,实现了普通的视图区域。
🍁例如:使用flex实现横向布局。
wxml代码:
<view class="container1">
<view>A</view>
<view>B</view>
<view>C</view>
</view>
wxss代码:
.container1 view
width:100px;
height:100px;
text-align: center;
line-height: 100px;
.container1 view:nth-child(1)
background-color: aquamarine;
.container1 view:nth-child(2)
background-color: azure;
.container1 view:nth-child(3)
background-color: darkorange;
.container1
display: flex;
justify-content: space-around;
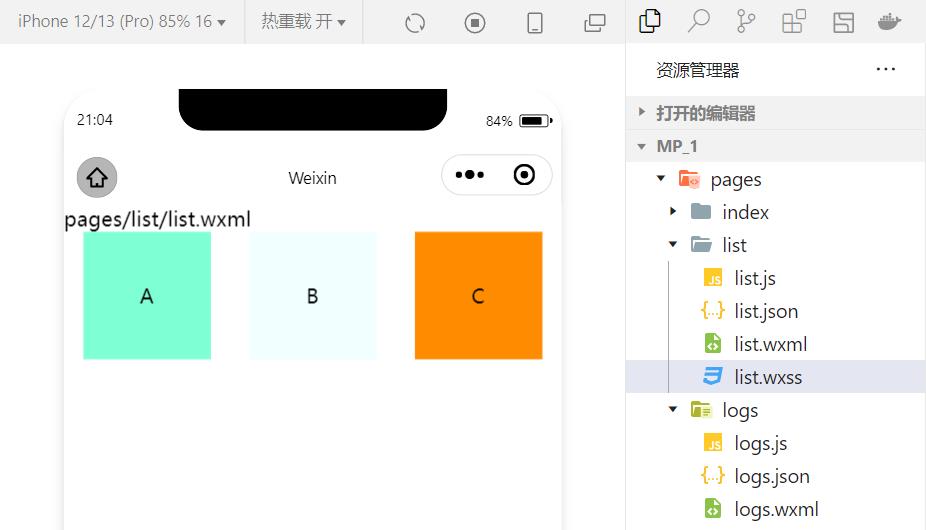
实现效果:
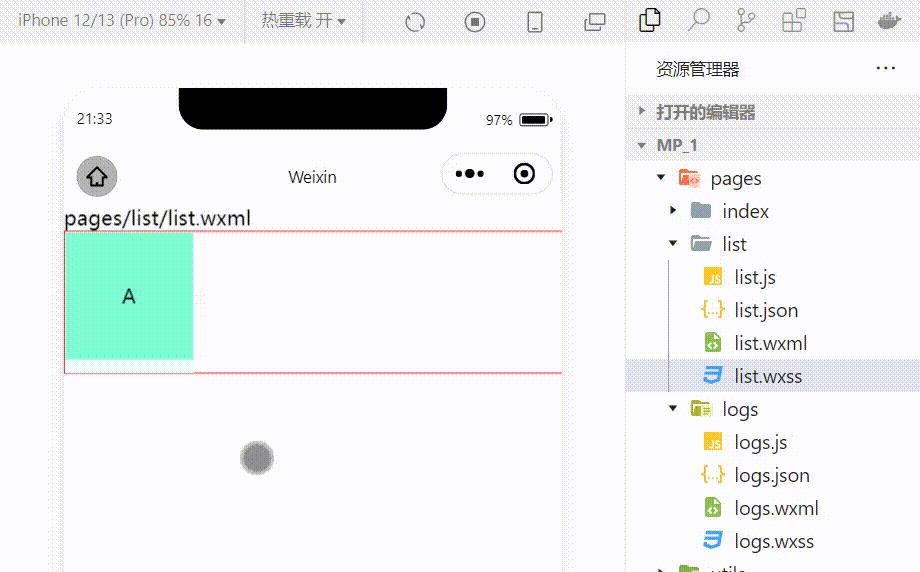
2.scroll-view组件的基本使用
🌏利用scroll-view可以实现滚动的效果,这个效果可以是上下滚动,也可以是左右滚动。
wxml代码:
<scroll-view class="container1" scroll-y>
<view>A</view>
<view>B</view>
<view>C</view>
</scroll-view>
修改的wxss代码:
.container1
border:1px solid red;
height:110px;
/*使用scroll-view时设置固定的高度*/
实现效果:
3.swiper和swiper-item组件的基本使用
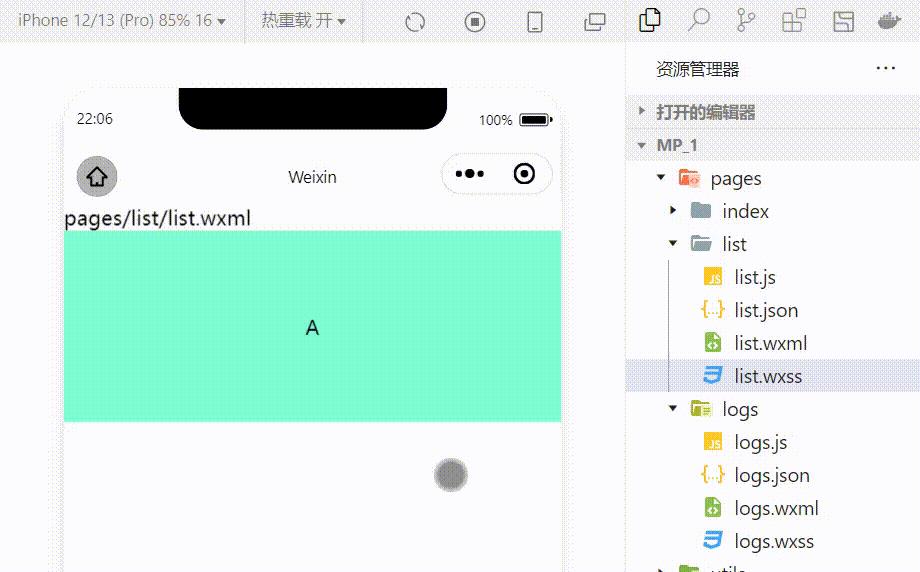
🌏利用这两个组件可以实现轮播图效果:
wxml代码:
<swiper class="swiper-container">
<swiper-item>
<view class="item">A</view>
</swiper-item>
<swiper-item>
<view class="item">B</view>
</swiper-item>
<swiper-item>
<view class="item">C</view>
</swiper-item>
</swiper>
wxss代码:
.swiper-container
height:150px;
.item
height:100%;
line-height: 150px;
text-align: center;
swiper-item:nth-child(1) .item
background-color: aquamarine;
swiper-item:nth-child(2) .item
background-color: azure;
swiper-item:nth-child(3) .item
background-color: darkorange;
实现效果:
swiper组件的常用属性
属性 类型 默认值 说明 indicator-dots boolean false 是否显示面板指示色 indicator-color color rgba(0,0,0,3) 指示点颜色 indicator-active-color color #000000 当前选中的指示点的颜色 autoplay boolean false 是否自动切换 interval number 5000 自动切换时间间隔 circular boolean false 是否采用衔接滑动
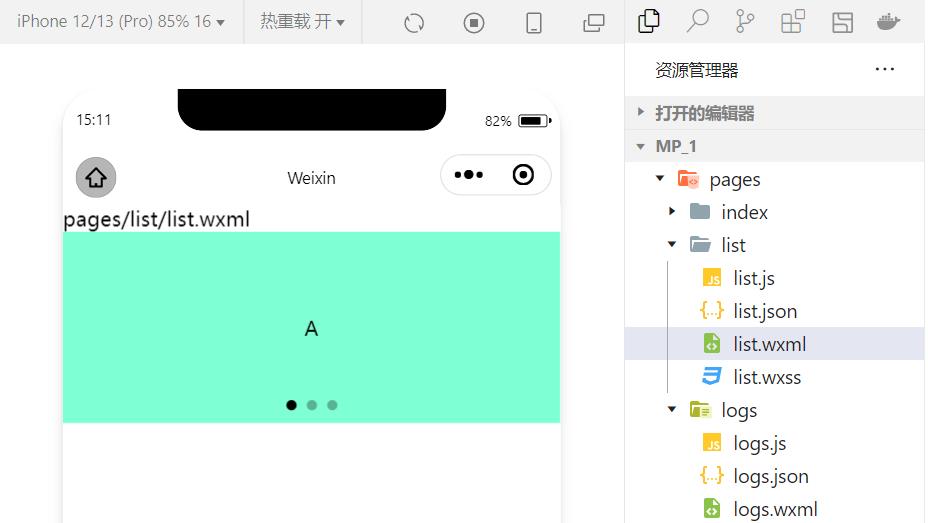
🍃例:显示面板指示色:
<swiper class="swiper-container" indicator-dots="true" >
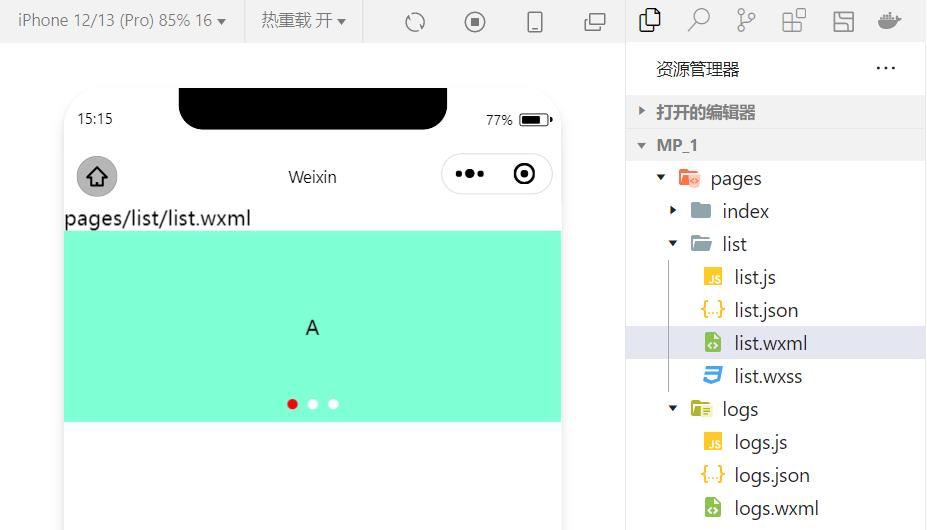
🍃例:指定指示点颜色和当前选中知识点颜色:
<swiper class="swiper-container" indicator-dots="true" indicator-color="white" indicator-active-color="red">
🍃例:设置自动切换,间隔设置为1s:
<swiper class="swiper-container" indicator-dots="true" indicator-color="white" indicator-active-color="red" autoplay="true" interval="1000">
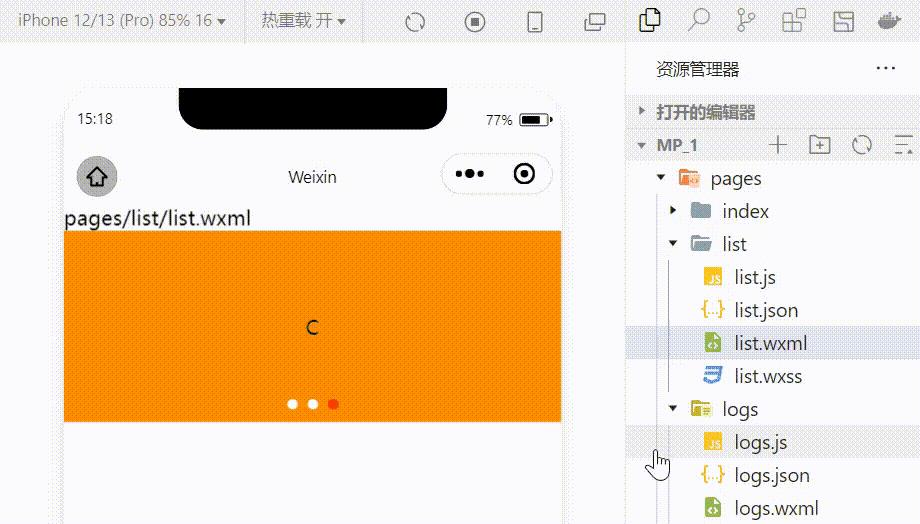
采用衔接滑动:
<swiper class="swiper-container" indicator-dots="true" indicator-color="white" indicator-active-color="red" autoplay="true" interval="1000" circular>
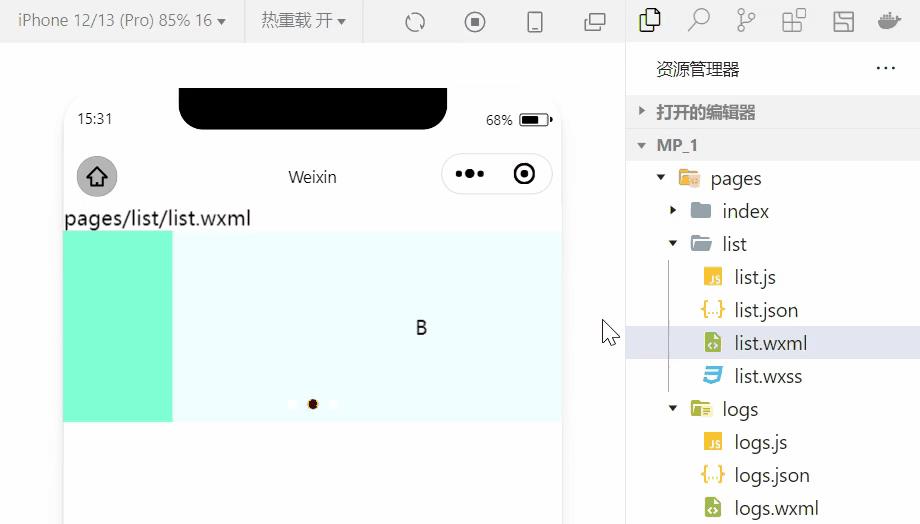
2.常用的基础内容组件的使用
1.text组件的基本使用
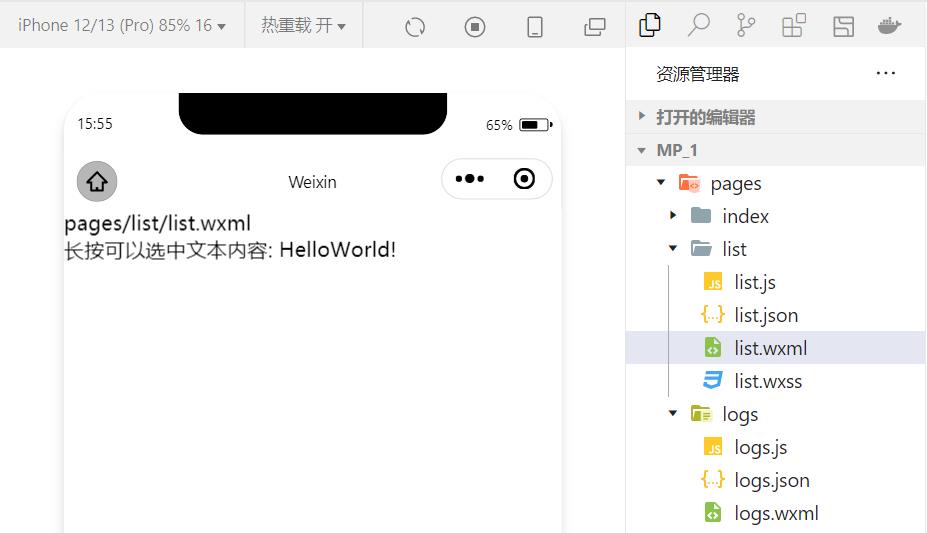
🍁例:通过 text 组件的user-select 属性,可以实现长按选中文本内容的效果。(之前使用的selectable已经被废弃!)
<view>
长按可以选中文本内容:
<text user-select>HelloWorld!</text>
</view>
2.rich-text 组件的基本使用
🍁例:通过 rich-text 组件的 nodes 属性节点,把 HTML 字符串渲染为对应的 UI 结构。
<rich-text nodes="<h1 style='color:red'>标题</h1>"> </rich-text>
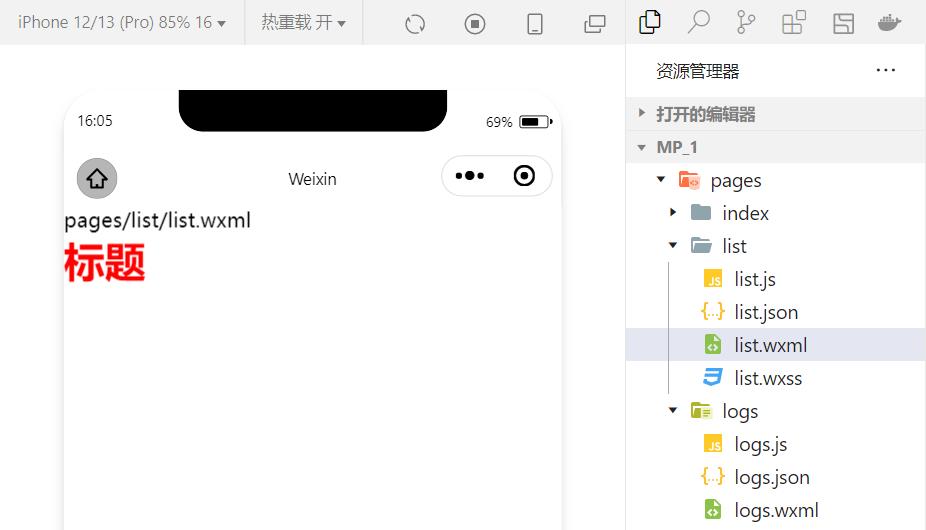
在想要把HTML文档渲染为相应的UI结构时使用该组件。
3.其他常用的组件
1.button组件的使用
🌏小程序中的按钮组件类似于HTML中的按钮组件,同时可以调用微信提供的丰富的功能,例如:获取用户信息,获取用户授权,转发等。
🍁例:使用type属性设置按钮的类型:
<button >默认按钮</button>
<button type="primary">主色调按钮</button>
<button type="warn">警告按钮</button>
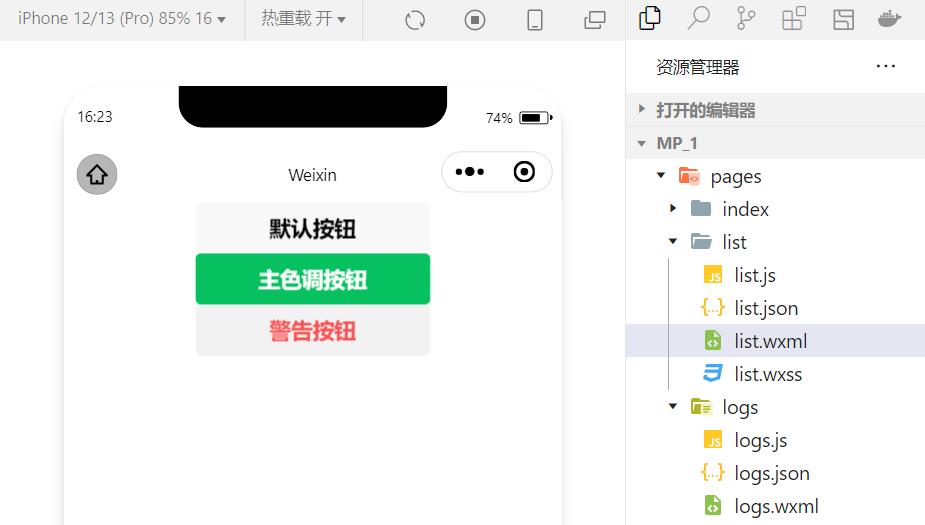
🍁例:使用size属性设置按钮的大小:
<button size="mini">默认按钮</button>
<button type="primary" size="mini">主色调按钮</button>
<button type="warn" size="mini">警告按钮</button>
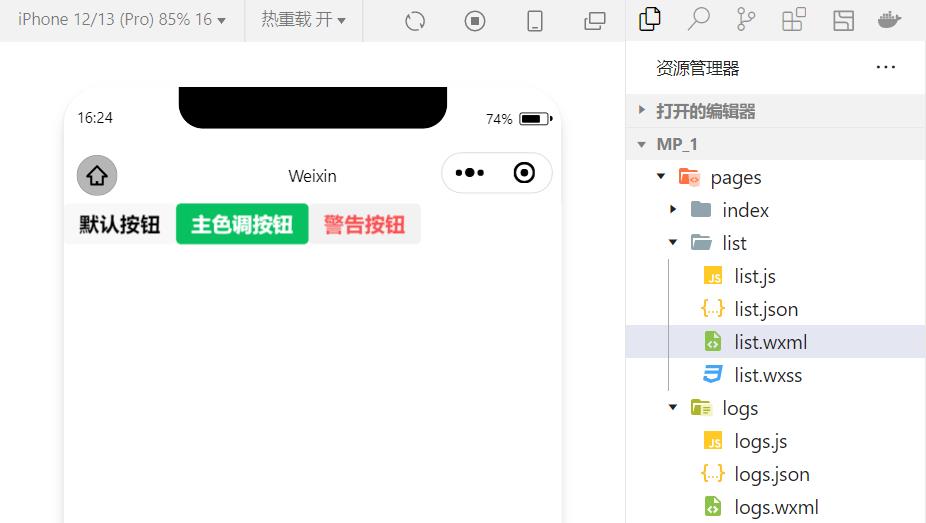
🍁例:使用plain属性设置镂空按钮:
<button plain>默认按钮</button>
<button type="primary" plain>主色调按钮</button>
<button type="warn" plain>警告按钮</button>
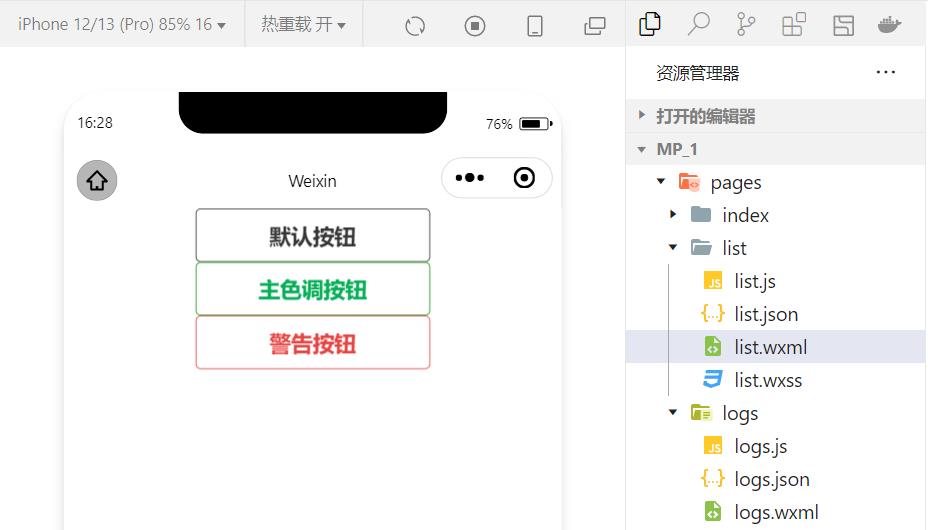
2.image组件的基本使用
wxml代码:
<image src="/images/1.jpg"></image>
wxss代码:
image
border: 5px solid black;
实现效果:
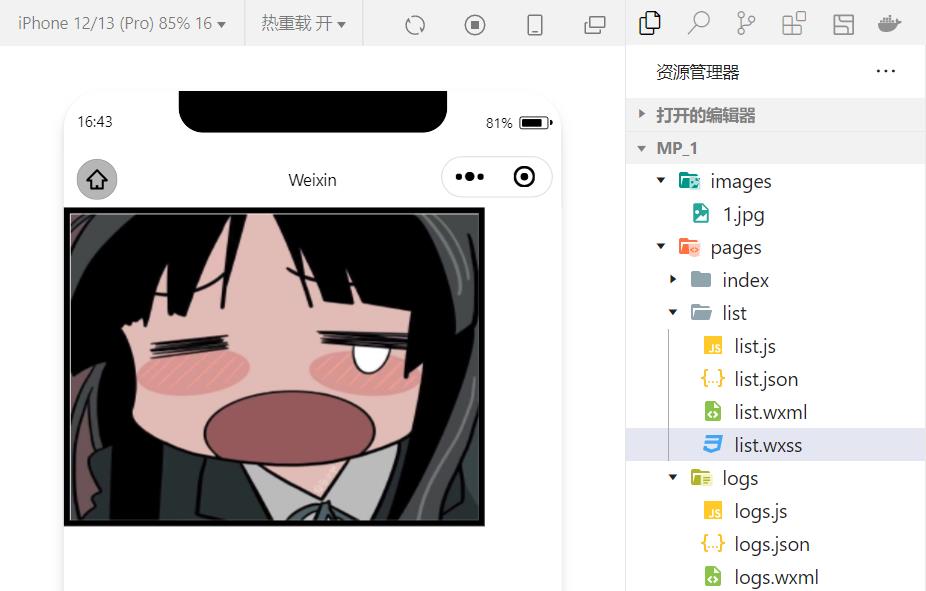
🍃image 组件的 mode 属性用来指定图片的裁剪和缩放模式,常用的 mode 属性值如下:
mode 值 说明 scaleToFill (默认值)缩放模式,不保持纵横比缩放图片,使图片的宽高完全拉伸至填满 image 元素 aspectFit 缩放模式,保持纵横比缩放图片,使图片的长边能完全显示出来。也就是说,可以完整地将图片显示出来。 aspectFill 缩放模式,保持纵横比缩放图片,只保证图片的短边能完全显示出来。也就是说,图片通常只在水平或垂直方向是完整的,另一个方向将会发生截取。 widthFix 缩放模式,宽度不变,高度自动变化,保持原图宽高比不变 heightFix 缩放模式,高度不变,宽度自动变化,保持原图宽高比不变
4.总结
本节对几个常用的组件做一个总结,实际上小程序拥有十分丰富的组件库,在学习的过程中,就会慢慢接触并熟练!同时,组件的学习和使用也是小程序宿主环境的一个重要部分。小程序开发中我们也体会到了技术更新迭代的速度很快,所以必须持续的学习新的技术!
以上是关于markdown-it基本使用的主要内容,如果未能解决你的问题,请参考以下文章