springboot整合redis实现秒杀功能
Posted 睡竹
tags:
篇首语:本文由小常识网(cha138.com)小编为大家整理,主要介绍了springboot整合redis实现秒杀功能相关的知识,希望对你有一定的参考价值。
1、环境搭建
springboot整合redis这个步骤就不详细介绍了,直接放配置和代码
引入依赖
<!-- redis依赖 -->
<dependency>
	<groupId>org.springframework.boot</groupId>
	<artifactId>spring-boot-starter-data-redis</artifactId>
	<version>2.7.0</version>
</dependency>
<!-- redis所需的连接池 -->
<dependency>
	<groupId>org.apache.commons</groupId>
	<artifactId>commons-pool2</artifactId>
</dependency>
<!-- 所需工具包 -->
<dependency>
	<groupId>com.alibaba</groupId>
	<artifactId>fastjson</artifactId>
	<version>1.2.75</version>
</dependency>
配置redis自定义JSON序列化
package com.shuizhu.config;

import org.springframework.context.annotation.Bean;
import org.springframework.context.annotation.Configuration;
import org.springframework.data.redis.connection.RedisConnectionFactory;
import org.springframework.data.redis.core.RedisTemplate;
import org.springframework.data.redis.serializer.GenericJackson2JsonRedisSerializer;
import org.springframework.data.redis.serializer.RedisSerializer;
import java.net.UnknownHostException;

@Configuration
public class RedisConfig
    @Bean
    public RedisTemplate<String, Object> redisTemplate(RedisConnectionFactory redisConnectionFactory)
            throws UnknownHostException
        // 创建模板
        RedisTemplate<String, Object> redisTemplate = new RedisTemplate<>();
        // 设置连接工厂
        redisTemplate.setConnectionFactory(redisConnectionFactory);
        // 设置序列化工具
        GenericJackson2JsonRedisSerializer jsonRedisSerializer =
                new GenericJackson2JsonRedisSerializer();
        // key和 hashKey采用 string序列化
        redisTemplate.setKeySerializer(RedisSerializer.string());
        redisTemplate.setHashKeySerializer(RedisSerializer.string());
        // value和 hashValue采用 JSON序列化
        redisTemplate.setValueSerializer(jsonRedisSerializer);
        redisTemplate.setHashValueSerializer(jsonRedisSerializer);
        return redisTemplate;
初始化redis配置及连接池配置
在application中,配置:
#redis服务地址
spring.redis.host=127.0.0.1
#redis端口
spring.redis.port=6379
#springboot连接redis的超时时间
spring.redis.timeout=8000
#默认使用第一个数据库,一共16个
spring.redis.database=0
#时间超过18000ms,关闭redis连接
spring.redis.lettuce.shutdown-timeout=18000
#连接池最大的连接数(使用负数表示无限制)
spring.redis.lettuce.pool.max-active=8
#最大阻塞等待时间(使用负数表示无限制)
spring.redis.lettuce.pool.max-wait=-1
#连接池中的最大空闲连接
spring.redis.lettuce.pool.max-idle=5
#连接池中的最小空闲连接
spring.redis.lettuce.pool.min-idle=0
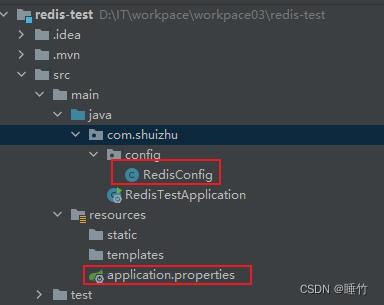
搭建好之后,结构如下:

2、秒杀案例
这里模拟一个秒杀的场景:
- 秒杀的商品编号为"01001"
- 商品数量为10
- 接口中,手动生成一个随机的用户编号,用户模拟用户ID
秒杀代码
package com.shuizhu.test;

import org.springframework.dao.DataAccessException;
import org.springframework.data.redis.core.RedisOperations;
import org.springframework.data.redis.core.RedisTemplate;
import org.springframework.data.redis.core.SessionCallback;
import org.springframework.util.ObjectUtils;
import org.springframework.web.bind.annotation.RequestMapping;
import org.springframework.web.bind.annotation.RestController;

import javax.annotation.Resource;
import java.util.List;
import java.util.Random;

/**
 * @author 睡竹
 * @date 2023/03/29
 */
@RestController
public class TestSeckill

    //模拟秒杀的商品ID为01001
    private static final String PRODUCT_ID = "01001";

    //注入template对象
    @Resource
    RedisTemplate redisTemplate;

    /**
     * 假设秒杀的商品为10个
     * 商品数量存储在Redis中,类型为int,初始值为10
     * 抢购成功的用户存储在Redis中,类型为set
     */
    @RequestMapping("test")
    public String testSeckill()
        //模拟秒杀用户的ID,每次请求都看作是一个用户,这里使用随机数代替该用户
        String userId = String.valueOf(new Random().nextInt(5000));

        /***** 步骤开始 */
        /***** 1、判断当前用户ID和商品ID是否为null */
        if (ObjectUtils.isEmpty(userId) && ObjectUtils.isEmpty(PRODUCT_ID))
            return "参数为null,请刷新重试";

        /***** 2、设置秒杀商品的key */
        String sec_key = "sec:" + PRODUCT_ID + ":product";
        /***** 3、设置参与秒杀用户的key,注意:该key对应Set类型的数据 */
        String user_key = "sec:" + PRODUCT_ID + ":user";

        /***** 4、SessionCallback可以确保操作者为同一个线程,高并发情况下必须防止争抢 */
        //在并发的情况下,所有有关redis命令的代码,都必须放至new SessionCallback()中
        Object result = redisTemplate.execute(new SessionCallback()
            @Override
            public Object execute(RedisOperations redisOperations) throws DataAccessException
                /***** 5、watch() 秒杀的商品(乐观锁), 注意:放在所有操作的最前面,是为了防止它失效 */
                redisTemplate.watch(sec_key);
                /***** 6、获取库存,判断该商品秒杀是否开始 */
                Object originValue = redisTemplate.opsForValue().get(sec_key);
                if (ObjectUtils.isEmpty(originValue))
                    return "该商品秒杀活动暂未开始!请等待...";

                /***** 7、判断当前用户是否已秒杀成功,不能再参与秒杀 */
                Boolean member = redisTemplate.opsForSet().isMember(user_key, userId);
                if (member)
                    //为true表示已秒杀成功过
                    return "您已秒杀成功过了,不能再次参与!";

                /***** 8、判断当前数量是否为0 */
                if ((Integer) originValue < 1)
                    return "秒杀已结束";

                /***** 9、multi开启一个事务,下面的redis命令进入组队模式 */
                redisTemplate.multi();
                /***** 10、商品数量-1 */
                redisTemplate.opsForValue().decrement(sec_key);

                /***** 11、把当前用户添加到user_key中 */
                redisTemplate.opsForSet().add(user_key, userId);

                /***** 12、执行该事务中的队列 */
                List result = redisTemplate.exec();

                /***** 13、判断执行结果:当result存在值,表示秒杀成功 */
                if (result.isEmpty() || result.size() < 1)
                    //watch的key发生了变化,修改redis数据失败,秒杀失败,返回null
                    return null;

                //这里代表已经秒杀成功了,返回任意成功的标识
                return "success";

        );
        //判断秒杀的结果,并做出相应的返回
        if (ObjectUtils.isEmpty(result))
            return "秒杀失败!请重试";

        return "恭喜!秒杀成功!";
注意事项:
- 所有redis的操作命令都必须放在SessionCallback内部方法中
- redisTemplate.watch()监听必须放在所有redis操作的最前面
原因:
- SessionCallback可以确保操作者为同一个线程,高并发情况下必须防止争抢
- watch()放在所有操作的最前面,是为了防止它失效
初始化redis秒杀数量
连接redis,设置商品key为sec:01001:product,秒杀数量为10
set sec:01001:product 10 JMeter并发模拟
打开JMeter,并对请求进行模拟,如下:
1、初始化必要配置

2、 http请求设置:
我的接口为:http://localhost:8080/test
故设置为:

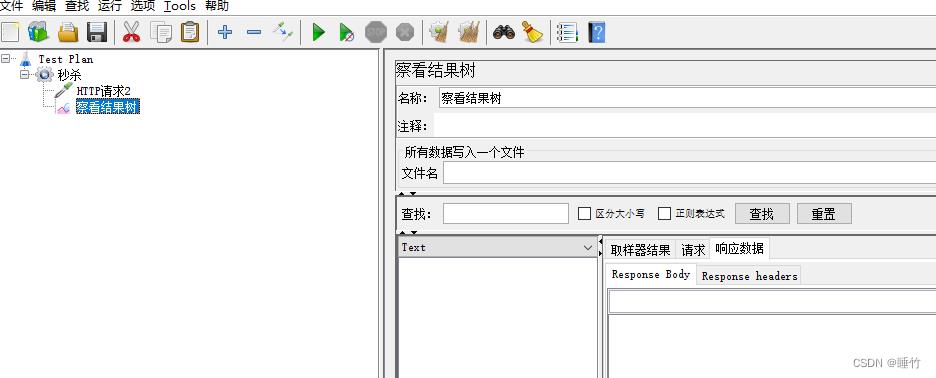
3、添加查看结果树

测试
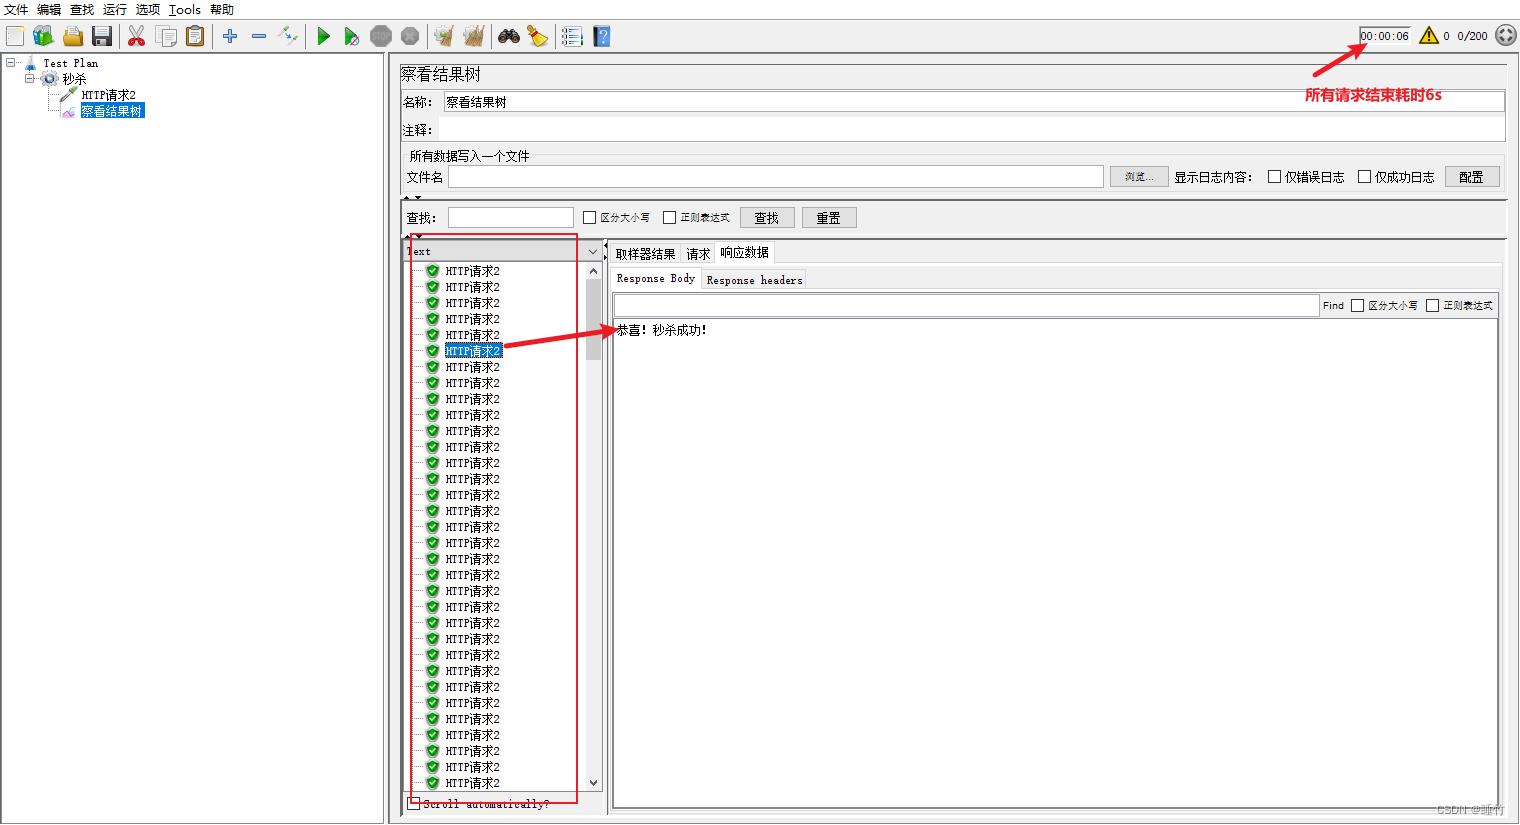
点击执行该线程组,会在结果树看到结果,如下:

看到当前秒杀数量是否异常:

秒杀案例结束
以上是关于springboot整合redis实现秒杀功能的主要内容,如果未能解决你的问题,请参考以下文章