springboot入门
Posted 路漫漫其修远兮
tags:
篇首语:本文由小常识网(cha138.com)小编为大家整理,主要介绍了springboot入门相关的知识,希望对你有一定的参考价值。
1、在eclipse中创建一个maven项目
(创建过程在这就省略了)
2、在pom文件中增加springboot的相关配置
增加springboot的基础配置

增加springboot web

完整的pom文件

<project xmlns="http://maven.apache.org/POM/4.0.0" xmlns:xsi="http://www.w3.org/2001/XMLSchema-instance"
    xsi:schemaLocation="http://maven.apache.org/POM/4.0.0 http://maven.apache.org/xsd/maven-4.0.0.xsd">
    <modelVersion>4.0.0</modelVersion>

    <groupId>zl</groupId>
    <artifactId>springboot</artifactId>
    <version>0.0.1-SNAPSHOT</version>
    <packaging>jar</packaging>

    <name>springboot</name>
    <url>http://maven.apache.org</url>

    <parent>
        <groupId>org.springframework.boot</groupId>
        <artifactId>spring-boot-starter-parent</artifactId>
        <version>1.5.2.RELEASE</version>
    </parent>
    <properties>
        <project.build.sourceEncoding>UTF-8</project.build.sourceEncoding>
    </properties>
    <build>
        <plugins>
            <plugin>
                <groupId>org.springframework.boot</groupId>
                <artifactId>spring-boot-maven-plugin</artifactId>
            </plugin>
            <plugin>
                <groupId>org.apache.maven.plugins</groupId>
                <artifactId>maven-compiler-plugin</artifactId>
                <version>2.3.1</version>
                <configuration>
                    <source>1.8</source>
                    <target>1.8</target>
                    <encoding>UTF-8</encoding>
                </configuration>
            </plugin>
        </plugins>
    </build>
    <dependencies>
        <dependency>
            <groupId>junit</groupId>
            <artifactId>junit</artifactId>
            <version>3.8.1</version>
            <scope>test</scope>
        </dependency>
        <dependency>
            <groupId>org.springframework.boot</groupId>
            <artifactId>spring-boot-starter-web</artifactId>
        </dependency>
    </dependencies>
</project>
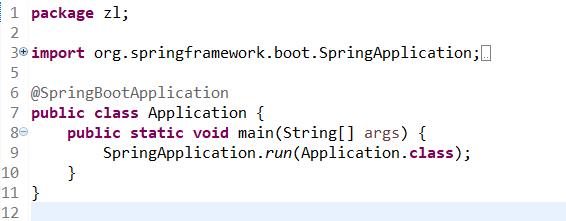
3、编写springboot的入口程序

4、编写controller

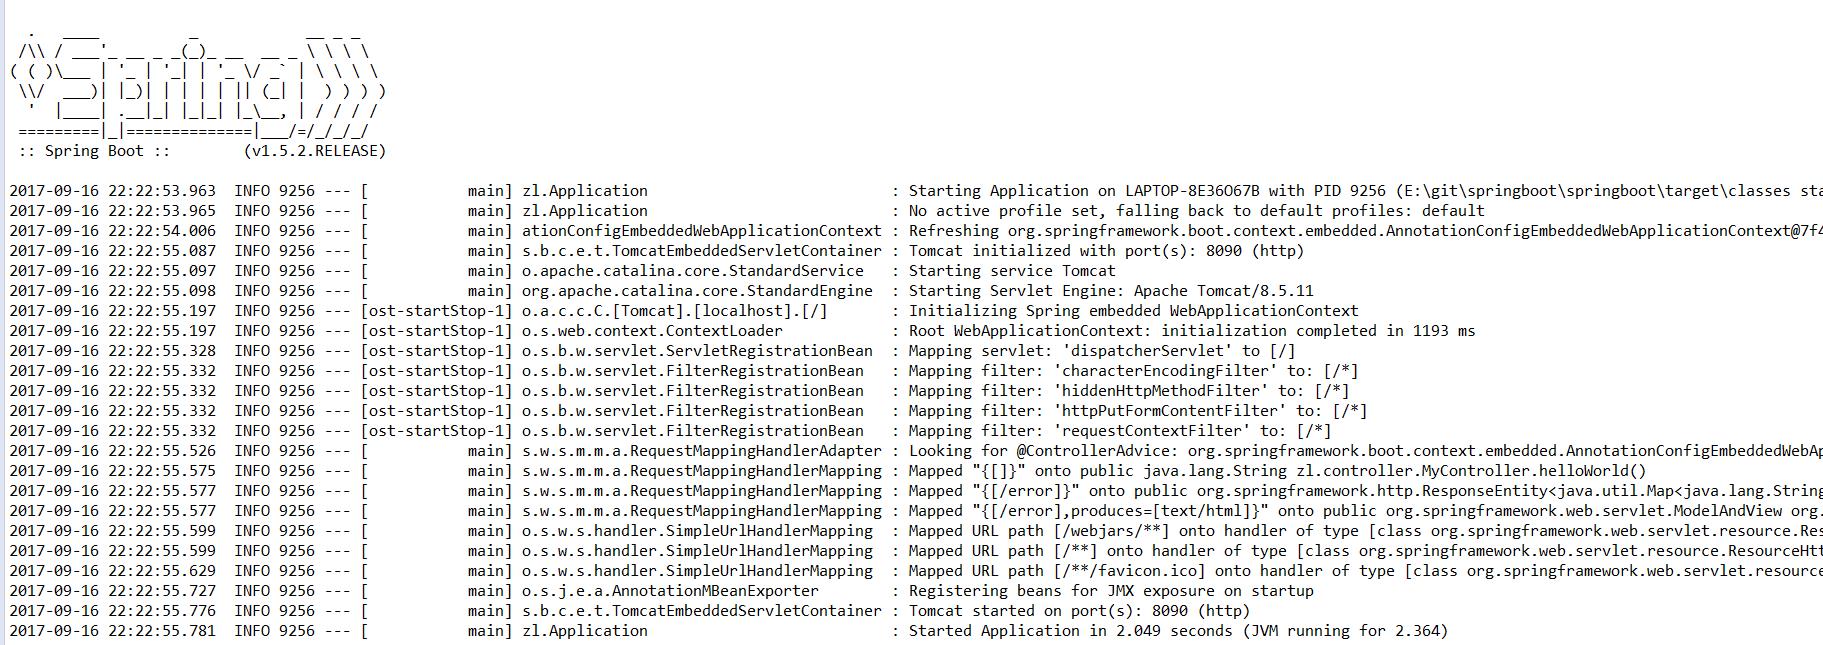
5、启动项目(只需要在springboot入口程序直接Run as java application 就可以了)

启动的时候会打印spring的logo,这是默认的,需要修改的话只需要在/src/main/resources目录下增加banner.txt文件,那样子项目启动的时候就会打印你自定义的logo,
可通过这个网站http://patorjk.com/software/taag生成你需要的字符
例如:

6、测试
备注:默认启动的时8080 端口,这里我在springboot的默认配置文件application.properties中设置了server.port=8090

完整代码
以上是关于springboot入门的主要内容,如果未能解决你的问题,请参考以下文章
