SpringBoot 中 MybatisX 插件的简单使用教程(超详细!!)
Posted Java知音_
tags:
篇首语:本文由小常识网(cha138.com)小编为大家整理,主要介绍了SpringBoot 中 MybatisX 插件的简单使用教程(超详细!!)相关的知识,希望对你有一定的参考价值。
1.什么是MybatisX?
MybatisX 是一款基于 IDEA 的快速开发插件,方便在使用mybatis以及mybatis-plus开始时简化繁琐的重复操作,提高开发速率。
2.使用MybatisX的好处
节省大量持久层代码开发时间
强大的功能为业务编写提供各类支持
配置简单,告别各类复杂的配置文件
3.如何使用MybatisX?
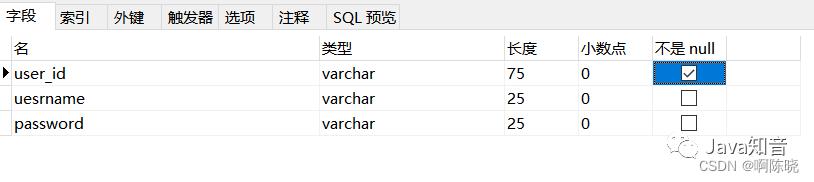
1.创建一个简单的数据库
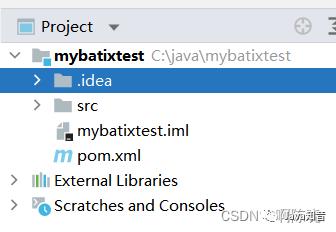
2.创建一个简单的Springboot工程
3.在pom.xml文件中引入mybatis-plus依赖
<!--mybatisPlus-->
<dependency>
    <groupId>com.baomidou</groupId>
    <artifactId>mybatis-plus-boot-starter</artifactId>
    <version>3.5.1</version>
</dependency>
4.在File->Settings->Plugins下载MybatiX插件

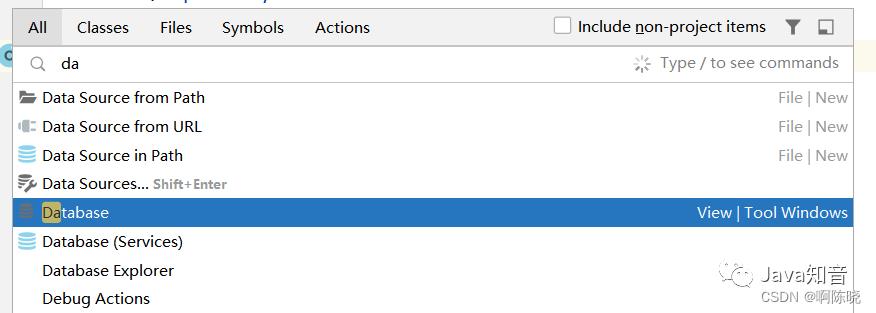
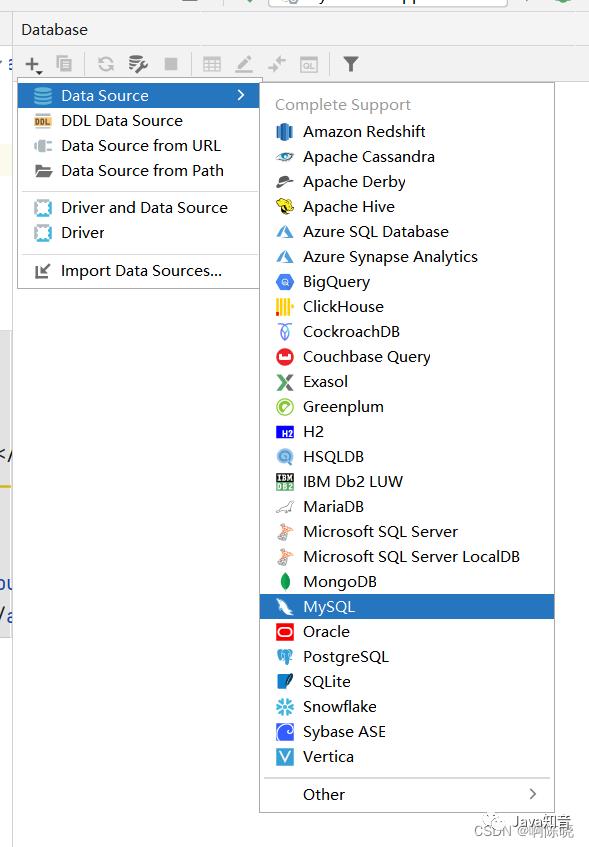
5.两下SHIFT键搜索database进入数据库
6.新建Mysql连接
输入用户、密码及数据库名
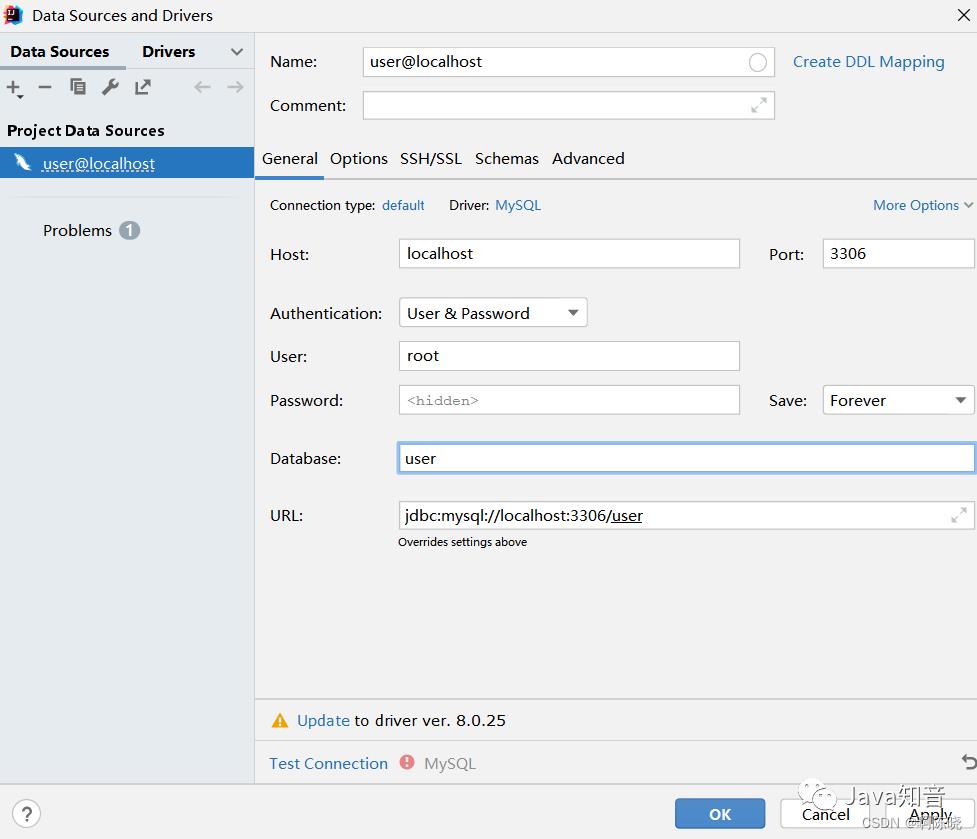
当Test Connection时会提示这么一段话:这是时区未设置问题

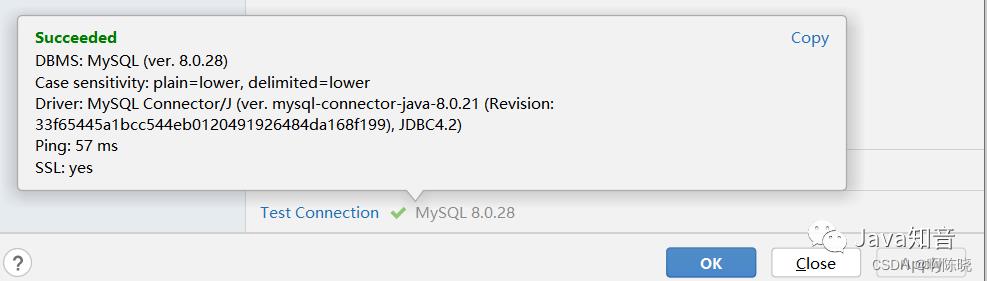
根据提示来到Advanced,找到severTimezone,将其设置为GMT(Greenwich Mean Time 格林尼治标准时间)

此时再测试连接会发现已经成功
这时候我们就可以看见我们想要连接的数据库和其对应的表等信息了
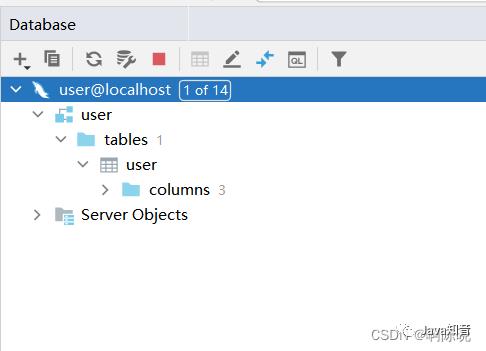
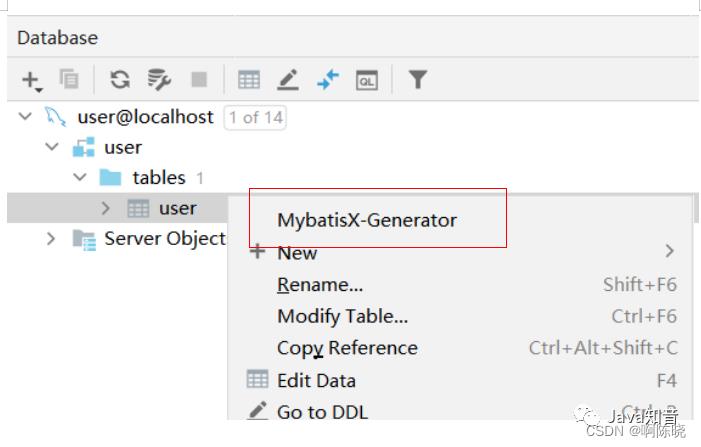
右键对应的表,我们可以看到MybatiX-Generator
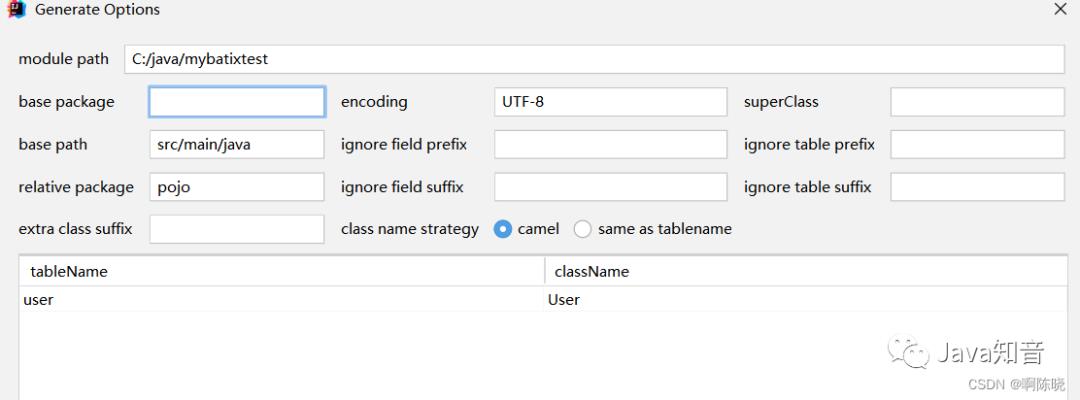
点击后我们会看到这样一个页面,我们可以在这个页面中设置需要消除的前后缀、文件存放目录等...
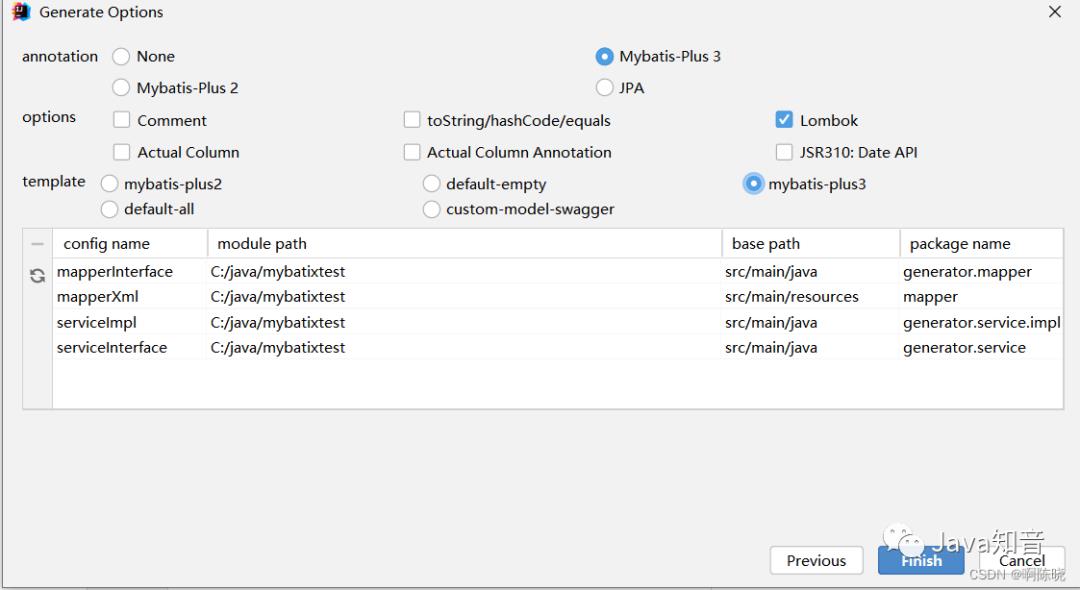
点击Next,在下面是一些配置,我们勾选Mybatis-Plus的最新版本Mybatix-Plus 3 和 简化开发的Lombok
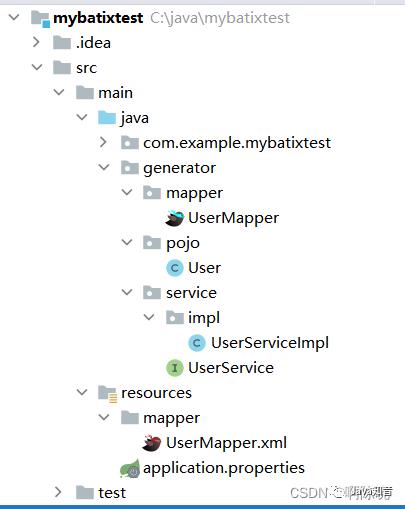
点击Finish,我们可以看到MybatisX为我们自动生成了该表对应的实体类、Mapper文件、Service和相对应的接口
在yaml中对数据库进行配置:
application.yaml
spring:
  datasource:
    driver-class-name: com.mysql.cj.jdbc.Driver
    url: jdbc:mysql://localhost:3306/user?characterEncoding=utf-8&useSSL=false&serverTimezone=GMT
    username: root
    password: password
控制层编写方法,使用到Mybatis-Plus中的条件构造器:
package com.example.mybatixtest.controller;
import com.baomidou.mybatisplus.core.conditions.query.QueryWrapper;
import com.example.mybatixtest.pojo.User;
import com.example.mybatixtest.service.UserService;
import org.springframework.beans.factory.annotation.Autowired;
import org.springframework.web.bind.annotation.GetMapping;
import org.springframework.web.bind.annotation.RestController;
@RestController
public class TestController
@Autowired
UserService userService;
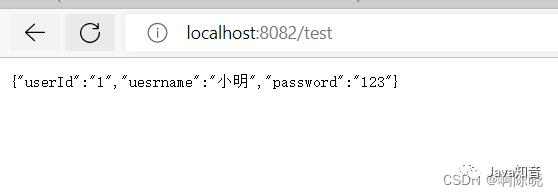
@GetMapping("/test")
public User test()
QueryWrapper<User> userQueryWrapper = new QueryWrapper<>();
userQueryWrapper.eq("user_id",1);
User user = userService.getOne(userQueryWrapper);
return user;
访问成功
至此,MybatiX整合springboot的简单配置结束!!
作者:啊陈晓
来源:blog.csdn.net/weixin_47025166/article/
details/125362323
推荐

PS:因为公众号平台更改了推送规则,如果不想错过内容,记得读完点一下“在看”,加个“星标”,这样每次新文章推送才会第一时间出现在你的订阅列表里。点“在看”支持我们吧!
以上是关于SpringBoot 中 MybatisX 插件的简单使用教程(超详细!!)的主要内容,如果未能解决你的问题,请参考以下文章
springboot——Mybatis-Plus + MybatisX插件快速开发