基于yolov7的闸片厚度检测方法
Posted 呐不要慌问题大的很
tags:
篇首语:本文由小常识网(cha138.com)小编为大家整理,主要介绍了基于yolov7的闸片厚度检测方法相关的知识,希望对你有一定的参考价值。
基于yolov7的闸片厚度检测方法
图像采集
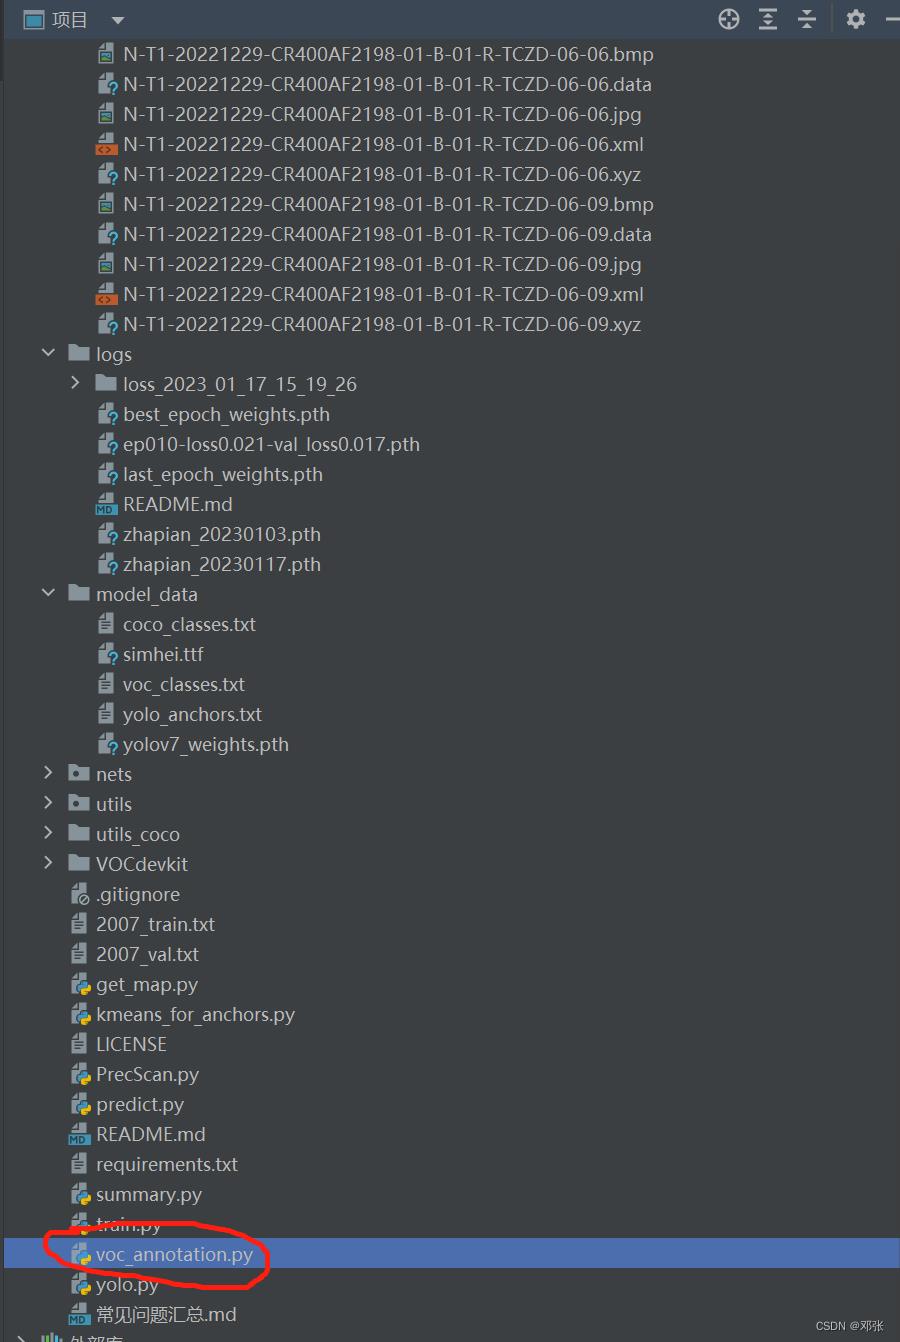
利用基于3D结构光的深度相机采集样本,生成四种文件:
.bmp(深度图与RGB图)、
.data(图像深度信息)、
.xyz(像素坐标与世界坐标的映射关系)、
.xml(图像生成的额外描述)
YOLOV7训练
利用labelimag进行图像样本标注
制作训练集

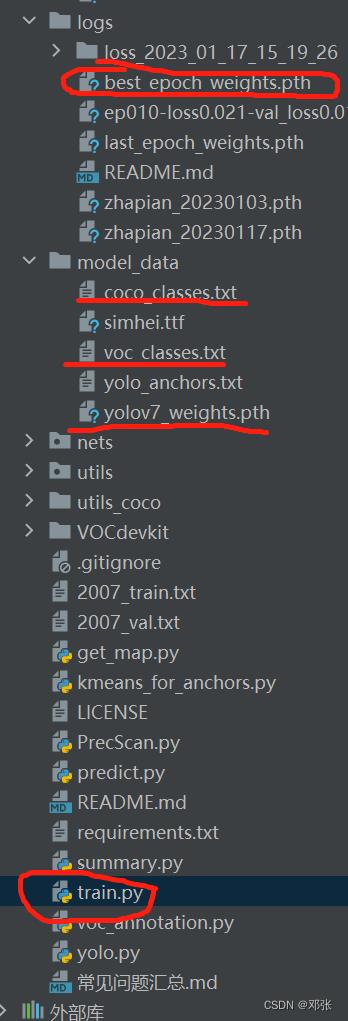
训练样本生成权重文件

修改YOLO预测类
import cv2
import struct
import colorsys
import numpy as np
import torch
import torch.nn as nn
from PIL import Image
from nets.yolo import YoloBody
from utils.utils import (cvtColor, get_anchors, get_classes, preprocess_input, resize_image)
from utils.utils_bbox import DecodeBox
from PIL import ImageDraw, ImageFont

class BrakePad:
    def __init__(self):
        self.height = 1200           # 图片高度
        self.width = 1920            # 图片宽度
        self.len = 3 * 1200 * 1920   # 图片数据长度
        self.p = 0.1                 # 图片存储精度
        self.Image_XYZ_Name = ""     # 深度图片存储路径
        self.Image_Top = 0           # 预测框上坐标
        self.Image_Left = 0          # 预测框左坐标
        self.Image_Bottom = 0        # 预测框下坐标
        self.Image_Right = 0         # 预测框右坐标
        self.Centre_x = 0            # 预测框的中心x坐标
        self.Centre_y = 0            # 预测框的中心y坐标
        self.Crop_image = Image.new('RGB', (800, 400), "white")                # 裁剪图像
        self.model_path = 'logs/last_epoch_weights.pth'                        # model_path指向logs文件夹下的权值文件
        self.classes_path = 'model_data/voc_classes.txt'                       # 指向model_data下的类别目录
        self.anchors_path = 'model_data/yolo_anchors.txt'                      # 代表先验框对应的txt文件
        self.anchors_mask = [[6, 7, 8], [3, 4, 5], [0, 1, 2]]                  # 用于帮助代码找到对应的先验框,一般不修改
        self.input_shape = [640, 640]                                          # 输入图片的大小,必须为32的倍数。
        self.phi = 'l'                                                         # 所使用到的yolov7的版本
        self.confidence = 0.1                                                  # 只有得分大于置信度的预测框会被保留下来
        self.nms_iou = 0.3                                                     # 非极大抑制所用到的nms_iou大小
        self.cuda = True                                                       # 是否使用Cuda
        self.class_names, self.num_classes = get_classes(self.classes_path)    # 获取类别名称与数量
        self.anchors, self.num_anchors = get_anchors(self.anchors_path)        # 获得先验框
        self.bbox_util = DecodeBox(self.anchors, self.num_classes, (self.input_shape[0], self.input_shape[1]),
                                   self.anchors_mask)
        hsv_tuples = [(x / self.num_classes, 1., 1.) for x in range(self.num_classes)]
        self.colors = list(map(lambda x: colorsys.hsv_to_rgb(*x), hsv_tuples))
        self.colors = list(map(lambda x: (int(x[0] * 255), int(x[1] * 255), int(x[2] * 255)), self.colors))
        self.net = YoloBody(self.anchors_mask, self.num_classes, self.phi)
        device = torch.device('cuda' if torch.cuda.is_available() else 'cpu')
        self.net.load_state_dict(torch.load(self.model_path, map_location=device))
        self.net = self.net.fuse().eval()
        print(' model, and classes loaded.'.format(self.model_path))
        if self.cuda:
            self.net = nn.DataParallel(self.net)
            self.net = self.net.cuda()

    def detect_image(self, image):
        image_shape = np.array(np.shape(image)[0:2])
        image = cvtColor(image)
        image_data = resize_image(image, (self.input_shape[1], self.input_shape[0]), False)
        image_data = np.expand_dims(np.transpose(preprocess_input(np.array(image_data, dtype='float32')), (2, 0, 1)), 0)
        with torch.no_grad():
            images = torch.from_numpy(image_data)
            if self.cuda:
                images = images.cuda()
            outputs = self.net(images)
            outputs = self.bbox_util.decode_box(outputs)
            results = self.bbox_util.non_max_suppression(torch.cat(outputs, 1), self.num_classes, self.input_shape,
                                                         image_shape, False, conf_thres=self.confidence,
                                                         nms_thres=self.nms_iou)
            if results[0] is None:
                return image
            top_conf = results[0][:, 4] * results[0][:, 5]
            top_boxes = results[0][:, :4][0]

        self.Image_Top, self.Image_Left, self.Image_Bottom, self.Image_Right = top_boxes
        self.Image_Top = max(0, np.floor(self.Image_Top).astype('int32'))
        self.Image_Left = max(0, np.floor(self.Image_Left).astype('int32'))
        self.Image_Bottom = min(image.size[1], np.floor(self.Image_Bottom).astype('int32'))
        self.Image_Right = min(image.size[0], np.floor(self.Image_Right).astype('int32'))
        self.Crop_image = image.crop([self.Image_Left, self.Image_Top, self.Image_Right, self.Image_Bottom])

        draw = ImageDraw.Draw(image)
        thickness = int(max((image.size[0] + image.size[1]) // np.mean(self.input_shape), 1))
        box_origin = (self.Image_Left + thickness, self.Image_Bottom - thickness)  # 左下顶点
        box_end = (self.Image_Right - thickness, self.Image_Top + thickness)       # 右上顶点
        draw.rectangle(box_origin + box_end, outline = self.colors[0])

        predicted_class = self.class_names[0]
        score = top_conf[0]
        label = ' :.2f'.format(predicted_class, score)
        label = str(label.encode('utf-8'))
        font = ImageFont.truetype(font='model_data/simhei.ttf',
                                  size=np.floor(3e-2 * image.size[1] + 0.5).astype('int32'))
        label_bbox = draw.textbbox(box_origin, label, font = font)
        draw.rectangle(label_bbox, fill = self.colors[0])
        draw.text(box_origin, label, fill=(0, 0, 0), font=font)

        del draw
        return image
imag与cv2转换方法
def image2cv(image):
    image_np = np.array(image)                             # 由Image读取格式转为np读取格式
    image_cv2 = cv2.cvtColor(image_np, cv2.COLOR_RGB2BGR)  # 由np读取格式转为CV2读取格式
    return image_cv2                                       # 返回cv2格式


def cv2image(image_cv2):
    image = Image.fromarray(cv2.cvtColor(image_cv2, cv2.COLOR_BGR2RGB))
    return image   # 返回image格式
欧氏距离
    def distance(self, pt1, pt2):
        depth_top = self.readxyz(pt1[0], pt1[1])            # 计算上边界
        depth_bottom = self.readxyz(pt2[0], pt2[1])         # 计算下边界
        thickness = depth_bottom[1] - depth_top[1]          # 计算闸片厚度
        return thickness                                    # 输出闸片厚度
像素坐标与世界坐标映射
    def readxyz(self, x, y):
        fd = open(self.Image_XYZ_Name, "rb")                # 打开文件
        file = fd.read()                                    # 文件尾为空字串
        data = []                                           # 创建列表存储.data文件
        for cell in struct.unpack('%dH' % self.len, file):  # 转换二进制数据
            data.append(cell)                               # 写入二进制数据
        depth_map = np.array(data, dtype=np.uint16).reshape((self.height, self.width, 3), order="C")
        fd.close()                                          # 关闭文件流
        depth_x = depth_map[y][x][0] * self.p               # 获取深度坐标x
        depth_y = depth_map[y][x][1] * self.p               # 获取深度坐标y
        depth_z = depth_map[y][x][2] * self.p               # 获取深度坐标z
        return [depth_x, depth_y, depth_z]                  # 返回结果
测量方法
 def measure(self, image_name, s_t1):
        if s_t1:                                                          # 如果为T1相机
            self.p = 0.065                                                # 图片存储精度为0.065
        if not s_t1:                                                         # 如果为T2相机
            self.p = 0.1                                                  # 图片存储精度为0.1
        self.Image_XYZ_Name = image_name[0:-len("jpg")] + "xyz"           # 深度图像名称xyz
        predict_image = Image.open(image_name)                            # 加载图片信息
        result_image = self.detect_image(predict_image)                 # 获取预测结果
        self.Centre_x = round((self.Image_Left + self.Image_Right) / 2)   # 预测框的中心x坐标
        self.Centre_y = (self.Image_Top + self.Image_Bottom) / 2          # 预测框的中心y坐标
        pt1 = [self.Image_Right, self.Image_Top]                          # 右上顶点
        pt2 = [self.Image_Left, self.Image_Bottom]                        # 左下顶点
        original_result = self.distance(pt1, pt2)                         # 原始数据测量结果
        filtering_result, pt3, pt4 = self.filtering()                     # 滤波后的测量结果
        draw = ImageDraw.Draw(result_image)                             # 调用画图工具
        draw.line(pt3 + pt4, fill = self.colors[0], width = 10)         # 上下边界点划线
        del draw                                                        # 释放画图工具
        if filtering_result == 0:                                         # 如果滤波不成功
            filtering_result = original_result                            # 等于原始数据测量结果
        print(image_name, "->原始数据:", original_result)                   # 原始数据测量结果
        print(image_name, "->滤波数据:", filtering_result)                  # 滤波后的测量结果
        image_cv2 = image2cv(result_image)                               # 由Image读取格式转为cv2读取格式
        cv2.imshow(image_name, image_cv2)                            # 显示结果
        return self.Image_Top, self.Image_Left, self.Image_Bottom, self.Image_Right, filtering_result
边缘提取滤波方法
    def filtering(self):
        image_cv2 = image2cv(self.Crop_image)                       # 获取截图
        threshold = 250                                             # 初始化最大阈值
        pt1, pt2 = [], []                                           # 初始化边界点
        while True:                                                 # 循环
            image_canny = cv2.Canny(image_cv2, threshold-70, threshold, apertureSize=3, L2gradient=True)
            image_result = cv2.bitwise_not(image_canny)             # 黑白反转
            img_col = image_result.shape[1]                         # 图像宽x轴
            img_row = image_result.shape[0]                         # 图像高y轴
            dy = round(self.Centre_y - img_row / 2)                 # 原始图像y轴偏移量
            data = []                                               # 数据缓存区
            j = round(img_col / 2)                                  # x轴中线
            for i in range(0, img_row):                             # 沿y轴搜索
                temp = image_result[i, j]                           # 获取像值
                if temp == 0:                                       # 如果为黑色
                    data.append(i)                                  # 记录y轴位置
            threshold = threshold - 60                              # 最大阈值下降
            if len(data) >= 2:                                      # 如果检测到边缘
                pt1 = [self.Centre_x, data[0] + dy + 3]             # 求上边界
                pt2 = [self.Centre_x, data[len(data) - 1] + dy]     # 求下边界
                thickness = self.distance(pt1, pt2)                 # 计算测量结果
                if thickness > 2:                                   # 结果在合理范围,6mm超限,不可能出现2毫米
                    break                                           # 跳出循环
            if threshold == 70 :                                    # 阈值到达限制,无边缘
                thickness = 0                                       # 测量值为0
                break                                               # 跳出循环
        cv2.imshow(self.Image_XYZ_Name, image_result)               # 显示边缘检测结果
        return thickness, pt1, pt2
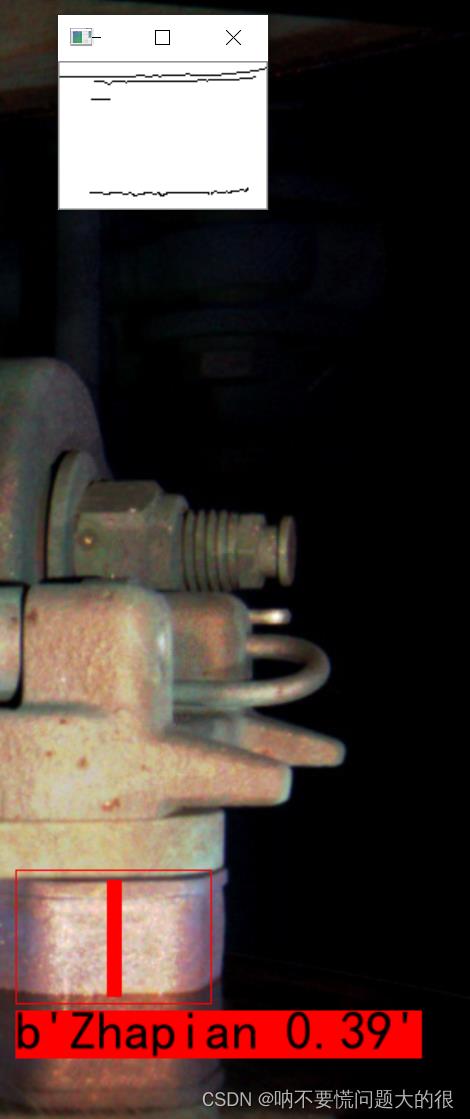
检测结果


以上是关于基于yolov7的闸片厚度检测方法的主要内容,如果未能解决你的问题,请参考以下文章