Spring之hello world(Spring入门)
Posted --->别先生<---
tags:
篇首语:本文由小常识网(cha138.com)小编为大家整理,主要介绍了Spring之hello world(Spring入门)相关的知识,希望对你有一定的参考价值。
spring各个版本中:
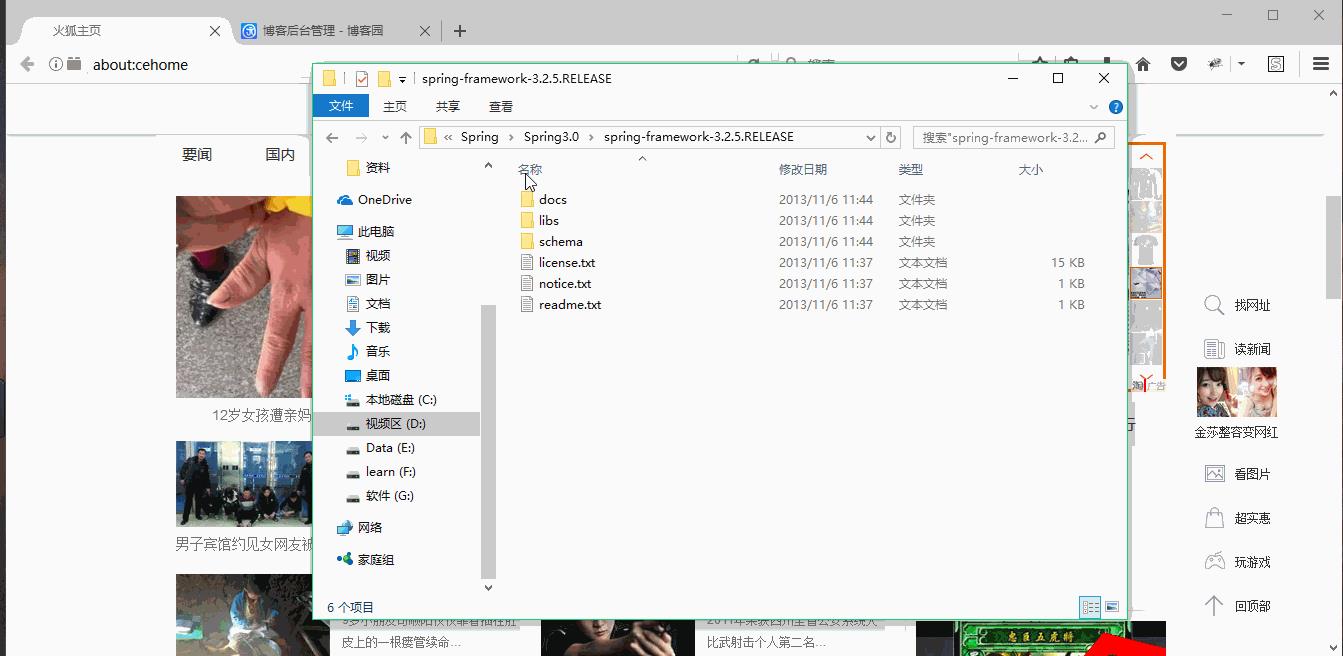
在3.0以下的版本,源码有spring中相关的所有包【spring功能 + 依赖包】
如2.5版本;
在3.0以上的版本,源码中只有spring的核心功能包【没有依赖包】
(如果要用依赖包,需要单独下载!)
1:第一步,引包咯,毕竟使用的是框架吗!首先引入5个必须的包,如下所示:
commons-logging-1.1.3.jar 日志
spring-beans-3.2.5.RELEASE.jar bean节点
spring-context-3.2.5.RELEASE.jar spring上下文节点
spring-core-3.2.5.RELEASE.jar spring核心功能
spring-expression-3.2.5.RELEASE.jar spring表达式相关表
2:核心配置文件:
(1):Spring配置文件:applicationContext.xml/bean.xml
(两个名称都可以,一般使用applicationContext.xml)
(2):核心配置文件的约束如何配置,下面介绍一种方法:

applicationContext.xml配置模板如下所示:
<?xml version="1.0" encoding="UTF-8"?>
<beans xmlns="http://www.springframework.org/schema/beans"
    xmlns:xsi="http://www.w3.org/2001/XMLSchema-instance"
    xmlns:p="http://www.springframework.org/schema/p"
    xmlns:context="http://www.springframework.org/schema/context"
    xsi:schemaLocation="
        http://www.springframework.org/schema/beans
        http://www.springframework.org/schema/beans/spring-beans.xsd
        http://www.springframework.org/schema/context
        http://www.springframework.org/schema/context/spring-context.xsd">


</beans>
applicationContext.xml开发配置如下所示:
 1 <?xml version="1.0" encoding="UTF-8"?>
 2 <beans xmlns="http://www.springframework.org/schema/beans"
 3     xmlns:xsi="http://www.w3.org/2001/XMLSchema-instance"
 4     xmlns:p="http://www.springframework.org/schema/p"
 5     xmlns:context="http://www.springframework.org/schema/context"
 6     xsi:schemaLocation="
 7         http://www.springframework.org/schema/beans
 8         http://www.springframework.org/schema/beans/spring-beans.xsd
 9         http://www.springframework.org/schema/context
10         http://www.springframework.org/schema/context/spring-context.xsd">
11
12
13      <!-- IoC容器的配置,要创建的所有的对象都配置在这里 -->
14      <bean id="user" class="com.bie.po.User"></bean>
15
16 </beans>
3:创建一个实体类,如User.java:
 1 package com.bie.po;
 2 /**
 3 * @author BieHongLi
 4 * @version 创建时间:2017年3月12日 下午5:45:06
 5 *
 6 */
 7 public class User {
 8
 9     private int id;
10     private String name;
11     public int getId() {
12         return id;
13     }
14     public void setId(int id) {
15         this.id = id;
16     }
17     public String getName() {
18         return name;
19     }
20     public void setName(String name) {
21         this.name = name;
22     }
23
24
25 }
4:使用junit进行测试,如下所示,两种方式都可以完成,推荐第二种方式:
 1 package com.bie.hello;
 2
 3 import org.junit.Test;
 4 import org.springframework.beans.factory.BeanFactory;
 5 import org.springframework.beans.factory.xml.XmlBeanFactory;
 6 import org.springframework.context.ApplicationContext;
 7 import org.springframework.context.support.ClassPathXmlApplicationContext;
 8 import org.springframework.core.io.ClassPathResource;
 9 import org.springframework.core.io.Resource;
10
11 import com.bie.po.User;
12
13 /**
14 * @author BieHongLi
15 * @version 创建时间:2017年3月12日 下午5:46:23
16 *
17 */
18 public class UserTest {
19
20     @Test
21     public void springHello(){
22         //以前古老的方式创建对象
23         //User user=new User();
24
25         //现在创建对象交给IoC容器了
26         //第一步:加载配置文件
27         Resource resource=new ClassPathResource("applicationContext.xml");
28         //第二步:创建容器对象(bean工厂),IoC容器=bean工厂+aplicationContext.xml
29         BeanFactory factory=new XmlBeanFactory(resource);
30         //第三步:得到容器创建的对象
31         User user=(User)factory.getBean("user");
32
33         System.out.println(user);
34     }
35
36     @Test
37     public void test2(){
38         //第一步:得到IoC容器对象
39         ApplicationContext ac = new ClassPathXmlApplicationContext("applicationContext.xml");
40         //第二步:从容器中获取bean
41         User user = (User)ac.getBean("user");
42
43         System.out.println(user);
44     }
45 }
Spring最牛X的框架,我来了~~~
以上是关于Spring之hello world(Spring入门)的主要内容,如果未能解决你的问题,请参考以下文章