https网络编程——使用openssl库自建根证书
Posted 行稳方能走远
tags:
篇首语:本文由小常识网(cha138.com)小编为大家整理,主要介绍了https网络编程——使用openssl库自建根证书相关的知识,希望对你有一定的参考价值。
参考:如何自建根证书?使用openssl库自建根证书带图详解
地址:https://qingmu.blog.csdn.net/article/details/108217572?spm=1001.2014.3001.5502
目录
根证书的普通用途
根证明普通的情况用途为对标志和发行传递的证明,再标志和问题终端证明由传递的证明(服务器,客户端)。
AWS IOT Device C SDK 使用(ps阿里云一机一密、一型一密、公钥、私钥、CA、根证书)
自建根证书步骤
在自建根证书之前需要安装openssl
sudo apt-get install openssl
1、创建一个目录,存放所有证书有关资料
ca的路径可自选,并在ca路径下创建root文件夹,用来存放根证书
命令:
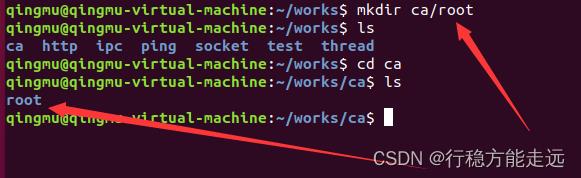
mkdir   ca
mkdir   ca/root
创建ca文件夹,存放所有有关文件

创建root文件夹存放根证书
2、进入根证书目录,创建相关目录和档案
2.1、进入根证书目录
cd ca/root
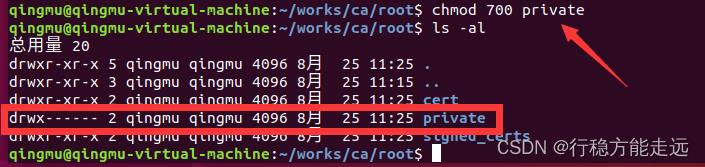
2.2、创建相关目录
- private :存放根证书的私钥
- cert :存放根证书
- signed_certs :放置的根证明签了字和被发布的证明副本。
mkdir private cert signed_certs

2.3、更改private目录存取权限
chmod 700 private
2.4、创建index.txt文件
每次签署和发行证明OpenSSL的根证明可能自动地更新这个文件建立index.txt,这个文件能为纪录使用根证明签署和发布证明纪录。(具体没什么用,但必须要有)
touch index.txt

2.5、建立serial
建立serial,并在文件中填入0001,被签发的证书都会有序号和位置,记录这份证明在早先签署的和发布的单位签字并且发布的证明号码,这个文件能使用为记录签署和发布证明号码的根证明,每次签署和发行证明OpenSSL的根证明可能自动地更新这个文件。(具体没什么用,但必须要有)
echo 0001 > serial

3、填写OpenSSL
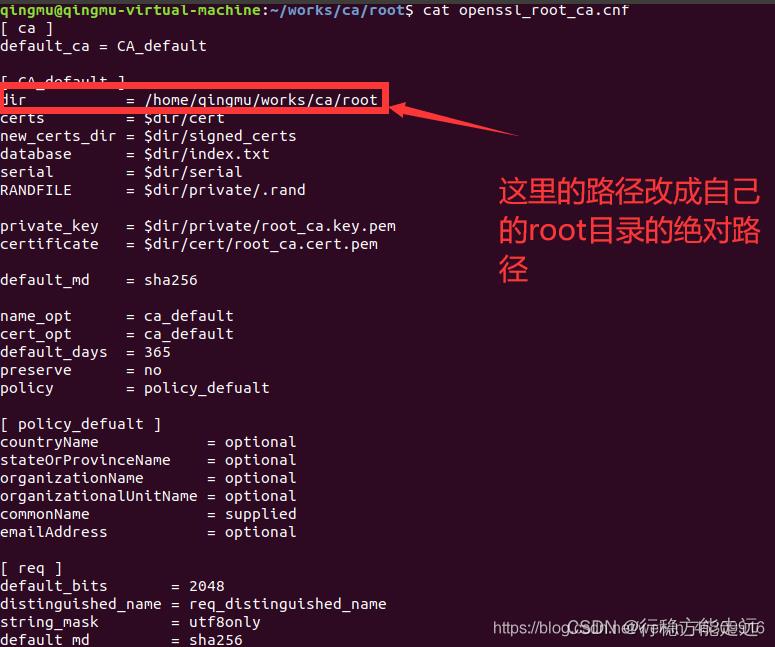
填写OpenSSL的配置文件,文件名是openssl_root_ca.cnf,并放置在root目录下

填充内容
使用vim打开,然后复制进去即可
[ ca ]
default_ca = CA_default

[ CA_default ]
# 放置相关的文件和目录.
dir           = /home/qingmu/works/ca/root
certs         = $dir/cert
new_certs_dir = $dir/signed_certs
database      = $dir/index.txt
serial        = $dir/serial
RANDFILE      = $dir/private/.rand

# 放置私钥和证书的路径.
private_key   = $dir/private/root_ca.key.pem
certificate   = $dir/cert/root_ca.cert.pem

default_md    = sha256

name_opt      = ca_default
cert_opt      = ca_default
default_days  = 365
preserve      = no
policy        = policy_defualt

[ policy_defualt ]
# 签发证书文件资料的检查 (和根证书必须一样).
countryName            = optional
stateOrProvinceName    = optional
organizationName       = optional
organizationalUnitName = optional
commonName             = supplied
emailAddress           = optional

[ req ]
# req 工具需要的參数.
default_bits       = 2048
distinguished_name = req_distinguished_name
string_mask        = utf8only
default_md         = sha256

[ req_distinguished_name ]
# 生成证书是要输入的一些说明信息
countryName            = Country Name (2 letter code)
stateOrProvinceName    = State or Province Name
localityName           = Locality Name
0.organizationName     = Organization Name
organizationalUnitName = Organizational Unit Name
commonName             = Common Name
emailAddress           = Email Address

[ root_ca ]
# 签发根证书时使用
subjectKeyIdentifier = hash
authorityKeyIdentifier = keyid:always,issuer
basicConstraints = critical, CA:true
keyUsage = critical, digitalSignature, cRLSign, keyCertSign

[ intermediate_ca ]
# 签发和发布时使用
subjectKeyIdentifier = hash
authorityKeyIdentifier = keyid:always,issuer
basicConstraints = critical, CA:true, pathlen:0
keyUsage = critical, digitalSignature, cRLSign, keyCertSign
4、生成私钥
在private目录下生成私钥, 文件名时 root_ca.key.pem
openssl genrsa -aes256 -out private/root_ca.key.pem 4096
提示输入信息:
会提示输入私钥使用的密码,例如:alice123
(密码不会显示)
Enter pass phrase for private/root_ca.key.pem:alice123
再次输入密码:
Verifying - Enter pass phrase for private/root_ca.key.pem:alice123

5.用私钥来签发证书
文件名是root_ca.cert.pem
openssl req -config openssl_root_ca.cnf -new -x509 -days 7300 -sha256 -extensions root_ca -key private/root_ca.key.pem -out cert/root_ca.cert.pem
会提示输入一些信息:
# 会提示输入根证书的私钥密码, 也就是 alice123
Enter pass phrase for private/root_ca.key.pem:alice123
# 接着需要输入根证书拥有者的信息.
You are about to be asked to enter information that will be incorporated into your certificate request.
What you are about to enter is what is called a Distinguished Name or a DN.
There are quite a few fields but you can leave some blank For some fields there will be a default value,
If you enter '.', the field will be left blank.
-----
# 所在国家的缩写, 2 个字母, 例如 Taiwan = TW, Unit State = US.
Country Name (2 letter code) []:TW
# 所在的州或省.
State or Province Name []:Taiwan
# 所在的城市.
Locality Name []:Taipei
# 所在的公司.
Organization Name []:Alice Ltd
# 所在的公司的单位.
Organizational Unit Name []:Alice Ltd Certificate Authority
# 证书名称
Common Name []:Alice Ltd Root CA
# 邮箱.
Email Address []:alice@local

把证书的权限改为只读权限
chmod 444 cert/root_ca.cert.pem

6、检查生成的根证书是否正确
openssl x509 -noout -text -in cert/root_ca.cert.pem
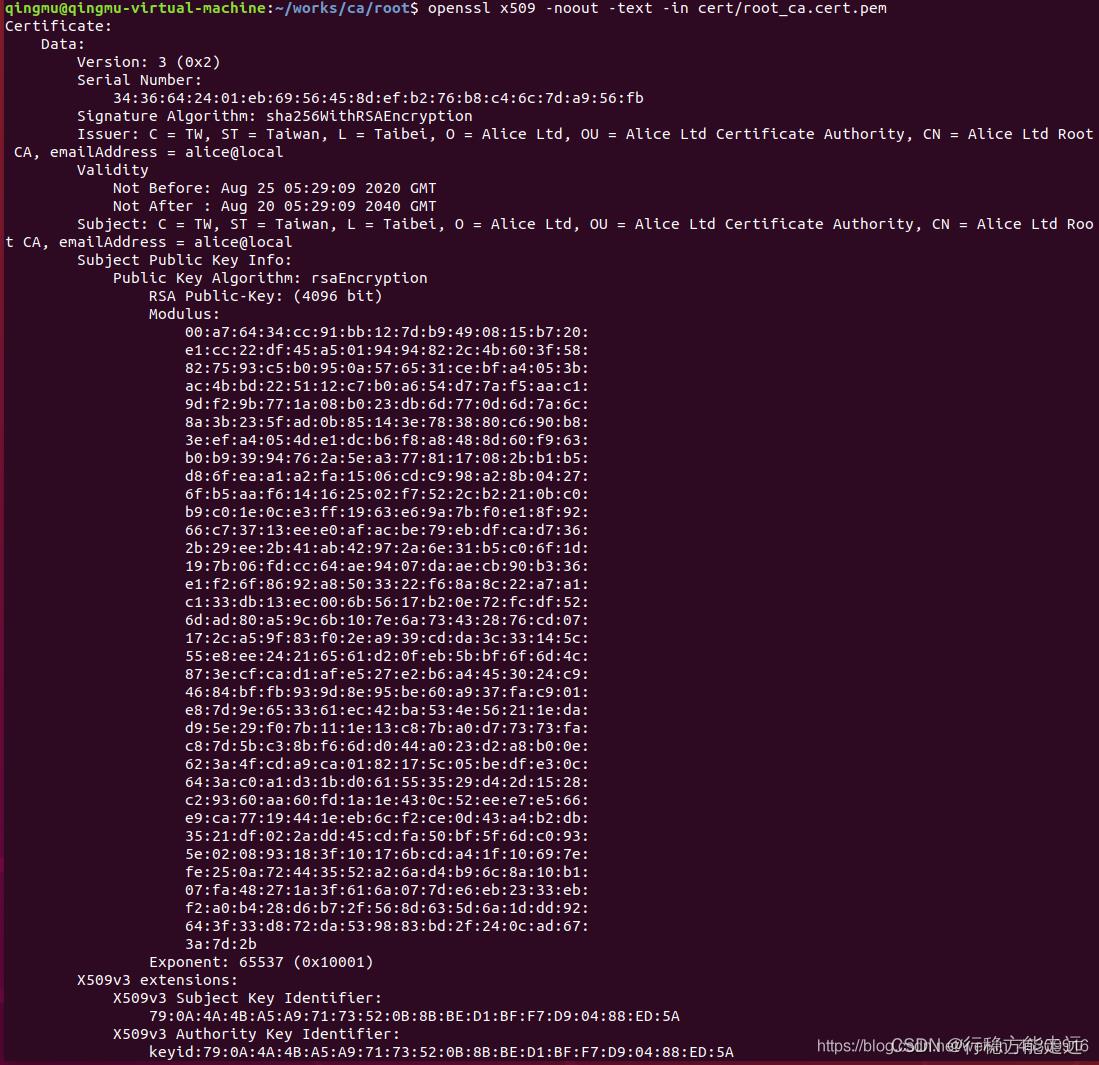
7、信息正确,自建根证书完成
以上是关于https网络编程——使用openssl库自建根证书的主要内容,如果未能解决你的问题,请参考以下文章